What is AWS GuarDuty and how to use it
AWS GuardDuty is a continuous security monitoring service. It analyzes and processes the AWS CloudTrail management event logs, VPC Flow Logs, CloudTrail S3 data event logs, and DNS logs. AWS GuardDuty continuously analyzes S3 data events, monitoring access and activity in all your Amazon S3 buckets, VPC flow logs, and DNS query logs. New Amazon account holders can try the service for free for 30 days in the supported regions. To know about its pricing, click here.
In this article, we will see the step to enable AWS GuardDuty and then disable it.
Pre-requisites
- AWS Account (Create if you don’t have one).
What will we do?
- Login to AWS
- Enable GuardDuty
- Disable GuardDuty
Login to AWS
Click here to go to AWS Login Page.
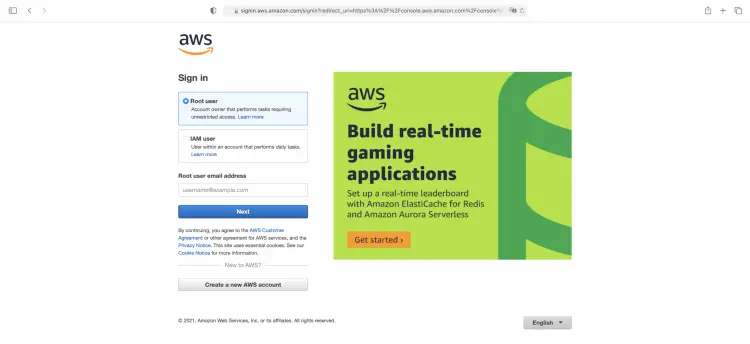
You will see the login page as follows when you hit the above link. Enter your credentials to login into your AWS account.
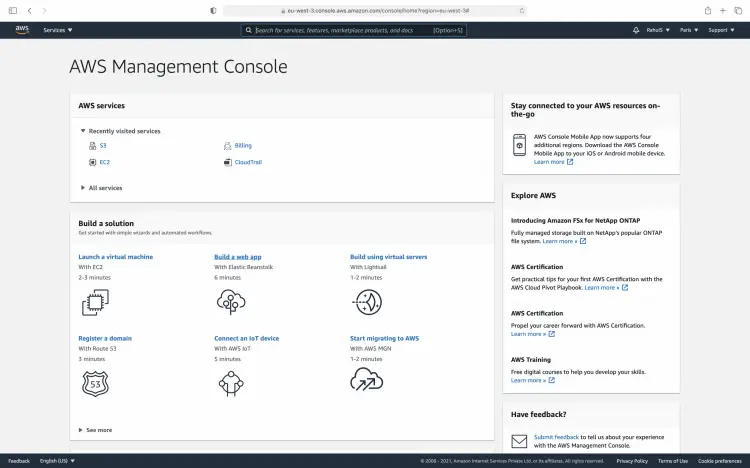
You will see the main AWS Management Console after you successfully login into the account.
Enable GuardDuty
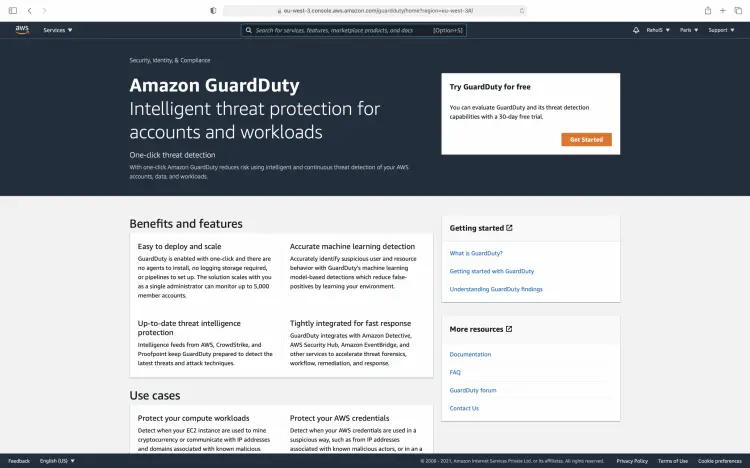
Go to the search bar and type GuardDuty, click on the result for GuardDuty that you get.
This is what the dashboard will look like. Click on the "Get Started" button to proceed with GuardDuty.
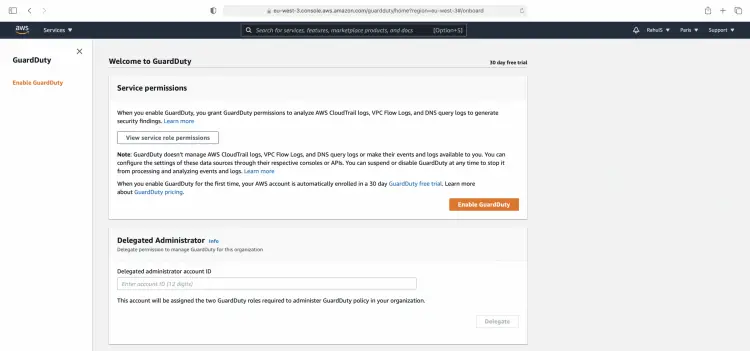
For the first time, we need to enable GuardDuty before we go and use it. Click on the "Enable GuardDuty" button.
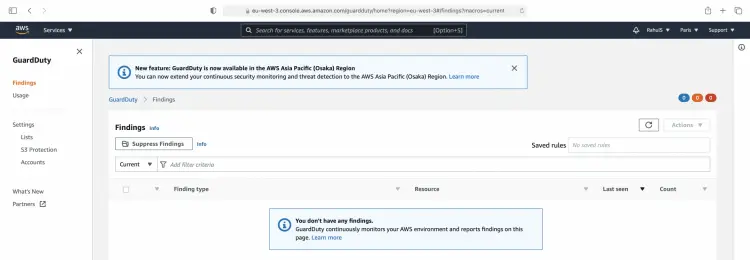
After you enable the GuardDuty, this is how the console will look like. In the left panel, you can find more configuration settings for the GuardDuty.
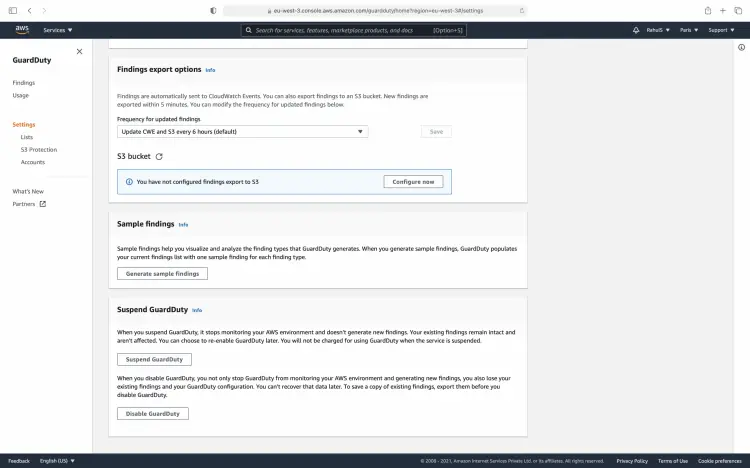
GuardDuty generates a finding when it discovers a security issue. Here, we will generate sample findings to see how they look and test GuardDuty functionality and familiarize with findings. Click on "Settings" in the left panel to generate sample findings.
Here, click on the "Generate sample findings" button. This will generate sample findings and you can explore them to understand how GuardDuty findings look like.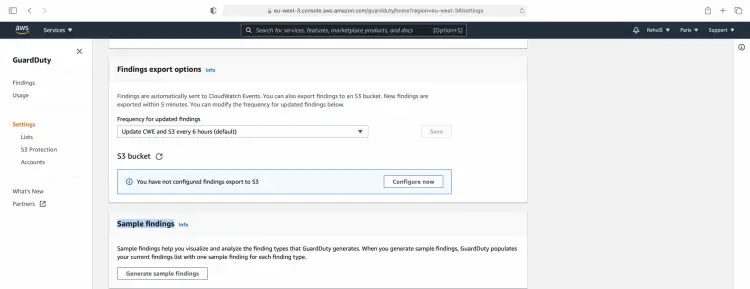
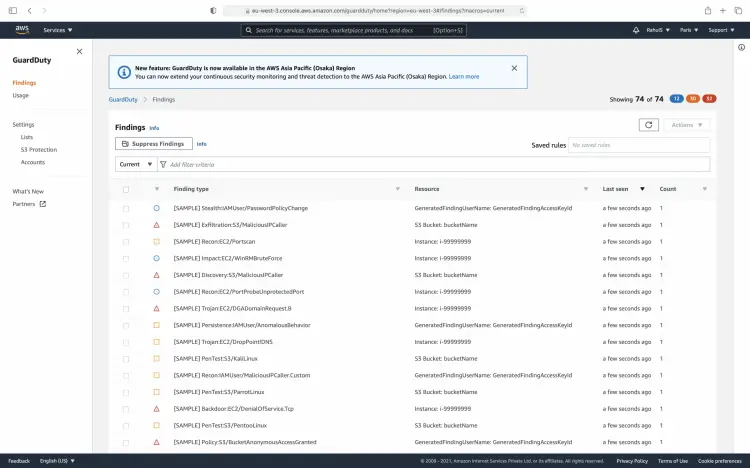
This is a list of sample findings that GuardDuty has generated. Now you can explore these findings and get an idea from them.
Click on one of the findings, and you will see its details, you will see different information fields available in the finding details pane.
Disable GuardDuty
If you no longer need to use the GuardDuty, you can disable it. To disable it, click on "Settings" in the left panel and scroll down at the bottom of the page.
Click on the "Disable GuardDuty" button to disable it.
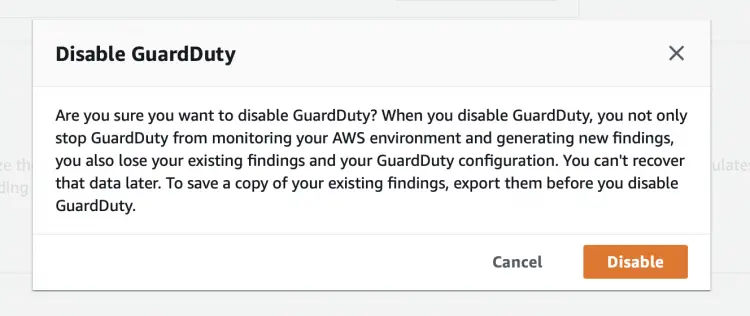
Confirm that you want to disable GuardDuty by clicking on the "Disable" button on the pop-up screen.
Conclusion
In this article, we saw simple steps to enable GuarDuty and generate sample findings to explore them. We also saw how easily GuardDuty can be disabled when not required. You can now get started with GuarDuty and try out its other features. If you need more help on GuardDuty, do let us know in the comment.

