How to Install Couch CMS on Ubuntu 16.04 LTS
Couch CMS is a free, open source and simple Content Management System that can be used to design beautiful websites without any knowledge of PHP. Couch CMS include integrated RSS feeds, forms, custom pages and PayPal integration. Couch CMS comes with lots of features including, Editable Regions, Comments, Cloned Pages, Auto-validating Forms, SEO Friendly Links, RSS Feeds, URL Cloaking and much more.
In this tutorial, we will learn how to install Couch CMS on Ubuntu 16.04.
Requirements
- A server running Ubuntu 16.04.
- A non-root user with sudo privileges.
Update the System
First, update your system's package repository to the latest version by running the following command:
sudo apt-get update -y
sudo apt-get upgrade -y
Once the repository is updated, restart the system to apply all the changes.
Install LAMPP Server
Next, you will need to install Apache web server, PHP, and MariaDB to your system. You can install all of them by running the following command:
sudo apt-get install apache2 mariadb-server libapache2-mod-php7.0 php7.0 php7.0-gd php7.0-mbstring php7.0-mysqlnd -y
Once all the packages are installed, start Apache and MariaDB service and enable them to start on boot with the following command:
sudo systemctl start apache2
sudo systemctl enable apache2
sudo systemctl start mysql
sudo systemctl enable mysql
Configure Database for CouchCMS
By default, MariaDB is not secure. So you will need to secure it first. You can secure it by using the mysql_secure_installation script.
sudo mysql_secure_installation
This script will set a root password, remove anonymous users, disallow remote root login, and remove the test database and access to secure MariaDB as shown below:
Set root password? [Y/n] y
Remove anonymous users? [Y/n] y
Disallow root login remotely? [Y/n] y
Remove test database and access to it? [Y/n] y
Reload privilege tables now? [Y/n] y
Once the MariaDB is secured, create a database for Couch CMS.
First, log in to the MariaDB console with the following command:
mysql -u root -p
You will be prompt for a password, enter your root password and create a database for Couch CMS:
MariaDB [(none)]> CREATE DATABASE couchdb CHARACTER SET utf8 COLLATE utf8_general_ci;
Next, create a user for OctoberCMS and grant all privileges to the Couch CMS with the following command:
MariaDB [(none)]> GRANT ALL PRIVILEGES ON couchdb.* TO 'couch'@'localhost' IDENTIFIED BY 'password';
Next, flush the privileges with the following command:
MariaDB [(none)]> flush privileges;
Finally, exit from the MariaDB console using the following command:
MariaDB [(none)]> quit
Once the database is configured, you can proceed to the next step.
Install CouchCMS
First, you will need to download the latest version of the Couch CMS from GIT repository. You can download it with the following command:
wget https://github.com/CouchCMS/CouchCMS/archive/master.zip
Once the download is completed, unzip the downloaded file using the following command:
unzip master.zip
Next, copy the extracted directory to the Apache root directory with the following command:
sudo cp -r CouchCMS-master/couch /var/www/html/
Next, give proper permission to the couch directory:
sudo chown -R www-data:www-data /var/www/html/couch
sudo chmod -R 777 /var/www/html/couch
Next, change the directory to the couch and rename config.example.php file to config.php:
cd /var/www/html/couch
sudo cp config.example.php config.php
Next, open config.php file and add the database credentials:
sudo nano config.php
Change the file as shown below:
    // If necessary, define the full URL of your site including the subdomain, if any.
    // V.IMP: Don't forget the trailing slash!
    define( 'K_SITE_URL', 'http://192.168.0.102/' );

    // Name of the database
    define( 'K_DB_NAME', 'couchdb' );
    // 5.
    // Database username
    define( 'K_DB_USER', 'couch' );
    // 6.
    // Database password
    define( 'K_DB_PASSWORD', 'password' );
    // 7.
    // MySQL hostname (it will usually be 'localhost')
    define( 'K_DB_HOST', 'localhost' );
Save and close the file when you are finished, then enable rewrite module with the following command:
sudo a2enmod rewrite
Finally, restart Apache service to apply all the changes:
sudo systemctl restart apache2
Access Couch CMS
Couch CMS is now installed, it's time to access Couch CMS
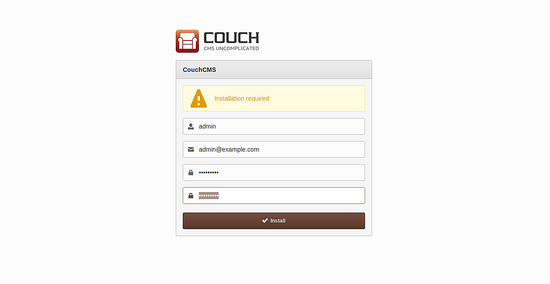
Open your web browser and type the URL http://192.168.0.102/couch, you will be redirected to the following page:
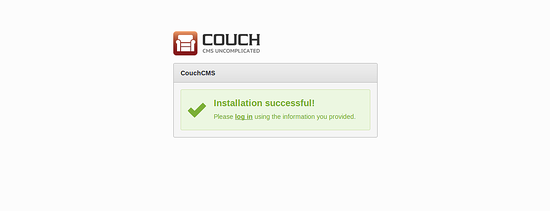
Here, provide your admin username and password, then click on the Install button, Once the installation is completed successfully, you should see the following page:
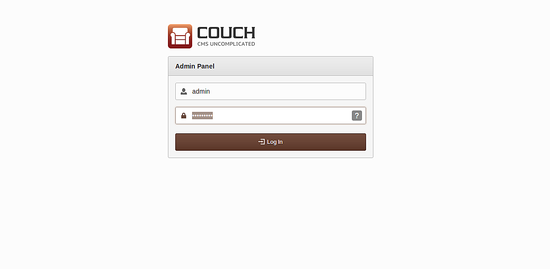
Now, click on the login button, you should see the following page:
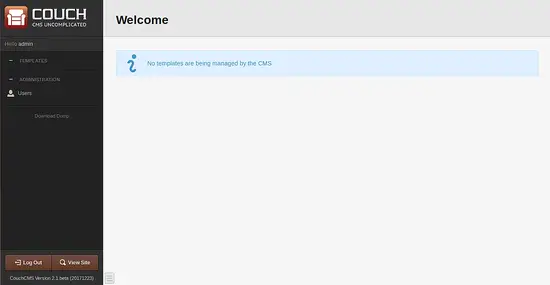
Here, provide your admin username and password, then click on the Log In button, you should see the Couch CMS dashboard in the following image:


