On this page
- Step 1 - Download the ISO and Create a Bootable USB stick
- Step 2 - Connect the server to the Internet
- Step 3 - Create and Mount the Partition
- Step 4 - Install the Base System
- Step 5 - Generate fstab
- Step 6 - Chroot into the fresh installed System
- Step 7 - Configure Network Connection
- Step 8 - Set Language, Local Preferences, and Time Zones
- Step 9 - Set the Arch Linux Repository
- Step 10 - Set the Hostname
- Step 11 - Create New User and Give SUDO Privileges
- Step 12 - Create password for root user
- Step 13 - Install the SSH Server
- Step 14 - Install and Configure GRUB
- Step 15 - Exit from chroot and unmount the filesystem
- Step 16 - Login to server via ssh
- Conclusion
How to Install and Configure Arch Linux as a Server
According to Arch Linux Wiki. Arch Linux is an independently developed, i686/x86-64 general purpose GNU/Linux distribution versatile enough to suit any role. Development focuses on simplicity, minimalism, and code elegance. Arch is installed as a minimal base system, configured by the user upon which their own ideal environment is assembled by installing only what is required or desired for their unique purposes. GUI configuration utilities are not officially provided, and most system configuration is performed from the shell and a text editor. Based on a rolling-release model, Arch also strives to stay bleeding edge, and typically offers the latest stable versions of most software.
In this tutorial, I will walk you through the steps to install and configure Arch Linux as a server.
Step 1 - Download the ISO and Create a Bootable USB stick
Download the latest Arch Linux ISO image from the Official Arch Linux website
Once the downloaded of the Arch Linux ISO image is complete, insert an empty USB stick into the computer were you downloaded the ISO file. Find the USB stick device name by running the following command.
lsblk
Output:
      NAME   MAJ:MIN RM   SIZE RO TYPE MOUNTPOINT
sda      8:0    0 223,6G  0 disk
/dev/sda1   8:1    0  37,3G  0 part /
/dev/sda2   8:2    0 186,3G  0 part /home
sdb      8:16   1  14,8G  0 disk
/dev/sdb1   8:17   1  14,8G  0 part
Write the Arch Linux ISO image to the USB stick by using the "dd" command:
sudo dd if=/path-of-arch-iso-image /usb-flash-drive
Example:
sudo dd if=/home/neocode/iso/archlinux-2015.09.01-dual.iso /dev/sdb1
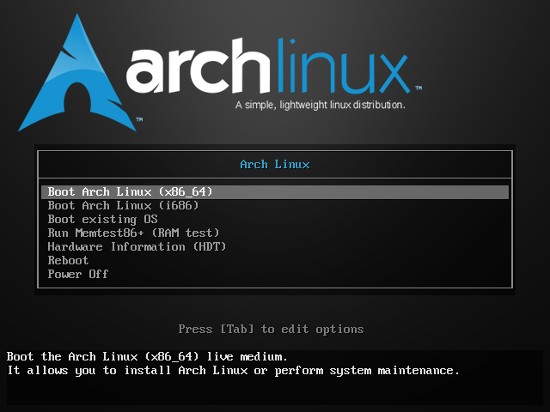
Once writing the Arch ISO image to the USB stick is complete, insert the USB stick into the computer that shall be used as the server and set the first boot device to the USB drive. Choose "Boot Arch Linux (x86_64)" at the boot screen and you will get a text prompt.
Step 2 - Connect the server to the Internet
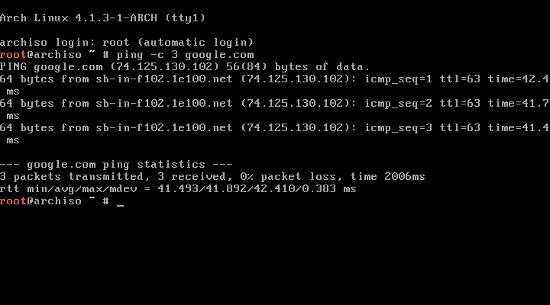
In order to install Arch Linux, make sure that you are already connected to the internet and that the connection is working fine. You can test that with the ping command.
ping -c 3 google.com
Step 3 - Create and Mount the Partition
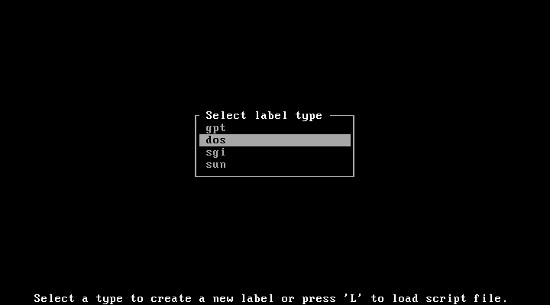
In this step, we are using the cfdisk command to create the installation partition, use partition type "dos". The partitions that we will create are root (/) for the / filesystem and swap for the swap device. /dev/sda is device node of our harddrive.
cfdisk /dev/sda
Select label type [dos].
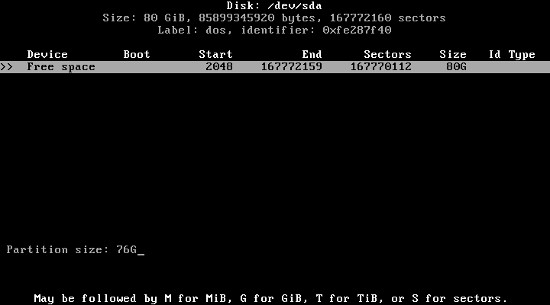
We have 80GB free space:
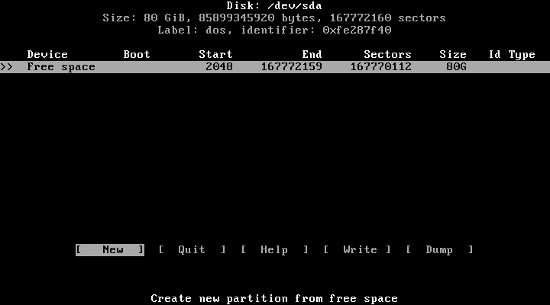
Create a partition for root (/):
[New] -> Enter
Partition Size -> 76G
Primary or Extended -> Select Primary
Select [Bootable] -> Enter
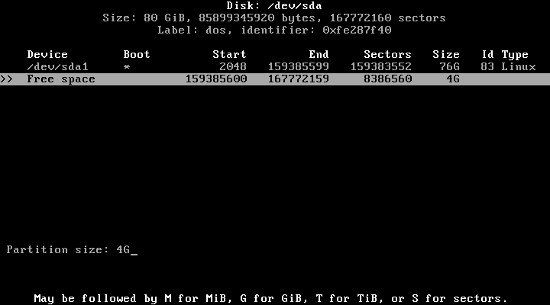
Create a partition for swap:
[New] -> Enter
Partition Size -> 4G
Primary or Extended -> Select Primary
Select [Write] -> Enter -> type: yes
Select [Quit]
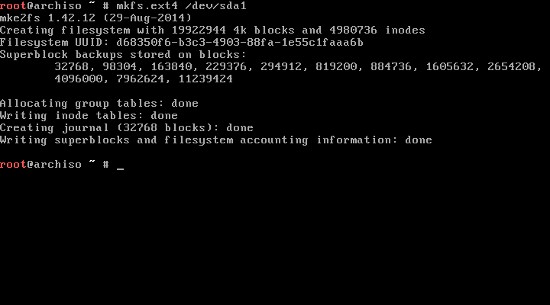
Format the partition /dev/sda1 for "root" with the ext4 file system by using the mkfs.ext4 command:
mkfs.ext4 /dev/sda1
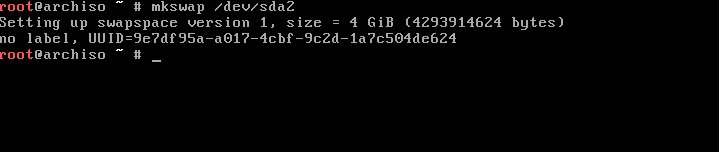
Format the partition /dev/sda2 for "swap" by using the "mkfswap" command:
mkswap /dev/sda2
Enable the swap partition by using the "swapon" command:
swapon /dev/sda2
Now mount the root partition (/dev/sda1) to /mnt.
mount /dev/sda1 /mnt
Step 4 - Install the Base System
Before we start with the base system installation, you might want to edit the /etc/pacman.d/mirrorlist file to ensure that your preferred mirror is the first one in the list.
nano /etc/pacman.d/mirrorlist
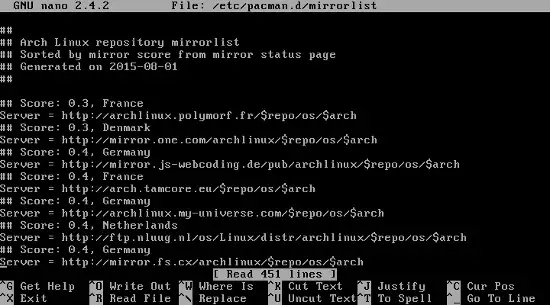
A copy of this mirror list will be installed on your new system by pacstrap as well, so it's worth getting it right.
You can copy the URL of the closest mirror and paste it on top of the list by hit key ALT+6 top the line, Use [Page Up] to go on top and paste by hitting Ctrl+u. Press Ctrl+x and type "y" to Save and Exit.
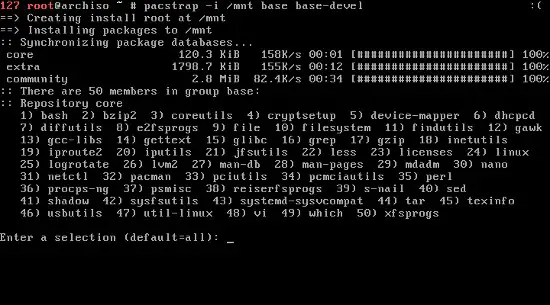
We install the base system by using the pacstrap script. The base-devel package group should be installed when you plan to compile software from AUR.
pacstrap -i /mnt base base-devel
Step 5 - Generate fstab
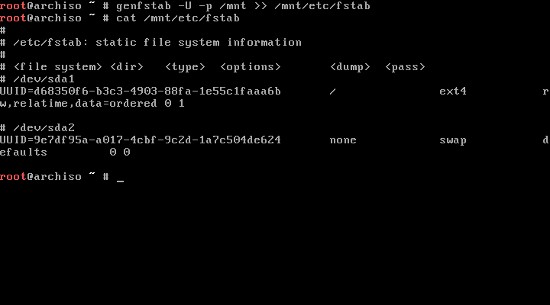
Generate the fstab file with UUIDs as device names by using the following command:
genfstab -U -p /mnt >> /mnt/etc/fstab
Now let's check if the file "fstab" has been created successfully.
cat /mnt/etc/fstab
Step 6 - Chroot into the fresh installed System
Now we are going to change the apparent disk root directory on the installer.
arch-chroot /mnt
Step 7 - Configure Network Connection
Identify the name of the network device by running the following command:
ip link
Output :
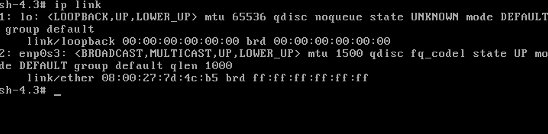
In this case, we have single ethernet port with the name enp0s3. Now we are going set this ethernet port to automatically get an IP address by dhcpcd when the system is booting up.
systemctl enable [email protected]
Step 8 - Set Language, Local Preferences, and Time Zones
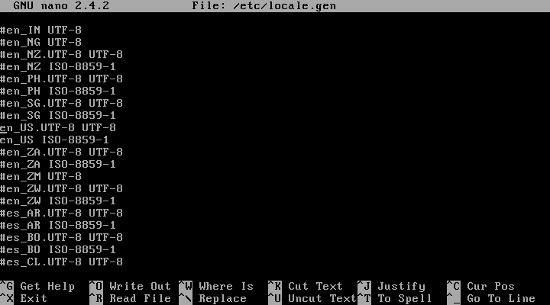
In this step, we will set the default language, time and location for the system. Open the file /etc/locale.gen:
nano /etc/locale.gen
You will get a very long list of languages. Search your language and un-comment it. For example, we are using language "English US", un-commented en_US.UTF-8 UTF-8 and en_US ISO-8859-1. Ctrl+x and type 'y' to save and exit.
Generate the locales and set the locale preferences using locale-gen command:
locale-gen
echo LANG=en_US.UTF-8 > /etc/locale.conf
export LANG=en_US.UTF-8

Before you set the time zone, you can search for the correct time zone by running the following command:
ls /usr/share/zoneinfo/
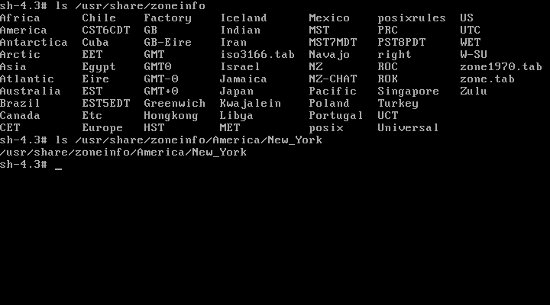
For example, we are using the timezone 'America' and sub-zone 'New_York'
Now create a symlink to activate the timezone:
ln -s /usr/share/zoneinfo/America/New_York > /etc/localtime
Set the hardware clock to UTC:
hwclock --systohc --utc
Step 9 - Set the Arch Linux Repository
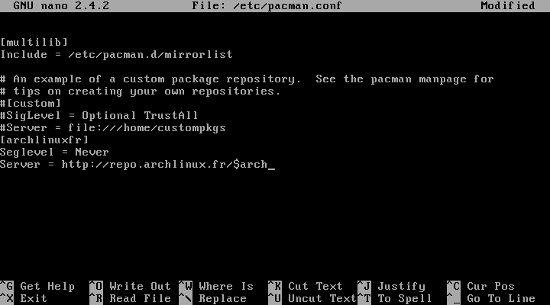
In this step, we'll configure the Arch Linux repository. Open file /etc/pacman.conf
nano /etc/pacman.conf
Enable the multilib repository, these are important for 64-bit installations of Arch Linux that want to run and build 32-bit apps. To enable the repository, uncomment the following lines:
[multilib]
Include = /etc/pacman.d/mirrorlist
Then add the Unofficial user repositories:
[archlinuxfr]
SigLevel = Never
Server = http://repo.archlinux.fr/$arch
Save and exit, finally update the Arch Linux repository with the following command:
pacman -Sy
Step 10 - Set the Hostname
Write your hostname into file /etc/hostname:
echo your_hostname > /etc/hostname
Example:
echo archserver > /etc/hostname
You can replace "archserver" with the name that you want to use for your machine.
Now, check if the hostname has been created successfully with the following command:
cat /etc/hostname

Step 11 - Create New User and Give SUDO Privileges
Run the following command to create a Linux system user for the server. This user will be used to login into the server and we will give him SUDO privileges so that the user can perform administrative tasks.
useradd -m -g users -G wheel,storage,power -s /bin/bash USER_NAME
Example :
useradd -m -g users -G wheel,storage,power -s /bin/bash archuser
passwd USER_NAME
Install the sudo and bash-completion Package:
pacman -S sudo bash-completion
Open the file /etc/sudoers,
nano /etc/sudoers
find and uncomment the following line:
%wheel ALL=(ALL) ALL
Step 12 - Create password for root user
Create a password for the root user:
passwd
Step 13 - Install the SSH Server
Now install ssh server package:
pacman -S openssh
Enable the ssh service to start automatically when the system is booting:
systemctl enable sshd.service
Step 14 - Install and Configure GRUB
Install the grub and os-prober package:
pacman -S grub os-prober
Install grub onto hard-drive:
grub-install --recheck /dev/sda
Generate the GRUB configuration:
grub-mkconfig -o /boot/grub/grub.cfg
Step 15 - Exit from chroot and unmount the filesystem
Log out from chroot session:
exit
Then unmout the root filesystem:
umount -R /mnt
Reboot Arch Linux:
reboot
Step 16 - Login to server via ssh
Now you can login into your Arch Linux server via ssh:
ssh user-name@ip-of-server
Example: ssh [email protected]
Conclusion
Now you have an Arch Linux Server installed on your machine and learned how to install and configure Arch Linux as a server. Hopefully, you also have a good idea for your next steps.

