How to Clone an Encrypted Disk Image with Clonezilla
On this page
Clonezilla is an Open Source disk/partition imaging tool based mainly on partclone utility. The Clonezilla image is a tool that can be very useful in case of full system disk backups or in restoring damaged partitions. Clonezilla runs on top a driven command line wizard and can clone the data blocks of a hard drive directly from one disk to other disk or create images for disks/partitions to a locally attached hard disk or a mounted network resource via SMB, NFS or SSH protocols. All cloned images can be encrypted and centralized on an external drive (USB device, HDD) or in a network location specifically designed for this purpose, such as a Network Attached Storage. Using this method you can easily save your day in case of a critical physical drive failure of a server or a desktop. You just plug-in the brand new hard disk, boot into Clonezilla and start restoring the image from the saved location.
In this guide, we’ll discuss how to image or clone the hard drive of a CentOS 7 server used as a DHCP and DNS server in production (DNS and DHCP data don’t change that often on the server). The cloned image will also be encrypted on-fly during the cloning process. A passphrase will be used to encrypt and decrypt the image. In case of losing or forgetting the passphrase, the imaged data will be forever lost.
Although Clonezilla is one of the best open source methods to backup data, there are still some drawbacks:
- Clonezilla can’t do by default incremental backups of disks or partitions (although it can be achieved but not that easily)
- If the backed-up source drive is on a production server, the machine must be decommissioned for a period of time and the services it serves must be temporary migrated to another server. If there is no possibility in migrating the services you should consider some downtime for your clients.
- The device which will be used for restoring the image, in case of hard disks, must have at least the same size as the imaged medium.
REQUIREMENTS:
Latest Clonezilla ISO image which can be obtained by following this link: http://clonezilla.org/downloads.php
Image a CentOS 7 disk
1. Download Clonezilla ISO image from the above link and burn it to a CD. You can create a bootable USB drive by using a utility from https://www.pendrivelinux.com/ or using Rufus, which is compatible with booting the USB bootable drive from UEFI interface. You can also setup a PXE server in order to boot Clonezilla via network, but that’s not the subject right now. Place the bootable CD/USB into your machine appropriate drive and reboot the machine into BIOS/UEFI (by hitting F11, F12, ESC, DEL keys – consult motherboard manual to find out the proper boot key) in order to modify the boot menu order and boot into Clonezilla CD or USB.
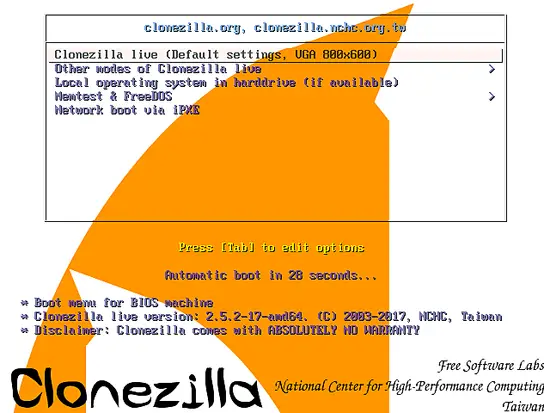
2. On the first screen of Clonezilla, select Clonezilla live and hit Enter key to continue.
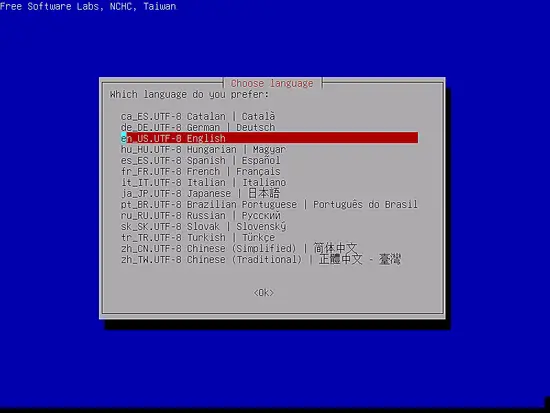
3. Wait while the Linux system loads into RAM and on the next screen choose your own language. Navigate using up or down arrow keys and hit Enter to select your language and continue.
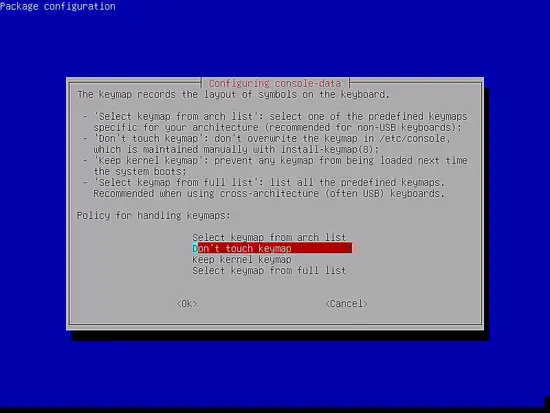
4. The next prompt can be used to configure the keyboard. You can safely use Don’t touch keymap option and press enter key to continue.
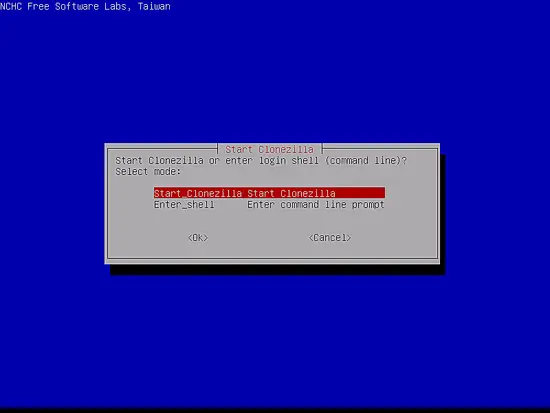
5. In the next screen select Start Clonezilla and press enter key again to move forward.
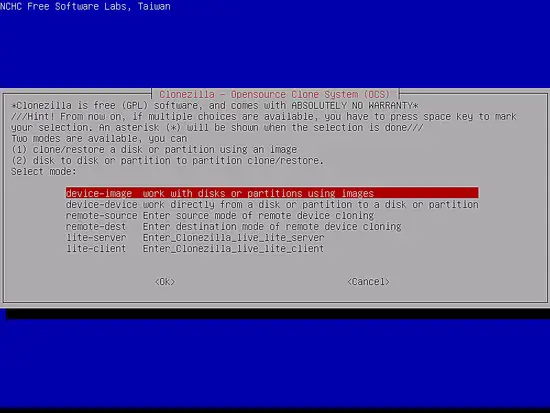
6. On the next screen select the first option, device-image, and press Enter to continue. The cloned hard disk image will be saved in a network location.
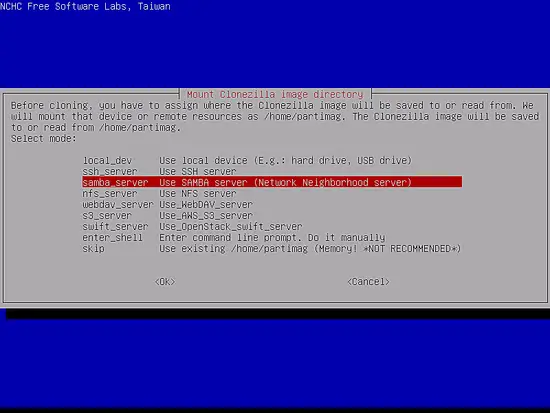
7. The cloned image of the disk will be saved on a network shared directory via SMB/CIFS protocol. From the next prompt, you should select samba_server and press Enter to continue. You also have the possibility to save the image via common network protocols, such as NFS share, a local attached drive, a WebDAV server or an SSH server.
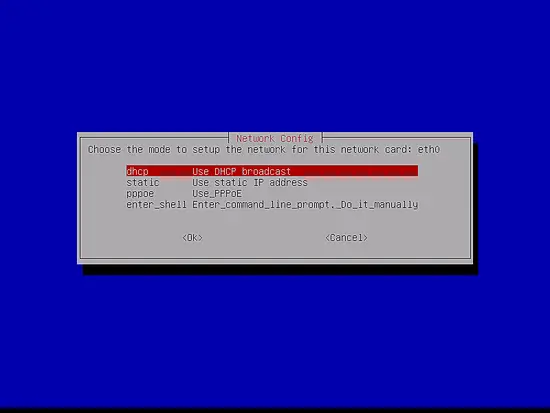
9. Next, select DHCP option to configure the network interface. In case the machine has multiple network interfaces, make sure you select the interface which is physically connected into the DHCP network. If you don't have a DHCP server configured at your premises, select the static option in order to manually add you network interface settings.
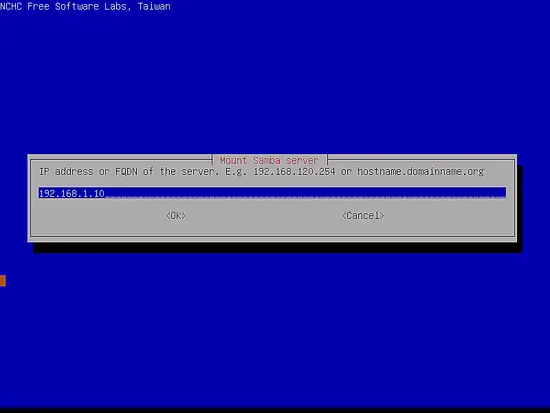
10. In the next screen add the IP address or the Fully Qualified Domain Name of your samba server and hit enter to move to the next screen.
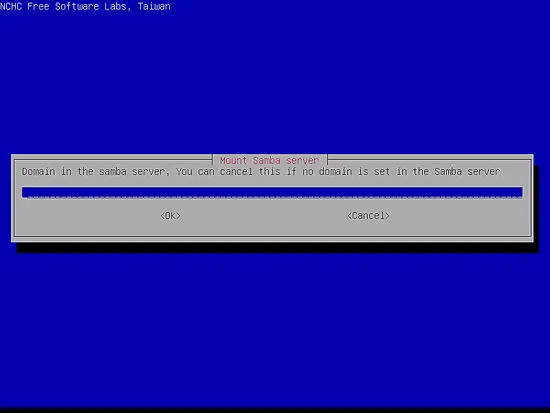
11. Next, leave the domain field blank, in case your samba server is not a part of a realm, and press enter to continue.
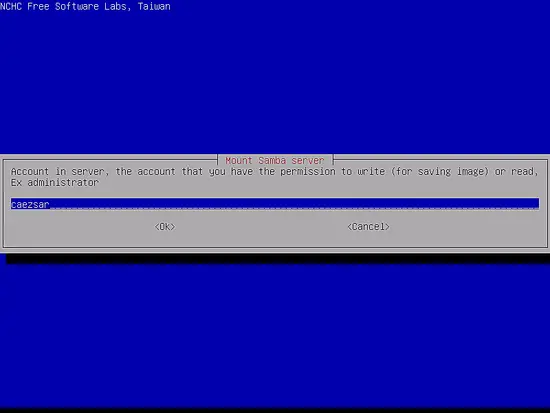
12. On the next screen add the name of a samba server account with write privileges on the server and press [enter] key to move forward.
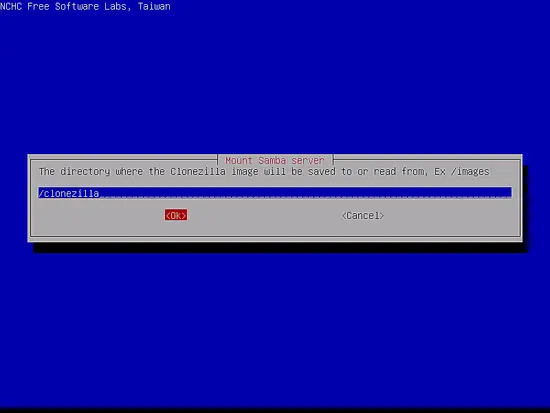
13. Next, specify the absolute path of the directory from samba server. In this location, the cloned image will be saved.
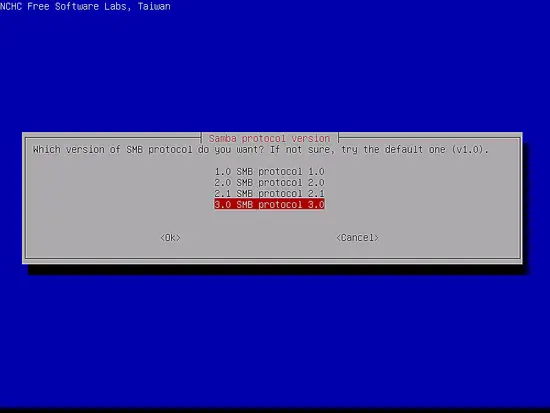
14. Choose the latest version of the Samba protocol and press [enter] to move to the next prompt. Use 1.0 protocol version in case the shared network location resides on an old SMB server.
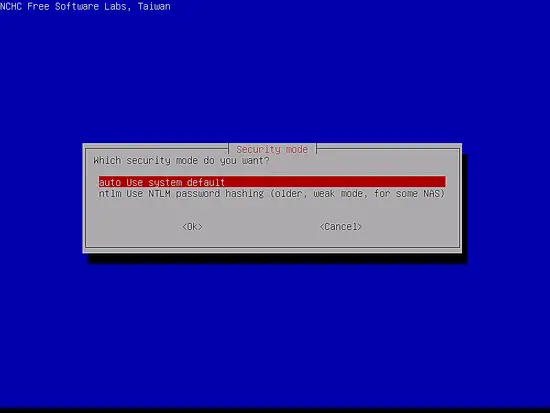
15. Next, select auto Use system default security mode and move to the next screen by hitting [enter] key.
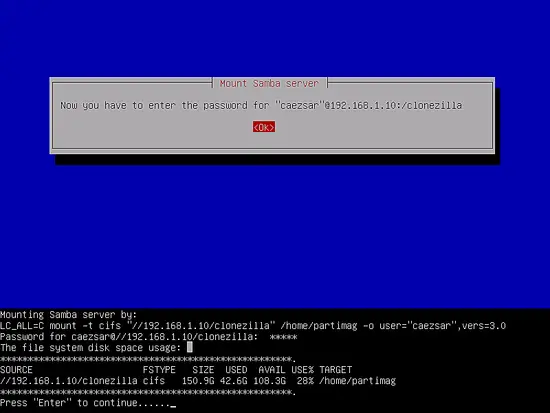
16. Add the password for your samba account in order to mount the share and press [enter] key to continue.
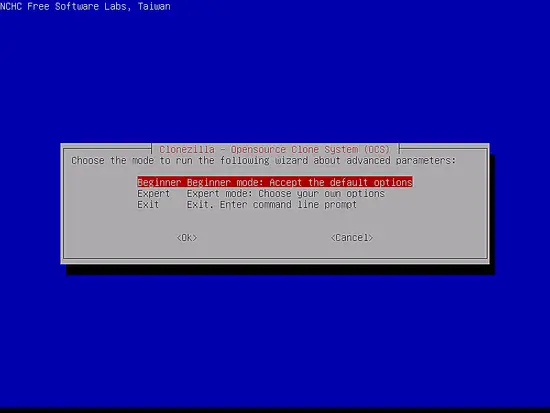
17. Next, select Beginner mode with the default options and press Enter key to continue. In Expert mode, Clonezilla offers many options, such as –k1 and –r which can be used to proportionally create partitions in case the source disk is larger than the target disk. With these options, the file system of the target partitions can be automatically resized. Use this options very carefully. If you don’t understand what you’re doing you might end-up losing data.
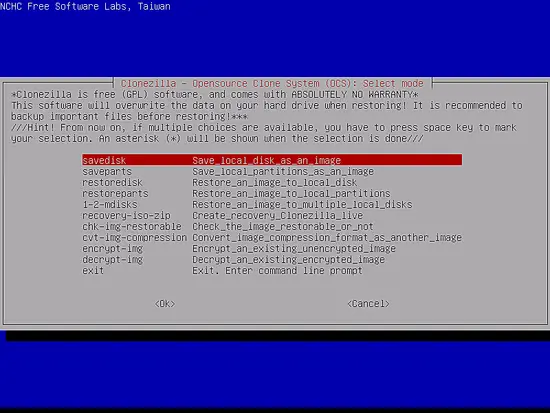
18. On the next step, select savedisk option in order to image the locally attached IDE/SATA/SCI disk.
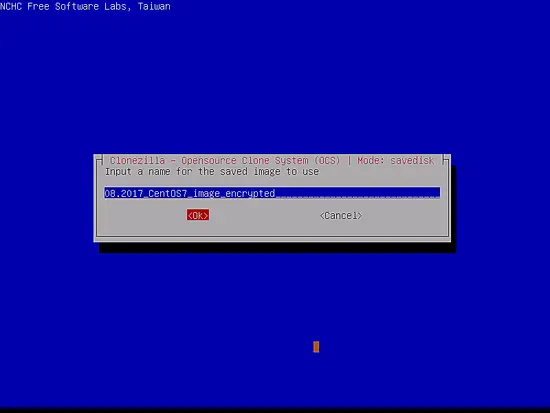
19. Next, you can choose the default name scheme Clonezilla inputs for your saved image or you can manually add a descriptive name for your saved image in order to easily recognized at a later date. Also, it's advisable that you include in the naming scheme the date at which the image was taken.
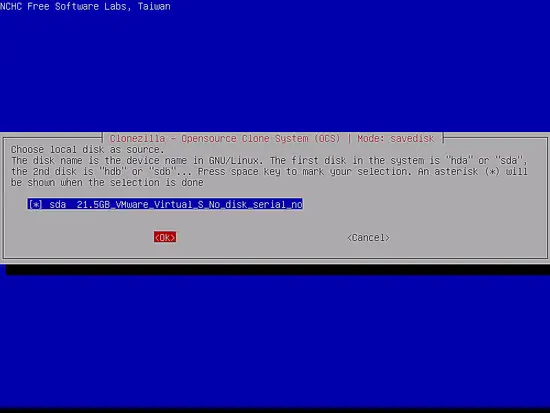
20. On the next screen select the local source disk which will be cloned. Linux Hard Disk names and partitions require special attention for uninitiated users. In Linux, disks are called sda , sdb, sdX for regular hard disks, vda, xvda for virtualized drives or md0, md127 for Linux software RAID array etc, which means that sda is the first hard disk, sdb the second and so on. Clonezilla also has the ability to assemble a Linux RAID array and capture the filesystem on top of the RAID into an image. If you’re not sure what’s the source disk name you can use the serial No of the disk to identify the proper device. Also, you can extract disk information from BIOS/UEFI. In this tutorial, a VMware disk is used for cloning to an image. Once the proper source drive has been detected, select the device suing [space] key and press [Enter] key in order to continue.
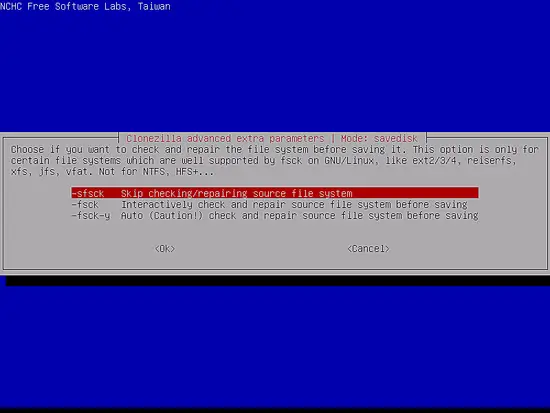
21. If you’re sure the source file system is not corrupted, select Skip checking/reparing source file system and press Enter to continue.
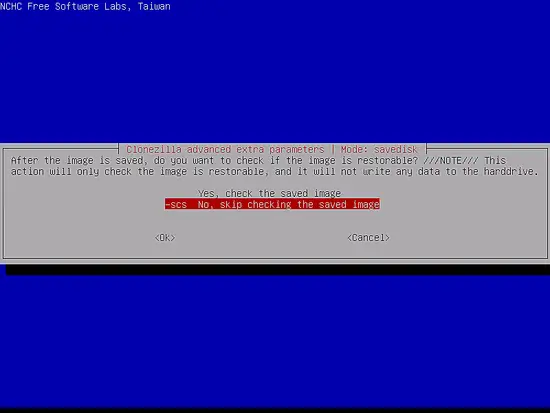
22. On the next screen, select not to check if the saved image is restorable and hit [enter] key to continue.
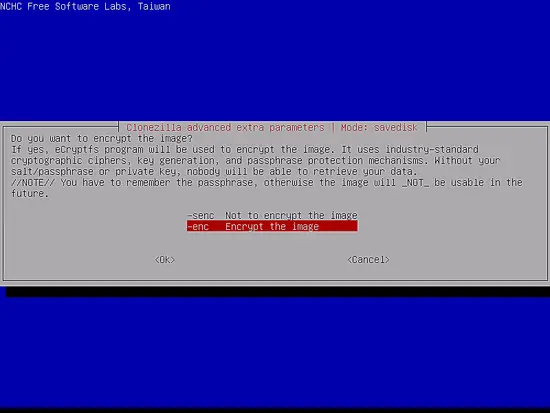
23. On the next screen, select the second option - Encrypt the image and press [enter] key to continue. The cloned image will be encrypted with the help of eCryptfs program.
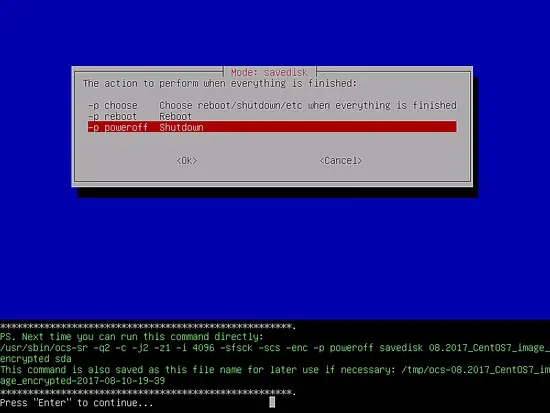
24. Finally, choose an action to perform after the drive has been completely cloned, press [enter] key and add the passphrase for encrypting the image. Make sure you write down or remember the password, otherwise you won't be able to restore the image and data will be lost.
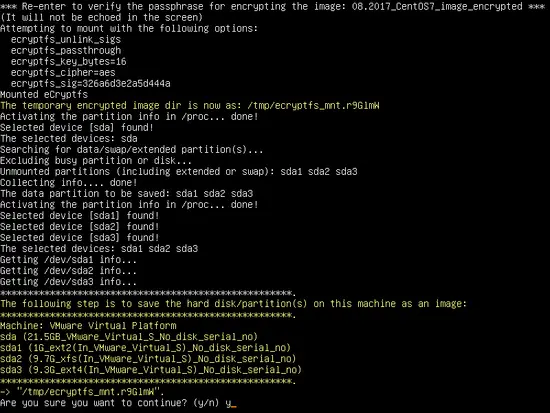
25. Before starting to image the drive, Clonezilla will display a summary of the hard disk partition table and will ask for the last time if you're sure you want to continue. Answer with yes and the cloning process should start automatically, without any intervention.
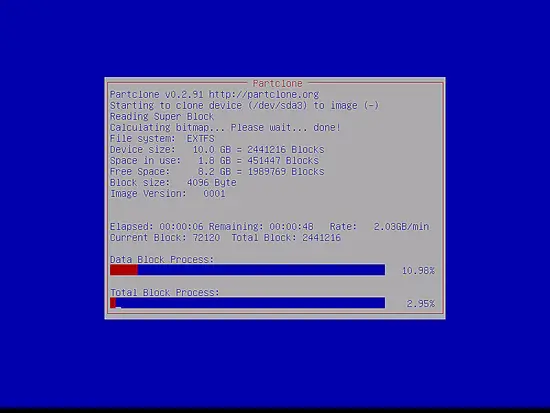
26. Once the cloning process has been launched, Clonezilla will display a graphical report of the current state of transferred data, which includes the size and type of the partition, speed rate transfer and percentage of blocks copied.
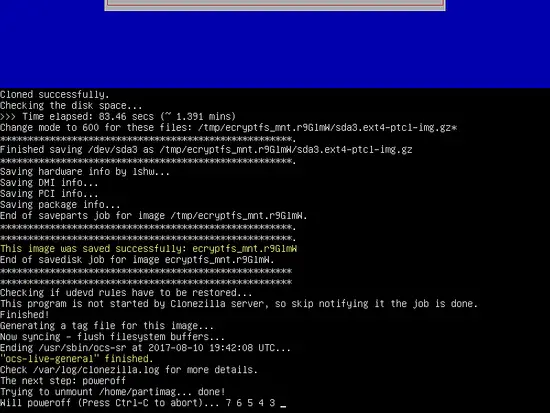
27. After the local drive has been successfully cloned, the system will shut down in 7 seconds. Remove the live CD/USB from the appropriate drive and press Enter key to halt the machine.
That’s all! The cloned image can be used for restoring the system, in case the hard disk fails or you experience another type of data corruption.

