Set Up A Full-Featured Mail Server With iRedOS: MySQL, Postfix, Dovecot, ClamAV, SpamAssassin, Amavisd, RoundCube/SquirrelMail
iRedMail is a shell script that lets you quickly deploy a full-featured mail solution in less than 2 minutes, since iredmail 0.5 it also supports Debian 5.0.1 (it supports both i386 and x86_64). Its object is to make a Linux mail server installation and configuration simple and easy to use. iRedMail supports both OpenLDAP and MySQL as backends for storing virtual domains and users.This tutorial shows how to use the MySQL backend.
Now iRedmail provides two webmail programs, RoundCube and SquirrelMail, and both support the MySQL and OpenLDAP backends and can change the password.
iRedOS is a customized CentOS 5.3 distribution, where e unnecessary packages were removed. It ships with the lastest version of iRedMail (iredmail0.50); it lets you install iredmail more quickly and smooth.
- Main components used in this solution: http://code.google.com/p/iredmail/wiki/Main_Components
- Discussion forum: http://www.iredmail.org/forum/
- Project home page: http://code.google.com/p/iredmail/
1 Requirements
To install such a system you will need the following:
- iRedOS-0.5.0-CentOS-5.3.i386.iso or iRedOS-0.5.0-CentOS-5.3.x86_64.iso, download iRedOS-0.5.0-CentOS images via HTTP/FTP
2 Preliminary Note
In this tutorial we use:
- Hostname mail.example.com
- IP address 192.168.1.10
- The first virtual domain: example.com
3 Install The Base System
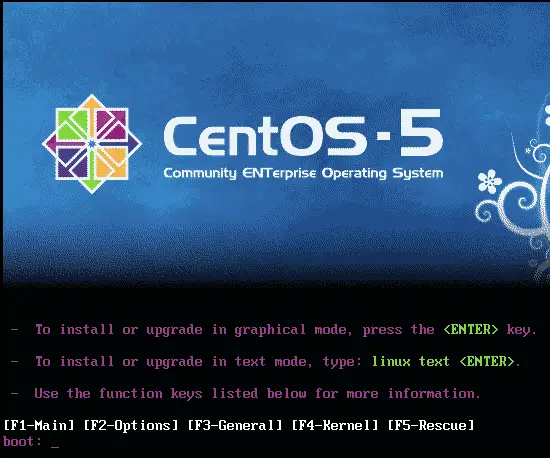
Boot from iredos. Press
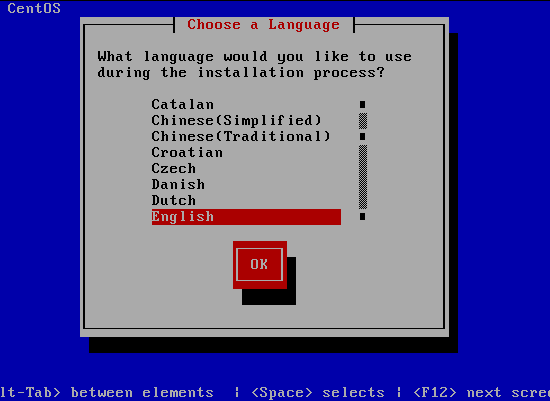
Choose your language:
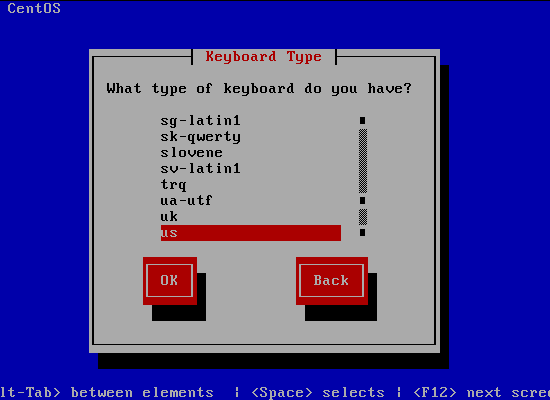
Select your keyboard layout:
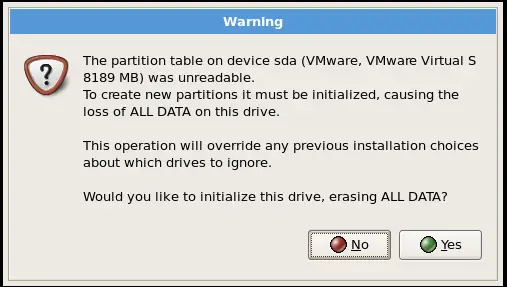
I'm installing CentOS 5.3 on a fresh system, so I answer Yes to the question Would you like to initialize this drive, erasing ALL DATA?
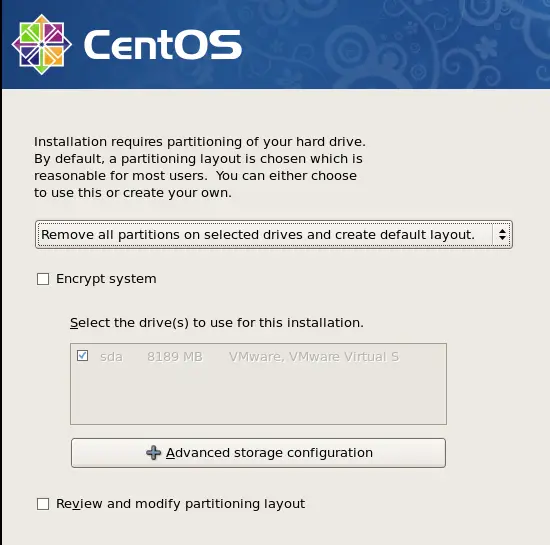
Now we must select a partitioning scheme for our installation. For simplicity's sake I select Remove all partitions on selected drives and create default layout.
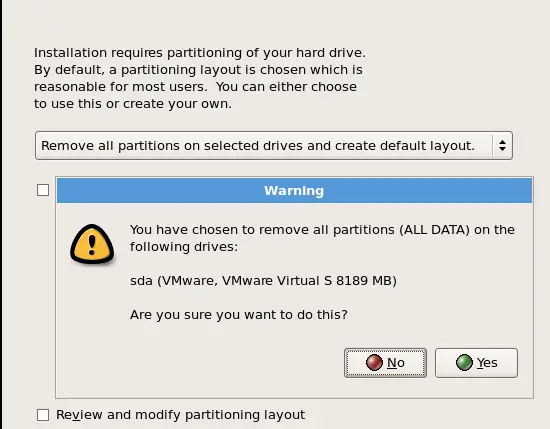
Answer the following question (Are you sure you want to do this?) with Yes:
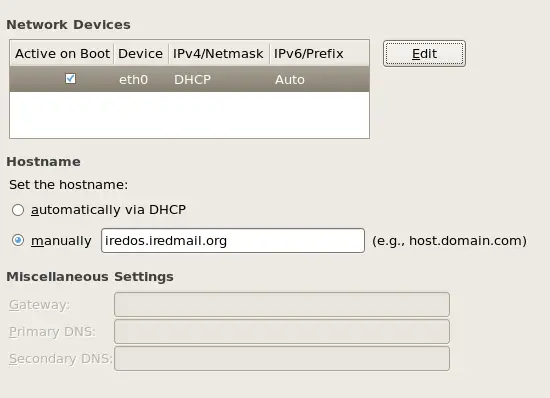
On to the network settings. The default setting here is to configure the network interfaces with DHCP, but we are installing a server, so static IP addresses are not a bad idea... Click on the Edit button at the top right.
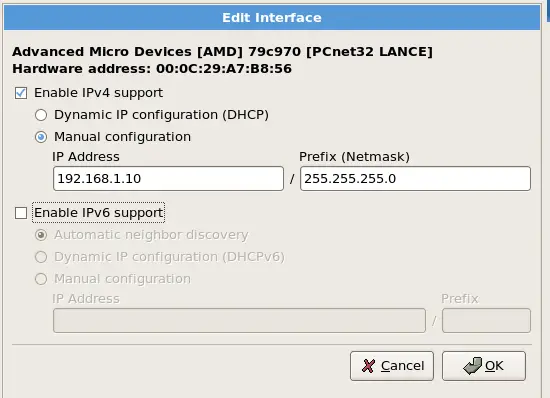
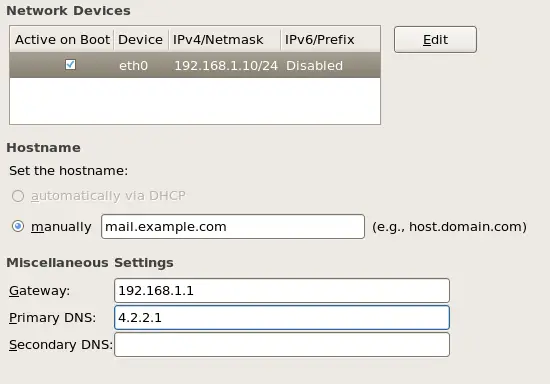
In the window that pops up uncheck Use dynamic IP configuration (DHCP) and Enable IPv6 support and give your network card a static IP address (in this tutorial I'm using the IP address 192.168.1.10 for demonstration purposes) and a suitable netmask (e.g. 255.255.255.0; )
Set the hostname manually, e.g. mail.example.com, and enter a gateway (e.g. 192.168.1.1) and a DNS server (e.g. 4.2.2.1 ):
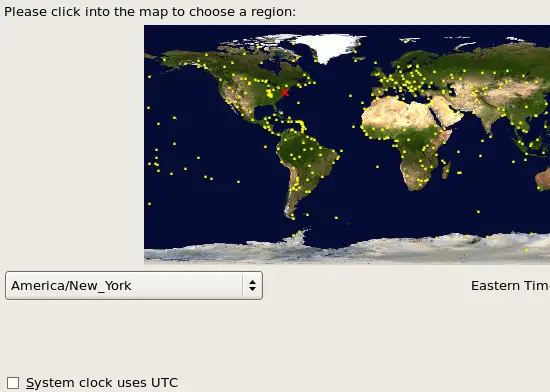
Choose your time zone, don't select System clock uses UTC:
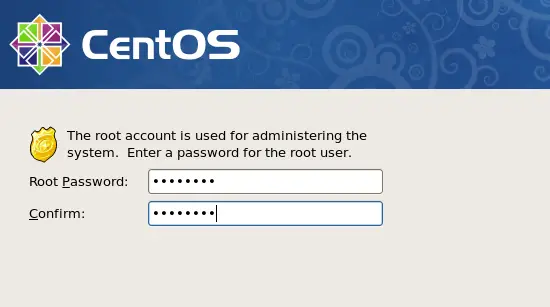
Give root a password:
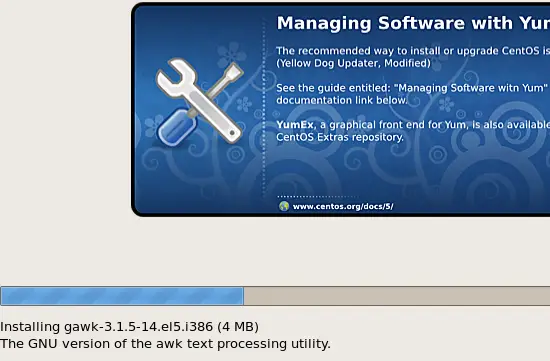
The installation begins. This will take a few minutes:

