Secure ISPConfig 3 And Services With GoDaddy Signed Certificate On CentOS - Page 2
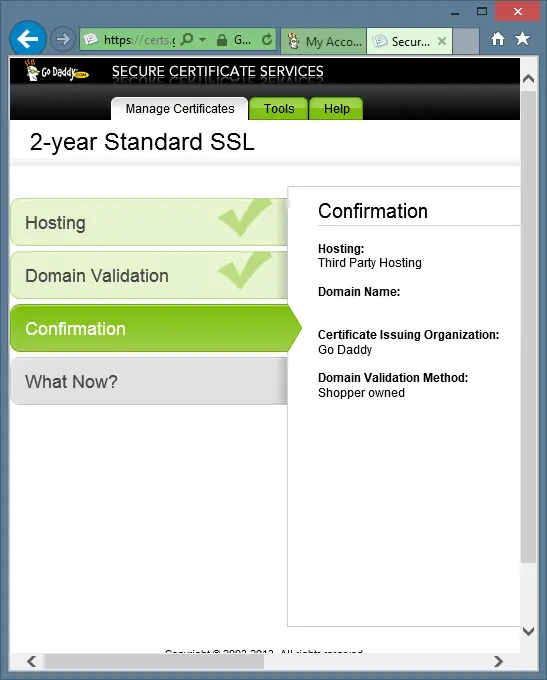
Click the Next button. You will now see the Confirmation screen like the following:

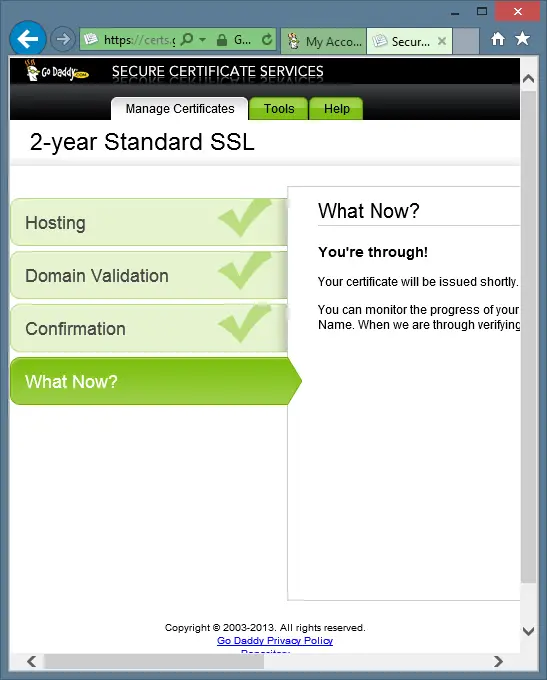
Click the Next button. You will now see the What Now? screen like the following:

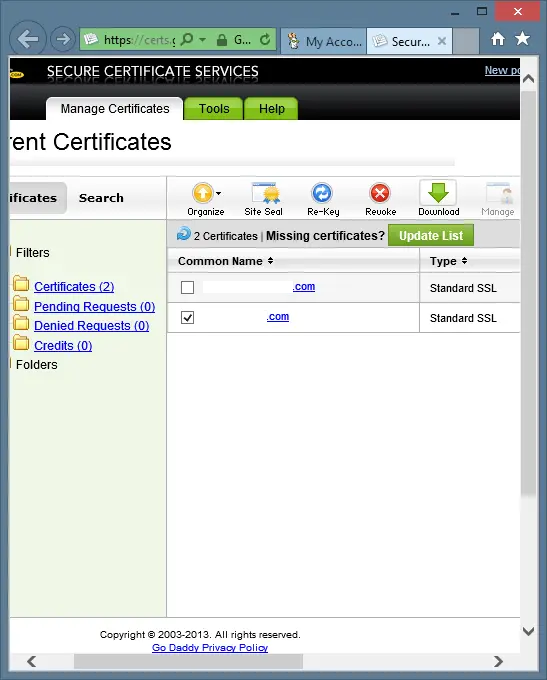
Click the Finished button. You are now taken the GoDaddy SSL control panel. Your certificate may appear right away or not. Wait a couple of minutes and then click the Certificates link in the left navigation bar. When your certificate appears in the list, the correct date now shows for your certificate. Now, select the certificate and click the Download buttton at the top of the list as shown in the following:

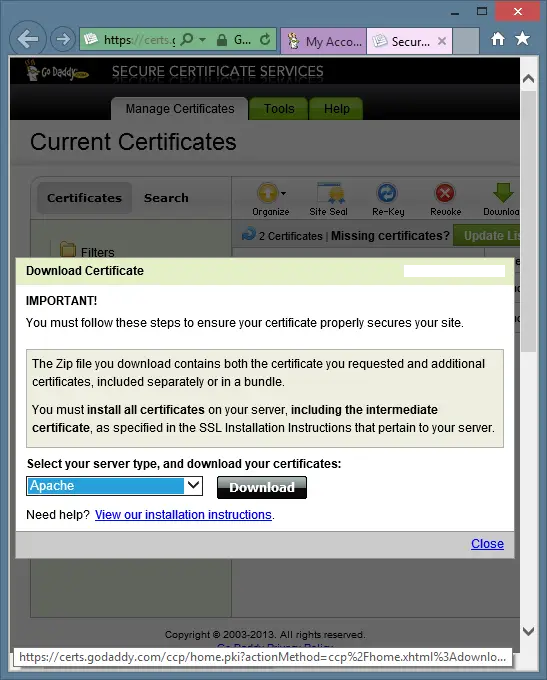
Now, select Apache from the menu and click the Download button as shown in the following:

Save the zipped archive to your computer. Now, extract the zipped archive on your computer. The 2 files extracted from the zip archive can be viewed and copied using a text editor such as Notepad on Windows.
If you purchased a certificate type other than the Standard SSL Single Domain certificate, you may need to choose a different chain file than the gd_bundle.crt file used in this chapter. GoDaddy's certificate repository is located at https://certs.godaddy.com/anonymous/repository.pki.
Now, let's create the files for our new certificates by performing the following steps:
- Change the directory to /usr/local/ispconfig/interface/ssl/
- Copy the certificate signing request
- Copy the key
- Copy the certificate
- Copy the certificate
- Clear the contents of the certificate
- Change the read/write/execute permissions on the certificate files
- Change the ownership on the certificate files
- Download the GoDaddy certificate
- Change the read/write/execute permissions on the GoDaddy certificate
- Change the ownership on the GoDaddy certificate
Don't forget to replace your own hostname in the following examples. Type the following lines in your SSH terminal window:
cd /usr/local/ispconfig/interface/ssl/
cp ispserver.csr pluto.example.com.csr
cp ispserver.key pluto.example.com.key
cp ispserver.crt openssl.pluto.example.com.crt
cp ispserver.crt pluto.example.com.crt
cat /dev/null > pluto.example.com.crt
chmod 750 *example.com*
chown ispconfig:ispconfig *example.com*
wget -O gd_bundle.crt "https://certs.godaddy.com/anonymous/repository.pki?streamfilename=gd_bundle.crt&actionMethod=anonymous%2Frepository.xhtml%3Arepository.streamFile%28%27%27%29"
chmod 750 gd_bundle.crt
chown ispconfig:ispconfig gd_bundle.crt
Now, let's place the GoDaddy signed certificate onto the server by editing the pluto.example.com.crt file. Type the following line in your SSH terminal window:
vi pluto.example.com.crt
Using a text editor, copy the entire contents of your new signed GoDaddy certificate that you just downloaded from GoDaddy and extracted from the zip archive. Paste the contents into the pluto.example.com.crt file in your SSH terminal window.
Now, let's create the pem chain file used by some services by performing the following steps:
- Copy the contents of the key, the certificate and the GoDaddy files into the pem file
- Change the read/write/execute permissions on the pem file
Type the following lines in your SSH terminal window:
cat pluto.example.com.{key,crt} gd_bundle.crt > pluto.example.com.pem
chmod 600 pluto.example.com.pem
Now, you should have a complete set of certificates to use. Let's look and make sure the certificates are all in order. Type the following line in your SSH terminal window:
ls -la
The output should look like the following:
[root@pluto ssl]# ls -la
total 48
drwxr-x--- 2 ispconfig ispconfig 4096 May 22 22:50 .
drwxr-x--- 7 ispconfig ispconfig 4096 May 12 21:20 ..
-rwxr-x--- 1 ispconfig ispconfig 3197 May 22 22:47 gd_bundle.crt
-rwxr-x--- 1 ispconfig ispconfig 2061 May 12 21:20 ispserver.crt
-rwxr-x--- 1 ispconfig ispconfig 1720 May 12 21:20 ispserver.csr
-rwxr-x--- 1 ispconfig ispconfig 3243 May 12 21:20 ispserver.key
-rwxr-x--- 1 ispconfig ispconfig 3311 May 12 21:19 ispserver.key.secure
-rwxr-x--- 1 ispconfig ispconfig 0 May 22 22:47 pluto.example.com.crt
-rwxr-x--- 1 ispconfig ispconfig 1720 May 22 22:47 pluto.example.com.csr
-rwxr-x--- 1 ispconfig ispconfig 3243 May 22 22:47 pluto.example.com.key
-rw------- 1 root root 6440 May 22 22:50 pluto.example.com.pem
-rwxr-x--- 1 ispconfig ispconfig 2061 May 22 22:47 openssl.pluto.example.com.crt
Now, let's configure the ISPConfig control panel to use the signed certificate. Be aware that you have to reconfigure these lines whenever you update or install ISPConfig! Type the following line in your SSH terminal window:
vim /etc/httpd/conf/sites-available/ispconfig.vhost
Edit the 2 lines with the paths to the key and the signed certificate files. Now, add the line SSLCertificateChainFile /usr/local/ispconfig/interface/ssl/gd_bundle.crt to the SSL Configuration section. It should look like the following:
  # SSL Configuration
  SSLEngine On
  SSLCertificateFile /usr/local/ispconfig/interface/ssl/pluto.example.com.crt
  SSLCertificateKeyFile /usr/local/ispconfig/interface/ssl/pluto.example.com.key
  SSLCACertificateFile /usr/local/ispconfig/interface/ssl/gd_bundle.crt
Now, let's restart Apache. Type the following line in your SSH terminal window:
/etc/init.d/httpd restart
Now, let's configure Postfix to use the signed certificate by performing the following steps:
- Set the path to the signed certificate file in postfix using the postconf command
- Set the path to the key file in postfix using the postconf command
- Set the path to the gd_bundle file in postfix using the postconf command
- Restart postfix
Be aware that you have to reconfigure these lines whenever you update or install ISPConfig! Type the following lines in your SSH terminal window:
postconf -e 'smtpd_tls_cert_file = /usr/local/ispconfig/interface/ssl/pluto.example.com.crt'
postconf -e 'smtpd_tls_key_file = /usr/local/ispconfig/interface/ssl/pluto.example.com.key'
postconf -e 'smtpd_tls_CAfile = /usr/local/ispconfig/interface/ssl/gd_bundle.crt'
/etc/init.d/postfix restart
Now, let's configure Dovecot to use the signed certificate. Be aware that you have to reconfigure these lines whenever you update or install ISPConfig! Type the following line in your SSH terminal window:
vim /etc/dovecot/dovecot.conf
Make the SSL section look like the following:
ssl_cert = </usr/local/ispconfig/interface/ssl/pluto.example.com.crt
ssl_key = </usr/local/ispconfig/interface/ssl/pluto.example.com.key
ssl_ca = </usr/local/ispconfig/interface/ssl/gd_bundle.crt
Then, restart Dovecot. Type the following line in your SSH terminal window:
/etc/init.d/dovecot restart
Now, let's configure phpMyAdmin and Squirrelmail to use the signed certificate. It's important to know, that when a client has his own SSL certificate installed through ISPConfig, his own certificate will be used when he accesses phpMyAdmin and Squirrelmail through his own domain. If a client doesn't have a certificate in place, the certificate that we are about to configure will be used. Type the following line in your SSH terminal window:
vim /etc/httpd/conf.d/ssl.conf
The following 3 lines need edited to look like the following:
SSLCertificateFile /usr/local/ispconfig/interface/ssl/pluto.example.com.crt

SSLCertificateKeyFile /usr/local/ispconfig/interface/ssl/pluto.example.com.key

SSLCertificateChainFile /usr/local/ispconfig/interface/ssl/gd_bundle.crt
Now, let's restart Apache. Type the following line in your SSH terminal window:
/etc/init.d/httpd restart
Now, let's configure Pure-FTPD to use the signed certificate by performing the following steps:
- Change the directory to /etc/pki/pure-ftpd
- Rename the pem file
- Create a symbolic link to the signed pem file
- Restart pure-ftpd
Type the following lines in your SSH terminal window:
cd /etc/pki/pure-ftpd
mv pure-ftpd.pem openssl.pure-ftpd.pem
ln -s /usr/local/ispconfig/interface/ssl/pluto.example.com.pem pure-ftpd.pem
/etc/init.d/pure-ftpd restart
We are now using the GoDaddy signed certificate for ISPConfig and our services. Since we have two sets of certificates, we can easily switch back and forth between using the self-signed certificate or the GoDaddy signed certificate. We can also create a brand new set of files for our self-signed certificate without affecting our GoDaddy signed certificate files.

