The Perfect Server - Fedora 15 x86_64 [ISPConfig 3] - Page 2
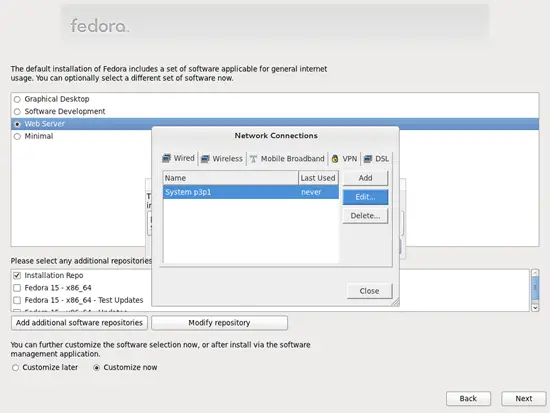
Go to the Wired tab, select the network interface (please note that Fedora 15 uses BIOS names for devices, that's why your network card is named like p3p1 instead of eth0 - we will change that later on; you can find more info about this on http://fedoraproject.org/wiki/Features/ConsistentNetworkDeviceNaming) and click on Edit...:
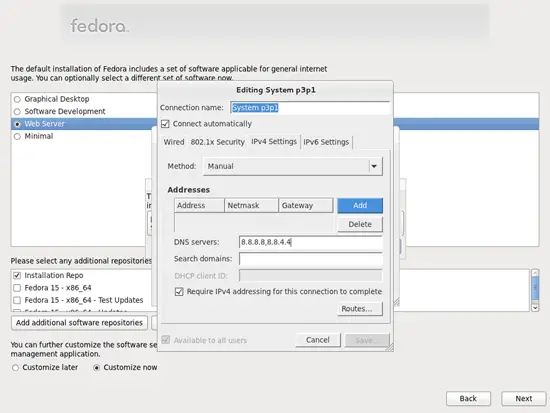
Mark the Connect automatically checkbox and go to the IPv4 Settings tab and select Manual in the Method drop-down menu. Fill in one, two, or three nameservers (separated by comma) in the DNS servers field (e.g. 8.8.8.8,8.8.4.4), then click on the Add button next to the Addresses area:
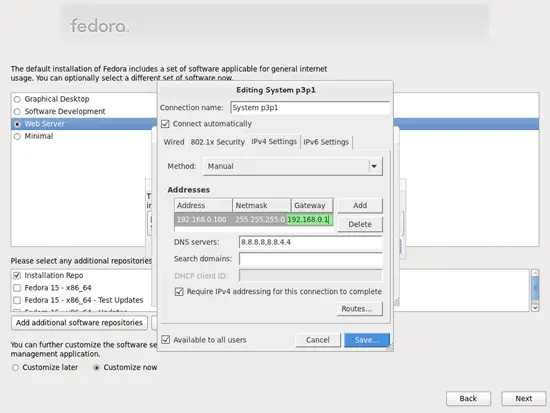
Now give your network card a static IP address and netmask (in this tutorial I'm using the IP address 192.168.0.100 and netmask 255.255.255.0 for demonstration purposes; if you are not sure about the right values, http://www.subnetmask.info might help you). Also fill in your gateway (e.g. 192.168.0.1) and click on the Save... button:
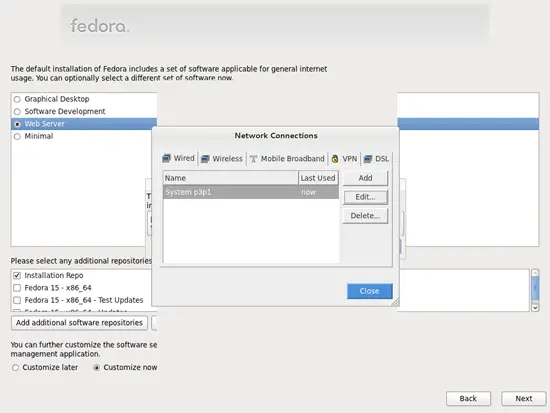
Next click on Close in the Network Connections window:
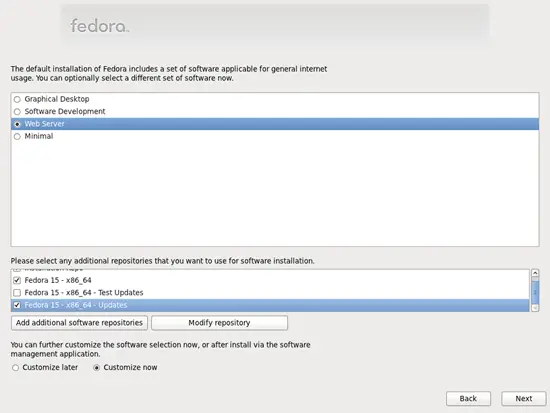
The details for the last two repositories should now be retrieved, and the checkboxes in front of them should be marked. Click on Next:
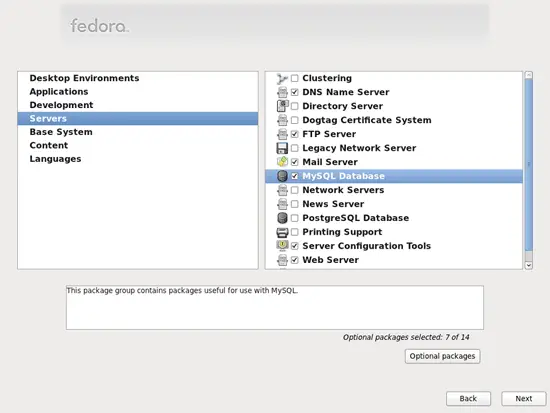
Now we must select the package groups we want to install. Select Editors, Text-based Internet, Development Libraries, Development Tools, DNS Name Server, FTP Server, Mail Server, MySQL Database, Server Configuration Tools, Web Server, Administration Tools, Base, Hardware Support, Java, System Tools (unselect all other package groups) and click on Next:
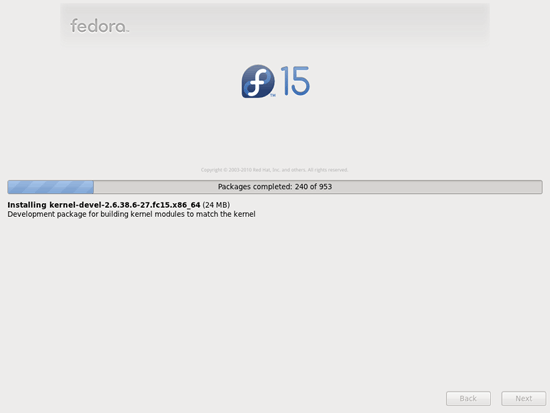
The installation begins. This will take a few minutes:
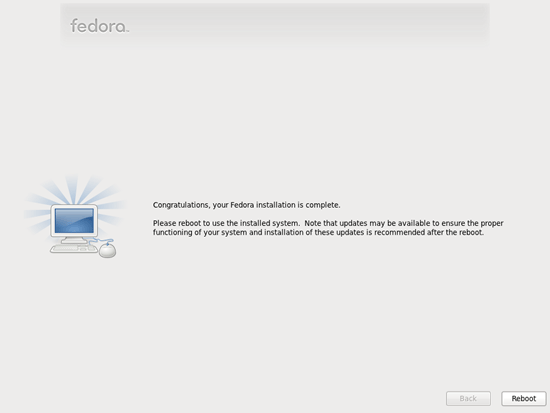
Finally, the installation is complete, and you can remove your DVD from the computer and reboot it:
After the reboot, log in as root.
I want to install ISPConfig at the end of this tutorial which comes with its own firewall. That's why I disable the default Fedora firewall now. Of course, you are free to leave it on and configure it to your needs (but then you shouldn't use any other firewall later on as it will most probably interfere with the Fedora firewall).
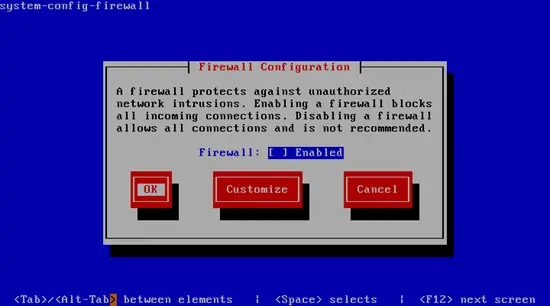
Run...
system-config-firewall
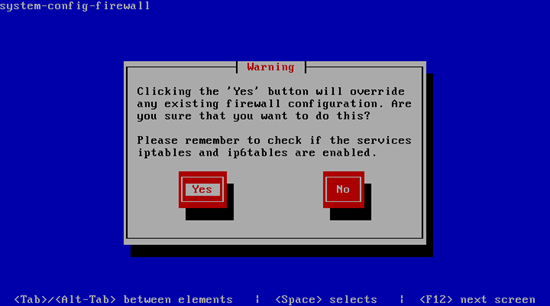
... and disable the firewall. Hit OK afterwards:
Confirm your choice by selecting Yes:
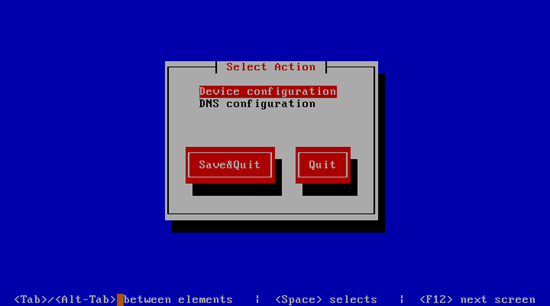
If you did not configure your network card during the installation (because you did not select the additional online repositories), you can do that now. Run...
system-config-network
... and go to Device configuration:
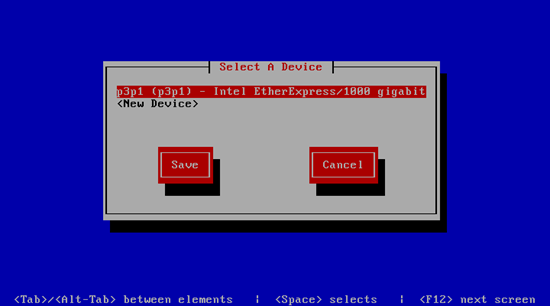
Select your network interface (as I mentioned earlier, Fedora 15 uses BIOS device names, so the network card should be named something like p3p1 - we will change that soon so that it's named eth0):
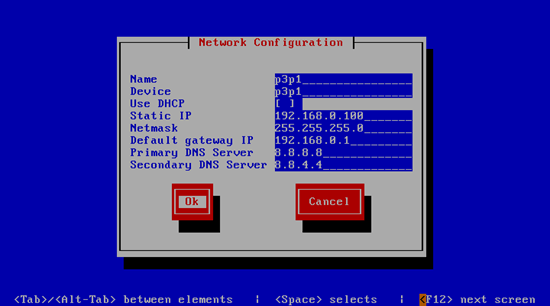
Then fill in your network details - disable DHCP and fill in a static IP address, a netmask, and your gateway, then hit Ok:
Next select Save:

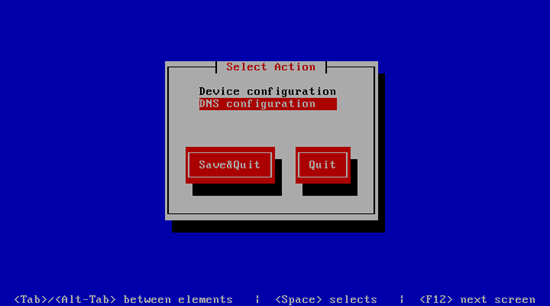
You can also specify additional nameservers. Select DNS configuration:
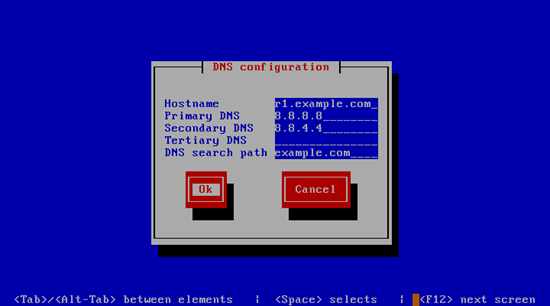
Now you can fill in additional nameservers and hit Ok:
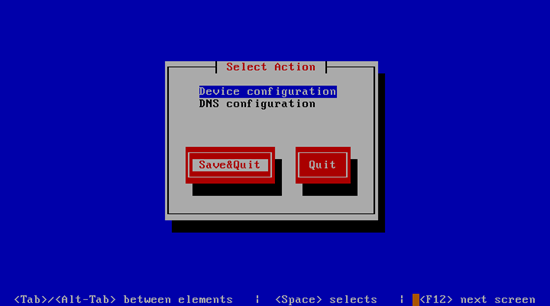
Hit Save&Quit afterwards:
You should run
ifconfig
now to check if the installer got your IP address right:
[root@server1 ~]# ifconfig
lo Link encap:Local Loopback
inet addr:127.0.0.1 Mask:255.0.0.0
inet6 addr: ::1/128 Scope:Host
UP LOOPBACK RUNNING MTU:16436 Metric:1
RX packets:2 errors:0 dropped:0 overruns:0 frame:0
TX packets:2 errors:0 dropped:0 overruns:0 carrier:0
collisions:0 txqueuelen:0
RX bytes:100 (100.0 b) TX bytes:100 (100.0 b)
p3p1 Link encap:Ethernet HWaddr 00:0C:29:15:60:FA
inet addr:192.168.0.100 Bcast:192.168.0.255 Mask:255.255.255.0
inet6 addr: fe80::20c:29ff:fe15:60fa/64 Scope:Link
UP BROADCAST RUNNING MULTICAST MTU:1500 Metric:1
RX packets:40 errors:0 dropped:0 overruns:0 frame:0
TX packets:62 errors:0 dropped:0 overruns:0 carrier:0
collisions:0 txqueuelen:1000
RX bytes:4678 (4.5 KiB) TX bytes:10308 (10.0 KiB)
[root@server1 ~]#
Check your /etc/resolv.conf if it lists all nameservers that you've previously configured:
cat /etc/resolv.conf
If nameservers are missing, run
system-config-network
and add the missing nameservers again.
Now, on to the configuration...

