The Perfect Server - CentOS 5.5 x86_64 [ISPConfig 3] - Page 6
22 Install SquirrelMail
To install the SquirrelMail webmail client, run...
yum install squirrelmail
... and restart Apache:
/etc/init.d/httpd restart
Then configure SquirrelMail:
/usr/share/squirrelmail/config/conf.pl
We must tell SquirrelMail that we are using Dovecot:
SquirrelMail Configuration : Read: config.php (1.4.0)
---------------------------------------------------------
Main Menu --
1. Organization Preferences
2. Server Settings
3. Folder Defaults
4. General Options
5. Themes
6. Address Books
7. Message of the Day (MOTD)
8. Plugins
9. Database
10. Languages
D. Set pre-defined settings for specific IMAP servers
C Turn color off
S Save data
Q Quit
Command >> <-- D
SquirrelMail Configuration : Read: config.php
---------------------------------------------------------
While we have been building SquirrelMail, we have discovered some
preferences that work better with some servers that don't work so
well with others. If you select your IMAP server, this option will
set some pre-defined settings for that server.
Please note that you will still need to go through and make sure
everything is correct. This does not change everything. There are
only a few settings that this will change.
Please select your IMAP server:
bincimap = Binc IMAP server
courier = Courier IMAP server
cyrus = Cyrus IMAP server
dovecot = Dovecot Secure IMAP server
exchange = Microsoft Exchange IMAP server
hmailserver = hMailServer
macosx = Mac OS X Mailserver
mercury32 = Mercury/32
uw = University of Washington's IMAP server
quit = Do not change anything
Command >> <-- dovecot
SquirrelMail Configuration : Read: config.php
---------------------------------------------------------
While we have been building SquirrelMail, we have discovered some
preferences that work better with some servers that don't work so
well with others. If you select your IMAP server, this option will
set some pre-defined settings for that server.
Please note that you will still need to go through and make sure
everything is correct. This does not change everything. There are
only a few settings that this will change.
Please select your IMAP server:
bincimap = Binc IMAP server
courier = Courier IMAP server
cyrus = Cyrus IMAP server
dovecot = Dovecot Secure IMAP server
exchange = Microsoft Exchange IMAP server
hmailserver = hMailServer
macosx = Mac OS X Mailserver
mercury32 = Mercury/32
uw = University of Washington's IMAP server
quit = Do not change anything
Command >> dovecot
imap_server_type = dovecot
default_folder_prefix = <none>
trash_folder = Trash
sent_folder = Sent
draft_folder = Drafts
show_prefix_option = false
default_sub_of_inbox = false
show_contain_subfolders_option = false
optional_delimiter = detect
delete_folder = false
Press any key to continue... <-- press a key
SquirrelMail Configuration : Read: config.php (1.4.0)
---------------------------------------------------------
Main Menu --
1. Organization Preferences
2. Server Settings
3. Folder Defaults
4. General Options
5. Themes
6. Address Books
7. Message of the Day (MOTD)
8. Plugins
9. Database
10. Languages
D. Set pre-defined settings for specific IMAP servers
C Turn color off
S Save data
Q Quit
Command >> <--S
SquirrelMail Configuration : Read: config.php (1.4.0)
---------------------------------------------------------
Main Menu --
1. Organization Preferences
2. Server Settings
3. Folder Defaults
4. General Options
5. Themes
6. Address Books
7. Message of the Day (MOTD)
8. Plugins
9. Database
10. Languages
D. Set pre-defined settings for specific IMAP servers
C Turn color off
S Save data
Q Quit
Command >> <--Q
One last thing we need to do is modify the file /etc/squirrelmail/config_local.php and comment out the $default_folder_prefix variable - if you don't do this, you will see the following error message in SquirrelMail after you've logged in: Query: CREATE "Sent" Reason Given: Invalid mailbox name.
vi /etc/squirrelmail/config_local.php
<?php /** * Local config overrides. * * You can override the config.php settings here. * Don't do it unless you know what you're doing. * Use standard PHP syntax, see config.php for examples. * * @copyright © 2002-2006 The SquirrelMail Project Team * @license http://opensource.org/licenses/gpl-license.php GNU Public License * @version $Id: config_local.php,v 1.2 2006/07/11 03:33:47 wtogami Exp $ * @package squirrelmail * @subpackage config */ //$default_folder_prefix = ''; ?> |
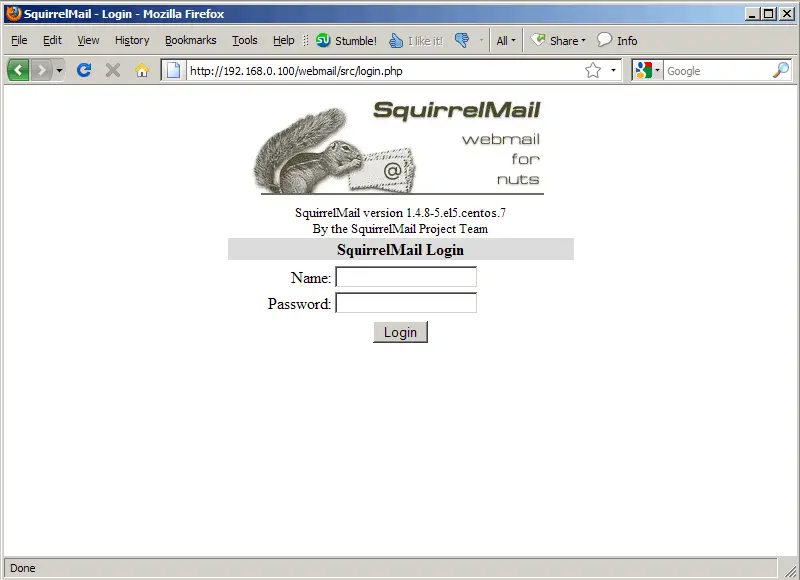
Now you can type in http://server1.example.com/webmail or http://192.168.0.100/webmail in your browser to access SquirrelMail.
23 Install ISPConfig 3
To install ISPConfig 3 from the latest released version, do this:
cd /tmp
wget http://downloads.sourceforge.net/ispconfig/ISPConfig-3.0.2.1.tar.gz?use_mirror=
tar xvfz ISPConfig-3.0.2.1.tar.gz
cd ispconfig3_install/install/
(Replace ISPConfig-3.0.2.1.tar.gz with the latest version.)
The next step is to run
php -q install.php
This will start the ISPConfig 3 installer:
[root@server1 install]# php -q install.php
--------------------------------------------------------------------------------
_____ ___________ _____ __ _
|_ _/ ___| ___ \ / __ \ / _(_)
| | \ `--.| |_/ / | / \/ ___ _ __ | |_ _ __ _
| | `--. \ __/ | | / _ \| '_ \| _| |/ _` |
_| |_/\__/ / | | \__/\ (_) | | | | | | | (_| |
\___/\____/\_| \____/\___/|_| |_|_| |_|\__, |
__/ |
|___/
--------------------------------------------------------------------------------
>> Initial configuration
Operating System: Redhat or compatible, unknown version.
Following will be a few questions for primary configuration so be careful.
Default values are in [brackets] and can be accepted with <ENTER>.
Tap in "quit" (without the quotes) to stop the installer.
Select language (en,de) [en]: <-- ENTER
Installation mode (standard,expert) [standard]: <-- ENTER
Full qualified hostname (FQDN) of the server, eg server1.domain.tld [server1.example.com]: <-- ENTER
MySQL server hostname [localhost]: <-- ENTER
MySQL root username [root]: <-- ENTER
MySQL root password []: <-- yourrootsqlpassword
MySQL database to create [dbispconfig]: <-- ENTER
MySQL charset [utf8]: <-- ENTER
Generating a 2048 bit RSA private key
......+++
.................+++
writing new private key to 'smtpd.key'
-----
You are about to be asked to enter information that will be incorporated
into your certificate request.
What you are about to enter is what is called a Distinguished Name or a DN.
There are quite a few fields but you can leave some blank
For some fields there will be a default value,
If you enter '.', the field will be left blank.
-----
Country Name (2 letter code) [GB]: <-- ENTER
State or Province Name (full name) [Berkshire]: <-- ENTER
Locality Name (eg, city) [Newbury]: <-- ENTER
Organization Name (eg, company) [My Company Ltd]: <-- ENTER
Organizational Unit Name (eg, section) []: <-- ENTER
Common Name (eg, your name or your server's hostname) []: <-- ENTER
Email Address []: <-- ENTER
Configuring Jailkit
Configuring SASL
Configuring PAM
Configuring Dovecot
Configuring Spamassassin
Configuring Amavisd
Configuring Getmail
Configuring Pureftpd
Configuring BIND
Configuring Apache
Configuring vlogger
Configuring Apps vhost
Configuring Firewall
Installing ISPConfig
ISPConfig Port [8080]: <-- ENTER
Configuring DBServer
Installing Crontab
no crontab for root
no crontab for getmail
Restarting services ...
Stopping MySQL: [ OK ]
Starting MySQL: [ OK ]
Shutting down postfix: [ OK ]
Starting postfix: [ OK ]
Stopping saslauthd: [FAILED]
Starting saslauthd: [ OK ]
Shutting down Mail Virus Scanner (amavisd): [FAILED]
Starting Mail Virus Scanner (amavisd): [ OK ]
Stopping Dovecot Imap: [ OK ]
If you have trouble with authentication failures,
enable auth_debug setting. See http://wiki.dovecot.org/WhyDoesItNotWork
This message goes away after the first successful login.
Starting Dovecot Imap: [ OK ]
Stopping httpd: [ OK ]
[Tue May 25 18:15:57 2010] [warn] NameVirtualHost *:80 has no VirtualHosts
Starting httpd: [ OK ]
Stopping pure-ftpd: [ OK ]
Starting pure-ftpd: [ OK ]
Installation completed.
[root@server1 install]#
The installer automatically configures all underlying services, so no manual configuration is needed.
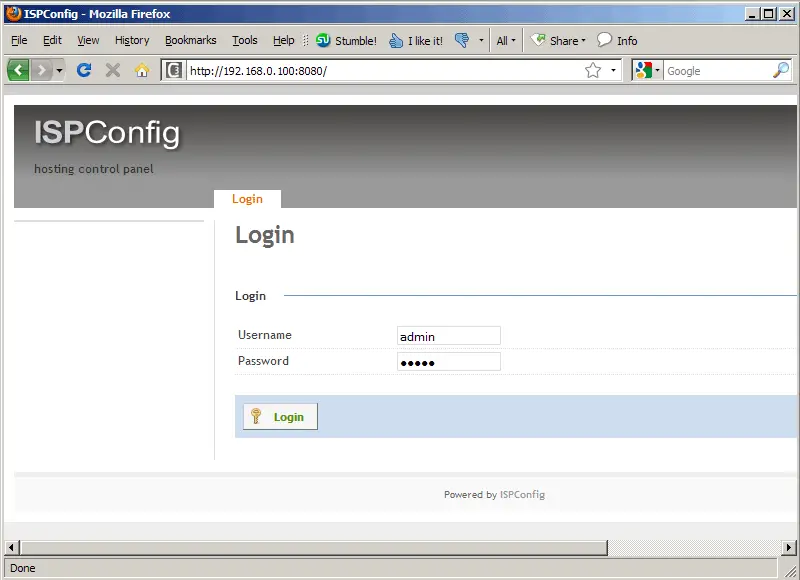
Afterwards you can access ISPConfig 3 under http://server1.example.com:8080/ or http://192.168.0.100:8080/. Log in with the username admin and the password admin (you should change the default password after your first login):
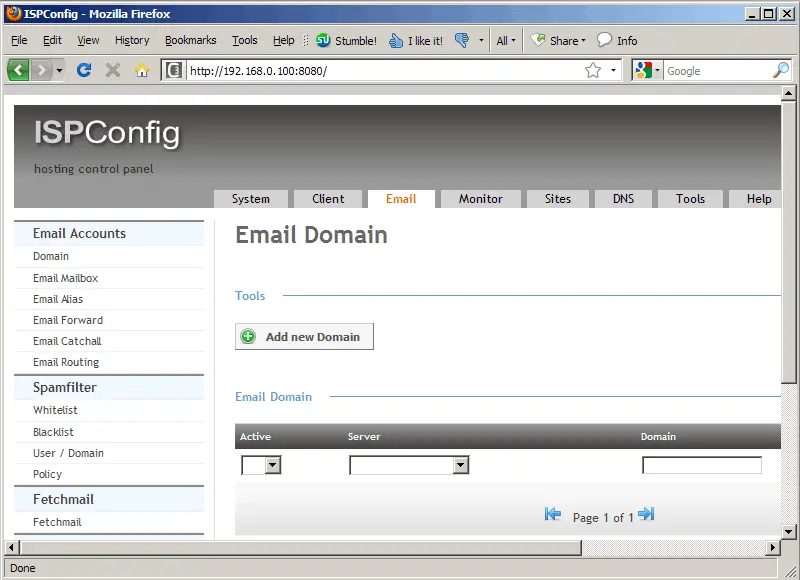
The system is now ready to be used.
23.1 ISPConfig 3 Manual
In order to learn how to use ISPConfig 3, I strongly recommend to download the ISPConfig 3 Manual.
On nearly 300 pages, it covers the concept behind ISPConfig (admin, resellers, clients), explains how to install and update ISPConfig 3, includes a reference for all forms and form fields in ISPConfig together with examples of valid inputs, and provides tutorials for the most common tasks in ISPConfig 3. It also lines out how to make your server more secure and comes with a troubleshooting section at the end.
24 Links
- CentOS: http://www.centos.org/
- ISPConfig: http://www.ispconfig.org/

