Installation And Configuration Of RainLoop Webmail Client With Nginx On Ubuntu 14.04
Version 1.0
Author: Srijan Kishore
This document describes how to install and configure Rainloop on Ubuntu 14.04. We will use nginx as web server. Rainloop is a popular free Open Source Web Application primarily written in PHP. It offers users a swift and contemporary web interface for accessing emails on a majority of commonly used domain mail providers such as Outlook, Yahoo, and Gmail, in addition to local mail servers. Rainloop also doubles up as a Mail User Agent (MUA) by accessing domain mail via IMAP/ SMTP protocols. This tutorial explains the process of installing Rainloop Webmail on an Ubuntu 14.04 Virtual Private Server using Nginx and MariaDB.
1 Preliminary Note
This tutorial is based on Ubuntu 14.04 server, so you should set up a basic Ubuntu 14.04 server installation before you continue with this tutorial. The system should have a static IP address. I use 192.168.0.100 as my IP address in this tutorial and server1.example.com as the hostname.
2 Installation of Mariadb
This method provides the options for Contact feature in Rainloop. Rainloop installation requires specific Mariadb, here I will be installing Mariadb-10.0.12 as follows:
apt-get -y update && apt-get -y upgrade
apt-get install python-software-properties curl
We will first download the release key associated with the Mariadb :
apt-key adv --recv-keys --keyserver hkp://keyserver.ubuntu.com:80 0xcbcb082a1bb943db
add-apt-repository 'deb http://ftp.osuosl.org/pub/mariadb/repo/10.0/ubuntu trusty main'
apt-get -y update
echo -e "Package: *\nPin: origin ftp.osuosl.org\nPin-Priority: 1000" | tee /etc/apt/preferences.d/mariadb
apt-get install mariadb-server
New password for the MariaDB "root" user: <--mariadbpassword
Repeat password for the MariaDB "root" user: <--mariadbpassword
Now we will create the database required for the Rainloop:
mysql -uroot -p
In Mariadb prompt we will enter Rainloop details as database=rainloopdb, user=rainloopuser and password=rainlooppassword;
create database rainloopdb;
GRANT ALL PRIVILEGES ON rainloopdb.* TO 'rainloopuser'@'localhost' IDENTIFIED BY 'rainlooppassword';
flush privileges;
quit
3 Installing PHP and Nginx
This step requires users to install PHP and Nginx,
apt-get install nginx php5-fpm php5-mysql php5-mcrypt php5-cli php5-curl php5-sqlite
4 Installing and configuring Rainloop
Next, we must create a root directory for our web site, in addition to deploying the most recent version of the application, as shown below:
mkdir -p /var/www/rainloop/{public_html,logs}
cd /var/www/rainloop/public_html/
curl -s http://repository.rainloop.net/installer.php | php
root@server1:/var/www/rainloop/public_html# curl -s http://repository.rainloop.net/installer.php | php
#!/usr/bin/env php
[RainLoop Webmail Installer]
* Connecting to repository ...
* Downloading package ...
* Complete downloading!
* Installing package ...
* Complete installing!
* [Success] Installation is finished!
root@server1:/var/www/rainloop/public_html#
Now we will create the rainloop configuration file and add the entries like explained below:
vi /etc/nginx/sites-available/rainloop
Give the entries like this:
server {
    server_name rainloop;
    listen 80;
    root /var/www/rainloop/public_html;
    access_log /var/www/rainloop/logs/access.log;
    error_log /var/www/rainloop/logs/error.log;
    index index.php;

    location / {
        try_files $uri $uri/ /index.php?$query_string;
    }

    location ~ \.php$ {
        fastcgi_index index.php;
        fastcgi_split_path_info ^(.+\.php)(.*)$;
        fastcgi_keep_conn on;
        include /etc/nginx/fastcgi_params;
        fastcgi_pass unix:/var/run/php5-fpm.sock;
        fastcgi_param SCRIPT_FILENAME $document_root$fastcgi_script_name;
    }

    location ~ /\.ht {
        deny all;
    }

    location ^~ /data {
      deny all;
    }

}
Now, we will symlink it and, subsequently restart the server, as shown below:
ln -s /etc/nginx/sites-available/rainloop /etc/nginx/sites-enabled/rainloop
Restart the NGINX service:
service nginx restart
The Rainloop must have appropriate permissions, as follows:
chown -R www-data: /var/www/rainloop/public_html/
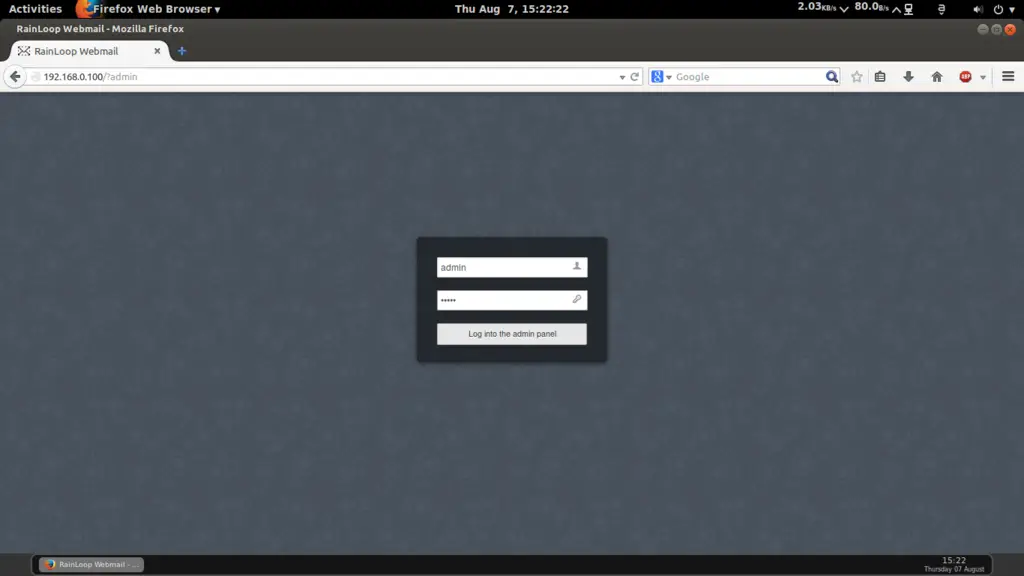
Now we can access the administrator panel at http://192.168.0.100/?admin, user=admin and Password=12345
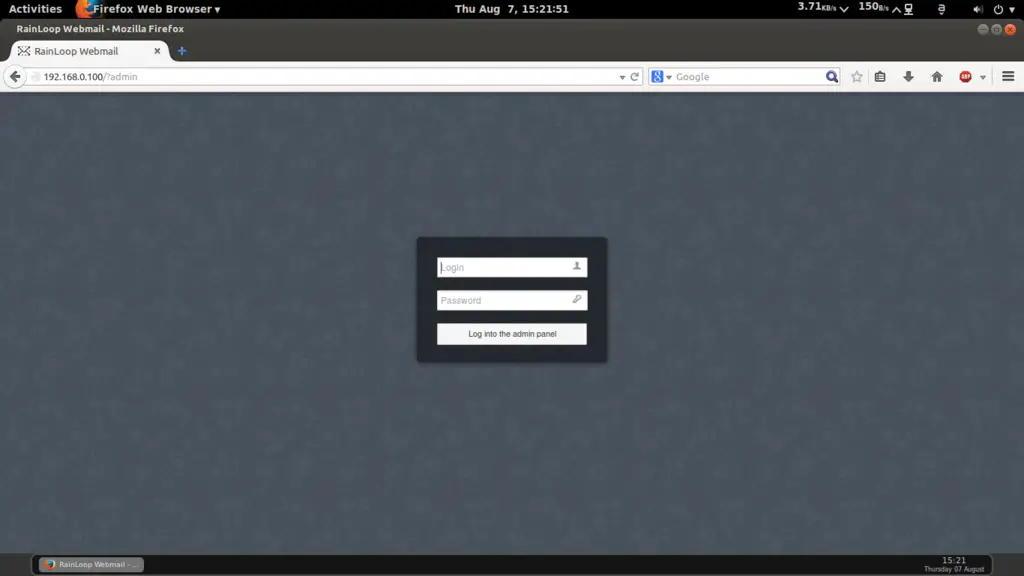
Put the credentials:
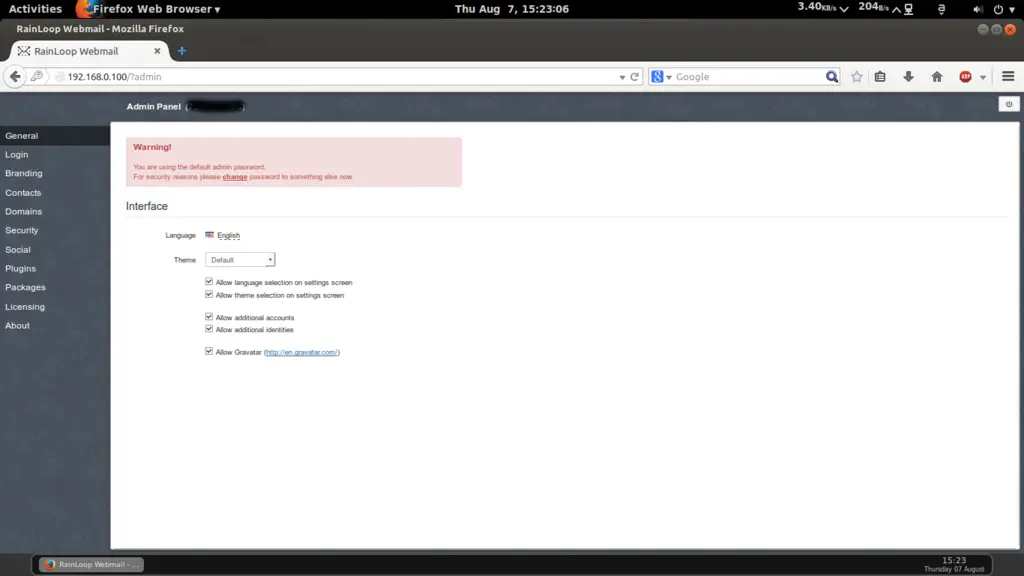
This will be your default welcome screen:
5 Links
- rainloop : http://rainloop.net/
- Ubuntu : http://www.ubuntu.com/

