How to store AWS user access key and secret key in Jenkins
You can store your AWS keys securely in Jenkins credentials. If you want to interact with AWS from your Jenkins server, you can store your AWS IAM user keys securely in Jenkins rather than openly using the keys in your Jenkins Pipeline. "CloudBees AWS Credentials" Jenkins plugin allows storing AWS IAM user credentials within the Jenkins Credentials API. We can then use these credentials in our pipeline and inject them in the pipeline with the "withAWS" step. To use "withAWS" step, we need to install the "AWS Steps Plugin" plugin.
In this article, we will install the "CloudBees AWS Credentials" plugin and store the AWS IAM user's secret key and access key in Jenkins using this plugin. We will install the "AWS Steps Plugin" so that we could use "awsStep" to inject the credential we created. We will perform S3 Upload Object and Download Object operation from within the pipeline to test the credential we created.
Pre-requisites
- AWS IAM User with its access key and secret key having read/write access to S3 Buckets(Click here to learn to create an IAM user on AWS).
- S3 Bucket(Click here to learn to create an S3 Bucket on AWS).
- Jenkins Server(Search for "How to install Jenkins using a war file on AWS EC2 Ubuntu instance?" to learn to create a Jenkins Server)
What will we do?
- Install Cloudbees AWS Credentials plugin.
- Store AWS Access and Secret keys in Jenkins Credentials.
- Install AWS Steps Plugin.
- Create a Pipeline and test the credential we created.
Install Cloudbees AWS Credentials plugin
Login to Jenkins at http://<Jenkins-IP>:8080/jenkins
Here, I have http://52.87.233.129:8080/jenkins/
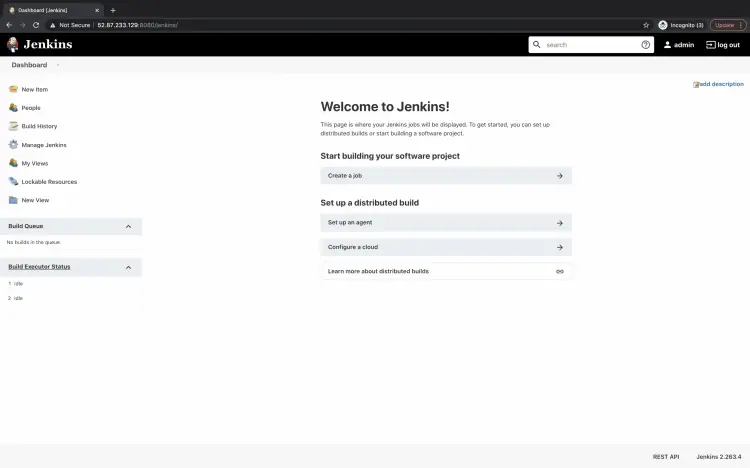
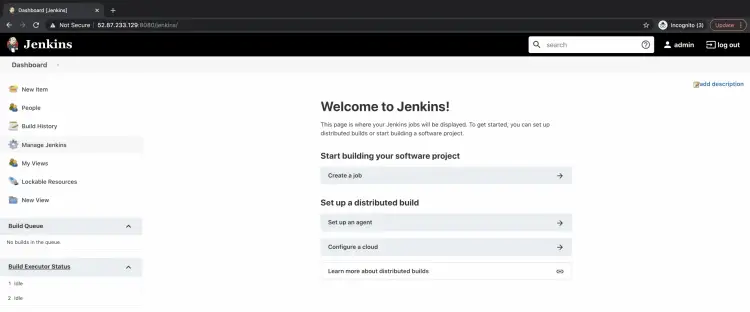
You will see the dashboard as follows. Click on "Manage Jenkins" in the left panel.
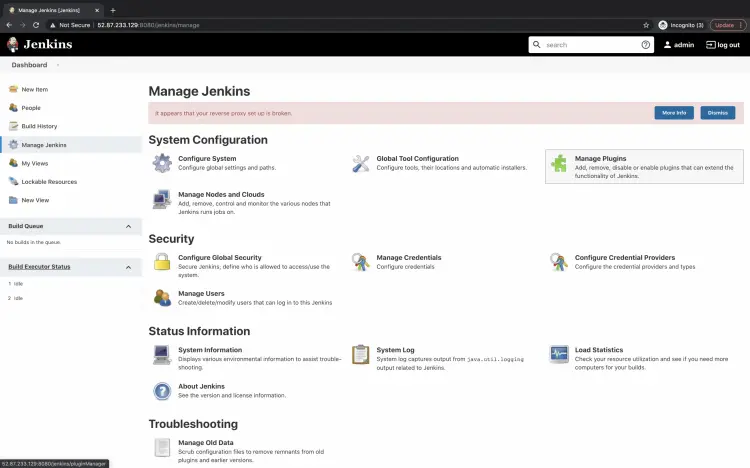
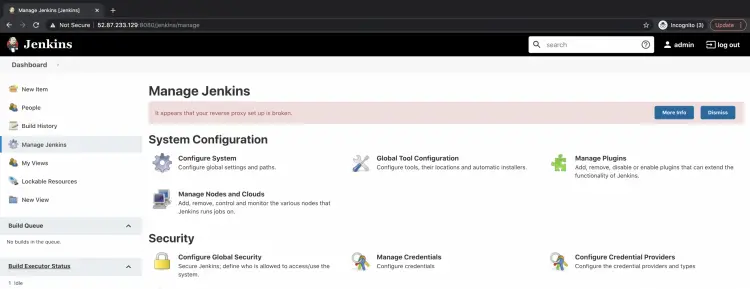
Here, under "System Configuration" click on "Manage Plugins" to install the required plugin.
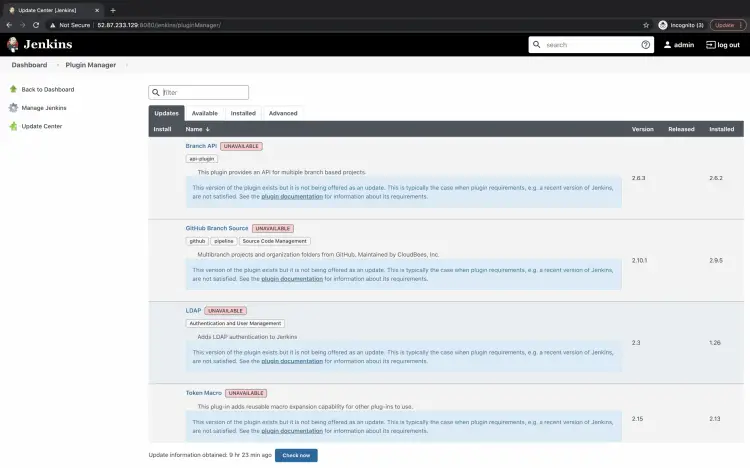
You will see 4 tabs, Updates, Available, Installed and Advanced. Click on the "Available" tab to search for the plugin.
Search for "cloudbees secret manager" in the search box under the "Available" tab. Tick on the checkbox of the plugin result "Cloudbees AWS Credentials" you get and click on "Install without restart" to install the plugin without restarting Jenkins.
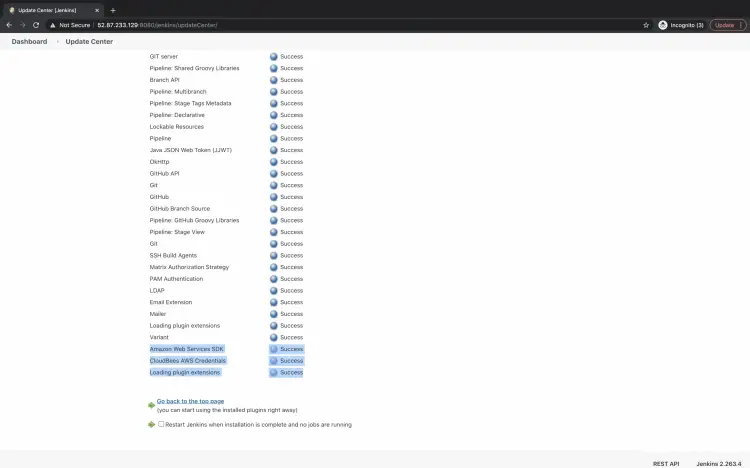
Once the plugin is installed, you will get the "Success" message as follows.
Store AWS Access and Secret keys in Jenkins Credentials
We are now ready to store AWS credentials.
Go back to the main dashboard and click on "Manage Jenkins".
Now, click on "Manage Credentials" under "Security" to store AWS Secret key and Access key.
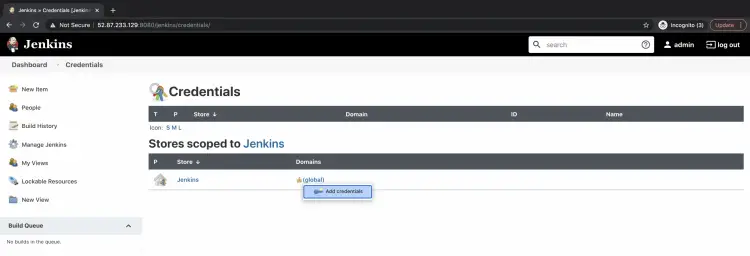
Click on "global" under "Stores scoped to Jenkins" --> "Add credentials".
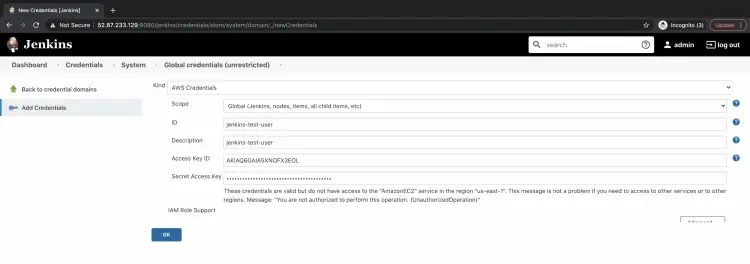
On this page, you will be able to store the secrets. Click on the Kind drop-down and select AWS. Specify a name for the secretes, description, Access Key ID and Secret Access Key. Click on OK to store the secrets.
You can see the Secret is now available.
Install AWS Steps Plugin
The next step is to install the "Pipeline AWS Steps" plugin. Go back to the main dashboard, click on Manage Jenkins -- > Manage Plugins.
Under the "Available" tab, search for "AWS Steps". Select the plugin "Pipeline: AWS Steps" and click on "Install without restart". This will install the plugin without restarting Jenkins.
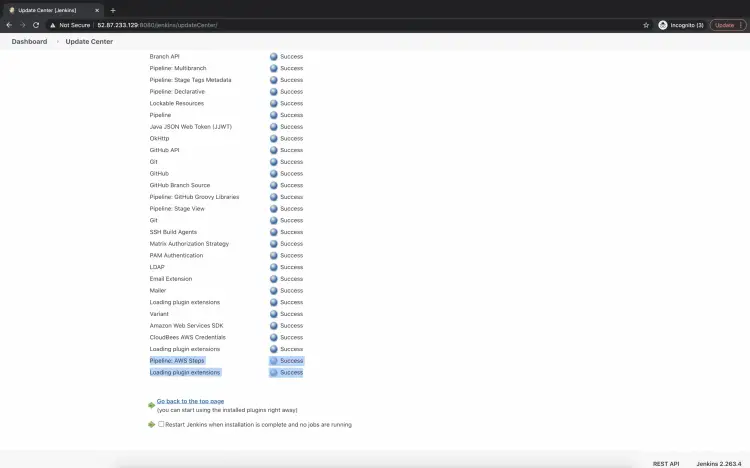
Once the plugin is installed successfully, you will the Success message as follows.
Create a Pipeline and test the credential we created.
Now, let's create a new Job. In this Job, we will try to use the secrete we created.
Go back to the main dashboard, click on "New items".
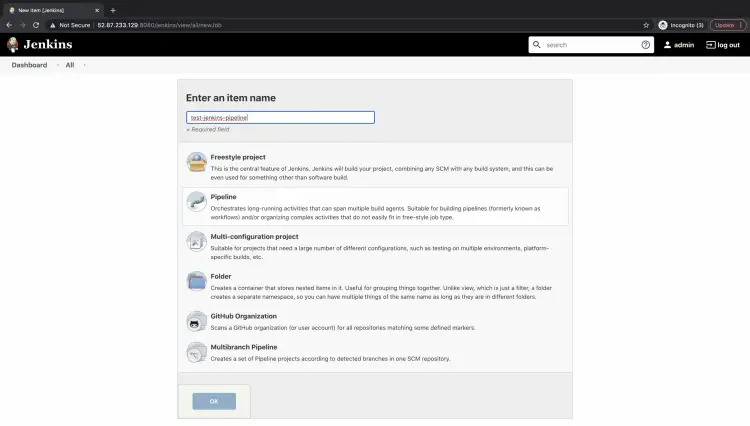
Give a name to the Job, and select "Pipeline" as a type of Job.Click on "Ok", this will create a Job of type Pipeline.
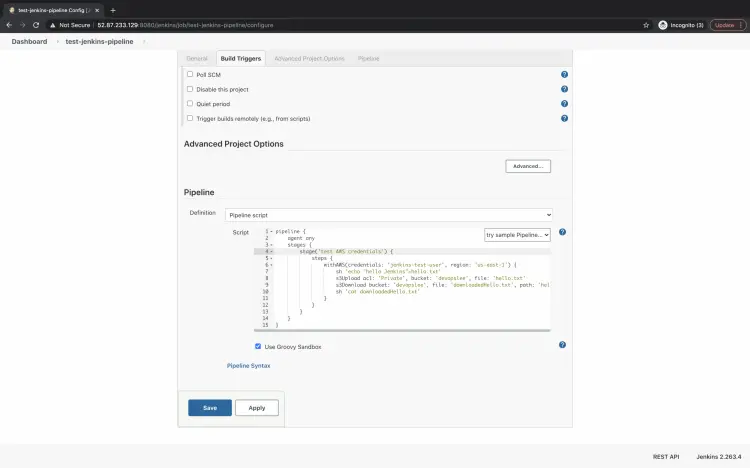
Click on "Build Triggers", scroll down to "Pipeline", select "Pipeline script" and add the following code in the text box.
This is a Pipeline with 1 stage "test AWS credentials". In this step, we will use "withAWS" and specify our secret name here. Inside it, we will create a sample file "hello.txt" with a "hello Jenkins" message. This file will then be uploaded to "devopslee" S3 bucket in my account.
You need to specify your bucket name instead of devopslee.
To see if the file is uploaded, we will try to download it as "downloadedHello.txt" and print it using "cat" command.
If all these steps were successful, it means we were able to successfully use our secrete key and access key using the credential we created.
pipeline {
    agent any
    stages {
        stage('test AWS credentials') {
            steps {
                withAWS(credentials: 'jenkins-test-user', region: 'us-east-1') {
                    sh 'echo "hello Jenkins">hello.txt'
                    s3Upload acl: 'Private', bucket: 'devopslee', file: 'hello.txt'
                    s3Download bucket: 'devopslee', file: 'downloadedHello.txt', path: 'hello.txt'
                    sh 'cat downloadedHello.txt'
                }
            }
        }
    }
}
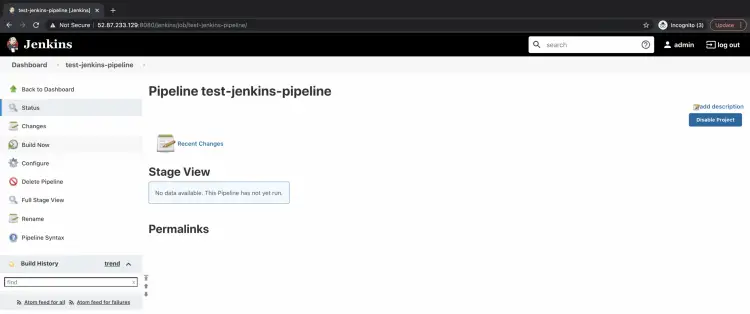
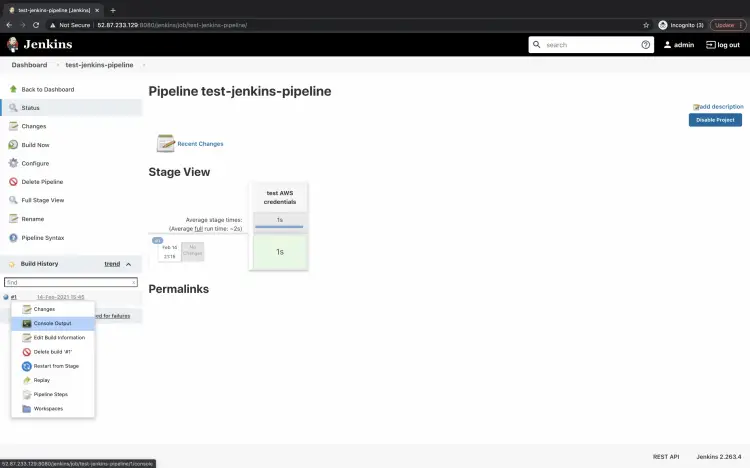
Now, to test the above pipeline, go to the pipeline and click on "Build Now".This will run the pipeline.
Click on the Build history -- > Console output.
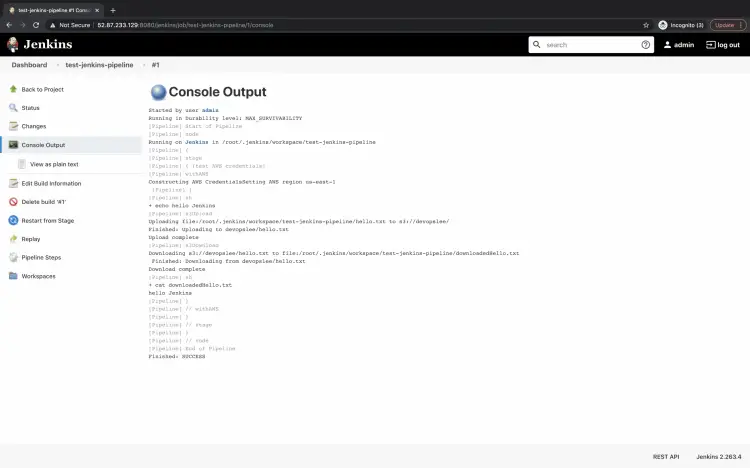
Here, in the console output, you can see that the file was created, uploaded, downloaded, and read successfully.
This means we were able to successfully authenticate the S3 bucket using the access key and secret we stored in the credentials.
Conclusion
In this article, we installed Cloudbees AWS Credentials and AWS Steps Plugin plugins in Jenkins. We stored the AWS IAM user's secret and access keys in Jenkins using Jenkins Credentials. We also created a Jenkins Pipeline where we tested the credential we created by uploading and downloading an object to the S3 bucket.

