How to Setup pf Firewall and Fail2ban on FreeBSD 12.0
PF (Packet Filter) is a BSD-licensed stateful packet filter. It was developed for OpenBSD and has been ported to many BSD operating systems, including FreeBSD. The pf firewall filters TCP/IP traffic, can perform NAT (Network Address Translation), and provides bandwidth control and packet prioritization.
This tutorial will show you how to set up the PF firewall on a FreeBSD 12.0 system. We will enable the PF firewall, create the basic configuration, and then install and set up Fail2ban with the PF firewall to ban IP addresses.
Prerequisite
For this guide, we will use the latest version of FreeBSD 12.0 with 1GB of RAM and 2 CPUs. And make sure you have the root privileges on the system.
What we will do:
- Enable pf Firewall
- Basic pf Firewall Configuration
- Install and Configure Fail2ban
- Setup Fail2ban and pf Firewall
Step 1 - Enable pf Firewall
By default, the FreeBSD system is integrated with the pf firewall. It's embedded on the FreeBSD kernel, but the service is not yet run on the server.
The pf firewall can be enabled by adding the configuration to the '/etc/rc.conf' file. Run the following command to enable the pf firewall.
echo 'pf_enable="YES"' >> /etc/rc.conf
echo 'pf_rules="/usr/local/etc/pf.conf"' >> /etc/rc.conf
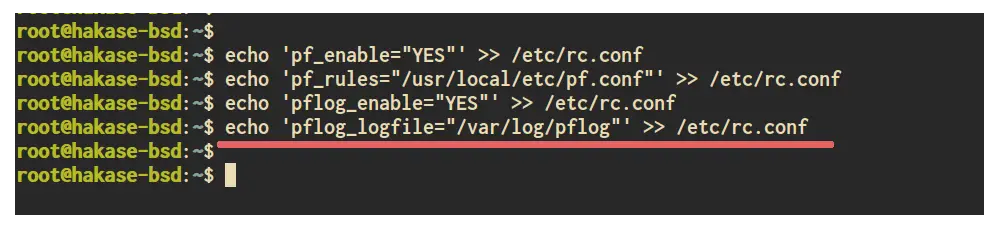
Then enable the pf log for the pf firewall log.
echo 'pflog_enable="YES"' >> /etc/rc.conf
echo 'pflog_logfile="/var/log/pflog"' >> /etc/rc.conf
Now the pf firewall on FreeBSD 12.0 has been enabled, but we cannot start the pf firewall immediately. Because we need to add our services to the pf rules.
Step 2 - Basic pf Firewall Configuration
In this step, we're going to do some basic pf firewall configuration. we're going to create the pf firewall configuration, define the services and allow access to our services.
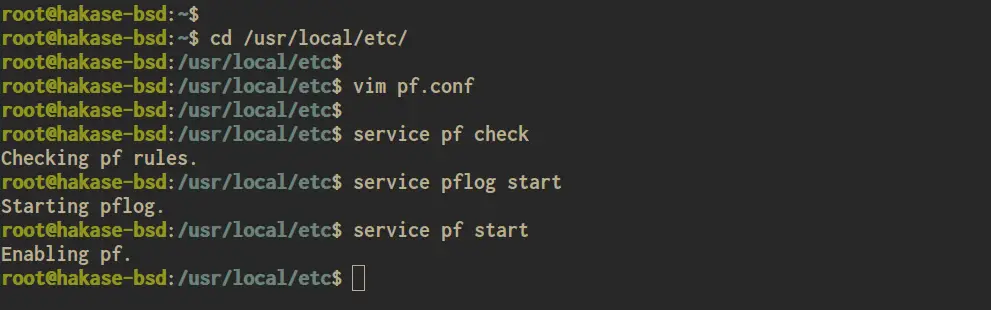
Now go to the '/usr/local/etc' directory and create a new configuration called 'pf.conf' using vim editor.
cd /usr/local/etc/
vim pf.conf
Now define the external interface and IP address.
# Define External Interface and IP Address
ext_if="vtnet0"
ext_ip="SERVER-IP-ADDRESS"
Define the TCP and UDP services that you want to allow to access.
# Define TCP and UDP Services
ext_tcp_ports="{ ssh, smtp, smtps, imaps, http, https, domain }"
ext_udp_ports="{ domain, ntp }"
Always trust the local interface and IP address.
# Skip the localhost
set skip on lo0
Setup the Log interface.
# Log interface
set loginterface $ext_if
Setup the default policy to block all connection to the server and pass all outgoing connection from the server.
# Default Policy
block in all
pass out all keep state
Now allow the ICMP protocol for ping the server.
# Allow Ping
pass inet proto icmp icmp-type echoreq
Allow our services on the TCP and UDP ports defined on top.
# Allow Services and Log
pass in proto tcp from any to any port $ext_tcp_ports
pass in proto udp from any to any port $ext_udp_ports
Log every access of the SSH and HTTP protocol to the pflog.
pass log quick proto tcp from any to any port { ssh,http }
Save and close.
Below is the basic completed configuration.
# Define External Interface and IP Address
ext_if="vtnet0"
ext_ip="139.180.220.96"

# Define TCP and UDP Services
ext_tcp_ports="{ ssh, smtp, smtps, imaps, http, https, domain }"
ext_udp_ports="{ domain, ntp }"

# Skip the localhost
set skip on lo0

# Log interface
set loginterface $ext_if

# Default Policy
block in all
pass out all keep state

# Allow Ping
pass inet proto icmp icmp-type echoreq

# Allow Services
pass in proto tcp from any to any port $ext_tcp_ports
pass in proto tcp from any to any port $ext_udp_ports

# Log access for ssh and http
pass log quick proto tcp from any to any port { ssh,http }
Now check the pf firewall rule before starting the service and make sure there is no error.
service pf check
Now start the pflog and pf services using the following command.
service pflog start
service pf start
The pf service has been started, and your SSH connection to the server will be dropped. You can connect again to the server with SSH again with the port 22 that has been opened by the pf firewall.
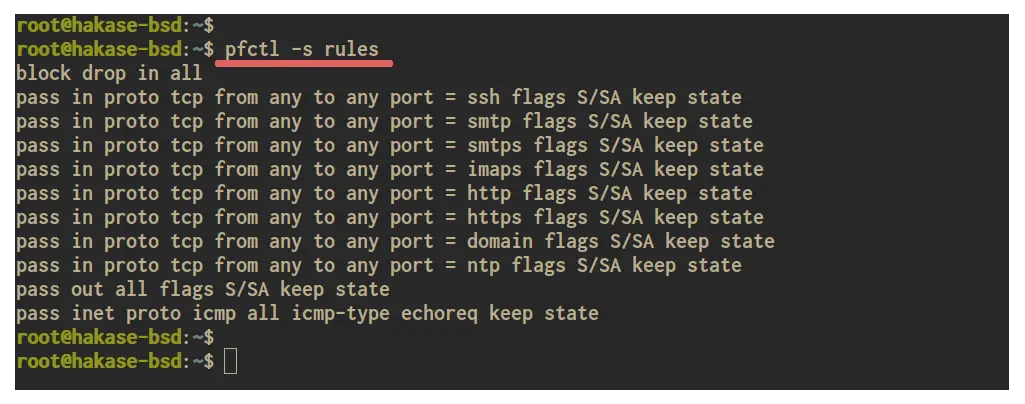
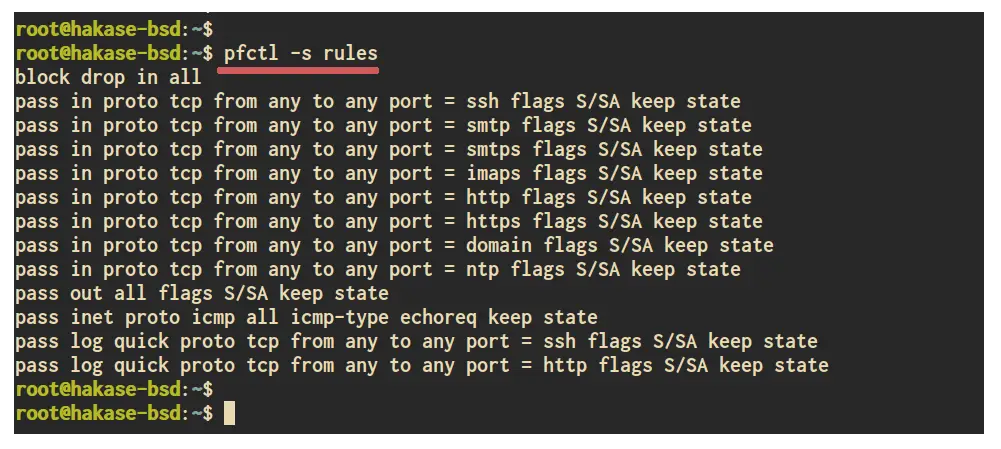
Additionally, you can check the list of pf rules using the 'pfctl' command line as below.
pfctl -s rules
And you will get the result as below.
Step 3 - Install and Configure Fail2ban
In this step, we're going to install the fail2ban, enable the blocking for SSH service, and then configure fail2ban ban action with the pf firewall.
Install fail2ban using the pkg command below.
pkg install py27-fail2ban py27-pyinotify
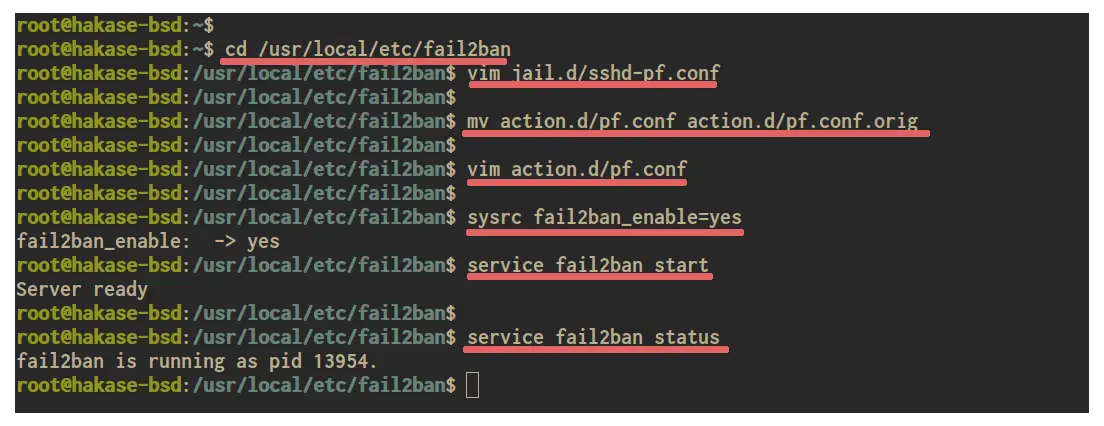
Once the installation is complete, go to the '/usr/local/etc/fail2ban' directory and create a new jail for SSH service on the 'jail.d' directory.
cd /usr/local/etc/fail2ban
vim jail.d/sshd-pf.conf
Paste the configuration below.
[ssh]
enabled  = true
filter   = sshd
action   = pf

logpath  = /var/log/auth.log
findtime  = 600
maxretry = 3
bantime  = 3600
Save and close.
Next, backup the default pf action configuration on the 'action.d' directory and create another one.
mv action.d/pf.conf action.d/pf.conf.orig
vim action.d/pf.conf
Paste the following configuration.
[Definition]
actionstart =
actionstop =
actioncheck =
actionban = /sbin/pfctl -t <tablename> -T add <ip>/32
actionunban = /sbin/pfctl -t <tablename> -T delete <ip>/32

[Init]
tablename = fail2ban
Save and close.
Now add the fail2ban service to the system boot.
sysrc fail2ban_enable=yes
Start the service and check it's status.
service fail2ban start
service fail2ban status
The fail2ban service is up and running on FreeBSD 12.0 with the pf firewall as the ban action.
Step 4 - Setup Fail2ban and pf Firewall
In order to enable the ban action for fail2ban with the pf firewall, we need to add the block additional configuration to the pf configuration 'pf.conf'.
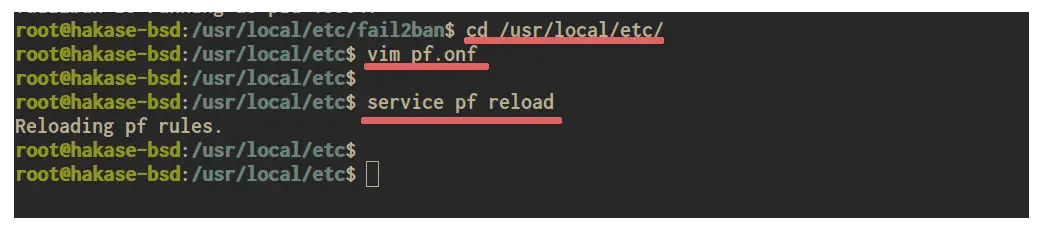
Go to the '/usr/local/etc' directory and edit the 'pf.conf' file.
cd /usr/local/etc/
vim pf.onf
Add the configuration below to the end of the line.
# Fail2Ban
table <fail2ban> persist
block quick proto tcp from <fail2ban> to $ext_if port ssh
Save and close.
Now reload the of firewall configuration
service pf reload
As a result, the pf firewall and fail2ban configuration have been completed. And all IP addresses caught by the fail2ban will be banned with the pf firewall.
Step 5 - Additional
Below some command that you can use to manage the pf firewall.
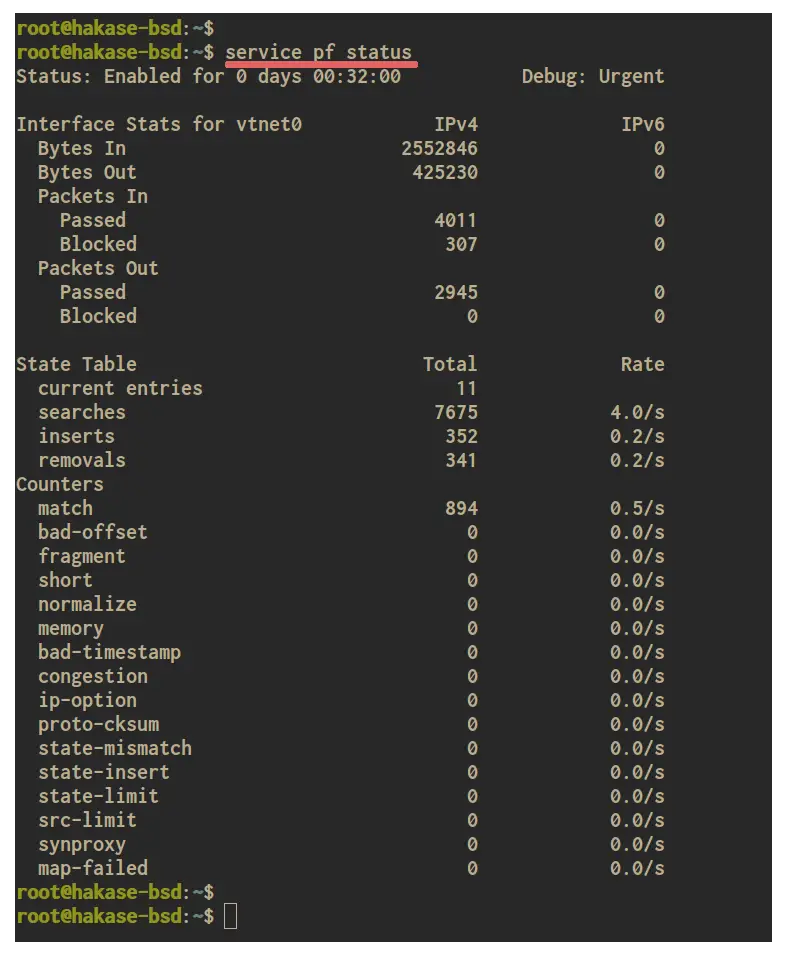
Checking the pf firewall Status
service pf status
Show pf firewall Rules
pfctl -s rules
pfctl -v -s rules
Show state Connection to the pf Interface
pfctl -s state
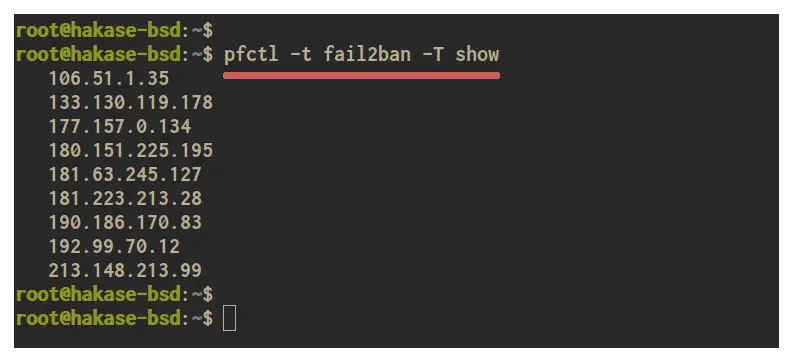
Show blocked IP address on the 'fail2ban' table
pfctl -t fail2ban -T show
Show pflog file using tcpdump
tcpdump -n -e -ttt -r /var/log/pflog
Reference
https://www.openbsd.org/faq/pf/index.html
https://www.freebsd.org/doc/handbook/firewalls-pf.html
a
a

