How to Setup Nginx Virtual Host on FreeBSD
A Virtual Host is a term that refers to host and running multiple websites such as 'site1.co', 'site2.co', and 'site3.co' on single node server. By the way, the term 'Virtual Host' is only for the Apache, and the Nginx has the 'Server Blocks' term that equal as the 'Virtual Host' on Apache. The Nginx 'Server Blocks' uses the 'server_name' and the 'listen' option to bind to TCP sockets.
In this tutorial, we will show you how to set up the Nginx 'Server Blocks' on the FEMP Stack environment. We will define the Nginx virtual host configuration directory, create a new basic Nginx virtual host, and then create the Nginx virtual host with SSL enabled on it.
Prerequisite:
For this guide, you will need the FEMP Stack installed on the FreeBSD 12.0 system. Or you can the link below to set up the FEMP Stack on FreeBSD 12.0.
How to Install FEMP Stack on FreeBSD 12.0
What we will do:
- Initialize Nginx Virtual Host Directory
- Create Basic Nginx Virtual Host
- Create Nginx Virtual Host with SSL Enabled
Step 1 - Initialize Nginx Virtual Host Directory
Firstly, we're going to initialize the virtual host directory that will be used for storing configurations for each domain on the server.
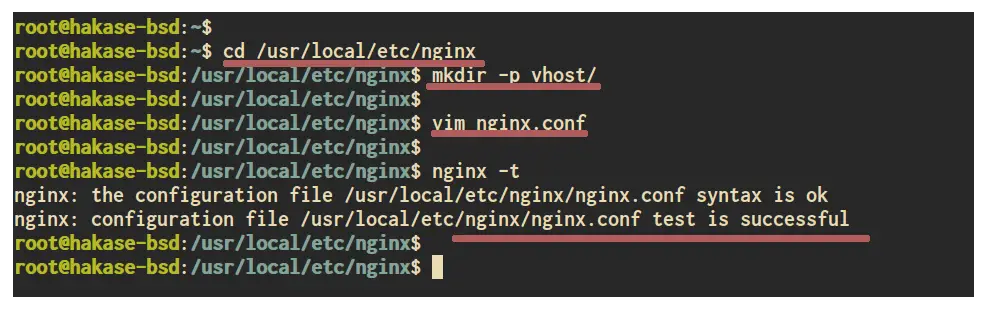
Go to the '/usr/local/etc/nginx' directory and create a new directory called 'vhost'.
cd /usr/local/etc/nginx
mkdir -p vhost/
Now edit the default nginx configuration 'nginx.conf' using vim editor.
vim nginx.conf
Paste the configuration below on the 'http { ... }' block.
http {
    ...
    include vhost/*.conf;
    ...
}
Save and close.
Now test the nginx configuration and make sure there is no error.
nginx -t
And we're ready to add a new virtual host for our domain name to the FEMP Stack on FreeBSD 12.0.
Step 2 - Create Basic Nginx Virtual Host
In this step, we're going to create a new basic Nginx virtual host configuration for a domain named 'site1.hakase-labs.io' with the web root directory located at the '/usr/local/www/site1' directory.
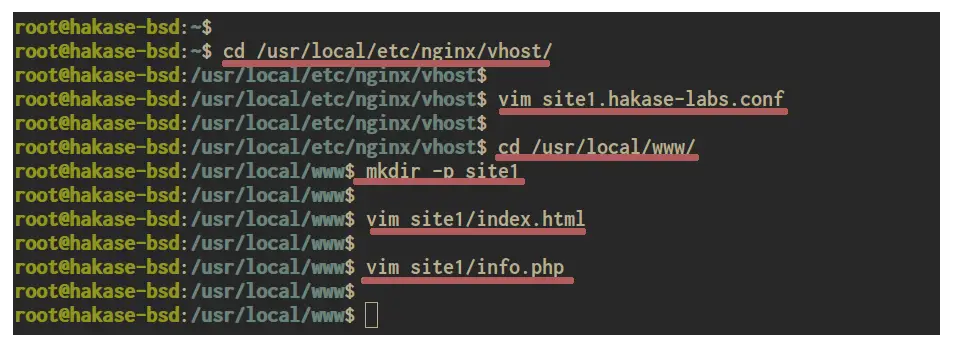
Go to the virtual host directory '/usr/local/etc/nginx/vhost/' and create a new configuration file 'site1.hakase-labs.conf' using vim editor.
cd /usr/local/etc/nginx/vhost/
vim site1.hakase-labs.conf
Change details domain name and document root with your own paste into it.
server {
    listen       80;
    server_name  site1.hakase-labs.io;

    error_log  /var/log/nginx/site1-error.log;
    access_log /var/log/nginx/site1-access.log;

    root   /usr/local/www/site1;
    index  index.php index.html index.htm;

    location / {
        try_files $uri $uri/ =404;
    }

    error_page   500 502 503 504  /50x.html;
    location = /50x.html {
        root   /usr/local/www/site1;
    }

    location ~* \.(jpg|jpeg|gif|css|png|js|ico|html)$ {
        access_log off;
        expires max;
    }

    location ~ \.php$ {
        try_files $uri =404;
        fastcgi_split_path_info ^(.+\.php)(/.+)$;
        fastcgi_pass unix:/var/run/php-fpm.sock;
        fastcgi_index index.php;
        fastcgi_param SCRIPT_FILENAME $request_filename;
        include fastcgi_params;
    }
}
Save and close.
Next, we need to create the document root directory for the domain name 'site1.hakase-labs.io' and create the index.html for default page.
Go to the '/usr/local/www' directory and create a new directory called 'site1'.
cd /usr/local/www/
mkdir -p site1
Now create the index.html file to the 'site1' directory using vim editor.
vim site1/index.html
Paste the simple HTML script below.
<h1>site1.hakase-labs.io</h1>
Save and close.
Additionally, create a new PHP file called 'info.php' for testing.
vim site1/info.php
Paste the script below.
<h1><center>site1.hakase-labs.io</center></h1>

<?php
phpinfo();
?>
Save and close.
Now the virtual host configuration, the web root directory, and the index.html file domain name 'site1.hakase-labs.io' have been created.
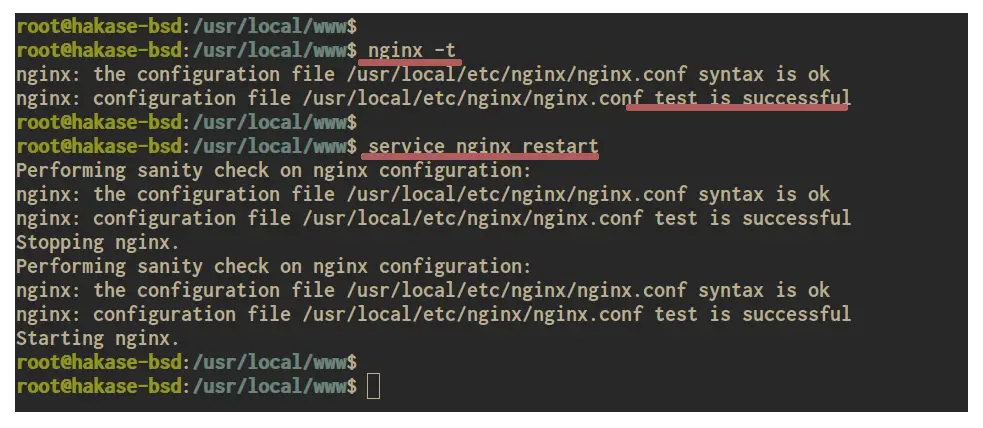
Next, test the nginx configuration and make sure there is no error. Then restart the nginx service to apply the changes.
nginx -t
service nginx restart
As a result, the new virtual host configuration for the 'site1.hakase-labs.io' has been applied, and the domain is up running.
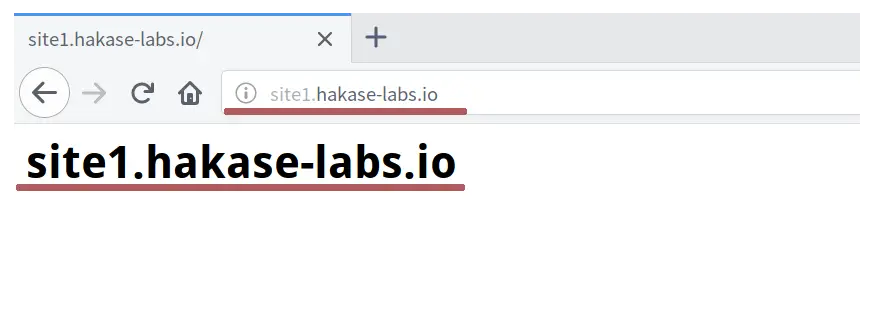
Now open your web browser and type the domain name 'site1.hakase-labs.io' on the address bar.
And you will be shown the default index.html page that we just created as below.
Additionally, access the PHP file 'info.php'.
http://site1.hakase-labs.io/info.php
And you will get pieces of information about the PHP and PHP-FPM configurations as below.
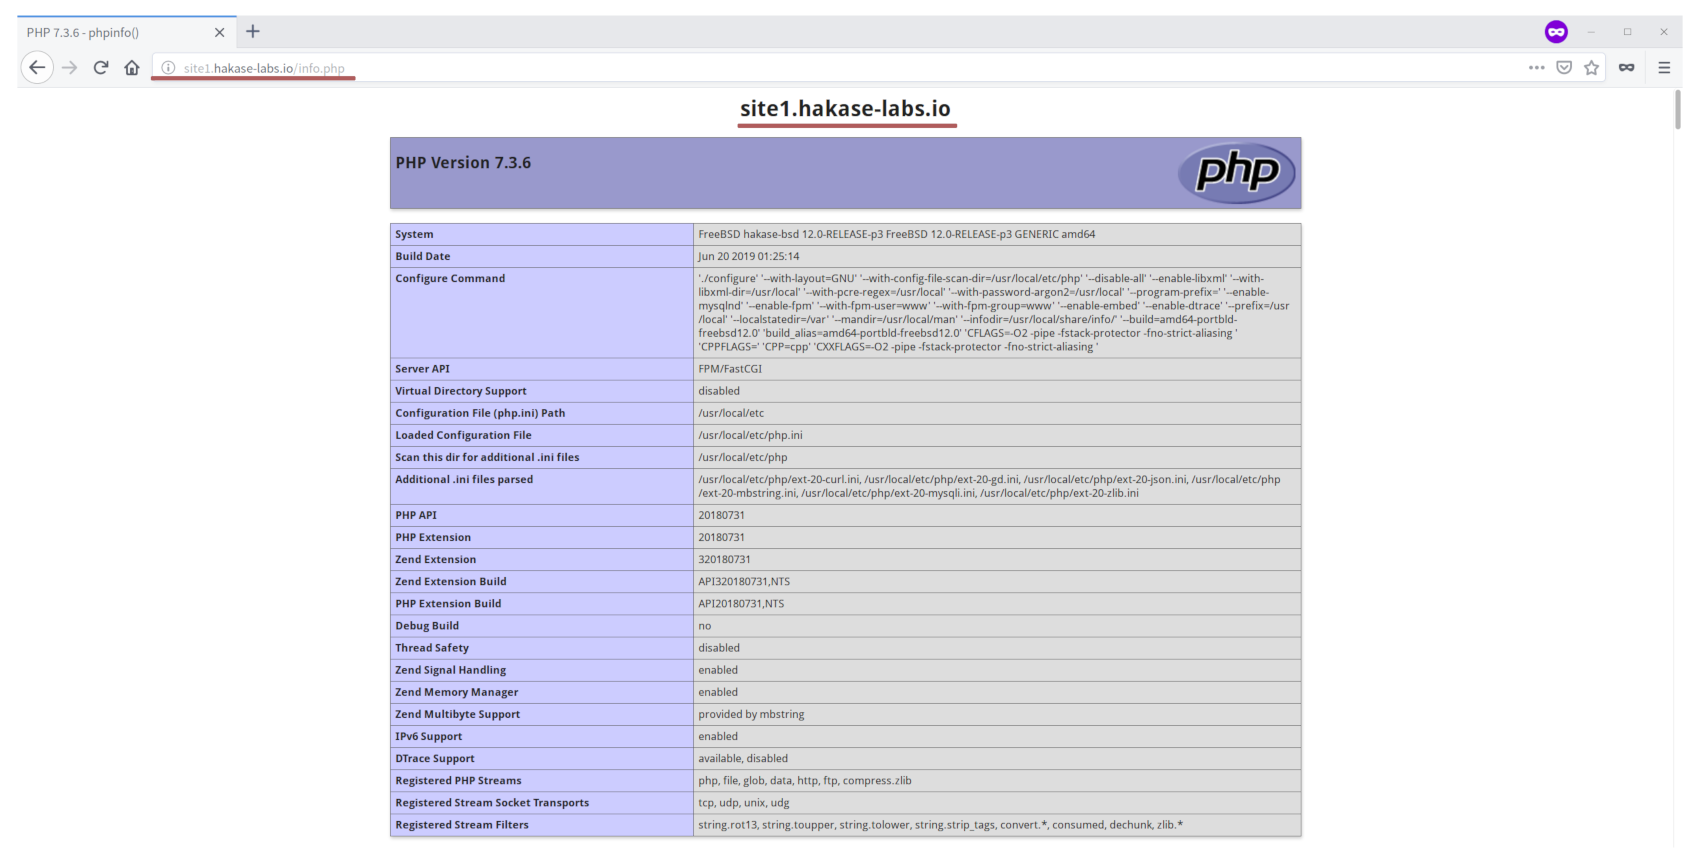
As a result, we've successfully created the basic Nginx virtual host on FEMP Stack with FreeBSD 12.0.
Step 3 - Create an Nginx Virtual Host with SSL Enabled
In this step, we will create a new Nginx virtual host configuration with SSL enabled on it. We will create a new virtual host for domain name 'site2.hakase-labs.io' with and the document root directory '/usr/local/www/site2'.
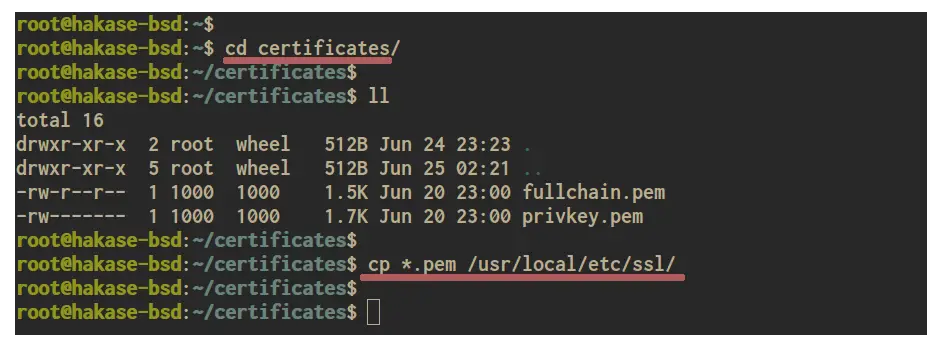
In order to enable SSL on the web server, you will need the SSL certificates.
Below is our SSL certificates files and we will copy these files to the '/usr/local/etc/ssl' directory.
cp *.pem /usr/local/etc/ssl/
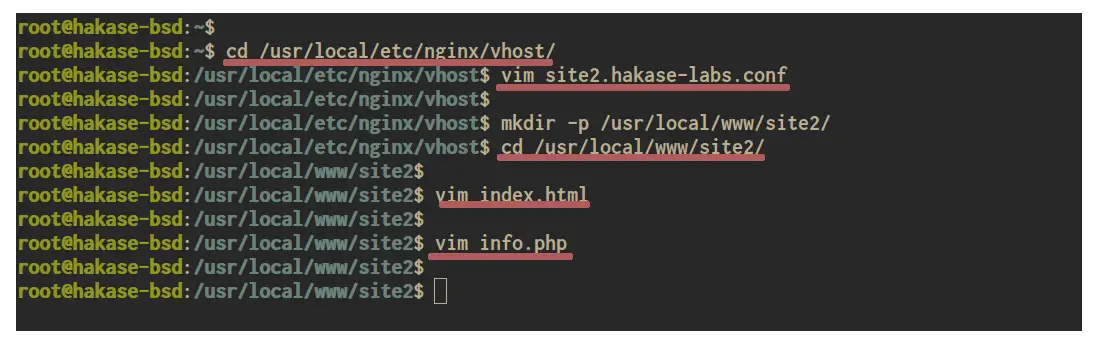
Now go to the virtual host directory '/usr/local/etc/nginx/vhost/' and create another one configuration 'site2.hakase-labs.conf' using vim editor.
cd /usr/local/etc/nginx/vhost/
vim site2.hakase-labs.conf
Change the domain name, SSL certificates path, and the document root directory with your own, then paste into it.
server {
    listen 80;
    server_name site2.hakase-labs.io;
    rewrite ^(.*) https://$server_name$1 permanent;
}

server {
    listen 443;
    server_name site2.hakase-labs.io;

    root  /usr/local/www/site2;
    index index.html index.htm index.php;

    error_log  /var/log/nginx/site2-error.log;
    access_log /var/log/nginx/site2-access.log;

    ssl on;
    ssl_certificate /usr/local/etc/ssl/fullchain.pem;
    ssl_certificate_key /usr/local/etc/ssl/privkey.pem;

    ssl_protocols TLSv1.2 TLSv1.3;
    ssl_ciphers ECDHE-RSA-AES256-GCM-SHA512:DHE-RSA-AES256-GCM-SHA512:ECDHE-RSA-AES256-GCM-SHA384:DHE-RSA-AES256-GCM-SHA384:ECDHE-RSA-AES256-SHA384;
    ssl_prefer_server_ciphers on;

    location / {
        try_files $uri $uri/ =404;
    }

    location ~* \.(jpg|jpeg|gif|css|png|js|ico|html)$ {
        access_log off;
        expires max;
    }

    location ~ \.php$ {
        try_files $uri =404;
        fastcgi_split_path_info ^(.+\.php)(/.+)$;
        fastcgi_pass unix:/var/run/php-fpm.sock;
        fastcgi_index index.php;
        fastcgi_param SCRIPT_FILENAME $request_filename;
        include fastcgi_params;
    }
}
Save and close.
Next, we will create the web root directory '/usr/local/www/site2/' and create the index.html file on it.
Create the document root directoy '/usr/local/www/site2/' and go into it.
mkdir -p /usr/local/www/site2/
cd /usr/local/www/site2/
Now create the index.html page using the following command.
vim index.html
Paste the HTML script below.
<h1>site2.hakase-labs.io</h1>
Save and close.
Additionally, create the PHP file 'info.php'.
vim info.php
And paste the PHP script below.
<h1><center>site2.hakase-labs.io</center></h1>

<?php
phpinfo();
?>
Save and close.
And the new virtual host configuration with SSL enabled on it has been created.
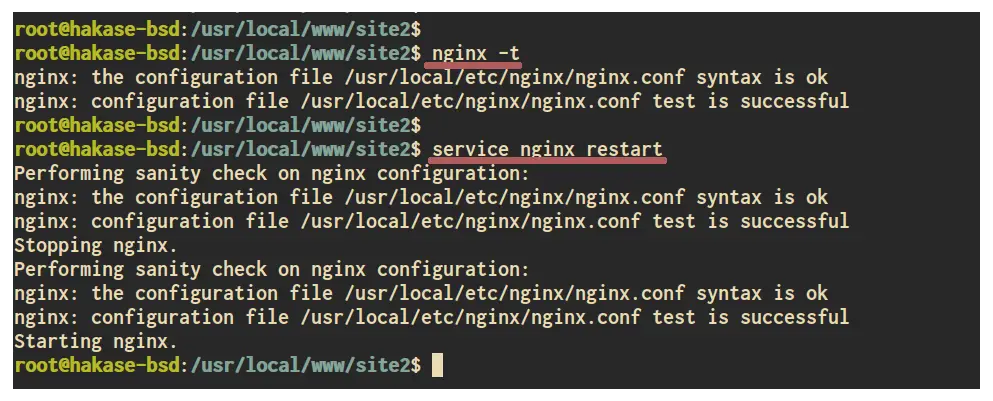
Next, test the nginx configuration and make sure there is no error. Then restart the Nginx service to apply the changes.
nginx -t
service nginx restart
As a result, the Nginx service is up and running, and the new virtual host with SSL enabled on it will be accessible from your web browser.
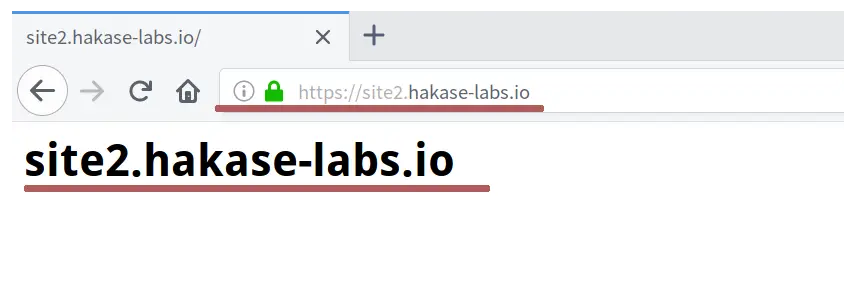
Open your web browser and type the virtual host URL 'site2.hakase-labs.io' on the address bar.
Now you will be redirected to the secure HTTPS connection and will be shown the default index.html page that we've created.
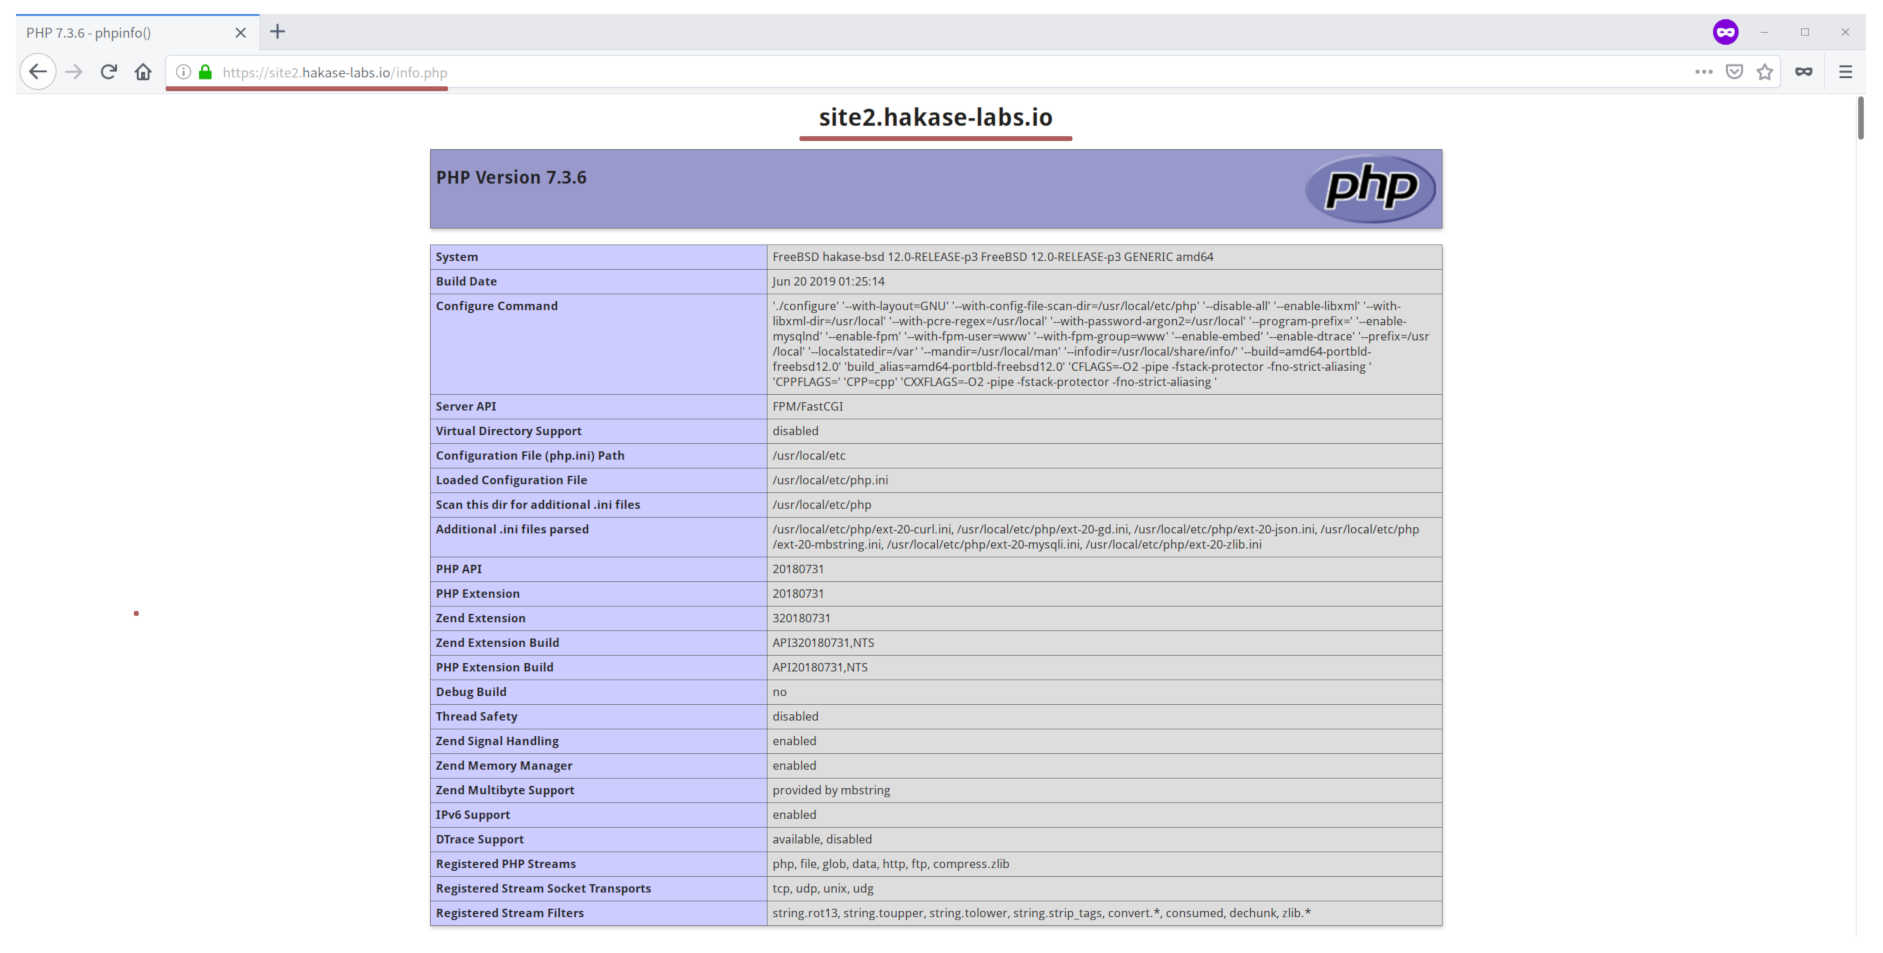
Additionally, access the PHP file 'info.php'.
http://site2.hakase-labs.io/info.php
And you will get pieces of information about the PHP and PHP-FPM configurations as below.
As a result, we've successfully created the Nginx virtual host with SSL enabled on the FEMP Stack environment with the FreeBSD 12.0.

