How to set up Gitlab for Continuous Integration and Deployment on CentOS
In this tutorial I will explain how to set up a local Gitlab Server for CI (Continuos Integration) / CD (Continous Deployment) operation. Like anyone who doesn't know it yet, GitLab is a complete DevOps platform delivered as a single application. From project planning and source code management through CI/CD to monitoring and security. It allows teams to collaborate and work in a single conversation instead of managing multiple threads across multiple tools. By providing a single data repository, user interface, and authorization model throughout the DevOps lifecycle, teams can collaborate significantly, reduce cycle time, and focus exclusively on quickly building each application.
As each business approach becomes larger and more comprehensive, all products must have more outstanding features than their competitors. To achieve this, multiple modules must be introduced and developed once they are ready, they must be quickly brought to market and fully tested and verified. In this way, it would really help to reach the milestone if Gitlab were the only application source that could facilitate the process of transition to DevOps practice.
1. How does Continuous Integration and Continuous Deployment work
There is a logical sequence of possible actions to take throughout the lifecycle of the software development process, using GitLab as the platform for your code. The goal is to support the teams coherently and effectively from the first phase of implementing a new product to the final phase of implementing it in production. The picture below shows a summary of the workflow:
Since the scope of DevOps is quite large, this tutorial focuses on setting up the Gitlab server under local conditions. We will use the Gitlab Community Edition to set up in our local environment.
2. Installation Phase
For the installation phase, first we will start by setting up the server with prerequisites, assuming each server are under minimal server configuration. Below are the steps:
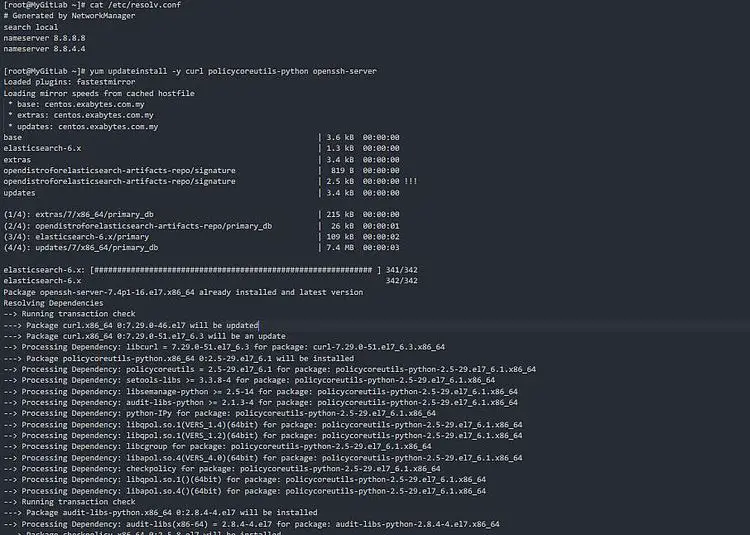
 [root@MyGitLab ~]# cat /etc/resolv.conf
 [root@MyGitLab ~]# yum updateinstall -y curl policycoreutils-python openssh-server
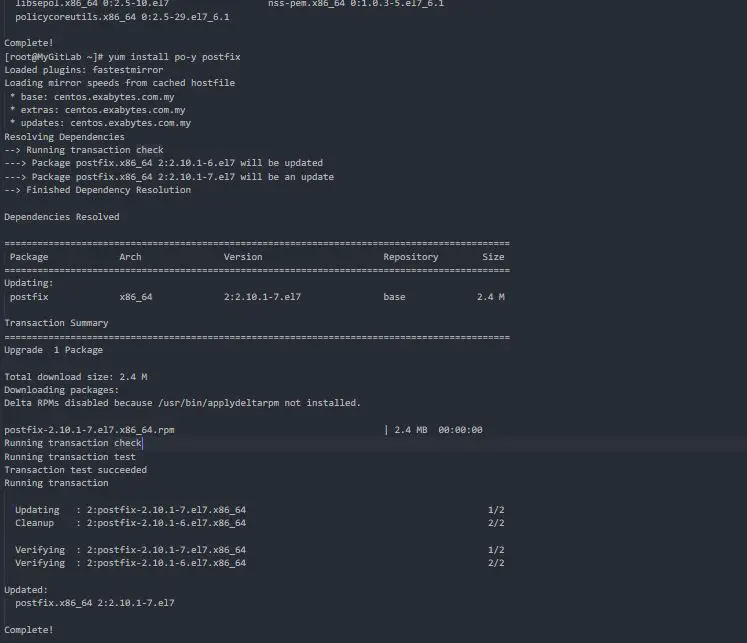
Doing above is optional, just to ensure our installation and review work smoothly. Once installation done, you'll have the screenshot like below
Then start the postfix service as required. Below are the command.
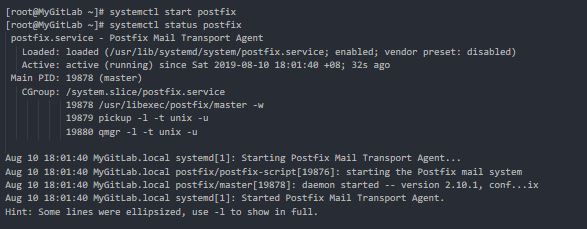
 [root@MyGitLab ~]# systemctl start postfix
 [root@MyGitLab ~]# systemctl status postfix
 [root@MyGitLab ~]# systemctl enable postfix
Once done, you'll have the screenshot like below
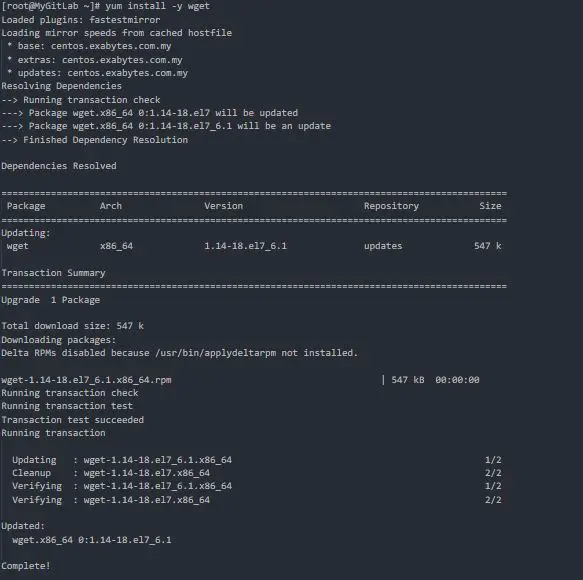
Next we need to install wget to take the automation script provided by GitLab itself for installation. You also can use other way to make the installation such as using Curl etc , for this exercise I will use wget to download the script instead. Once wget packages installed, we will download the script from here and put it into our local server. Below are the step:
 [root@MyGitLab ~]# yum install -y wget
 [root@MyGitLab ~]# wget https://packages.gitlab.com/install/repositories/gitlab/gitlab-ce/script.rpm.sh
 [root@MyGitLab ~]# chmod +x script.rpm.sh
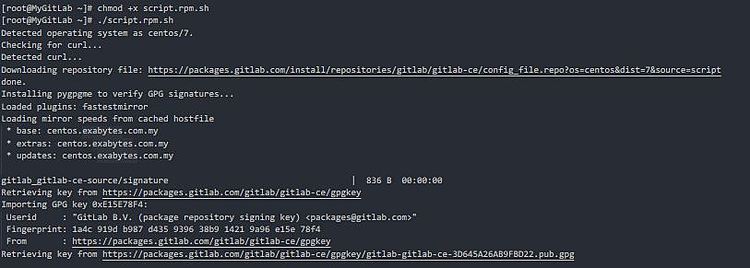
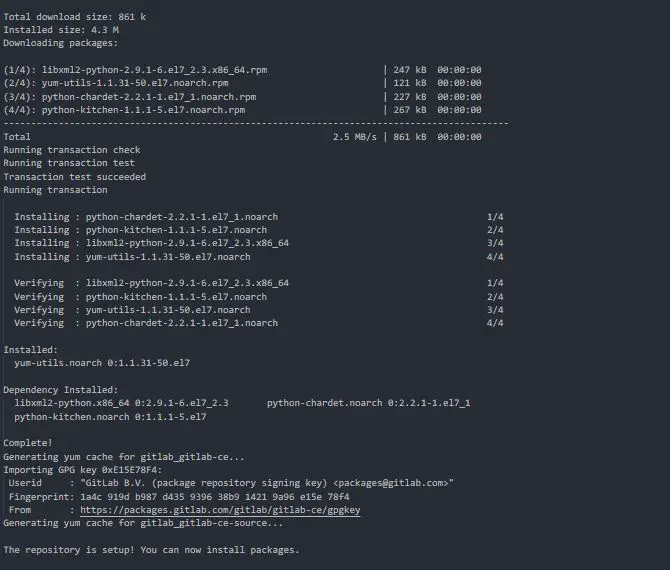
 [root@MyGitLab ~]# ./script.rpm.sh
Process will be like below:
Next, we will start to prepare GitLab service and its dependencies configured. The steps are like below:
 [root@MyGitLab ~]# EXTERNAL_URL="http://10.124.12.133:80"
 [root@MyGitLab ~]# echo $EXTERNAL_URL
 http://10.124.12.133
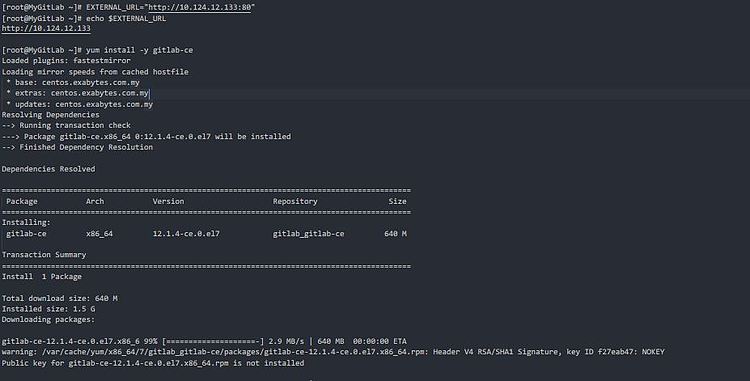
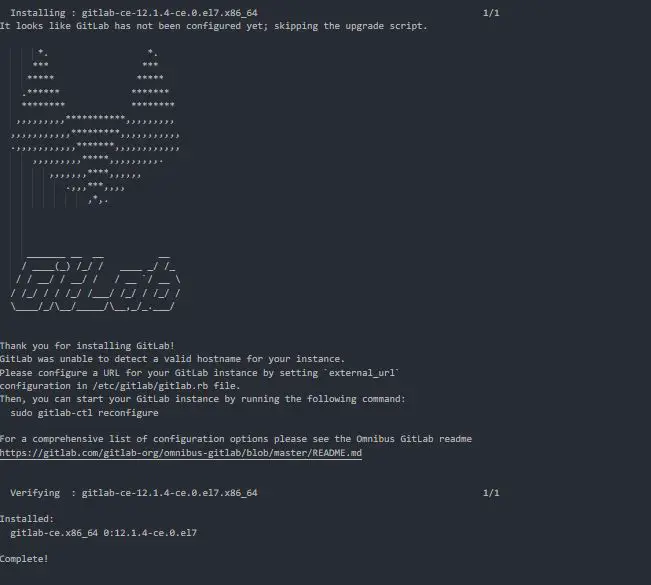
 [root@MyGitLab ~]# yum install -y gitlab-ce
Once everything's done, you will see the progress like shown below
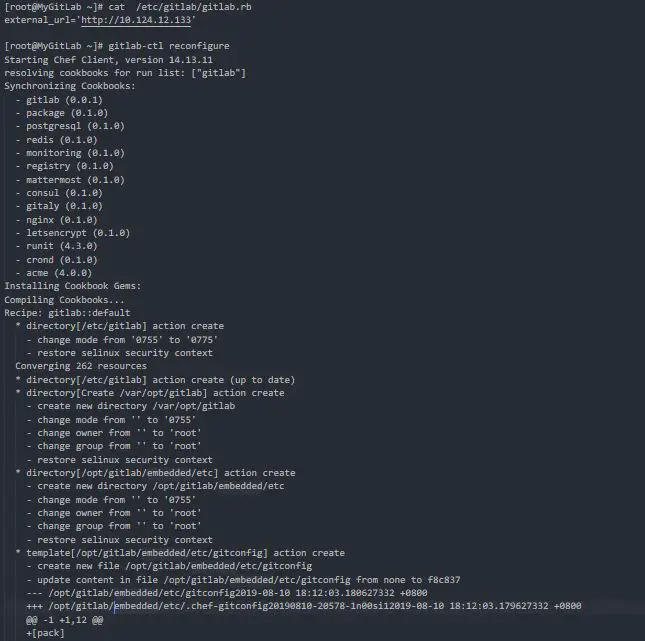
Great! Now everything is in hand, let's continue the process on installing the service and its dependencies. As GitLab was a solid application for DevOps to engineered together, there will be several packages and configuration will be configured. Therefore it is normal that the time taken will be a longer than any normal service installation. Before start the installation, let's confirm that the main URL has been configured as expected. Below are the steps :-
 [root@MyGitLab ~]# cat /etc/gitlab/gitlab.rb
 external_url='http://10.124.12.133'

 [root@MyGitLab ~]# gitlab-ctl reconfigure
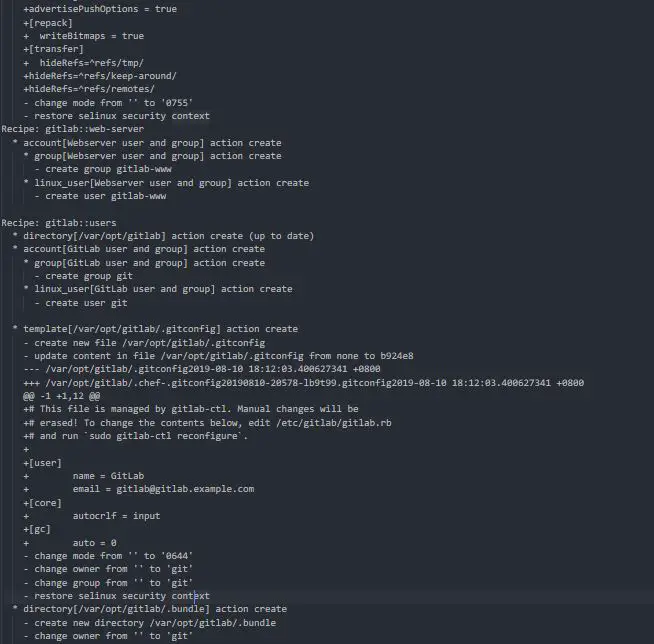
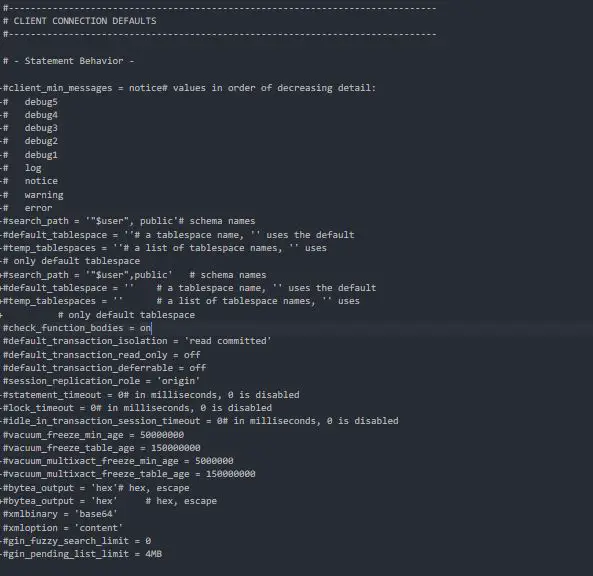
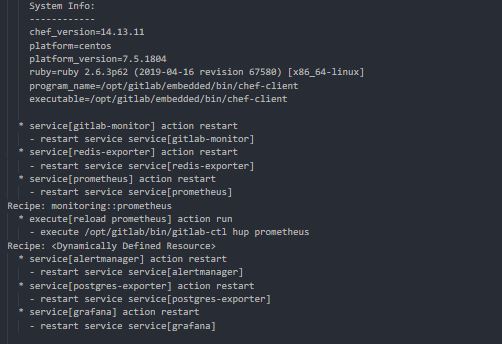
If the progress run smoothly, you'll get as per screenshot below
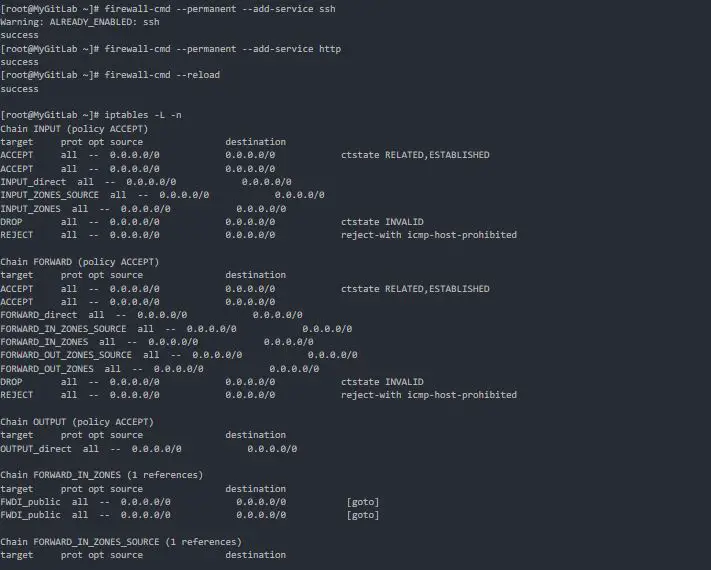
Now as everything is done on installation part, let's do the final touch which is enabling the port for Gitlab to serve. Below are the steps :-
 [root@MyGitLab ~]# firewall-cmd --permanent --add-service ssh
 [root@MyGitLab ~]# firewall-cmd --permanent --add-service http
 [root@MyGitLab ~]# firewall-cmd --reload
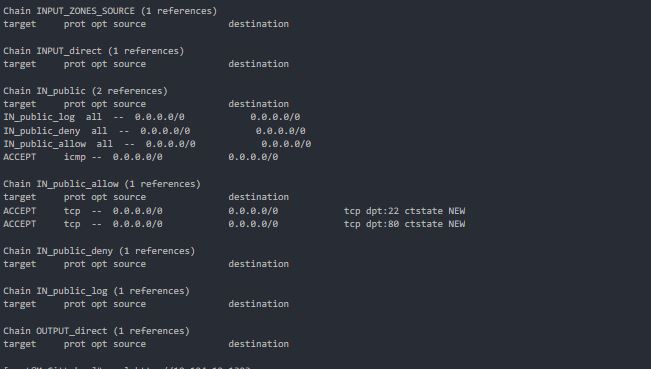
 [root@MyGitLab ~]# iptables -L -n
Below are the screenshot
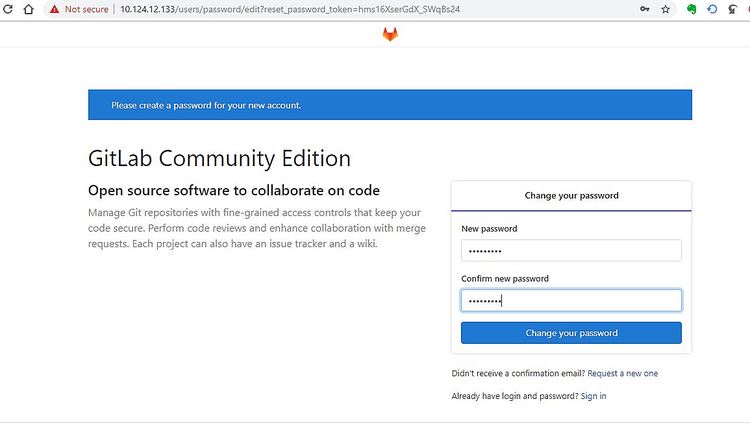
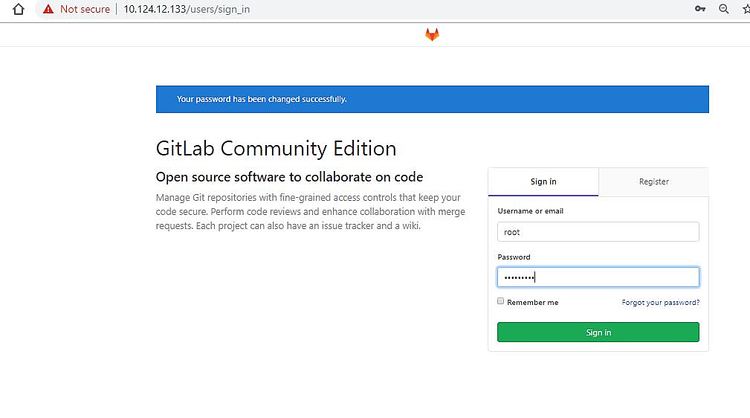
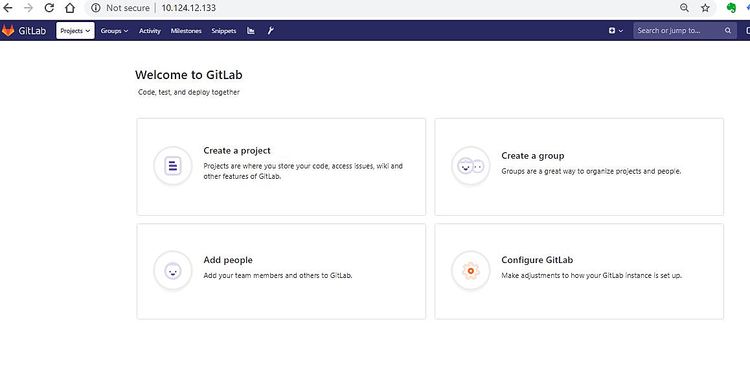
Now pretty much we've done for GitLab installation, now we can start login into our own GitLab server and make configuration of project as needed. As final results, you can view your GitLab service via browser through URL we've configured earlier, in our case is http://10.124.12.133 . It will automatically redirect you to main page, then set your initial admin password as needed. In this case the default admin user are root. Below are the example :-
3. Testing Phase
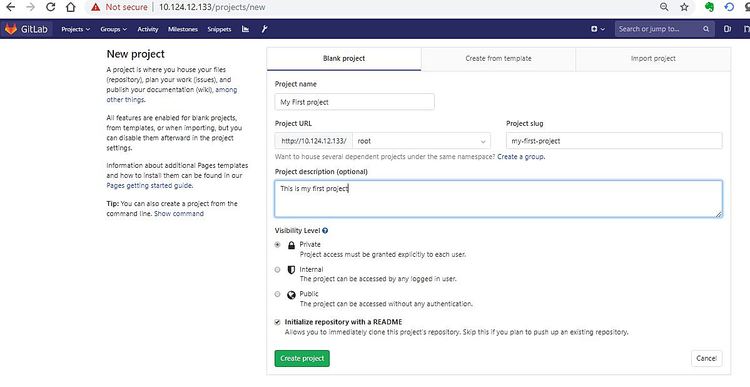
As everything is done, let's act as a user under a team which defining a project that use GitLab as project development repository. First lets create a new project, click on Create a Project and define the detail as needed. Example are as per below :-
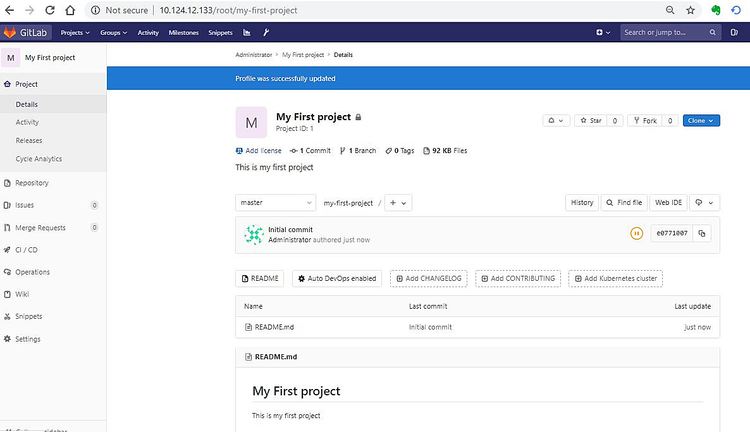
Once done, you will be redirect to the main page of the project as per below
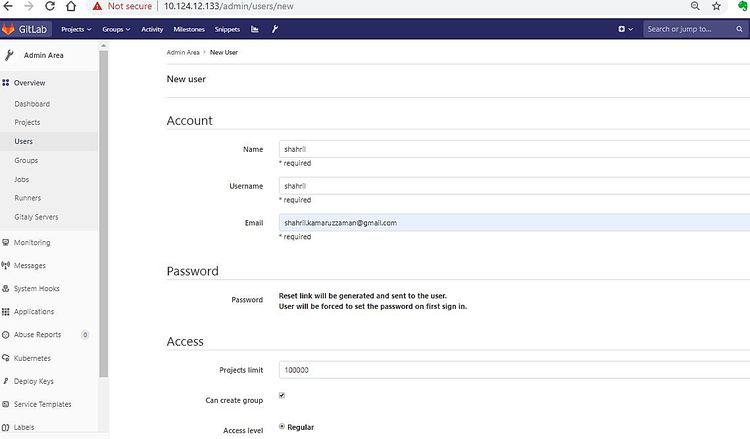
Now, as a project there will be several user contributed into this repository. To recreate the scenario, let's create a user that later will contirbute into this project. Go back to the main page and click on Add people . You will be redicrect to member creation page like below. Create a user and fill in as per needed.
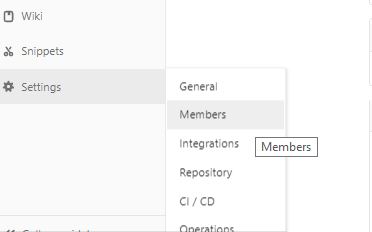
Now, once done go back to your main project page, go to settings and click on members . Below are the example :-
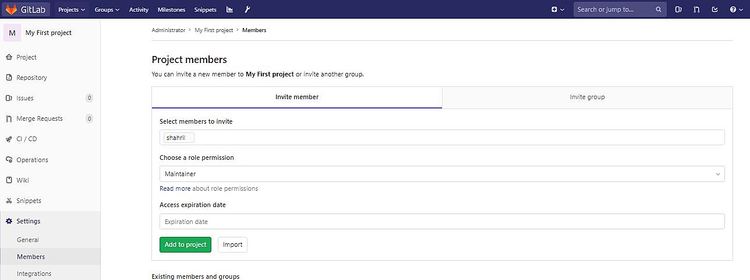
It will bring you into Project member page, include the new user that you have created and define the roles to give to the user like example below. For every definition of the roles and privileges, you can click on Read More for more details
Once done, you'll see the list of granted team member as per below example :-
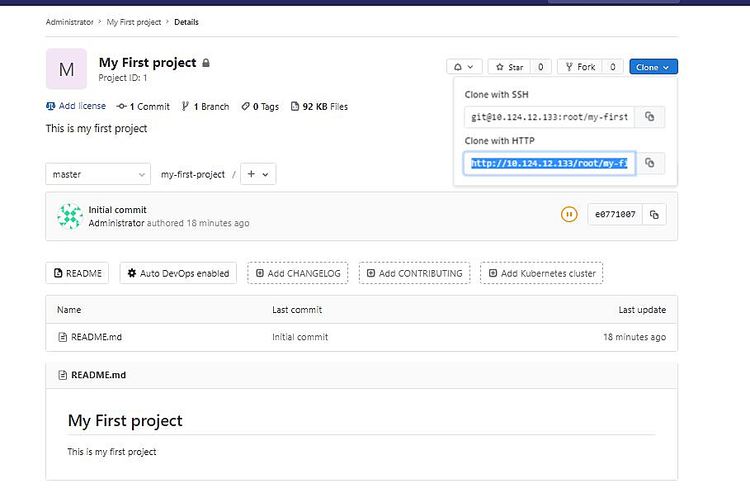
Now, let's test the project workflow contribution by accessing from other server and login as the new user that we've created and create a new file to be commited into the project. First, let's take the URL for the project to be clone from other server or workstation. You can take the project URL link from example below :-
As everything prepared, let's login into a test workstation and clone the project to be access by different user. Below are the steps :-
 [root@Test1 ~]# yum install -y git
 [root@Test1 ~]# git clone http://10.124.12.133/root/my-first-project.git
You'll need to provide the user access to clone the project, use the new user created just now as example shown below :-
Once done, a new folder with the project name will be created under your workstation. Now go inside the folder and create an empty file. This is just to test the project can be contributed by any team members from any workstation and the project repository will always get updated synchonously . Below are the steps :-
 [root@Test1 ~]# cd ls
 anaconda-ks.cfg my-first-project
 [root@Test1 ~]# cd my-first-project/
 [root@Test1 my-first-project]# ls
 README.md
 [root@Test1 my-first-project]# touch myfile.txt
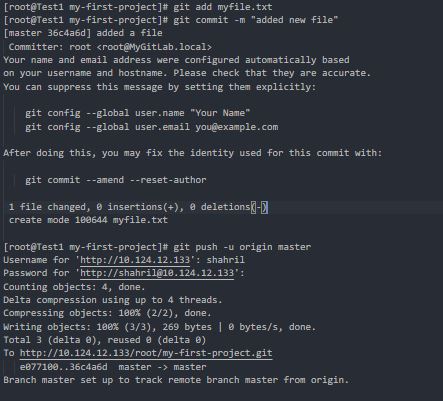
As everything done, let's commit our changes to make it sync with project main repository. Below are the steps :-
 [root@Test1 my-first-project]# git add myfile.txt
 [root@Test1 my-first-project]# git commit -m "added new file"
 [root@Test1 my-first-project]# git push -u origin master
Once above command proceeded, process will show like example below :-
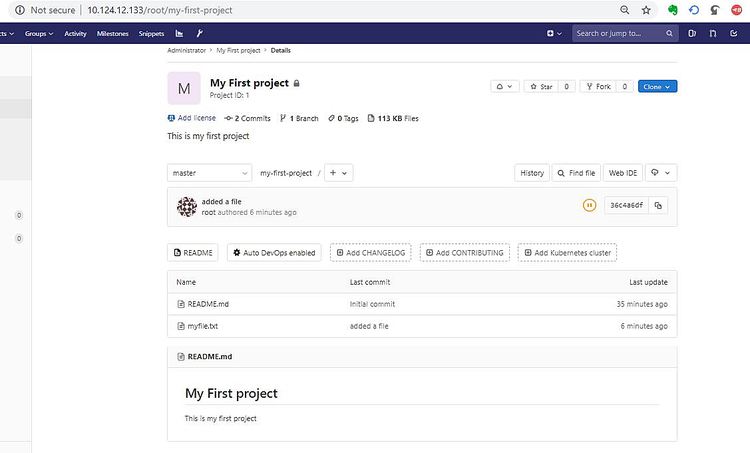
Great! As everything is done, let's go back to the browser and refresh the page. You will notice that the new file commited by user shahril are shown on main project page


