How to Install Syncthing Remote File Synchronization Software on Debian 11
Syncthing is a free and open-source file syncing application used to sync files between multiple remote devices over the internet. It works on peer-to-peer architecture and exchanges the data automatically between two devices. It helps you to keep files and directories synchronized in real-time. All data transmission between multiple devices is safe and encrypted with TLS. It has clients for Linux, Windows, and macOS. It also has an Android app to sync from and to smartphones!
In this post, we will show you how to install Syncthing file synchronization software on Debian 11 server.
Prerequisites
- Two servers running Debian 11.
- A root password is configured on each server.
Add Syncthing Repository
By default, Syncthing is not included in the Debian 11 default repo. So you will need to add the Syncthing repository on both servers.
First, install the required dependencies using the following command:
apt-get install gnupg2 curl apt-transport-https -y
Next, download and add the GPG key with the following command:
curl -s https://syncthing.net/release-key.txt | apt-key add -
Next, add the Syncthing repository to APT with the following command:
echo "deb https://apt.syncthing.net/ syncthing release" > /etc/apt/sources.list.d/syncthing.list
Next, update the repository with the following command:
apt-get update -y
Install Syncthing on Debian 11
At this point, the Syncthing repo is added on both servers. Now, run the following command on both servers to install Syncthing.
apt-get install syncthing -y
Once the Syncthing is installed, verify the Syncthing version using the following command:
syncthing --version
You will get the following output:
syncthing v1.18.6 "Fermium Flea" (go1.17.6 linux-amd64) [email protected] 2021-12-30 12:07:01 UTC [noupgrade]
Create a Systemd Service File for Syncthing
Next, you will need to create a systemd service file on both servers to manage the Syncthing. You can create it with the following command:
nano /etc/systemd/system/[email protected]
Add the following lines:
[Unit]
Description=Syncthing - Open Source Continuous File Synchronization for %I
Documentation=man:syncthing(1)
After=network.target

[Service]
User=%i
ExecStart=/usr/bin/syncthing -no-browser -gui-address="0.0.0.0:8384" -no-restart -logflags=0
Restart=on-failure
SuccessExitStatus=3 4
RestartForceExitStatus=3 4

[Install]
WantedBy=multi-user.target
Save and close the file when you are finished. Then, reload the systemd daemon to apply the changes.
systemctl daemon-reload
Next, start the Syncthing service with the following command:
systemctl start syncthing@root
Next, verify the status of the Syncthing using the following command:
systemctl status syncthing@root
You will get the following output:
? [email protected] - Syncthing - Open Source Continuous File Synchronization for root
     Loaded: loaded (/etc/systemd/system/[email protected]; disabled; vendor preset: enabled)
     Active: active (running) since Mon 2022-01-31 02:28:35 UTC; 11s ago
       Docs: man:syncthing(1)
   Main PID: 2746 (syncthing)
      Tasks: 14 (limit: 2341)
     Memory: 56.3M
        CPU: 1.661s
     CGroup: /system.slice/system-syncthing.slice/[email protected]
             ??2746 /usr/bin/syncthing -no-browser -gui-address=0.0.0.0:8384 -no-restart -logflags=0
             ??2752 /usr/bin/syncthing -no-browser -gui-address=0.0.0.0:8384 -no-restart -logflags=0

Jan 31 02:28:36 server1 syncthing[2746]: [6F5DY] INFO: QUIC listener ([::]:22000) starting
Jan 31 02:28:36 server1 syncthing[2746]: [6F5DY] INFO: Loading HTTPS certificate: open /root/.config/syncthing/https-cert.pem: no such file o>
Jan 31 02:28:36 server1 syncthing[2746]: [6F5DY] INFO: Creating new HTTPS certificate
Jan 31 02:28:36 server1 syncthing[2746]: [6F5DY] INFO: Completed initial scan of sendreceive folder "Default Folder" (default)
Jan 31 02:28:36 server1 syncthing[2746]: [6F5DY] INFO: GUI and API listening on [::]:8384
Jan 31 02:28:36 server1 syncthing[2746]: [6F5DY] INFO: Access the GUI via the following URL: http://127.0.0.1:8384/
Jan 31 02:28:36 server1 syncthing[2746]: [6F5DY] INFO: My name is "server1"
Jan 31 02:28:36 server1 syncthing[2746]: [6F5DY] WARNING: Syncthing should not run as a privileged or system user. Please consider using a no>
Jan 31 02:28:36 server1 syncthing[2746]: [6F5DY] INFO: quic://0.0.0.0:22000 detected NAT type: Not behind a NAT
Jan 31 02:28:36 server1 syncthing[2746]: [6F5DY] INFO: quic://0.0.0.0:22000 resolved external address quic://69.87.219.167:22000 (via stun.sy>
By default, Syncthing listens on port 8384. You can check it with the following command:
ss -antpl | grep 8384
You will get the following output:
LISTEN 0 4096 *:8384 *:* users:(("syncthing",pid=2752,fd=28))
Set Syncthing Admin Password
At this point, Syncthing is installed and running on both servers. Now, you will need to access the Syncthing web UI and set an admin password.
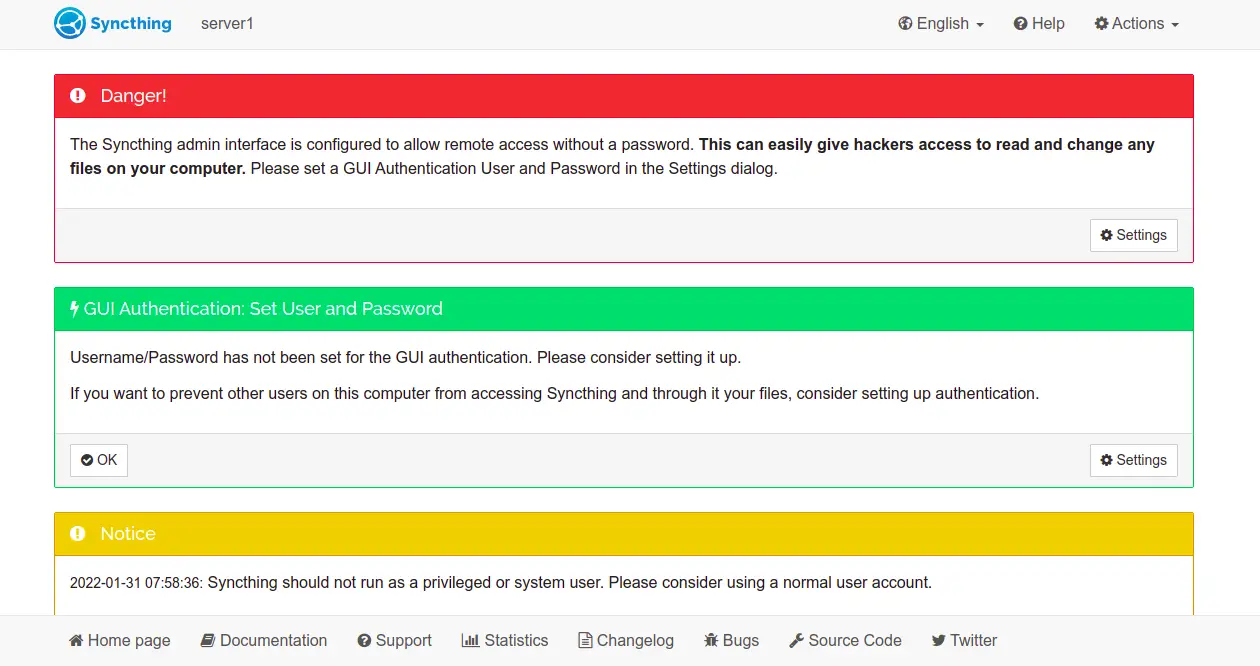
To set the admin password of the first server, open your web browser and access it using the URL http://first-server-ip:8384. You should see the following screen:
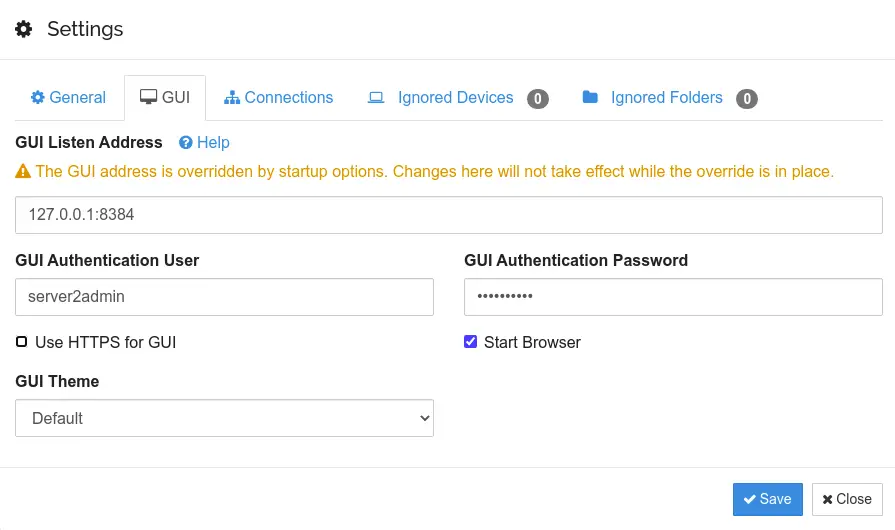
Click on the Settings button. You should see the following screen:
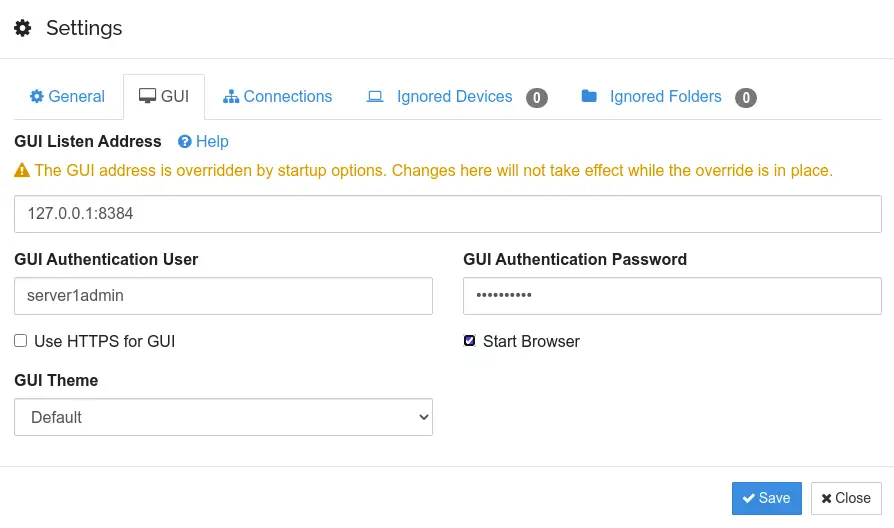
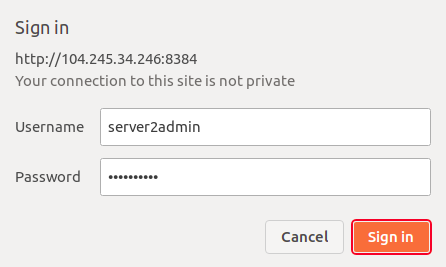
In the GUI tab, define your admin username, password and click on the Save button to apply the changes. You will be redirected to the Syncthing login page:
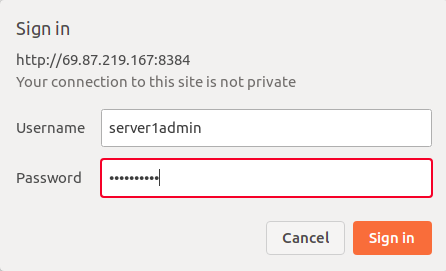
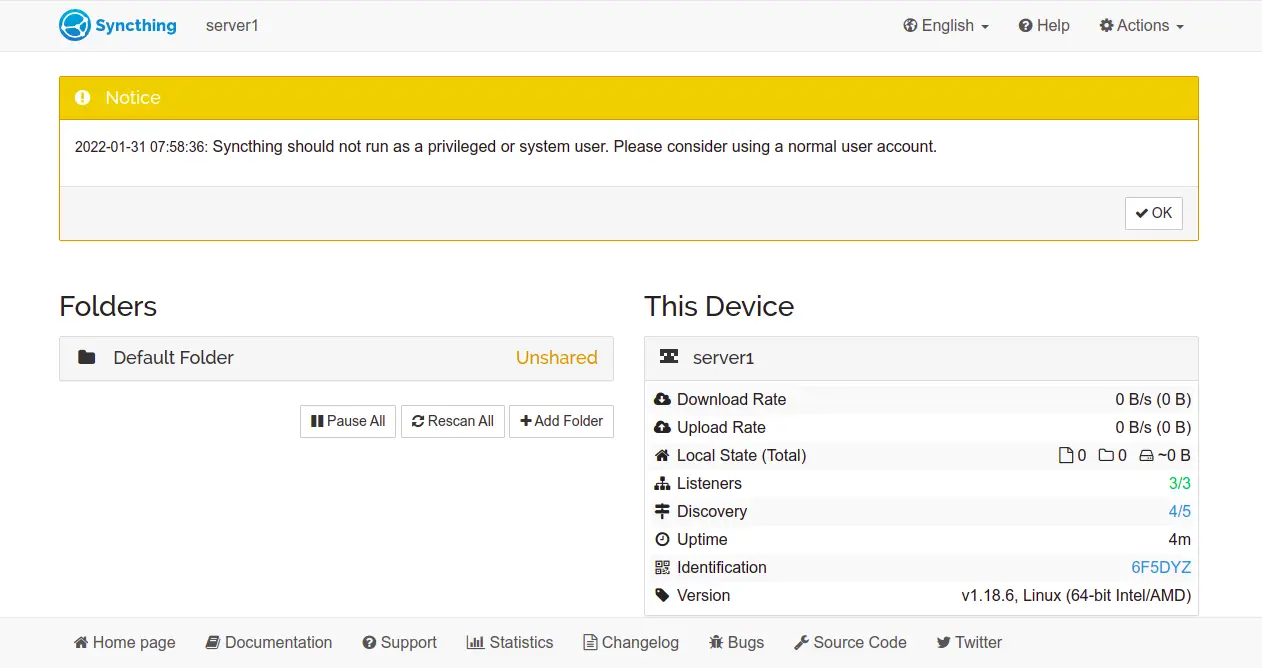
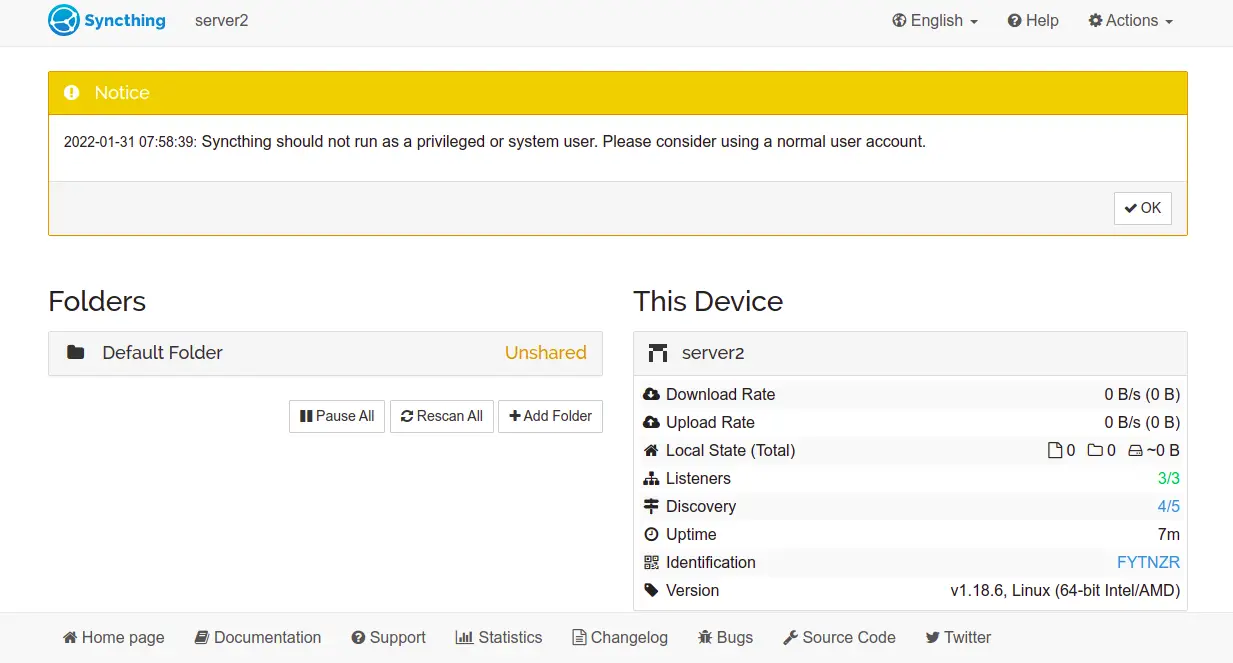
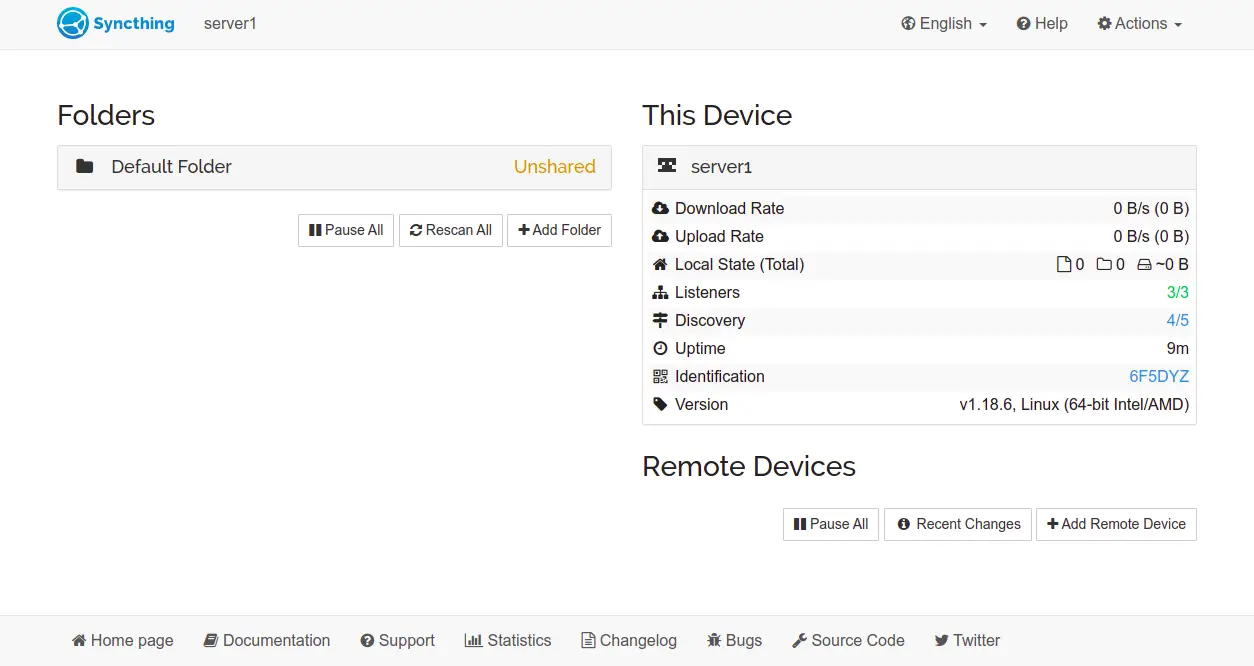
Provide your admin username, password, and click on the Sign in button. You should see the Syncthing dashboard on the following screen:
To set the admin password of the second server, open your web browser and access it using the URL http://second-server-ip:8384. You should see the following screen:

Click on the Settings button. You should see the following screen:
In the GUI tab, define your admin username, password and click on the Save button to apply the changes. You will be redirected to the Syncthing login page:
Provide your admin username, password, and click on the Sign in button. You should see the Syncthing dashboard in the following screen:
Add Each Server to Another Server
Next, you will need to locate the device ID of each server and add it to another server in order to sync files between both servers.
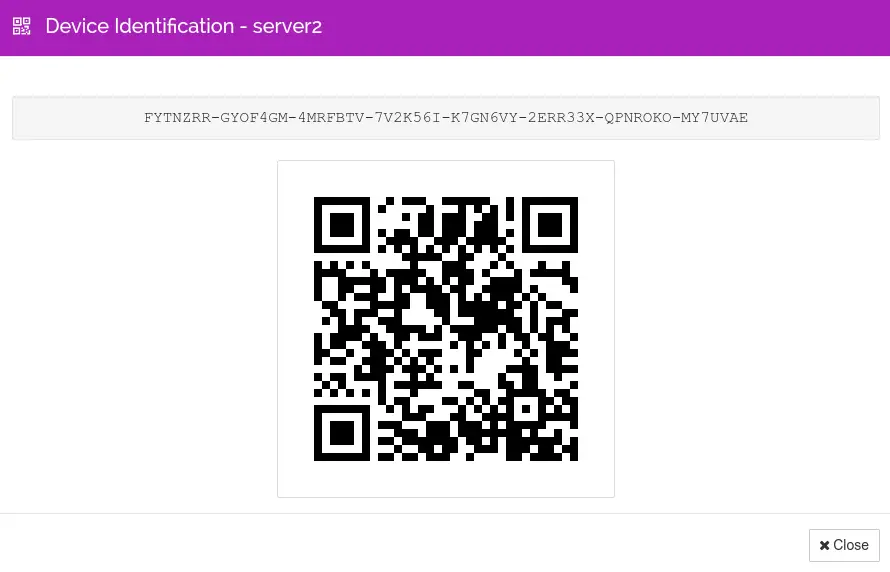
On the first server dashboard, click on the Actions > Show ID to locate the device ID. You should see the following screen:
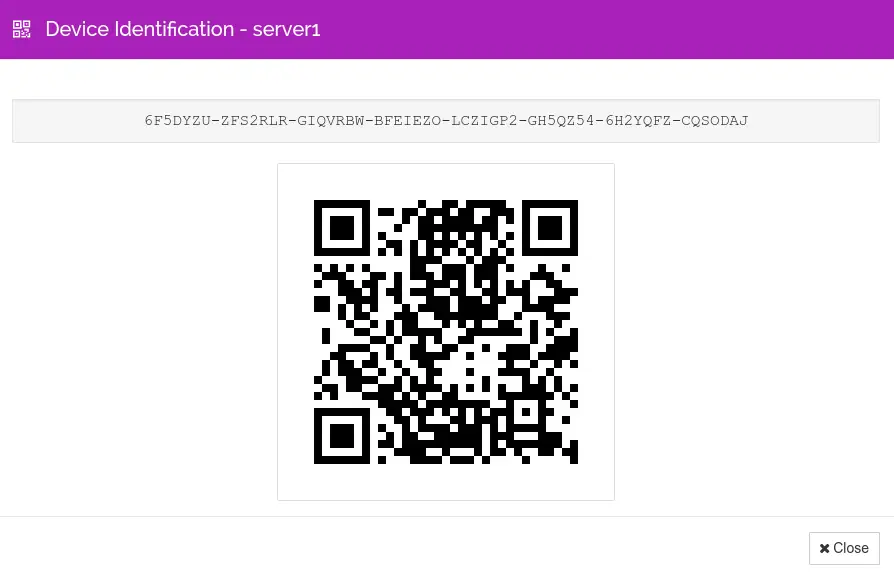
On the second server dashboard, click on the Actions > Show ID to locate the device ID. You should see the following screen:
On the first server, click on the close button. You should see the following screen:
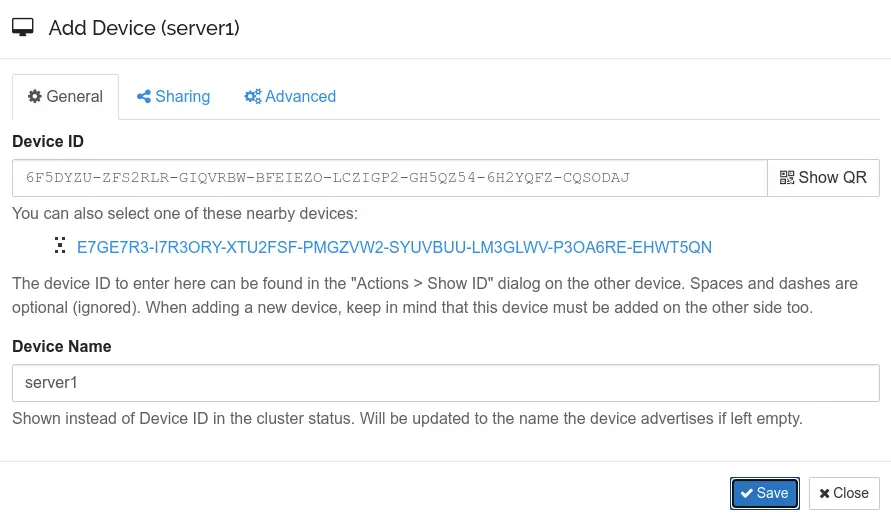
Now, click on the Add Remote Device. You should see the following screen:
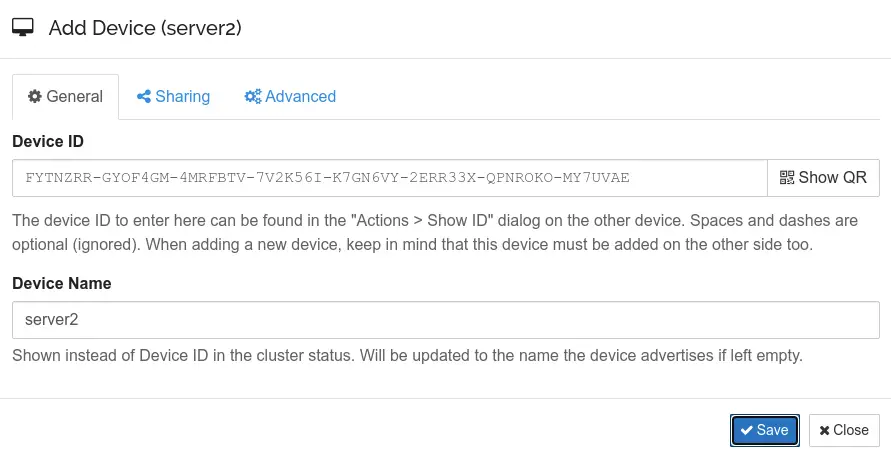
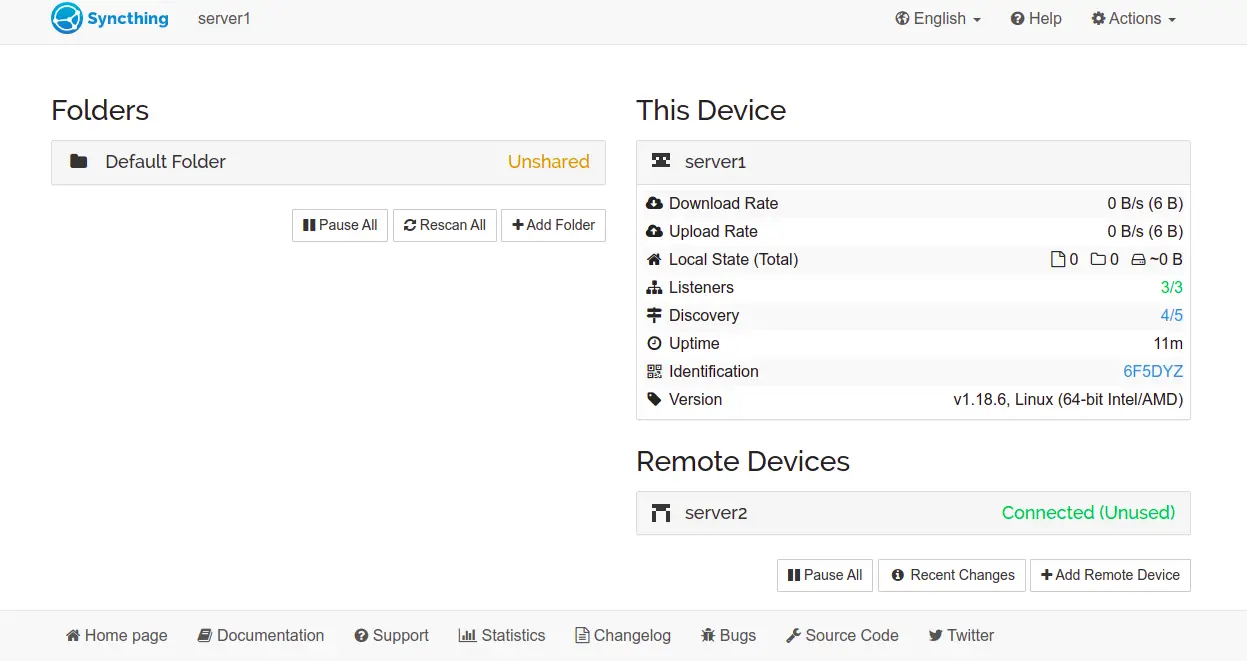
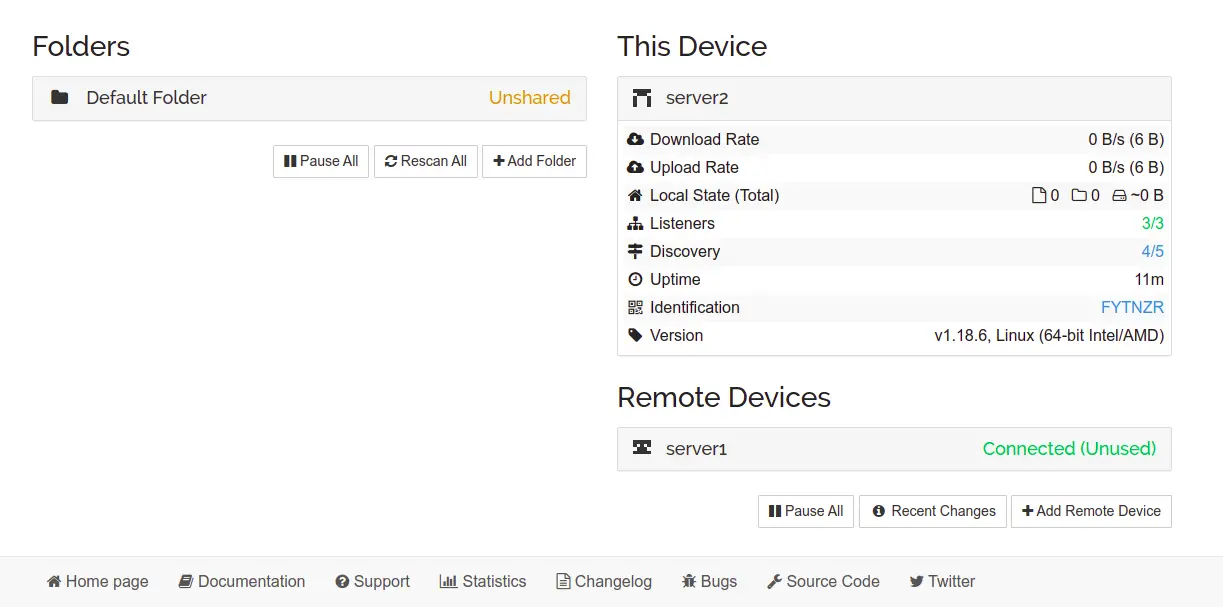
Provide the device ID and name of the second server and click on the Save button. Once the device has been added, you should see the following screen:
On the second server, click on Add Remote Device. You should see the following screen:
Provide the device ID and name of the first server and click on the Save button. You should see the following screen:
Create and Shared a Folder
Next, you will need to add and share the folder on the first server that you want to sync with the second server.
On the first server, click on the Add Folder button. You should see the following screen:
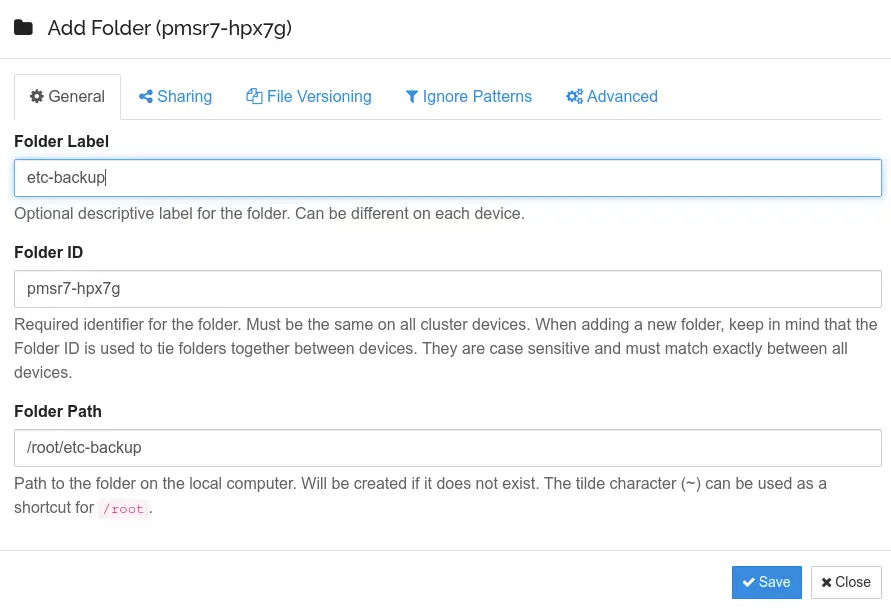
Provide your folder label, folder path, and click on the Sharing tab. You should see the following screen:

Tick to the second server and click on the Save button. You should see the following screen:
Next, go to the second server and click on Rescan All button. You should see the following screen:
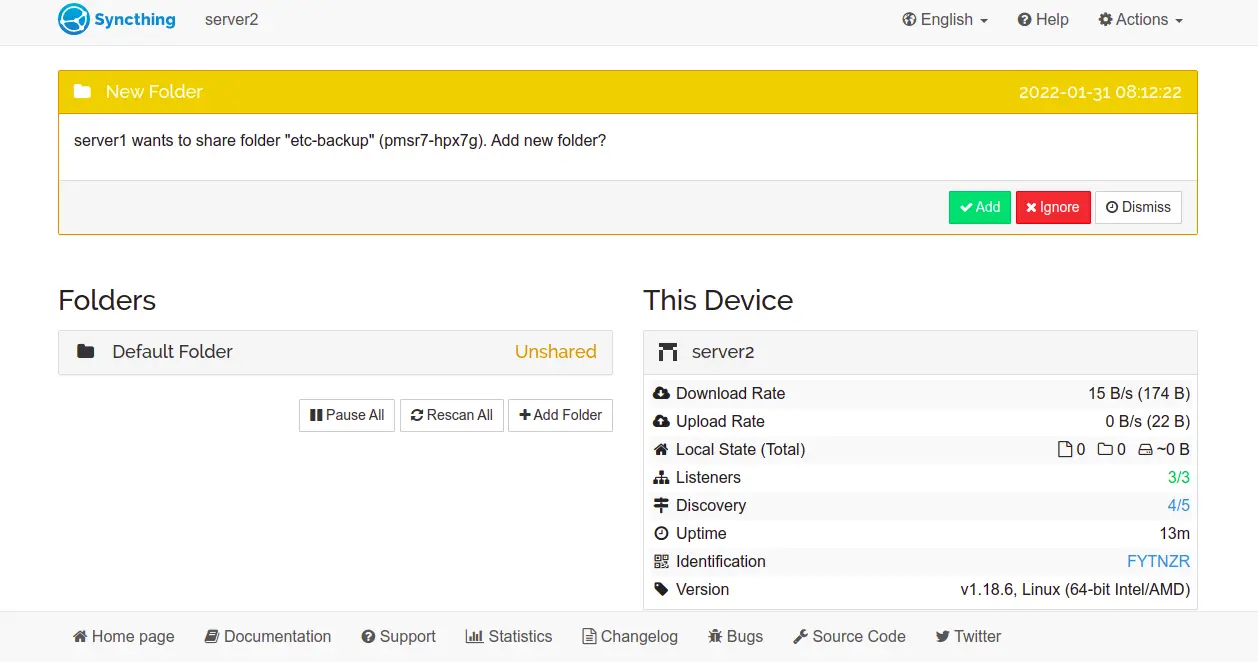
Click on Add to add the folder shared on the first server. You should see the following screen:
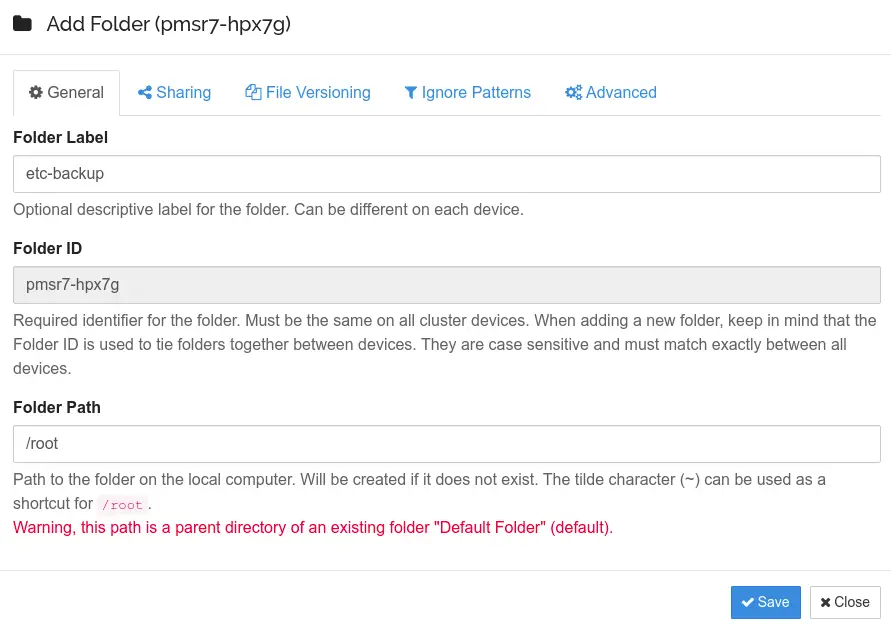
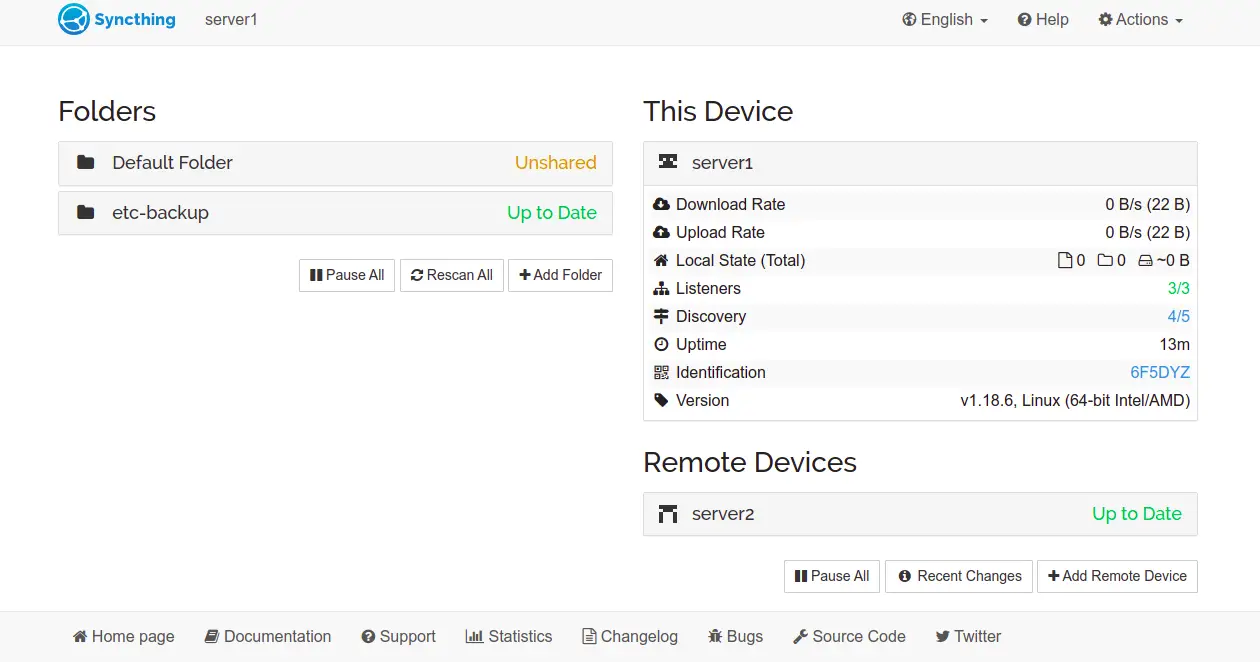
Click on the Save button to apply the changes. You should see the following screen:
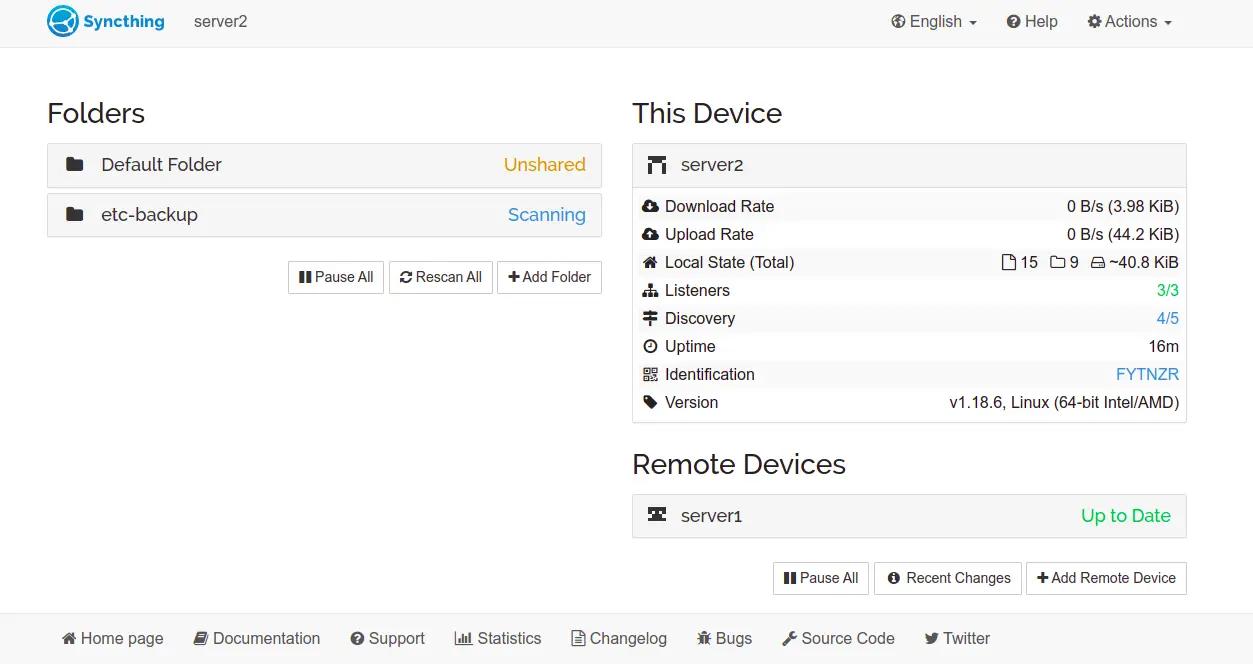
At this point, both servers are configured to sync file each other. Whenever you create or modify any files on the shared folder on the first server they will be synchronized automatically to the second server.
Conclusion
Congratulations! you have successfully installed and configured Syncthing on two Debian 11 servers and set up synchronization between both servers. I hope this tutorial will help you to backup your server. Feel free to ask me if you have any questions.

