How to Install Supabase (Firebase Alternative) with Docker on Ubuntu 24.04
Supabase is an open-source Firebase alternative built on top of the PostgreSQL database, the world's most trusted relational database. It allows developers to build complete web, mobile, and AI applications. Supabase offers PostgreSQL database, authentication, APIs, Storage, real-time subscriptions, and Vector embeddings. With the simple setup and user interface, developers can quickly build applications on top of Supabase.
In this tutorial, you'll learn how to install Supabase on Ubuntu 24.04 server. You'll be running Supabase with as containers with Docker, and the securing Supabase with password authentication and JWT tokens. Lastly, you'll also learn how to set up Nginx as a reverse proxy for Supabase.
Prerequisites
To begin with this guide, make sure you have the following:
- An Ubuntu 24.04 server
- A non-root user with administrator privileges
- A domain name pointed to server IP address
Installing Docker Engine
To deploy Supabase on your server, you need to install Docker Engine on your machine. The Supabase applications will be running as a container on your server.
In this section, you'll install Docker Engine through the official Docker repository.
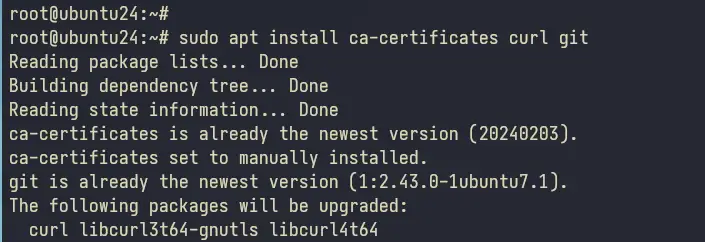
First, run the command below to update your Ubuntu package index and install packages such as 'ca-certificates', 'curl', and 'git'.
sudo apt update
sudo apt install -y ca-certificates curl git
Now run the following command to add the GPG key for the Docker Engine repository.
sudo install -m 0755 -d /etc/apt/keyrings
sudo curl -fsSL https://download.docker.com/linux/ubuntu/gpg -o /etc/apt/keyrings/docker.asc
sudo chmod a+r /etc/apt/keyrings/docker.asc
Add the Docker Engine repository for your Ubuntu server by executing the command below.
echo \
"deb [arch=$(dpkg --print-architecture) signed-by=/etc/apt/keyrings/docker.asc] https://download.docker.com/linux/ubuntu \
$(. /etc/os-release && echo "$VERSION_CODENAME") stable" | \
sudo tee /etc/apt/sources.list.d/docker.list > /dev/null
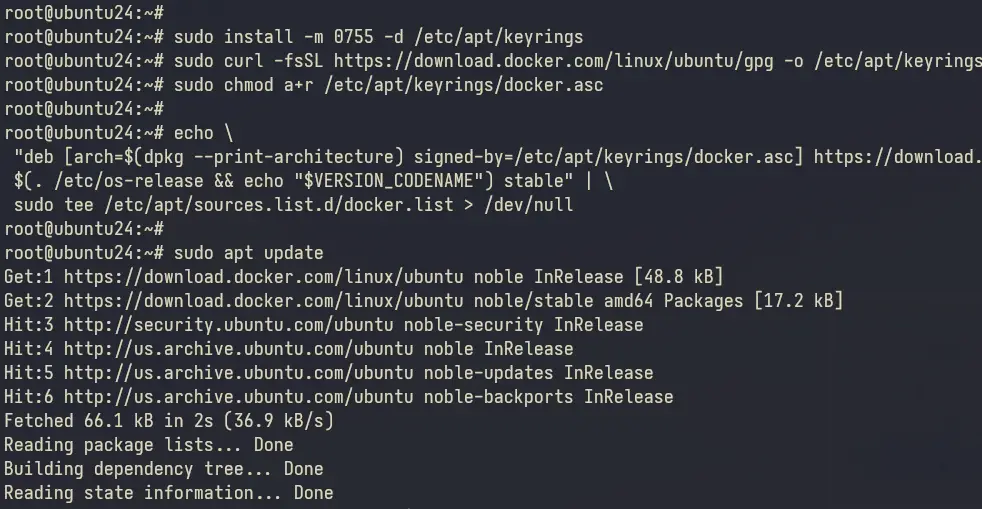
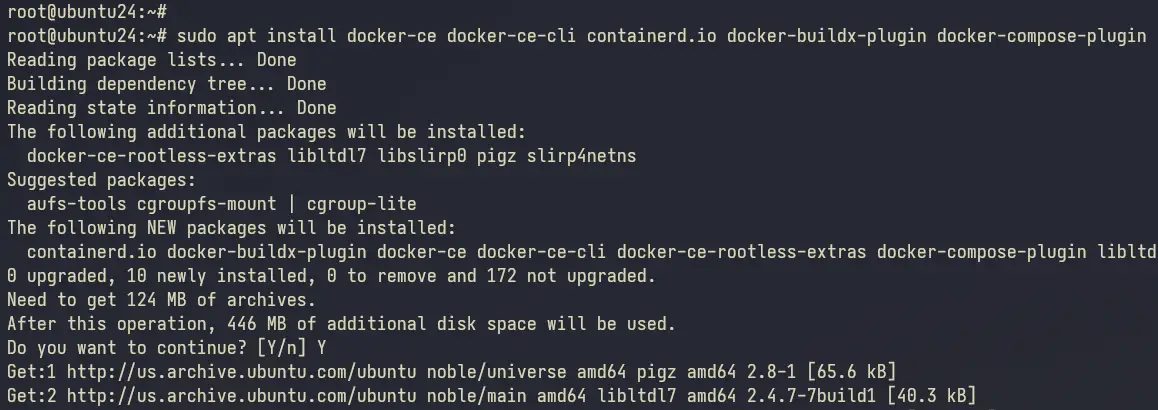
With the Docker GPG key and repository added, run the 'apt' command below to refresh your package index and install Docker Engine. With this, you'll also install the Docker Compose and buildx plugins.
sudo apt update
sudo apt install docker-ce docker-ce-cli containerd.io docker-buildx-plugin docker-compose-plugin
Enter 'Y' to confirm the installation.
Adding User to Docker Group
In this guide, you'll be running Supabase as a non-root user, so make sure a dedicated user is created. Then, you need to add your user to the 'docker' group, which will allow the user to run containers.
Add your user to the 'docker' group with the command below. This will allow your user to execute and run containers.
sudo usermod -aG sudo username
Log in to your user with the 'su' command below.
su - username
Lastly, execute the 'docker' command below to run the 'hello-world' container.
docker run hello-world
If everything goes well, you'll see the 'Hello World' message from Docker.

Downloading and Installing Supabase
Now that you've installed Docker, the next step is to download Supabase and run it as a container. In this section, you'll learn how to get Supabase up and running, and later on, you'll learn how to secure it.
Download the 'supabase' source code with the 'git' command below.
git clone --depth 1 https://github.com/supabase/supabase
Move to the 'supabase/docker' directory and copy the file '.env.example' to the '.env'. This file will be used to configure your Supabase installation.
cd supbase/docker
cp .env.example .env
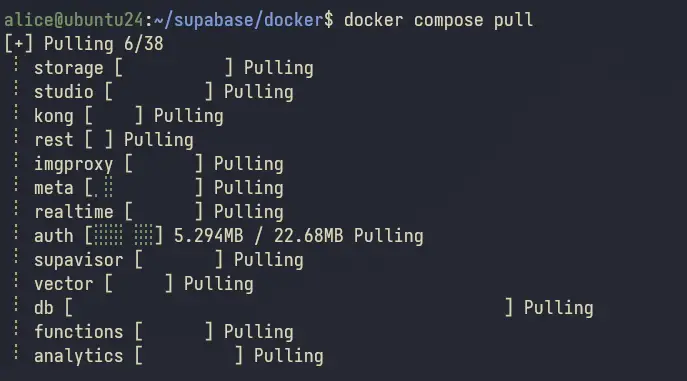
Next, run the 'docker compose' command below to download Supase images from the Docker repository. This will download multiple images for Supabase.
docker compose pull
You can see the download process for Supabase Docker images below.
Once the process is finished, execute the following command to start Supabase containers. With the '-d' option, you'll run containers in the background, so the logs for Supbase containers will not be shown.
docker compose up -d
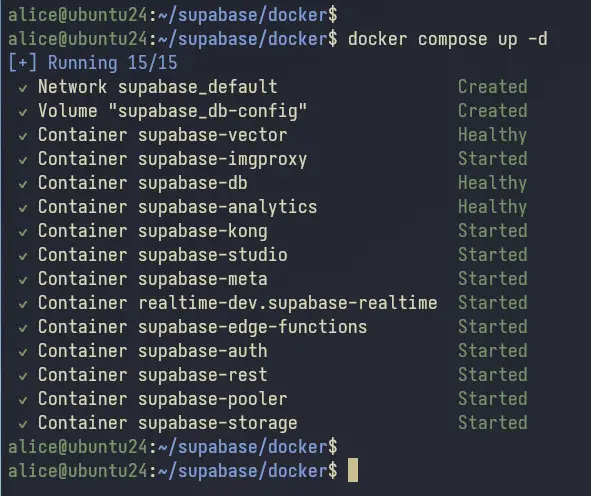
Lastly, run the 'docker compose' command below to check the status of Supbase containers.
docker compose ps
In the output below, you can see that Supbase containers such as 'supabase-auth', 'supabase-kong', 'supabase-rest', and 'supabase-studio' is running.
Securing Supabase
Currently, Supabase is up and running on your system, but without proper password and authentication. So for now, you'll secure Supabase installation by changing credentials within the '.env' file.
Before you begin, let's generate passwords for the PostgreSQL server, and Supabase dashboard, and then generate the JWT secret and token.
Execute the command below twice to generate a secure password for the Supabase dashboard and PostgreSQL server.
openssl rand -hex 16

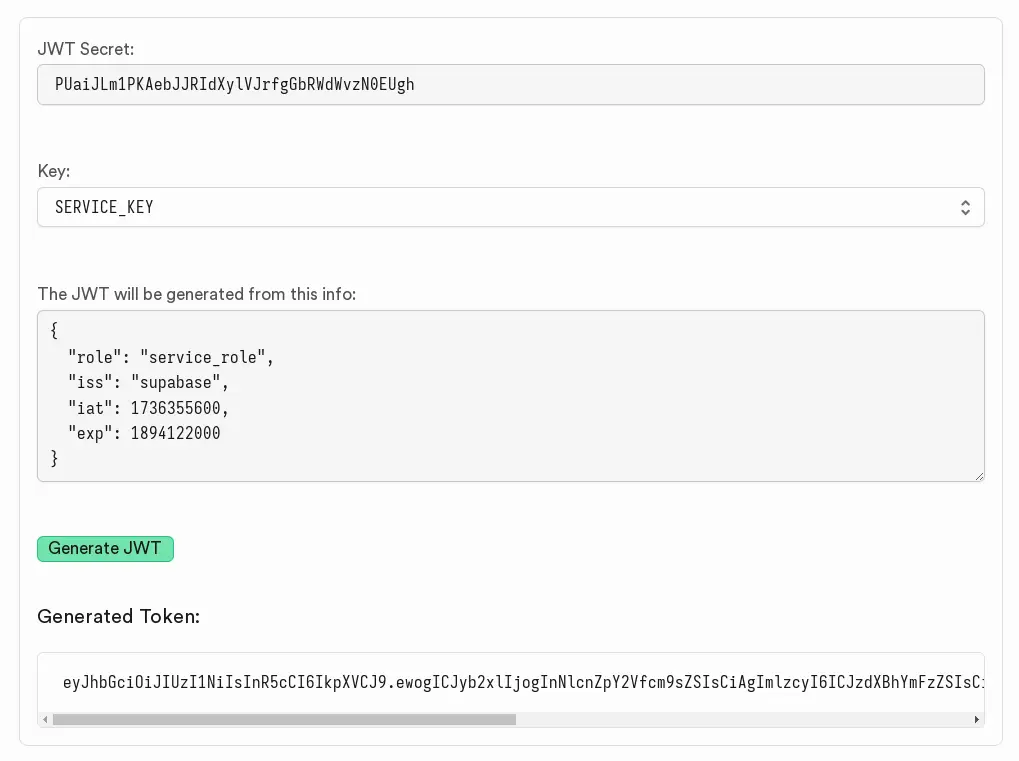
Now go to the Supabase website to generate two JWT tokens for Supabase. Make sure to write down the following:
- JWT Secret
- Key for both ANON_KEY and SERVICE_KEY
- Generated JWT tokens for both
Now that you've generated passwords and tokens for Supabase, let's apply those by editing the '.env' file.
Open the '.env' file using the 'vim' editor.
vim .env
Paste your generated OpenSSL password to the 'POSTGRES_PASSWORD' option.
POSTGRES_PASSWORD=f489d6f61514eb90fbf57fb574c3d367
Enter your JWT secret key to the 'JWT_SECRET' option.
JWT_SECRET=PUaiJLm1PKAebJJRIdXylVJrfgGbRWdWvzN0EUgh
Replace the 'ANON_KEY' value with your generated JWT token for the 'anon' user.
ANON_KEY=eyJhbGciOiJIUzI1NiIsInR5cCI6IkpXVCJ9.ewogICJyb2xlIjogImFub24iLAogICJpc3MiOiAic3VwYWJhc2UiLAogICJpYXQiOiAxNzM2MzU1NjAwLAogICJleHAiOiAxODk0MTIyMDAwCn0.f8_wST3WX1bmvsHttRokJPCz7-rpyjU8HMNnYH7kSd4
Replace the 'SERVICE_ROLE_KEY' value with your generated JWT token for the 'service_role' user.
SERVICE_ROLE_KEY=eyJhbGciOiJIUzI1NiIsInR5cCI6IkpXVCJ9.ewogICJyb2xlIjogInNlcnZpY2Vfcm9sZSIsCiAgImlzcyI6ICJzdXBhYmFzZSIsCiAgImlhdCI6IDE3MzYzNTU2MDAsCiAgImV4cCI6IDE4OTQxMjIwMDAKfQ.DOo1lqH76AR_jCx0N9QDZBEdrQ8T_JBQqc7CagD1mWM
If you're deploying on a public server, enter your SMTP server details.
Email auth
ENABLE_EMAIL_SIGNUP=true
ENABLE_EMAIL_AUTOCONFIRM=false
[email protected]
SMTP_HOST=smtp.server.address
SMTP_PORT=2500
SMTP_USER=username
SMTP_PASS=password
SMTP_SENDER_NAME=sender_name
ENABLE_ANONYMOUS_USERS=false
Enter your username and password to both 'DASHBOARD_USERNAME' and 'DASHBOARD_PASSWORD' options. This user will be used to log in to the Supabase.
DASHBOARD_USERNAME=supabase
DASHBOARD_PASSWORD=91521851a4e1375145959eecddfaff45
Enter your domain name into the 'SITE_URL', 'API_EXTERNAL_URL', and 'SUPABASE_PUBLIC_URL' options. In this example, we'll be using a domain 'https://supabase.howtoforge.local'.
SITE_URL=https://supabase.howtoforge.local
API_EXTERNAL_URL=https://supabase.howtoforge.local
SUPABASE_PUBLIC_URL=https://supabase.howtoforge.local
Save the file and exit the editor when finished.
Now run the 'docker' command below to stop and remove Supabase containers.
docker compose down
And then recreate the containers for Supabase with the following command.
docker compose up -d
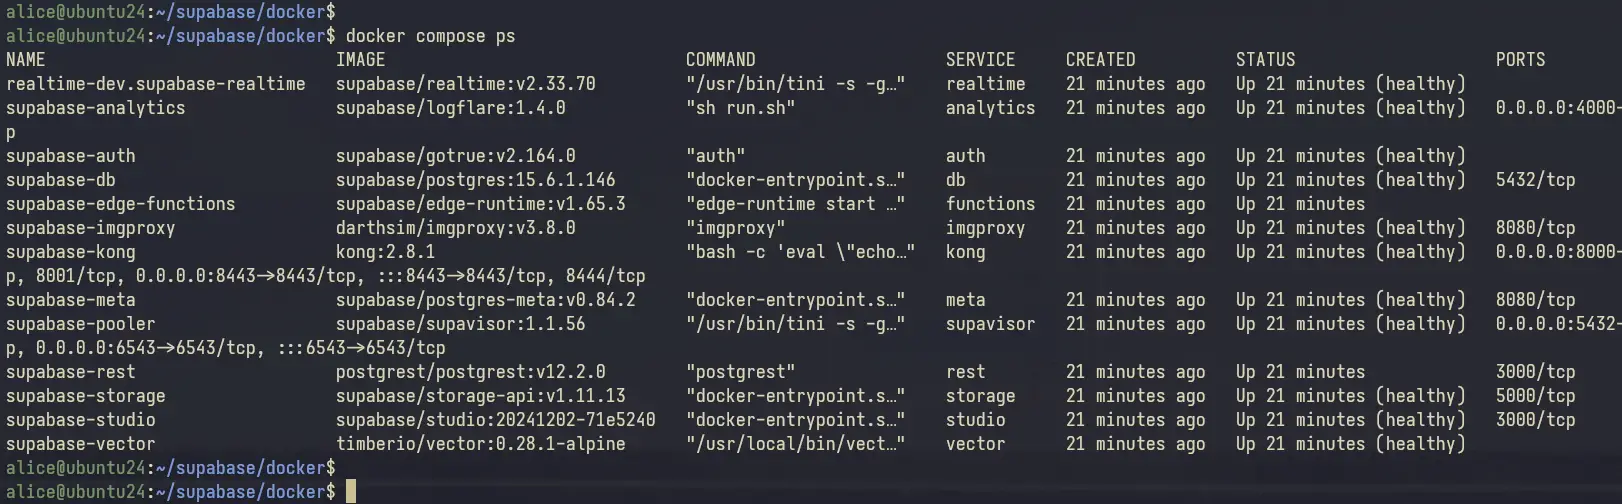
Once everything is running, check each container service using the command below.
docker compose ps
You can see below that each container for Supabase is running.

Setting up Nginx as a Reverse Proxy for Supabase
Now that Supabase is secured, let's install the Nginx web server and configure it as a reverse proxy for Supabase. Make sure that you've your domain name ready and pointed to the server IP address.
Install Nginx with the following 'apt' command.
sudo apt install nginx -y
Now create a new Nginx server block configuration '/etc/nginx/sites-available/supabase' with the 'vim' editor.
sudo vim /etc/nginx/sites-available/supabase
Paste the following configuration and make sure to change the domain name within the 'server_name' option.
map $http_upgrade $connection_upgrade {
default upgrade;
'' close;
}

upstream kong {
server localhost:8000;
}

server {
listen 80;
server_name supabase.howtoforge.local;

# REST
location ~ ^/rest/v1/(.*)$ {
proxy_set_header Host $host;
proxy_pass http://kong;
proxy_redirect off;
}

# AUTH
location ~ ^/auth/v1/(.*)$ {
proxy_set_header Host $host;
proxy_pass http://kong;
proxy_redirect off;
}

# REALTIME
location ~ ^/realtime/v1/(.*)$ {
proxy_redirect off;
proxy_pass http://kong;
proxy_http_version 1.1;
proxy_set_header Upgrade $http_upgrade;
proxy_set_header Connection $connection_upgrade;
proxy_set_header Host $host;
}

# STUDIO
location / {
proxy_set_header Host $host;
proxy_pass http://kong;
proxy_redirect off;
proxy_set_header Upgrade $http_upgrade;
}
}
Save the file and exit the editor when finished.
Next, execute the command below to activate the Supabase server block and verify your Nginx syntax. If no error, you'll get an output 'syntax is ok - test is successful'.
sudo ln -s /etc/nginx/sites-available/supabase /etc/nginx/sites-enabled/
sudo nginx -t

Now run the 'systemctl' command below to restart the Nginx web server and apply your changes. With this, your Supabase installation should be running under the Nginx reverse Proxy.
sudo systemctl restart nginx
Lastly, execute the 'systemctl' command below to verify the Nginx service and ensure that the service is running.
sudo systemctl status nginx
If everything goes well, you'll see an output like the following.

Securing Supabase with HTTPS
After Nginx is up and running as a reverse proxy, let's generate SSL certificates and enable HTTPS to secure Supabase installation.
If you're in development mode, you can skip this part and leave Supabase with HTTPS. For production, you must implement HTTPS to secure your Supabase server.
Install Certbot and Nginx Certbot Plugin with the 'apt' command below. Enter 'Y' to confirm the installation.
sudo apt install certbot python3-certbot-nginx
After the installation is complete, execute the 'certbot' command below to generate SSL certificates for your domain name. Make sure to change the domain name and email address within the command.
sudo certbot --nginx --agree-tos --redirect --hsts --staple-ocsp --email [email protected] -d supabase.howtoforge.local
Once complete, your SSL certificates will be available at the '/etc/letsencrypt/live/domain.com' directory and Supabase will be secured with HTTPS automatically through the Nginx Certbot plugin.
Access Supabase Studio
To access Supabase, open your web browser and visit https://supabase.howtoforge.local. If your installation is successful, you'll be prompted with the basic password authentication.
Enter the username and password within the 'DASHBOARD_USERNAME' and 'DASHBOARD_PASSWORD' options and click 'Login'.
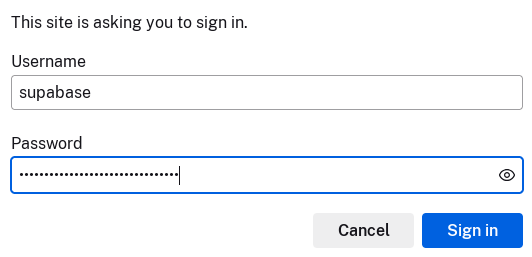
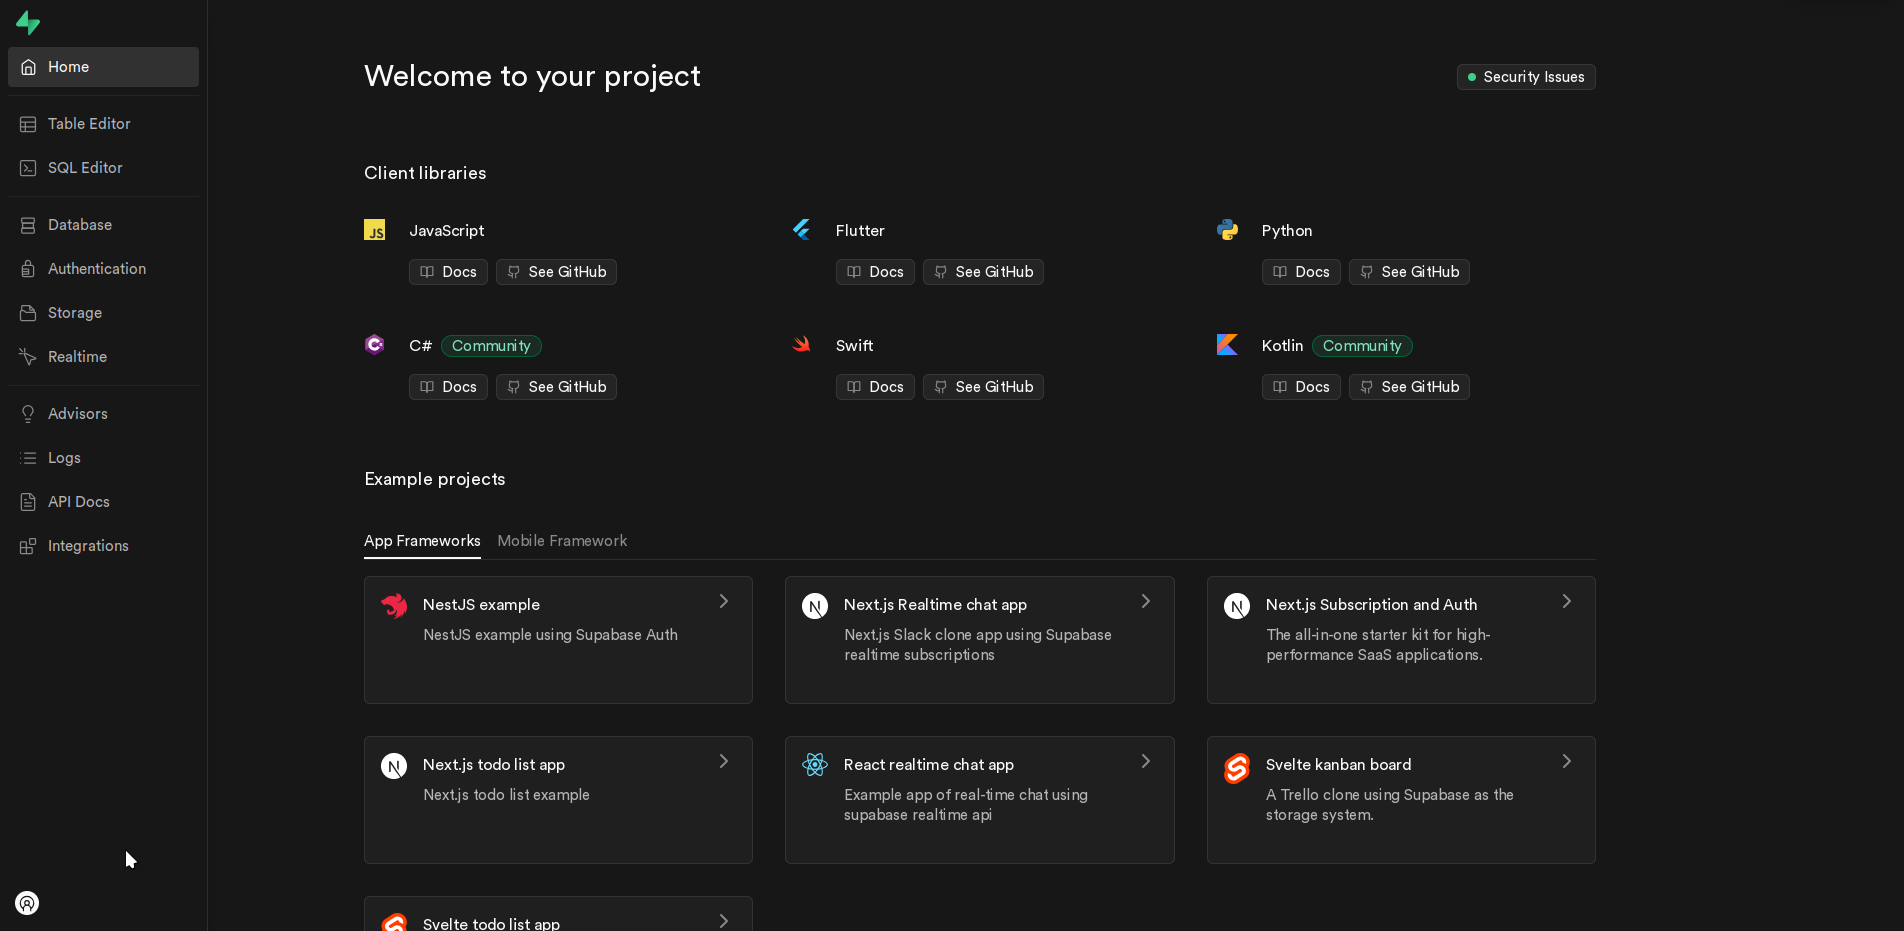
If successful, you'll see the following Supabase Dashboard.
Conclusion
Congratulations! You've finished the installation of Supabase on the Ubuntu 24.04 server via Docker. You've deployed and secured Supabase with the password authentication JWT token, and then installed and configured Nginx as a reverse proxy. Lastly, you've also secured Supabase with HTTPS through Certbot and Letsencrypt. From here, you can now try to create a new database, insert data into Supabase, and then create simple applications with the Supabase module to communicate via REST API.

