How to Install OctoberCMS on Debian 12
October CMS is a web application written in the Laravel web framework. It supports a variety of databases, such as MySQL/MariaDB, PostgreSQL, and SQLite. It can be run under Apache, Nginx, Lighthttpd, and Microsoft IIS.
This guide will walk you through the installation process of October CMS on Debian 12 with the LEMP Stack (Nginx, MySQL/MariaDB, and PHP-FPM), UFW, and Certbot.
Prerequisites
To proceed with this guide, gather the following:
- A Debian 12 server.
- A non-root user with administrator user.
- A domain name pointed to the server IP address.
Installing Dependencies
In this example, you will install October CMS on the Debian server with the LEMP Stack (Nginx, MySQL/MariaDB, and PHP-FPM). So, the first task you will do is install LAMP Stack with additional dependencies such as UFW (Uncomplicated Firewall) and Certbot.
Start this guide by updating your Debian repository using the following command.
sudo apt update
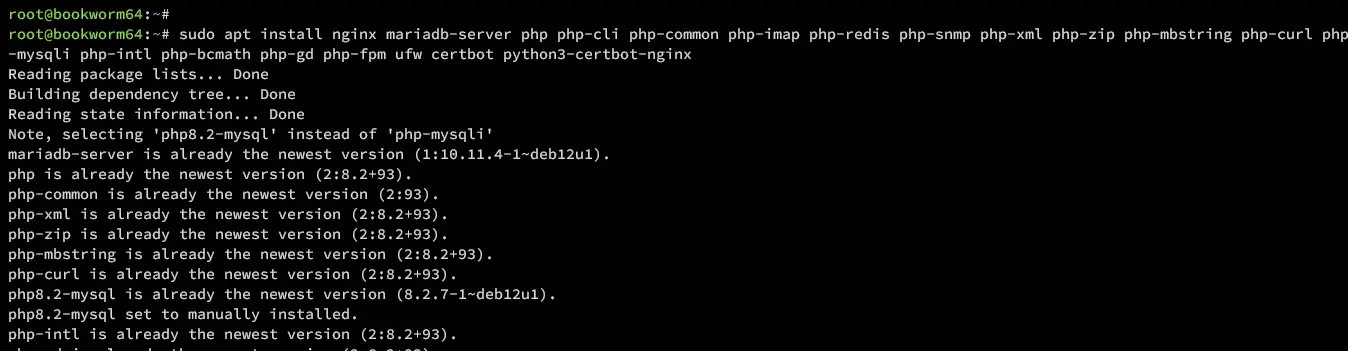
Then, install the LAMP Stack, UFW, and Certbot packages using the following command.
sudo apt install nginx mariadb-server php composer php-cli php-common php-imap php-redis php-snmp php-xml php-zip php-mbstring php-curl php-mysqli php-intl php-bcmath php-gd php-fpm ufw certbot python3-certbot-nginx
Type Y and press ENTER to confirm the installation.
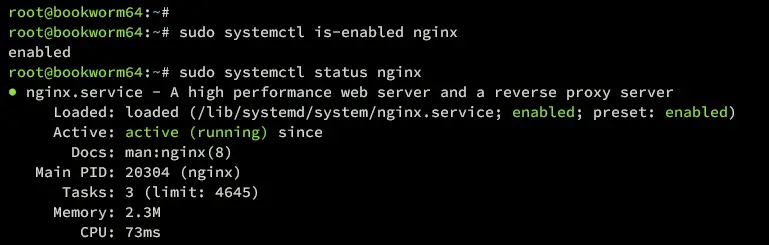
Once the installation is finished, verify the LEMP Stack services to ensure that each service is running and enabled on your Debian server.
If the service is running, you should see an output active (running). When the service is enabled, it confirms that the service will be run automatically at boot.
Check the Nginx service using the following command.
sudo systemctl is-enabled nginx
sudo systemctl status nginx
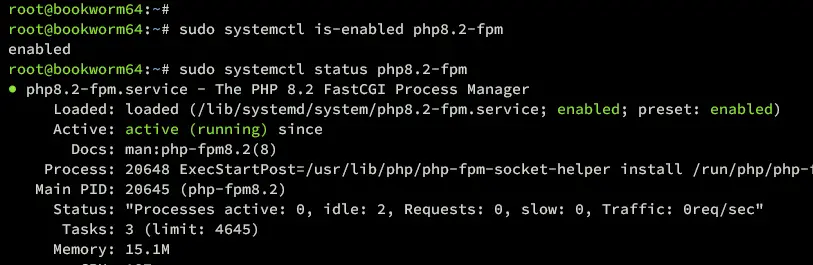
Check the PHP-FPM service using the command below. In this case, you've installed PHP-FPM 8.2 from the Debian repository.
sudo systemctl is-enabled php8.2-fpm
sudo systemctl status php8.2-fpm
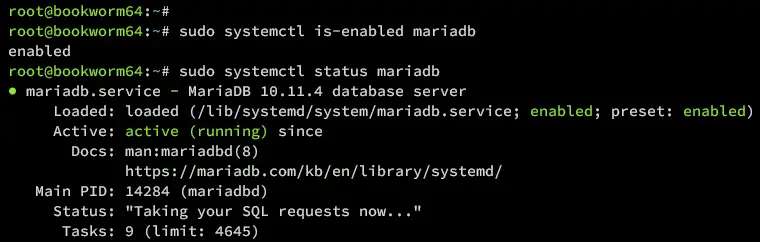
Lastly, check the MariaDB server using the command below.
sudo systemctl is-enabled mariadb
sudo systemctl status mariadb
Setting Up UFW
In this guide, you will secure your Debian server with UFW (Uncomplicated Firewall). So, in that case, you must open ports for SSH, HTTP, and HTTPS protocols.
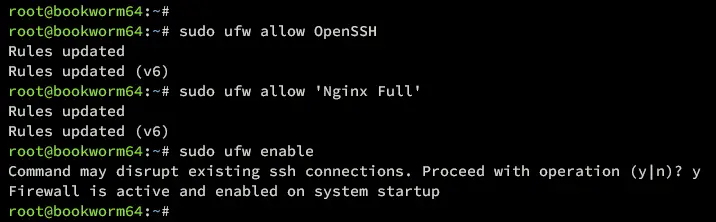
Run the ufw command below to enable the OpenSSH and 'Nginx Full' profiles on UFW. The OpenSSH profile will open the default SSH port 22, while the 'Nginx Full' profile will open ports 80 and 443 for HTTP and HTTPS protocols.
sudo ufw allow OpenSSH
sudo ufw allow 'Nginx Full'
Now run the command below to start and enable UFW. Type y and press ENTER to proceed.
sudo ufw enable
Once UFW is running, you should get an output 'Firewall is active and enabled on system startup'.
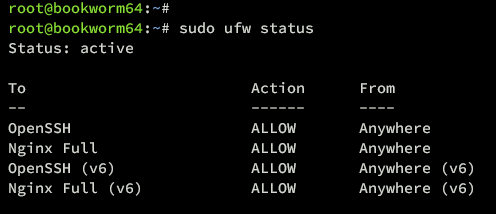
Now run the command below to verify the list-enabled profiles on UFW.
sudo ufw status
Ensure both OpenSSH and 'Nginx Full' profiles are enabled.
Configuring MariaDB Server
After you've configured UFW, you will now set up the MariaDB server via the mariadb-secure-installation utility, then you will create a new database and user for October CMS via the mariadb client.
Secure your MariaDB server installation by executing the following command.
sudo mariadb-secure-installation
During the process, you will be prompted with some security recommendations for the MariaDB server. Input Y to apply the recommendation, or n for No to reject it.
- The default MariaDB installation comes without a password, press ENTER when prompted for the password.
- Now input Y to set up the MariaDB root password. Then, type the new password for MariaDB and repeat the password.
- Input Y to remove the anonymous user from your MariaDB installation.
- Input Y again when prompted to disable the remote login for the MariaDB root user.
- Input Y to remove the default database test from your MariaDB.
- Lastly, input Y to reload table privileges and apply new changes.
Now that you've configured the MariaDB server, type the command below to log in to the MariaDB server and create a new database and user for October CMS. Input your MariaDB root password when asked.
sudo mariadb -u root -p
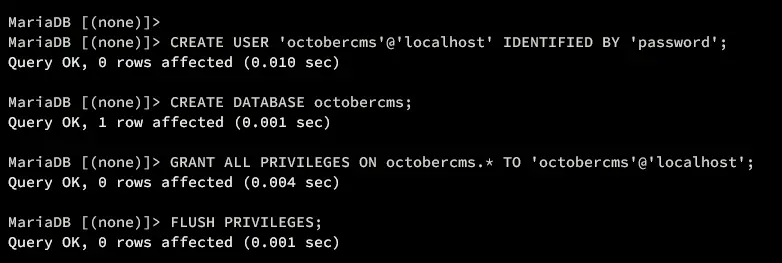
Run the following queries to create a new database and user octobercms, with the password 'password'. Be sure to change the password with a new strong password.
CREATE USER 'octobercms'@'localhost' IDENTIFIED BY 'password';
CREATE DATABASE octobercms;
GRANT ALL PRIVILEGES ON octobercms.* TO 'octobercms'@'localhost';
FLUSH PRIVILEGES;
Next, run the following query to verify the privileges for user octobercms.
SHOW GRANTS FOR 'octobercms'@'localhost';
Ensure that user octobercms can access the database octobercms like the following.

Now type quit to exit from the MariaDB server.
Installing OctoberCMS Source Code
October CMS can be installed in many ways, via zip or via Composer. In this example, you will install October CMS via Composer.
Go to the /var/www/directory and download the October CMS source code using the wget command below. Once downloaded, you will see the file v3.5.0.zip.
cd /var/www/
wget https://github.com/octobercms/october/archive/refs/tags/v3.5.0.zip
Extract the v3.5.0.zip file using unzip to the directory octobercms. This means that your October CMS web root directory will be at /var/www/octobercms.
unzip v3.5.0.zip
sudo mv october-* octobercms
Next, run the following command to change the ownership of /var/www/octobercms to the user www-data and group www-data. Also, set up permission for directories to 0755 and files to 0644.
sudo chown -R www-data:www-data octobercms
find /var/www/octobercms -type d -exec chmod 755 {} \;
find /var/www/octobercms -type f -exec chmod 644 {} \;
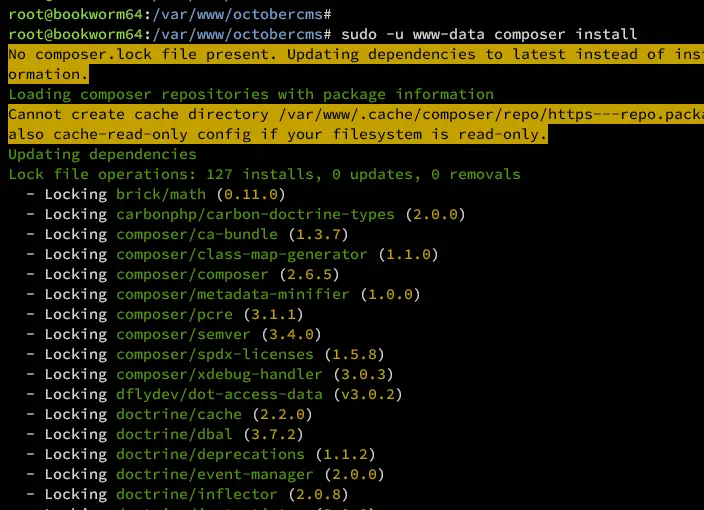
Now, run the composer command below to install PHP dependencies for October CMS.
sudo -u www-data composer install
Start the October CMS installation using the following command.
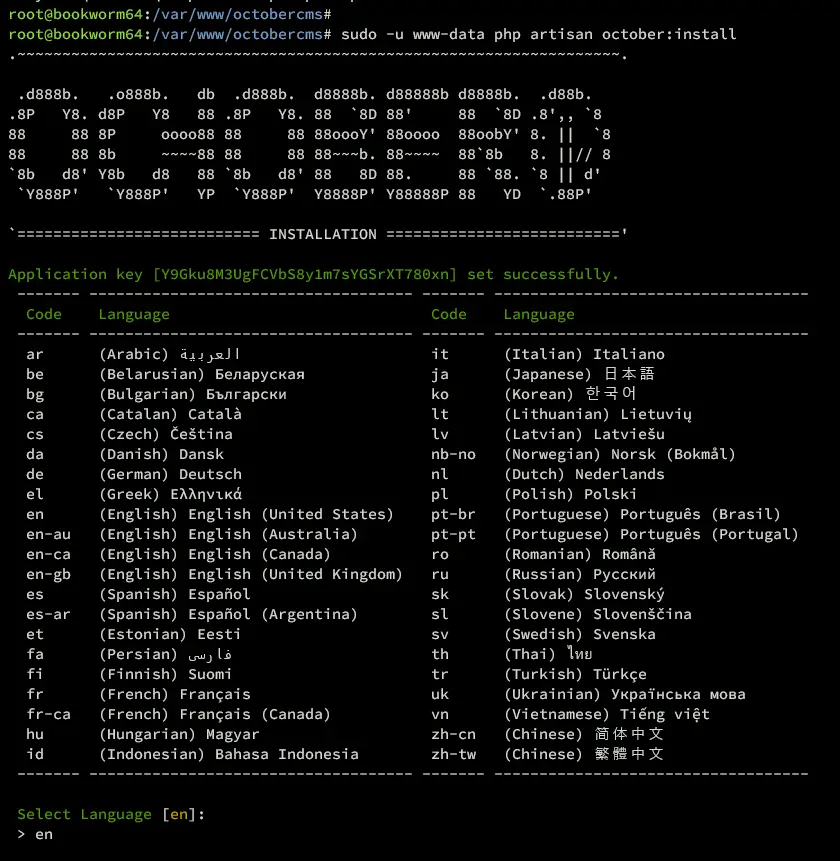
sudo -u www-data php artisan october:install
During the process, you will be asked with the following:
- Select the default language as en or English.
- Input the domain name of your October CMS installation. For example http://howtoforge.local/
- Input the backend URL or admin path for October CMS. In this case, we'll use octoberadmin.
- Input number 1 to select the database engine to MySQL.
- Input your database details.
- Input yes to install demo data and theme.
- Input the October CMS free license to continue.
Below is the screenshot of the October CMS installation.
Site configurations for October CMS.

Output during the October CMS installation.
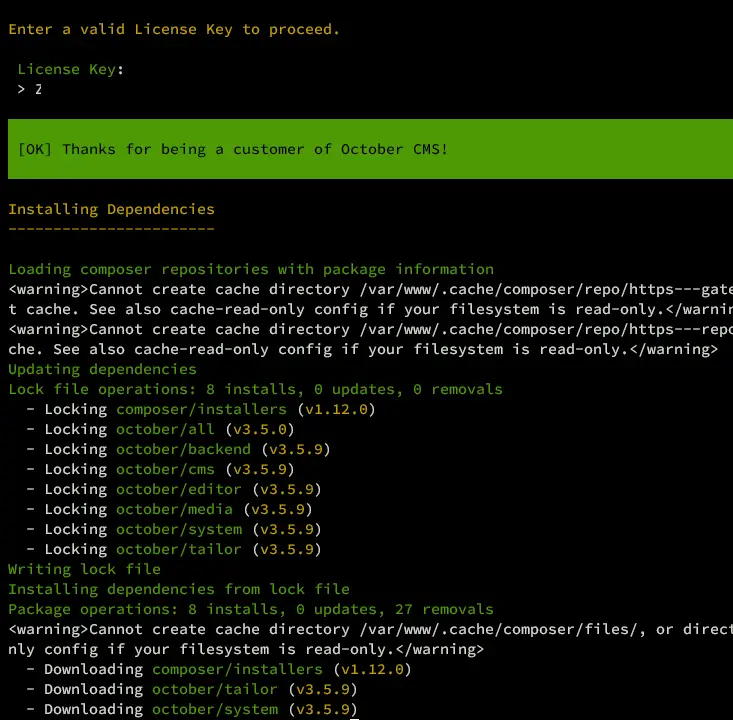
Once the october CMS installation is finished, you will see the following output.
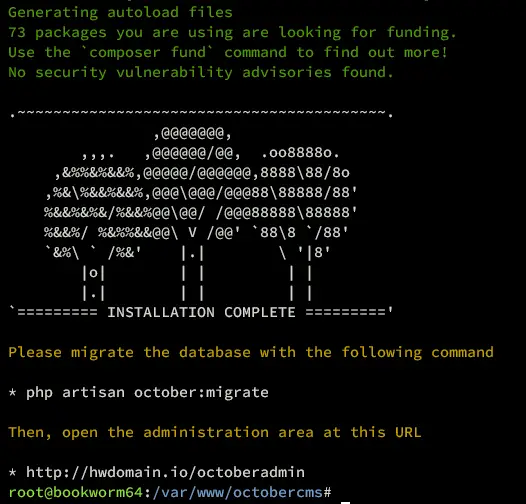
Lastly, run the command below to migrate the database.
sudo -u www-data php artisan october:migrate

Configuring Nginx Server Block
After downloading October CMS and configuring its web root directory, you will create a new Nginx server block configuration that will be used to run October CMS. Be sure that you've your domain name ready.
Run the nano editor command below to create a new file /etc/nginx/sites-available/octobercms.conf.
sudo nano /etc/nginx/sites-available/octobercms.conf
Insert the following configuration and be sure to change the domain name howtoforge.local with your domain.
server {
    listen 80;

    server_name howtoforge.local;

    index index.php index.html;
    root /var/www/octobercms;

    location / {
        # Let October CMS handle everything by default.
        # The path not resolved by the October CMS router will return October CMS's 404 page.
        # Everything that does not match with the allowlist below will fall into this.
        rewrite ^/.*$ /index.php last;
    }

    location ~ \.php$ {
        include snippets/fastcgi-php.conf;
        fastcgi_pass unix:/var/run/php/php8.2-fpm.sock;
        fastcgi_read_timeout 120s;
    }


    # Allowlist
    location ~ ^/favicon\.ico { try_files $uri /index.php; }
    location ~ ^/sitemap\.xml { try_files $uri /index.php; }
    location ~ ^/robots\.txt { try_files $uri /index.php; }
    location ~ ^/humans\.txt { try_files $uri /index.php; }

    # Block all .dotfiles except well-known
    location ~ /\.(?!well-known).* { deny all; }

    ## Let nginx return 404 if static file not exists
    location ~ ^/storage/app/uploads/public { try_files $uri 404; }
    location ~ ^/storage/app/media { try_files $uri 404; }
    location ~ ^/storage/app/resources { try_files $uri 404; }
    location ~ ^/storage/temp/public { try_files $uri 404; }

    location ~ ^/modules/.*/assets { try_files $uri 404; }
    location ~ ^/modules/.*/resources { try_files $uri 404; }
    location ~ ^/modules/.*/behaviors/.*/assets { try_files $uri 404; }
    location ~ ^/modules/.*/behaviors/.*/resources { try_files $uri 404; }
    location ~ ^/modules/.*/widgets/.*/assets { try_files $uri 404; }
    location ~ ^/modules/.*/widgets/.*/resources { try_files $uri 404; }
    location ~ ^/modules/.*/formwidgets/.*/assets { try_files $uri 404; }
    location ~ ^/modules/.*/formwidgets/.*/resources { try_files $uri 404; }
    location ~ ^/modules/.*/reportwidgets/.*/assets { try_files $uri 404; }
    location ~ ^/modules/.*/reportwidgets/.*/resources { try_files $uri 404; }

    location ~ ^/plugins/.*/.*/assets { try_files $uri 404; }
    location ~ ^/plugins/.*/.*/resources { try_files $uri 404; }
    location ~ ^/plugins/.*/.*/behaviors/.*/assets { try_files $uri 404; }
    location ~ ^/plugins/.*/.*/behaviors/.*/resources { try_files $uri 404; }
    location ~ ^/plugins/.*/.*/reportwidgets/.*/assets { try_files $uri 404; }
    location ~ ^/plugins/.*/.*/reportwidgets/.*/resources { try_files $uri 404; }
    location ~ ^/plugins/.*/.*/formwidgets/.*/assets { try_files $uri 404; }
    location ~ ^/plugins/.*/.*/formwidgets/.*/resources { try_files $uri 404; }
    location ~ ^/plugins/.*/.*/widgets/.*/assets { try_files $uri 404; }
    location ~ ^/plugins/.*/.*/widgets/.*/resources { try_files $uri 404; }

    location ~ ^/themes/.*/assets { try_files $uri 404; }
    location ~ ^/themes/.*/resources { try_files $uri 404; }

}
Save and close the file when finished.
Next, run the command below to activate the server block file octobercms.conf and verify the Nginx syntax.
sudo ln -s /etc/nginx/sites-available/octobercms.conf /etc/nginx/sites-enabled/
sudo nginx -t
If you've proper syntax, you should an output such as 'syntax is ok - test is successful'.
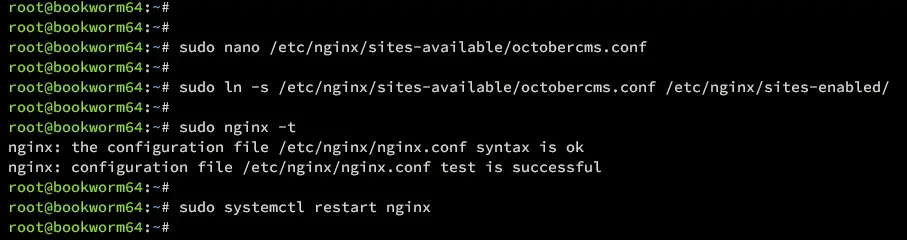
Lastly, apply your changes to Nginx by restarting the Nginx service using the command below.
sudo systemctl restart nginx
Securing OctoberCMS with SSL/TLS Certificates
At this point, your October CMS is running and accessible. But to ensure that your installation is secure, you will implement HTTPS by generating SSL/TLS certificates from letsencrypt.
Execute the command below to generate SSl/TLS certificates for your October CMS installation. Be sure to change the email address and domain name with your info.
sudo certbot --nginx --agree-tos --redirect --hsts --staple-ocsp --email [email protected] -d howtoforge.local
Once the process is finished, your domain name will automatically configured with HTTPS. And your SSL/TLS certificates will be available in the /etc/letsencrypt/live/yourdomain.com directory.
Accessing OctoberCMS
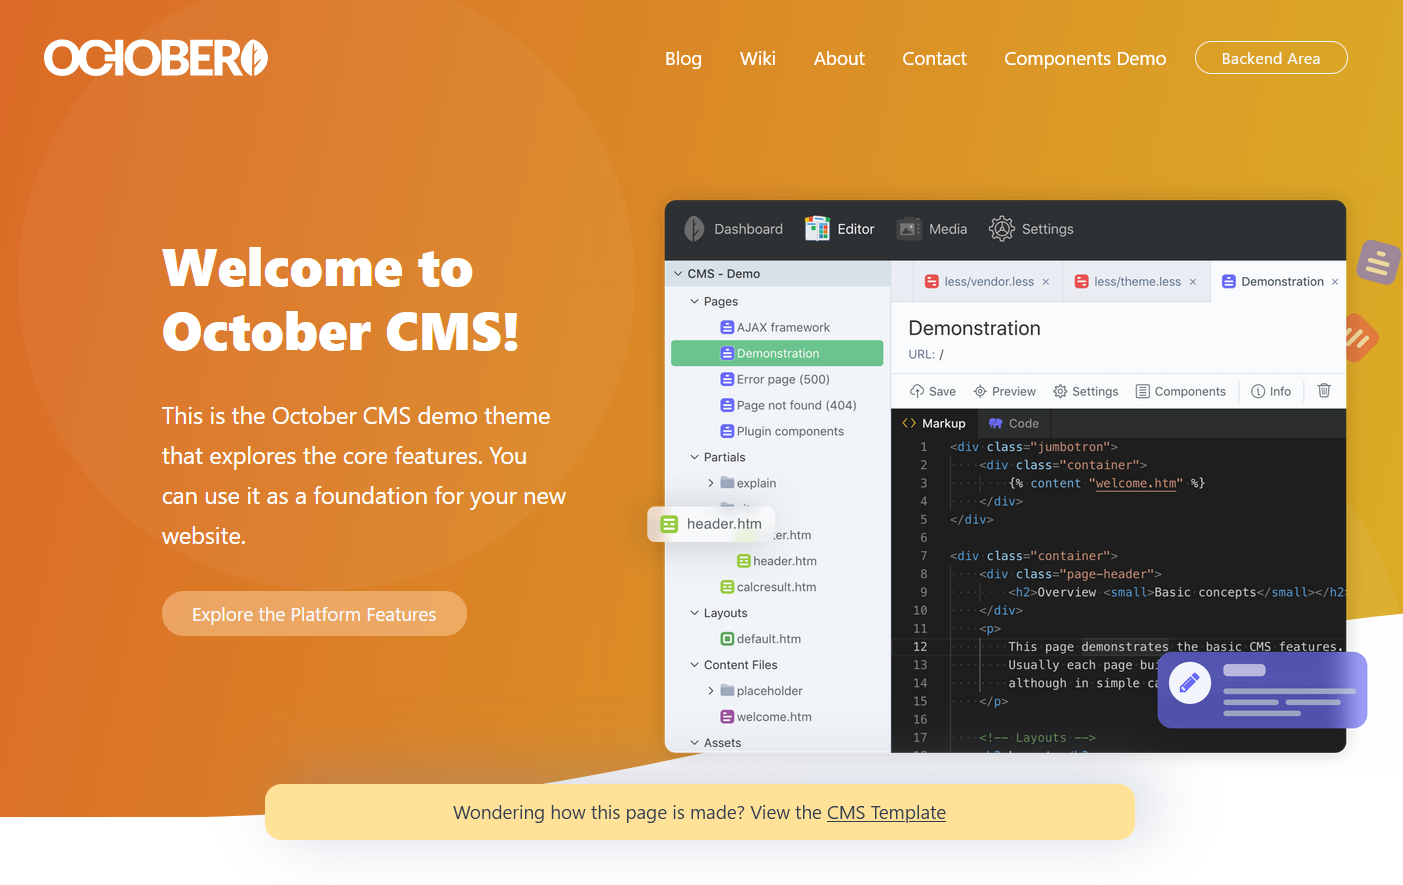
Visit the the domain name of your October CMS installation, for example, https://howtoforge.local/ using your favorite web browser.
If your installation is successful, you should get the default homepage of OctoberCMS like the following.
Click on the 'Backend Area' button to access the October CMS admin page.
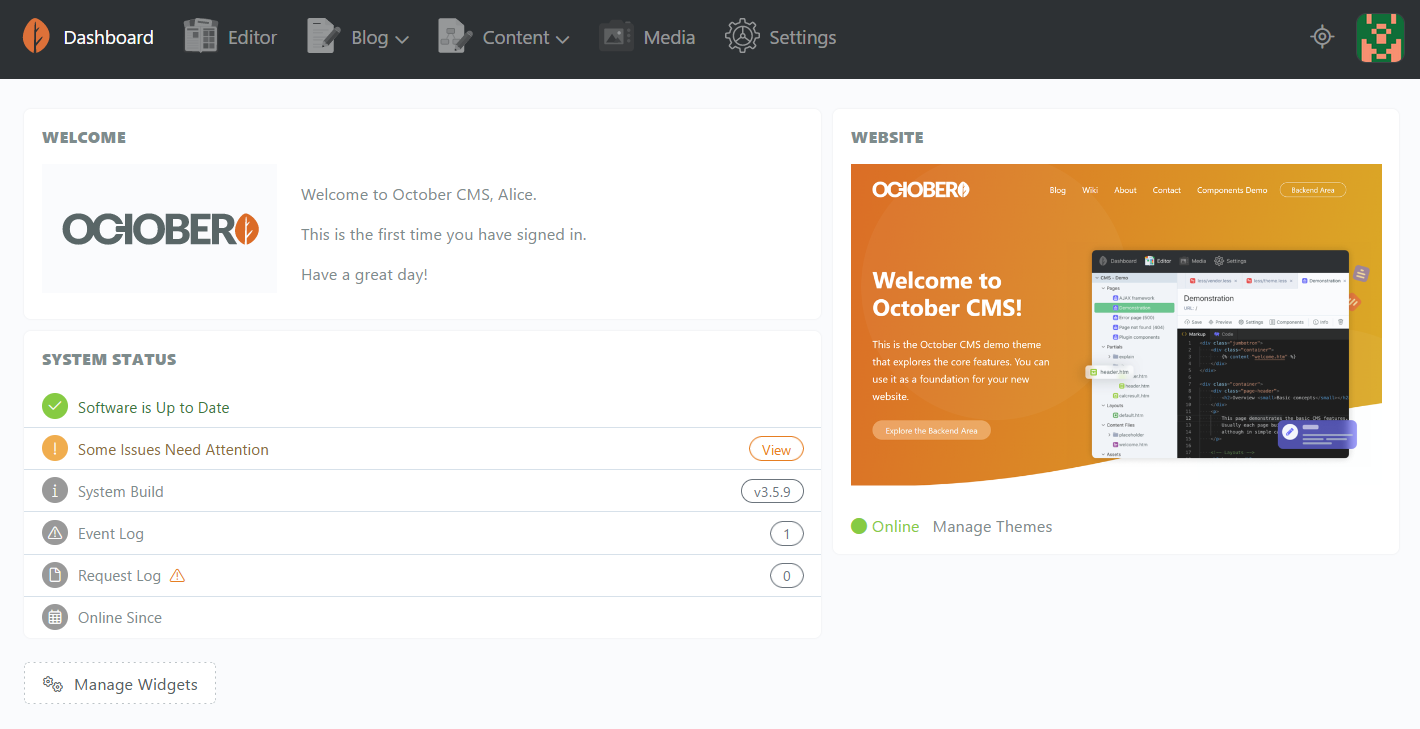
Input the details of the new admin user, name, email address, and password. Click Create Account to confirm.

When finished, you should get the October CMS administrator dashboard like the following.
Conclusion
Congratulations! You've now completed the installation of October CMS on the Debian 12 server. You've installed October CMS with LEMP Stack (Nginx, MariaDB, and PHP-FPM). You've also secured your installation with UFW (Uncomplicated Firewall) and SSL/TLS via Letsencrypt.

