How to Install Joomla with Nginx on Ubuntu 24.04 Server
This tutorial exists for these OS versions
- Ubuntu 24.04 (Noble Numbat)
- Ubuntu 20.04 (Focal Fossa)
On this page
Joomla is flexible and open-source content management for building websites and online publications. Powered by PHP, it can be used for multiple scenarios, such as forums, photo galleries, e-commerce, and other web-based applications.
In this guide, we'll show you how to install Joomla on Ubuntu 24.04 server. You'll run Joomla with Nginx as the web server, MariaDB database server, and PHP-FPM. You'll also secure Joomla with HTTPS.
Prerequisites
To complete this guide, make sure you have the following:
- An Ubuntu 24.04 server.
- A non-root user with administrator privileges.
- A domain name pointed to a server IP address.
Installing dependencies
Joomla is a PHP-based content management system. To install it, you must install PHP on your system. In this section, you'll be installing the LEMP Stack (Linux, Nginx, MariaDB, and PHP-FPM) as dependencies for Joomla.
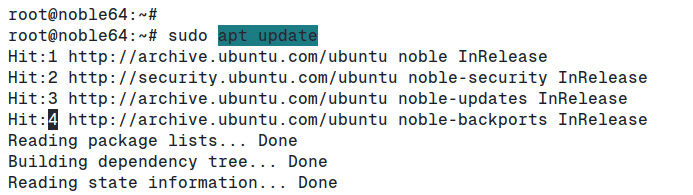
First, run the command below to update your Ubuntu package index.
sudo apt update
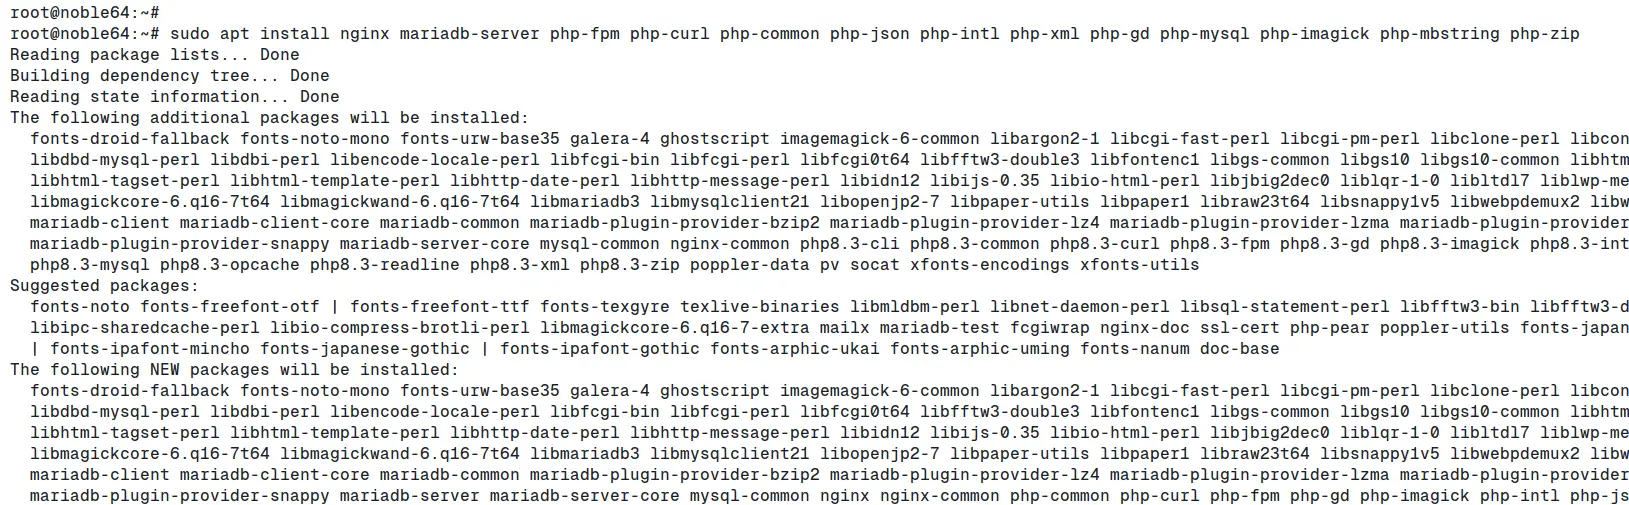
Install the LEMP Stack dependencies with the command below. Enter 'Y' to confirm the installation.
sudo apt install nginx mariadb-server php-fpm php-curl php-common php-json php-intl php-xml php-gd php-mysql php-imagick php-mbstring php-zip
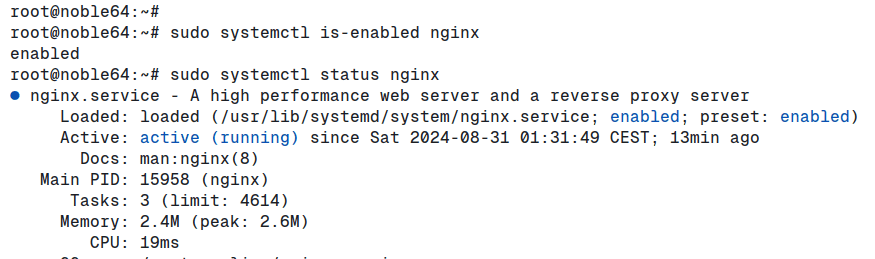
After the installation is completed, check the Nginx service status with the following:
sudo systemctl is-enabled nginx
sudo systemctl status nginx
You can see Nginx service is running.
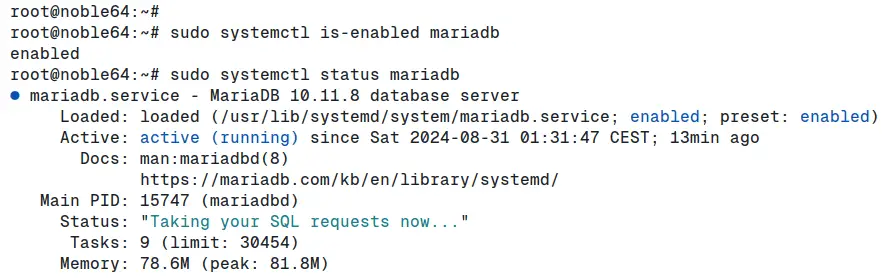
Now check the MariaDB service to ensure that the service is running and enabled with the command below:
sudo systemctl is-enabled mariadb
sudo systemctl status mariadb
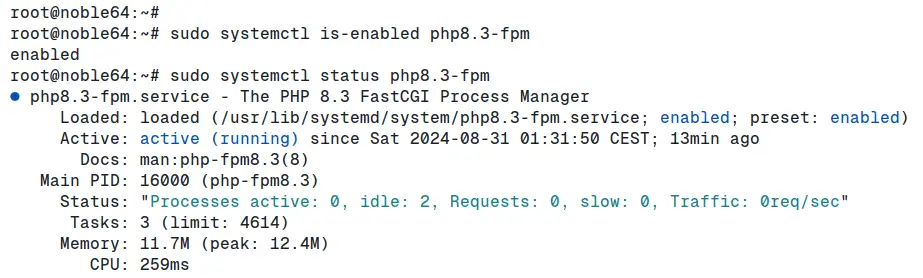
Lastly, run the following command to verify the PHP-FPM service. The PHP-FPM should be running by default on the sock file.
sudo systemctl is-enabled php8.3-fpm
sudo systemctl status php8.3-fpm
Configuring PHP-FPM
Now that the LEMP Stack is installed, you'll configure PHP-FPM installation and change some default configurations as needed for Joomla.
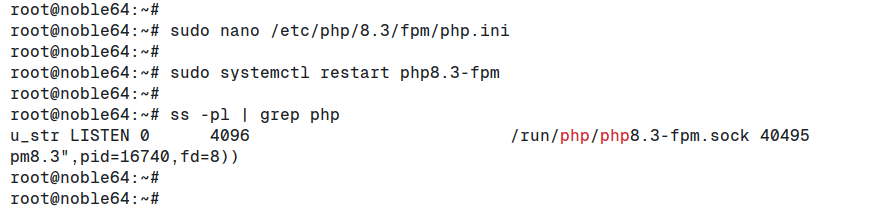
Open the PHP-FPM configuration '/etc/php/8.3/fpm/php.ini' with the 'nano' editor.
sudo nano /etc/php/8.3/fpm/php.ini
Change the default configuration with the following:
memory_limit=512M
upload_max_filesize=64M
post_max_size=64M
max_execution_time=120
output_buffering = Off
extension=intl
Save the file and exit the editor.
Now restart the PHP-FPM service to apply your changes.
sudo systemctl restart php8.3-fpm
Lastly, you can check the PHP sock file for the PHP-FPM service with the command below.
ss -pl | grep php
You can see below the sock file for PHP-FPM is located at the '/var/run/php/php8.3-fpm.sock'.
Configuring MariaDB server
In this section, you'll secure the MariaDB server installation, and then create a new database and user for Joomla. You'll be using the 'mariadb-secure-installation' to secure the MariaDB server, and then through the 'mariadb' client to create a new database and user.
To secure the MariaDB server, run the 'mariab-secure-installation' command below.
sudo mariadb-secure-installation
Now you'll be asked to set up the MariaDB server with the following:
- For the default MariaDB server installation without a root password, press ENTER when asked about the password.
- The local authentication for MariaDB root users is secured by default, input 'n' when asked to change the authentication method to 'unix_socket'.
- Input 'Y' to create a new MariaDB root password. Then, input the strong password for your MariaDB root user and repeat.
- When asked to disable remote authentication for the MariaDB root user, input 'Y' to agree.
- The default MariaDB server installation comes with the database 'test' and allows an anonymous user to access it.
- Input 'Y' for both settings to remove the default database 'test' and remove the anonymous privilege.
- Lastly, input 'Y' to confirm reloading table privileges.
Once the MariaDB is secured, you'll create a new database and user for Joomla.
Log in to the MariaDB server with the 'mariadb' command below. Enter your MariaDB root password when prompted.
sudo mariadb -u root -p
Now run the following queries to create a new database 'joomladb', and a new user 'joomla' with the password 'p4ssword'.
CREATE DATABASE joomladb;
CREATE USER joomla@localhost IDENTIFIED BY 'p4ssword';
GRANT ALL PRIVILEGES ON joomladb.* TO joomla@localhost;
FLUSH PRIVILEGES;

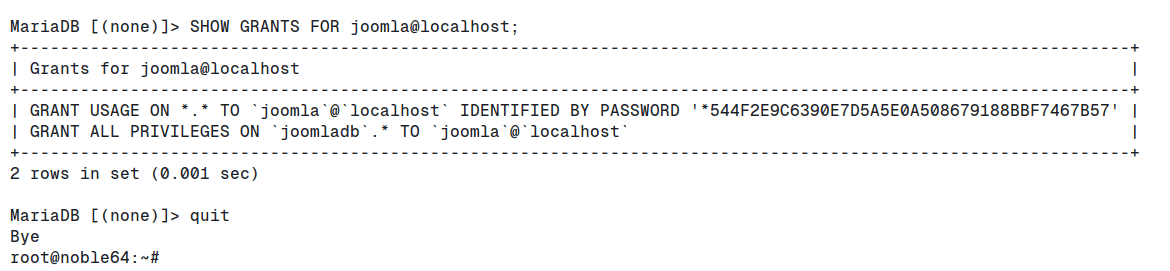
Next, run the query below to check privileges for user 'joomla'. You'll see the 'joomla' user can access the database 'joomladb'.
SHOW GRANTS FOR joomla@localhost;
Lastly, type 'quit' to exit from the MariaDB server.
Downloading Joomla source code
At this point, you've installed and configured dependencies for Joomla. Now you'll download the Joomla source code and set up the document-root/webroot directory for Joomla installation.
Go to the '/var/www' directory and download the Joomla source code with the 'wget' command below. Check the Joomla download page and grab the link for the latest version.
cd /var/www/
wget https://downloads.joomla.org/cms/joomla5/5-1-4/Joomla_5-1-4-Stable-Full_Package.zip
Now run the 'unzip' command below to extract the Joomla source code to the 'joomla' directory.
unzip Joomla_5-1-4-Stable-Full_Package.zip -d joomla
Lastly, run the 'chmod' command below to change the ownership of the '/var/www/joomla' directory to the user 'www-data'.
sudo chown -R www-data:www-data /var/www/joomla
Setting up Nginx server block
Now you'll be creating a new Nginx server block configuration for running Joomla. So make sure that you've your domain name ready and pointed to the server IP address.
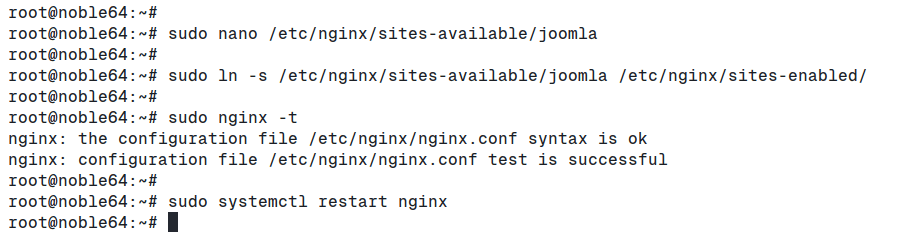
Create a new Nginx server file '/etc/nginx/sites-available/joomla' with the following 'nano' editor.
sudo nano /etc/nginx/sites-available/joomla
Insert the configuration below and change the 'server_name' option with your domain name.
server {
listen 80;
server_name howtoforge.local;
server_name_in_redirect off;

access_log /var/log/nginx/localhost.access_log;
error_log /var/log/nginx/localhost.error_log info;

root /var/www/joomla;
index index.php index.html index.htm default.html default.htm;

# Support API
location /api/ {
try_files $uri $uri/ /api/index.php?$args;
}

# Support Clean (aka Search Engine Friendly) URLs
location / {
try_files $uri $uri/ /index.php?$args;
}

# add global x-content-type-options header
add_header X-Content-Type-Options nosniff;

# deny running scripts inside writable directories
location ~* /(images|cache|media|logs|tmp)/.*\.(php|pl|py|jsp|asp|sh|cgi)$ {
return 403;
error_page 403 /403_error.html;
}

location ~ \.php$ {
fastcgi_pass unix:/var/run/php/php8.3-fpm.sock;
fastcgi_index index.php;
include fastcgi_params;
fastcgi_param SCRIPT_FILENAME $document_root$fastcgi_script_name;
include /etc/nginx/fastcgi.conf;
}

# caching of files
location ~* \.(ico|pdf|flv)$ {
expires 1y;
}

location ~* \.(js|css|png|jpg|jpeg|gif|swf|xml|txt)$ {
expires 14d;
}

}
Save the file and exit the editor.
Now run the command below to activate the 'joomla' server block and verify your Nginx configuration. If you've proper Nginx settings, you'll see an output 'Syntax is OK'.
sudo ln -s /etc/nginx/sites-available/joomla /etc/nginx/sites-enabled/
sudo nginx -t
Lastly, run the 'systemctl' command below to restart the Nginx service and apply your changes.
sudo systemctl restart nginx
Securing Joomla with HTTPS
In this guide, you'll secure Joomla with HTTPS. If you're using the public domain, you can secure Joomla through SSL/TLS certificates via Certbot and Letsencerypt.
Install 'Certbot' and the Certbot Nginx plugin with the 'apt' command below. Input 'Y' to confirm the installation.
sudo apt install certbot python3-certbot-nginx
After the installation is complete, run the following 'certbot' command to generate SSL/TLS certificates and secure your Joomla installation with HTTPS. Make sure to change the domain name and email address with your information.
sudo certbot --nginx --agree-tos --redirect --hsts --staple-ocsp --email [email protected] -d howtoforge.local
When finished, your Joomla installation is secured with HTTPS through SSL/TLS certificates from Letsencrypt.
Installing Joomla
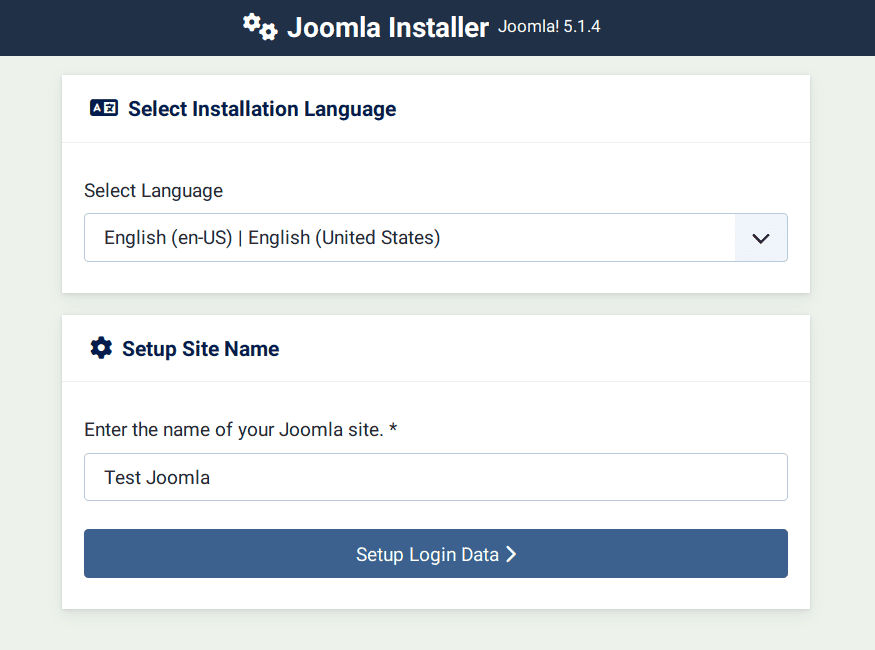
Open your web browser and visit your Joomla domain name such as https://howtoforge.local/. You'll see the Joomla installation wizard.
Select your default language and enter your site name.
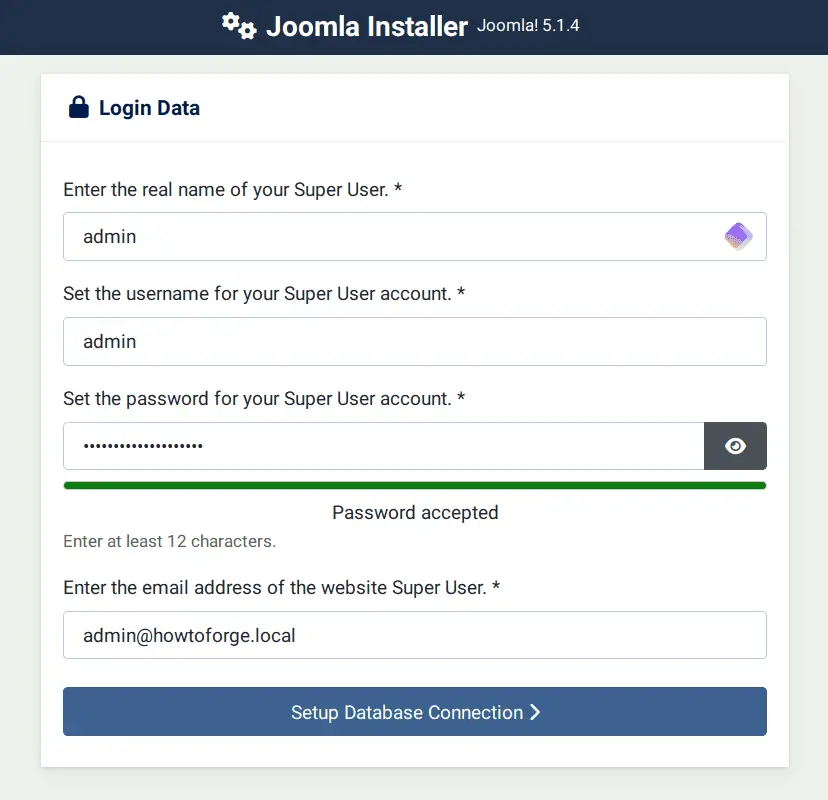
Enter the new admin user, email, and password for Joomla.
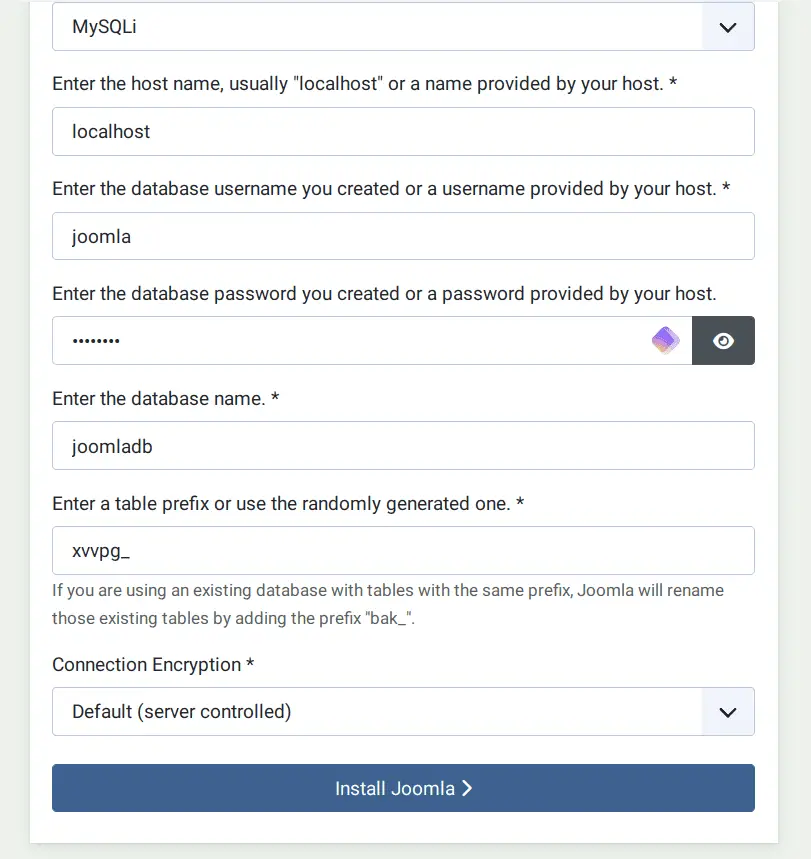
Enter details of your MariaDB database and user, then click 'Install Joomla' to proceed with the installation.
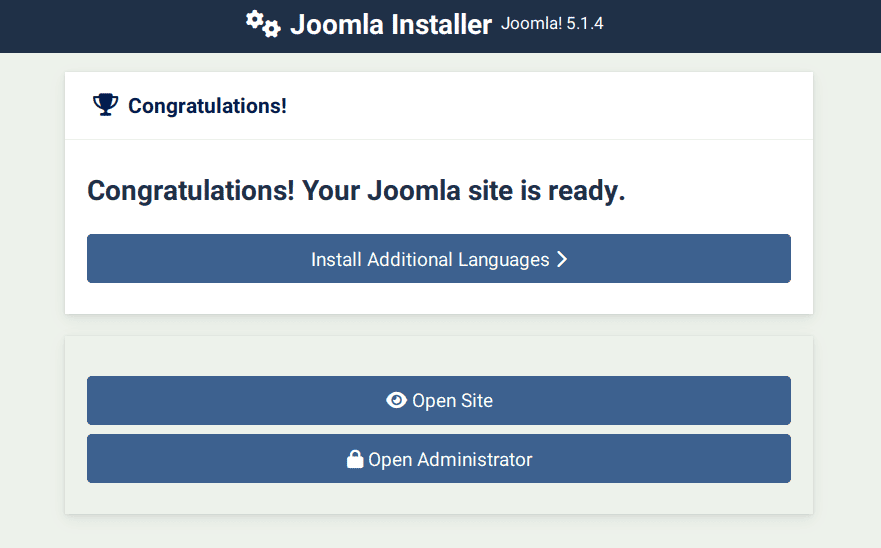
After the installation is complete, click the 'Open Site' to open the default homepage, or 'Open Administrator' to access the Joomla administration dashboard.
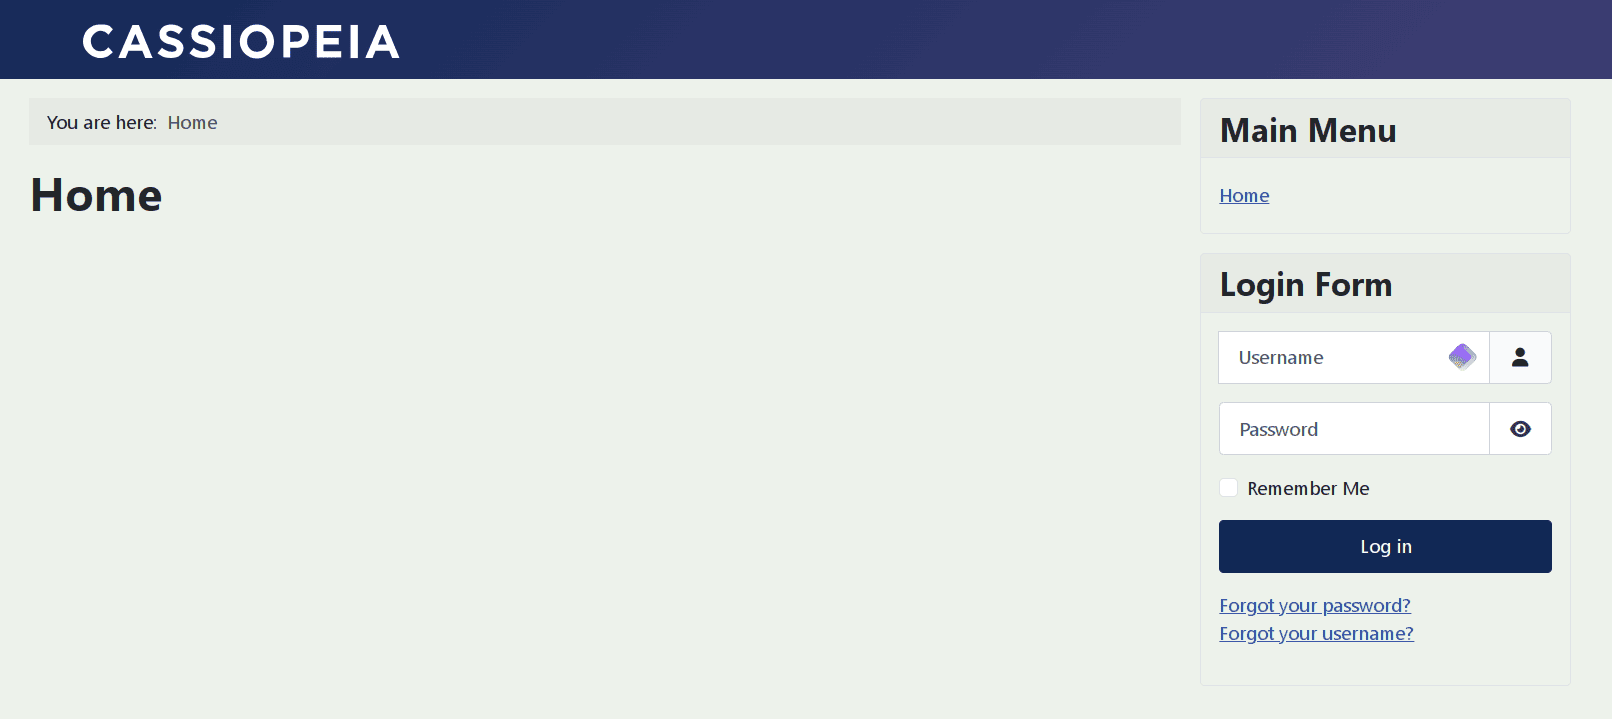
For the default Joomla homepage, you'll see the following.
Now enter your admin user and password and click 'Login'.
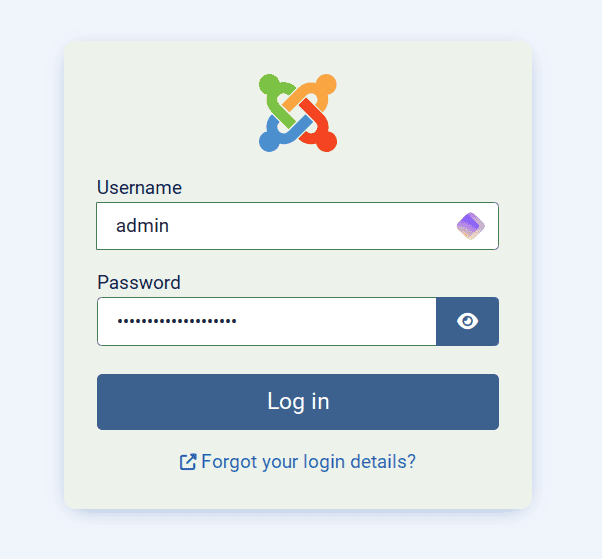
If you've the correct user and password, you'll see the following Joomla administration dashboard.

Conclusion
Congratulations! You've installed Joomla on the Ubuntu 24.04 server. You've Joomla up and running with the Nginx web server, MariaDB database server, and PHP-FPM. You've also secured Joomla with HTTPS through Certbot and Letsencrypt.

