How to Install nZEDb Usenet indexer on Ubuntu
nZEDb is a fork of newznab plus. It is a free and open-source Usenet indexer that automatically scans usenet, similar to Google search bots. It provides a web-based interface with search, browse and API functionality. nZEDb is free so you can download as many NZB files as you like.
This tutorial will explain how to install nZEDb Usenet Indexer on Ubuntu 18.04 server.
Requirements
- A server running Ubuntu 18.04.
- A root password is setup to your server.
Getting Started
Before starting, you will need to update your system with the latest version. You can do this by running the following command:
apt-get update -y
apt-get upgrade -y
Once your server is updated, restart your server to apply the changes.
Install LAMP Server
First, you will need to install Apache web server, MariaDB database server, PHP and other required packages to your system. You can install all of them by running the following command:
apt-get install apache2 mariadb-server mariadb-client php7.2 php7.2-fpm php7.2-mysql php7.2-common php7.2-gd php7.2-json php7.2-cli php7.2-curl libapache2-mod-php7.2 php-imagick php-pear php7.2-dev php7.2-mbstring php7.2-xml curl unzip git -y
Once all the packages are installed, you will need to tweak some settings in php.ini file:
First, open the php.ini file located at /etc/php/7.2/apache2/php.ini
nano /etc/php/7.2/apache2/php.ini
Change the following lines:
max_execution_time = 300
memory_limit = 1024M
date.timezone = "America/Chicago"
Save and close the file. Then, open the php.ini file located at /etc/php/7.2/cli/php.ini
nano /etc/php/7.2/cli/php.ini
Change the following lines:
max_execution_time = 300
memory_limit = 1024M
date.timezone = "America/Chicago"
Save and close the file. Then, restart Apache service to apply the changes:
systemctl restart apache2
Configure MariaDB
Next, you will need to create a user and database for nZEDb. First, log in to MariaDB shell with the following command:
mysql -u root -p
Enter your root password when prompt then create a database and user for nZEDb with the following command:
MariaDB [(none)]>create database nzedb;
MariaDB [(none)]>grant all privileges on nzedb.* to 'nzedb'@'localhost' identified by 'your-password';
Next, grant file permission to nzedb user with the following command:
MariaDB [(none)]>grant file on *.* TO 'nzedb'@'localhost';
Next, flush the privileges and exit from the MariaDB shell with the following command:
MariaDB [(none)]>flush privileges;
MariaDB [(none)]>exit;
Next, you will need to edit the MariaDB default configuration file and configure it. You can do it with the following command:
nano /etc/mysql/mariadb.conf.d/50-server.cnf
Add the following lines in the [mysqld] section:
### configurations by nZEDb ####
innodb_file_per_table = 1
innodb_large_prefix = 1 ## Only needed if version < 10.2.2
max_allowed_packet = 16M
group_concat_max_len = 8192
Save and close the file when you are finished. Then, restart MariaDB service to apply the configuration:
systemctl restart mariadb
By default, AppArmor security module is enabled in Ubuntu 18.04 and it prevents nZEDb from using the SQL’s LOAD DATA commands. So you will need to tell AppArmor to ignore MariaDB.
To do so, first install AppArmor utility with the following command:
apt-get install apparmor-utils -y
Next, tell AppArmor to ignore MariaDB with the following command:
aa-complain /usr/sbin/mysqld
If you get any error ignore it.
Install Required Tools
Next, you will need to install some tools required by nZEDb.
Install Media tools and Unrar
First, install some media tools with the following command:
apt-get install time p7zip-full mediainfo lame ffmpeg zip -y
Once installed, download libav-tools package and install it with the following command:
wget http://launchpadlibrarian.net/339874908/libav-tools_3.3.4-2_all.deb
dpkg -i libav-tools_3.3.4-2_all.deb
Next, download the Unrar source and compile it with the following command:
wget http://www.rarlab.com/rar/rarlinux-x64-5.5.0.tar.gz
tar -xzf rarlinux-x64-5.5.0.tar.gz
mv rar/unrar /usr/bin/unrar
chmod 755 /usr/bin/unrar
Install Composer
Composer is a dependency manager for PHP. It is used to install dependencies required by PHP. You can install it by just running the following command:
curl -sS https://getcomposer.org/installer | php
mv composer.phar /usr/local/bin/composer
chmod +x /usr/local/bin/composer
Install Tmux
Next, you will need to download tmux source and compile it. First, install required dependencies with the following command:
apt-get install libevent-dev build-essential git autotools-dev automake pkg-config ncurses-dev python python-setuptools python-dev build-essential python-pip ca-certificates -y
Once installed, remove the default tmux version with the following command:
apt-get remove tmux -y
Next, download and compile tmux with the following command:
git clone https://github.com/tmux/tmux.git --branch 2.0 --single-branch
cd tmux
./autogen.sh
./configure
make -j4
make clean
Install nZEDb
Next, you will need to download nZEDb from the Git repository. You can download it with the following command:
mkdir /var/www/nZEDb/
cd /var/www/
git clone https://github.com/nZEDb/nZEDb.git
Next, change the directory to nZEDb and install required PHP dependencies with the following command:
cd /var/www/nZEDb/
composer install
Next, you will need to import the zoneinfo to mysql database. You can do it with the following command:
mysql_tzinfo_to_sql /usr/share/zoneinfo | mysql -u root -p mysql
Next, create a temp directory for unrar:
mkdir -p /var/www/nZEDb/resources/tmp/unrar
Next, set up required permissions with the following command:
chmod -R 777 /var/www/nZEDb/
chown -R www-data:www-data /var/www/nZEDb/
chmod -R 777 /var/lib/php/sessions
Once you are done, you can proceed to the next step.
Configure Apache for nZEDb
Next, you will need to create an Apache virtual host file for nZEDb. You can create it with the following command:
nano /etc/apache2/sites-available/nzedb.conf
Add the fillowing lines:
<VirtualHost *:80>
    ServerAdmin webmaster@localhost
    ServerName your-server-ip
    DocumentRoot "/var/www/nZEDb/www"
    LogLevel warn
    ServerSignature Off
    ErrorLog /var/log/apache2/error.log
    <Directory "/var/www/nZEDb/www">
       Options FollowSymLinks
       AllowOverride All
       Require all granted
    </Directory>
    Alias /covers /var/www/nZEDb/resources/covers
</VirtualHost>
Save and close the file. Then, disable the default virtual host file and enable nZEDb virtual host file with the following command:
a2dissite 000-default
a2ensite nzedb.conf
Finally, enable Apache rewrite module and restart Apache web service to apply the changes:
a2enmod rewrite
systemctl restart apache2
Access nZEDb Web Inetrface
nZEDb is now installed and configured. Next, open your web browser and type the URL http://your-ip-address/install. You will be redirected to the following page:
Next, click on the "Go to step one: Pre flight check". You should see the following page:
Make sure all the PHP dependencies are installed, then click on the "Step two: Set up the database" button. You should see the following page:
Provide your database name, database user name, password, host and click on the Setup Database button. You should see the following page:
Next, click on the Step three: Setup opessl button. You should see the following page:
Next, provide your default CA bundle Path and Certificate Folder. Then, click on the Verify openssl settings button. You should see the following page:
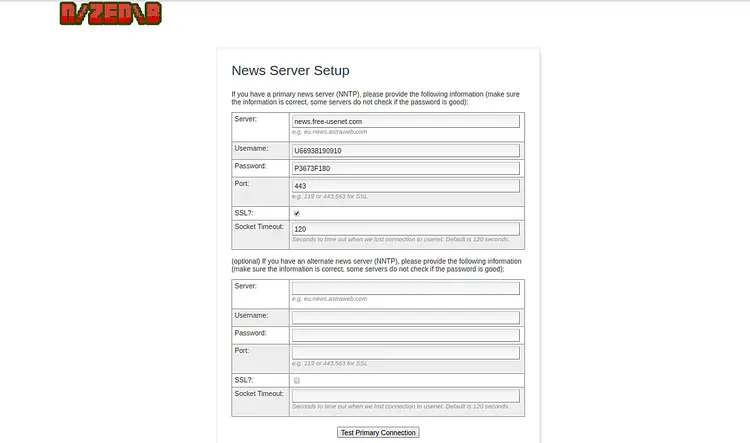
Next, click on the "Step four: Setup news server connection". You should see the following page:
Next, provide your news server URL, username, password, port and click on the Test Primary Connection button. You should see the following page:
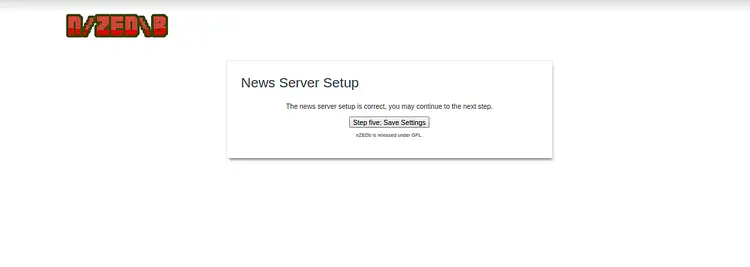
Next, click on the "Step five: Save Settings" button. You should see the following page:
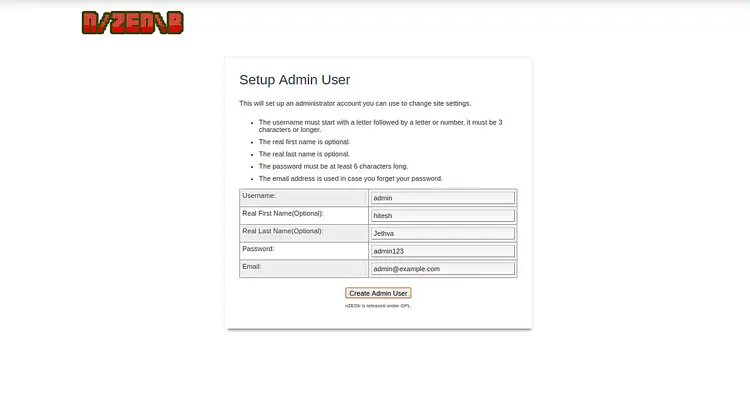
Next, click on the "Step six: Setup admin user" button. You should see the following page:
Now, provide your admin user details and click on the "Create Admin User" button. You should see the following page:
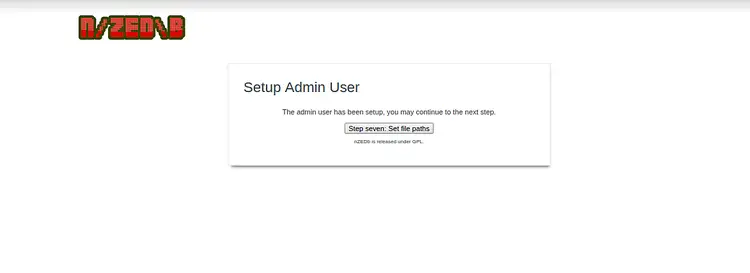
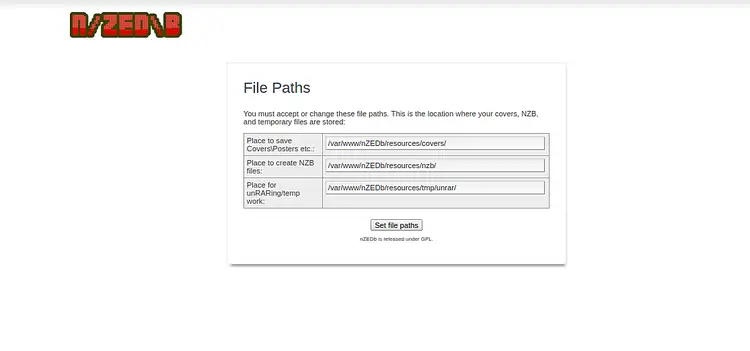
Next, click on the "Step seven: Set file paths" button. You should see the following page:
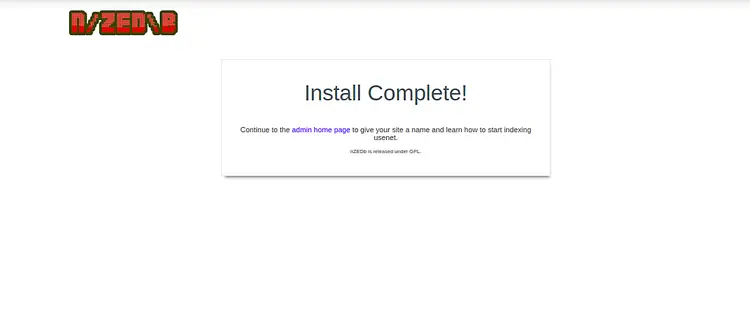
Now, provide the required path and click on the "Set file paths" button. You should see the following page:
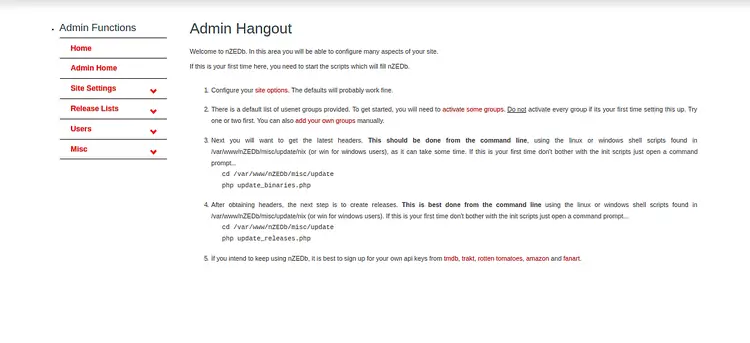
Now, click on the "admin home page" button. You will be redirected to the nZEDb default dashboard in the following page:
Indexing Usenet Content
After installing nZEDb, follow the instructions to activate some newsgroups, get latest headers of your chosen groups and update releases.
You can get latest headers with the following command:
cd /var/www/nZEDb/misc/update
php update_binaries.php
Next, create releases and NZB files using the following command:
cd /var/www/nZEDb/misc/update/nix/multiprocessing
php releases.php
Congratulations! you have successfully installed and configured nZEDb Usenet indexer on Ubuntu 18.04 server. Feel free to ask me if you have any questions.


