How to Install ntopng on Debian 12
This tutorial exists for these OS versions
- Debian 12 (Bookworm)
- Debian 11 (Bullseye)
- Debian 10 (Buster)
On this page
Ntopng is an open-source network traffic monitoring tool for traffic analysis and real-time visualization. It can be installed anywhere, from Linux, Windows, and MacOS. Ntopng supports multiple interfaces, alerting system, network discovery, and active monitoring, and provides historical data for post-mortem analysis.
In this tutorial, you'll learn how to install the Ntopng Network Monitoring Tool on the Debian 12 server. You'll learn how to enable Network Discovery and Active Monitoring, set up active monitoring, and learn how to check the live traffic of your network interfaces through the Ntopng dashboard.
Prerequisites
Before you begin, make sure you have the following:
- A Debian 12 server
- A non-root user with administrator privileges
Installing Ntopng
To install Ntopng, you must add the official repository and install it through the APT package manager. After the installation is finished, you must ensure that the 'ntopng' service is running using the 'systemctl' command, or you can use the 'ss' command to check the list of open ports on your system. If Ntopng runs, you'll see that port '3000' with the status 'Listened'.
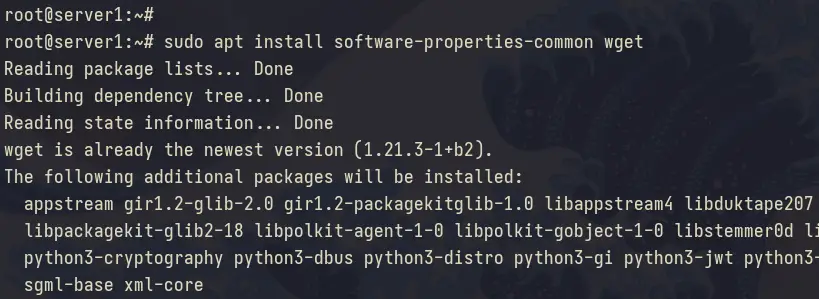
First, run the command below to update your Debian package index and install the 'software-properties-common' and 'wget' packages. When prompted, enter 'Y' to confirm with the installation.
sudo apt update
sudo apt install software-properties-common wget
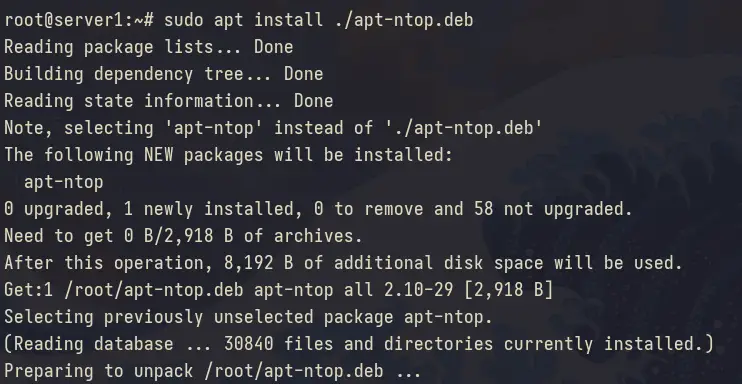
Download the Ntopng repository for Debian using the 'wget' command below. And then, install the package repository using the 'apt' command.
wget https://packages.ntop.org/apt/bookworm/all/apt-ntop.deb
sudo apt install ./apt-ntop.deb
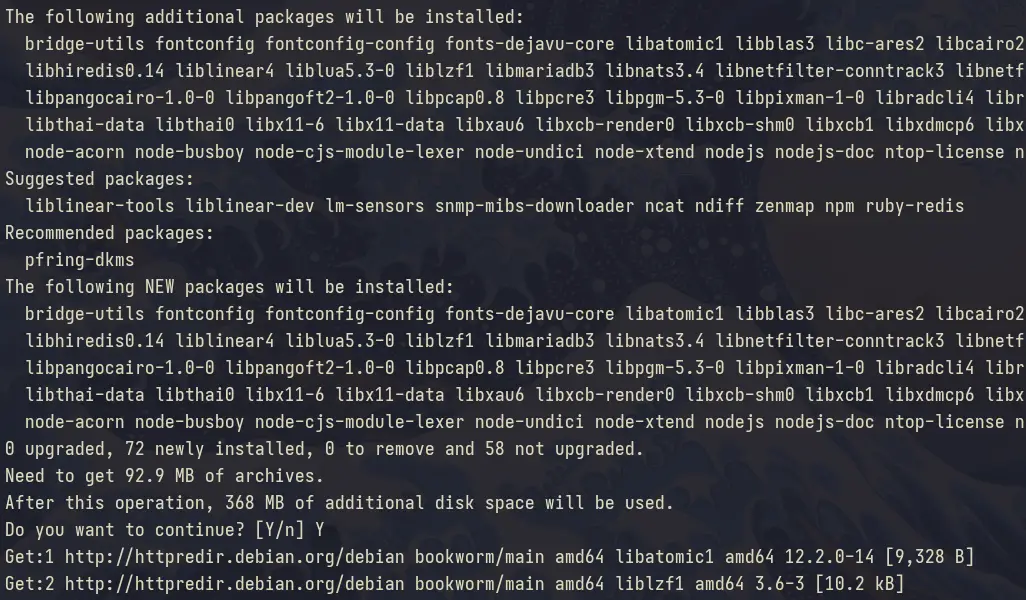
Once the Ntopng repository is added to your system, execute the following 'apt' command to refresh your package and install the 'ntopng' package.
sudo apt update && sudo apt install ntopng
Input 'Y' to confirm with the installation.
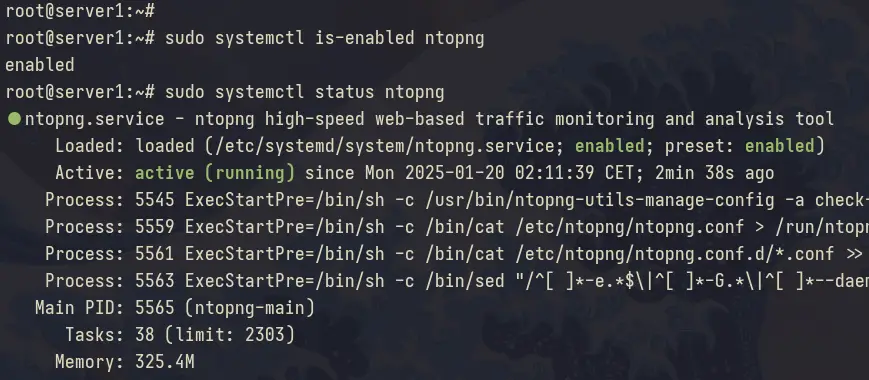
After the installation is complete, run the 'systemctl' command below to check and verify the 'ntopng' service status.
sudo systemctl is-enabled ntopng
sudo systemctl status ntopng
In the output below, you can see that Ntopng is running and enabled on your Debian system.
Lastly, you can also check the Ntopng port with the 'ss' command below. You'll see the Ntopng process uses port 3000.
ss -tulpn

Configuring Ntopng
After you've installed Ntopng, you'll configure it to monitor your networks. In this example, we'll monitor two network interfaces for both local and public interfaces. To do that, you must edit the Ntopng config file '/etc/ntopng/ntopng.conf'.
Open the default Ntopng config file '/etc/ntopng/ntopng.conf' using the 'nano' editor.
sudo nano /etc/ntopng/ntopng.conf
Add your network interface to the '-i' option and specify the port for Ntopng. In this example, we'll monitor interfaces eth0 and eth1, then run Ntopng on default port 3000.
# Network interface
-i=eth0
-i=eth1
# Web server port
-w=3000
Save the file and exit the editor.
Now open the file '/etc/ntopng/ntopng.start' with the 'nano' editor.
sudo nano /etc/ntopng/ntopng.start
Enter your local network subnet to the '--local-networks' like the following:
--local-networks "192.168.1.0/24"
--interface 1
When done, save and exit the file.
Lastly, run the 'systemctl' command below to restart the 'ntopng' service and apply your changes.
sudo systemctl restart ntopng
Logging in to Ntopng
Now that you've configured Ntopng, let's access our installation through a web browser.
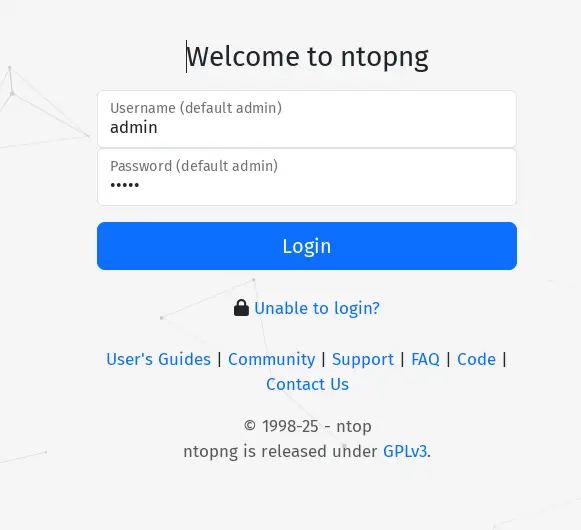
Open your web browser and visit your server IP address followed by port 3000, ex: http://192.168.10.60:3000/. If your installation is successful, you'll see the Ntopng login page.
Log in with the default user 'admin' and password 'admin'.
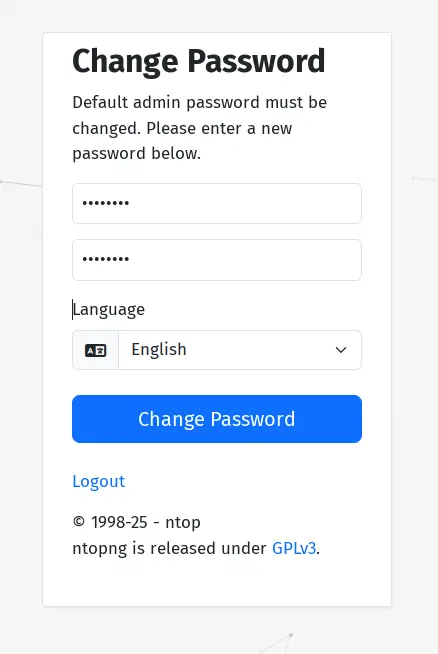
Now, you'll be asked to change the default Ntopng password. Make sure to use the strong password for the Ntopng dashboard authentication.
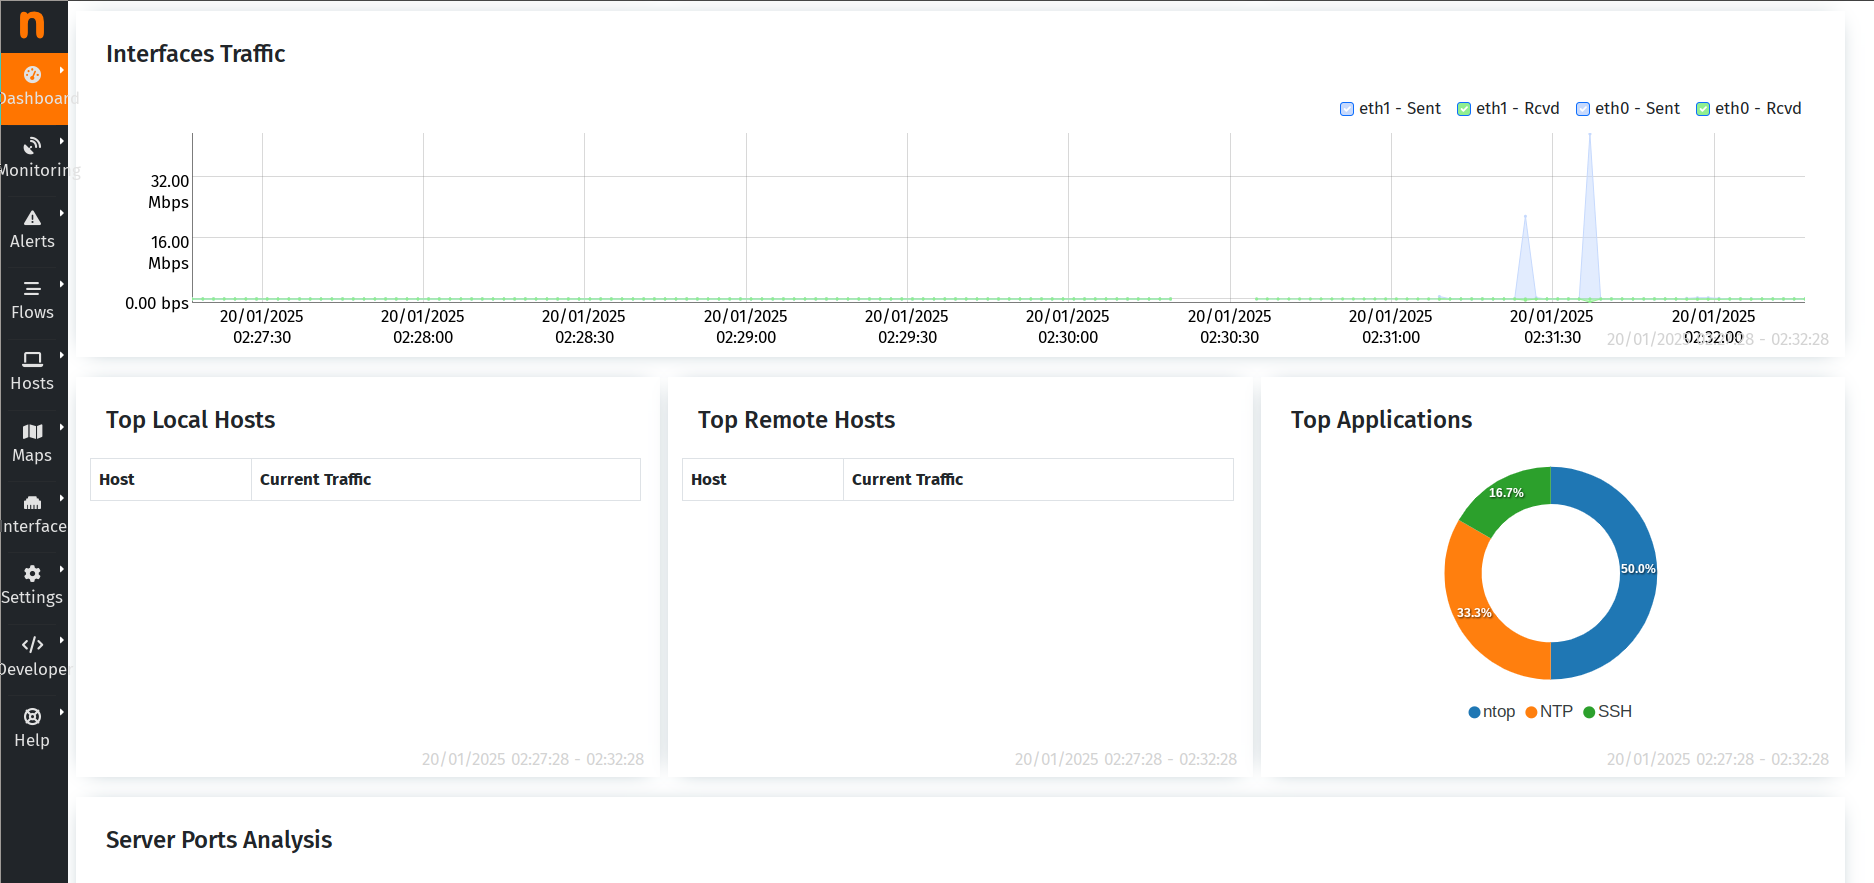
If successful, you'll see the Ntopng dashboard like the following:
Enable Network Discovery on Ntopng
In this section, you'll learn how to enable Network Discovery on the Ntopng. With this feature, the Ntopng will automatically identify live hosts within your network.
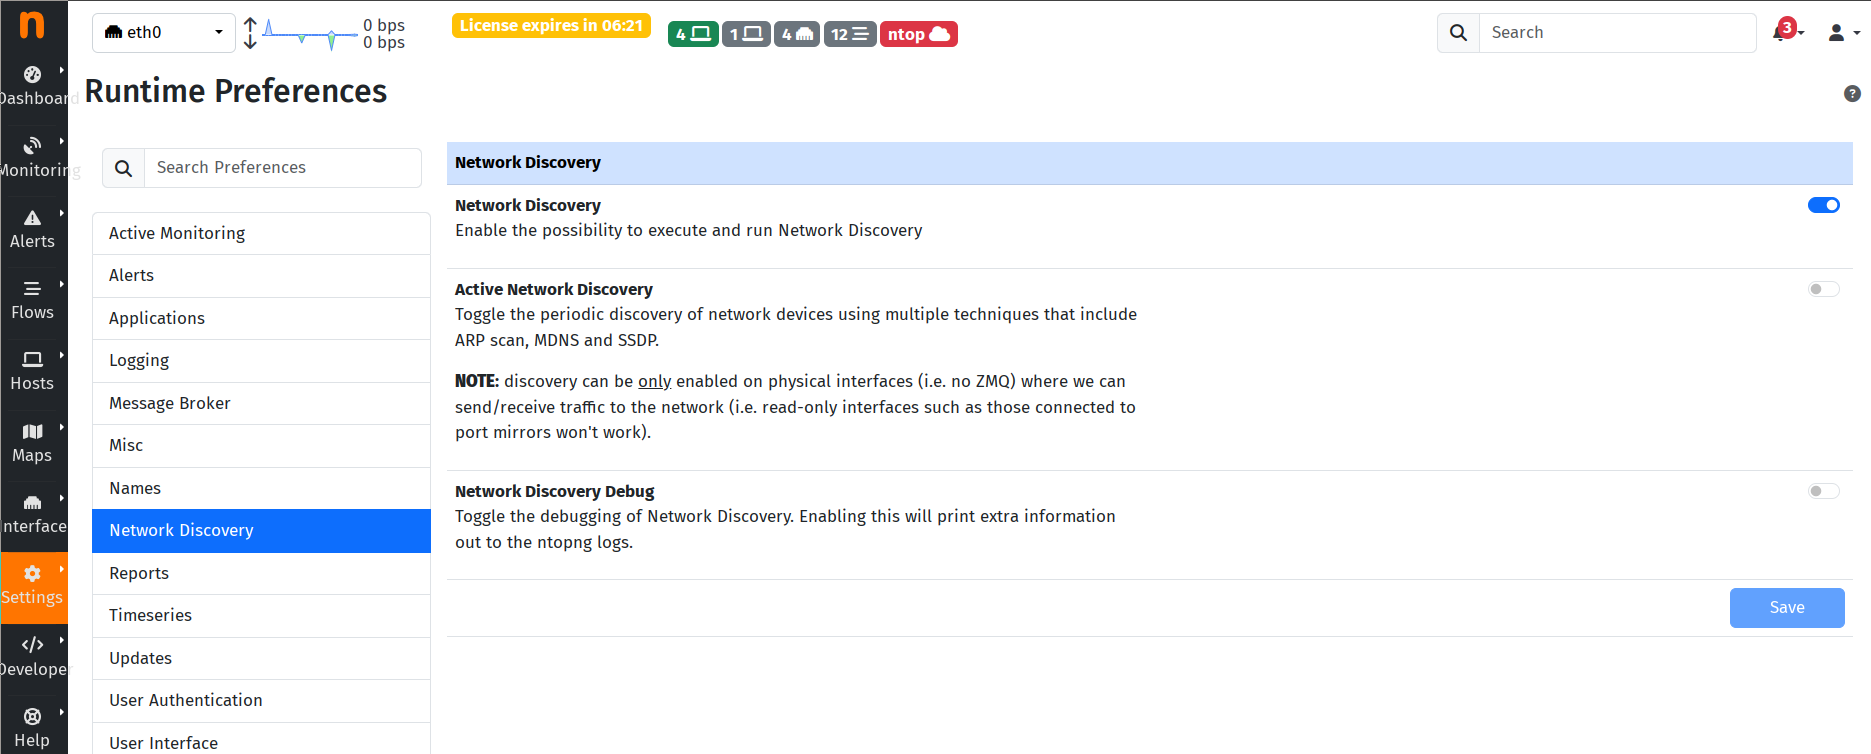
Click on the 'Settings > Preferences' and select 'Network Discovery'.
Turn on the 'Network Discovery' and click 'Save'.
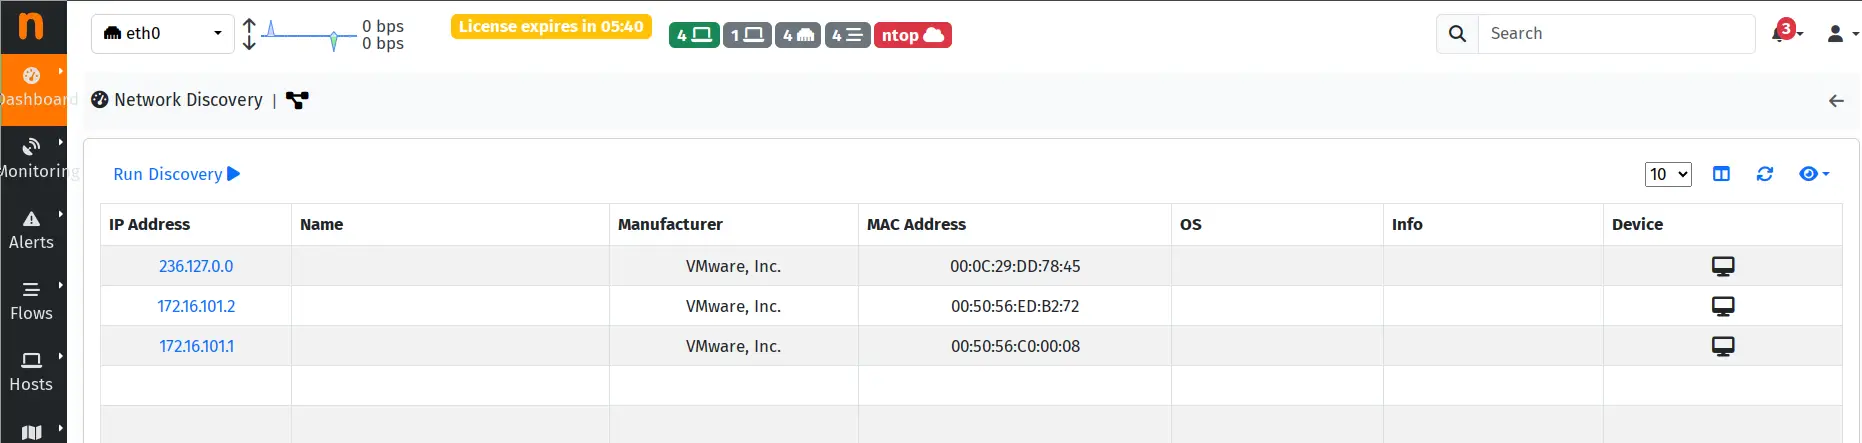
To access Network Discovery on ntopng, select 'Dashboard > Network Discovery' and click 'Run Discovery'. You can see below that Ntopng automatically detects hosts within the network.
Setting up Active Monitoring with Ntopng
Now that you've enabled Network Discovery, let's turn on the 'Active Monitoring' feature and set up active monitoring to monitor our host. In this example, you'll be using ICMP measurement to monitor if the host is alive or not.
To monitor target hosts, Ntopng can use the following protocols:
- ICMP and ICMPv6: to check host IP reachability.
- HTTP and HTTPS: to check functionalities of possible host web servers.
- Throughput: to check the Internet throughput.
- Speedtest: to check for Internet bandwidth.
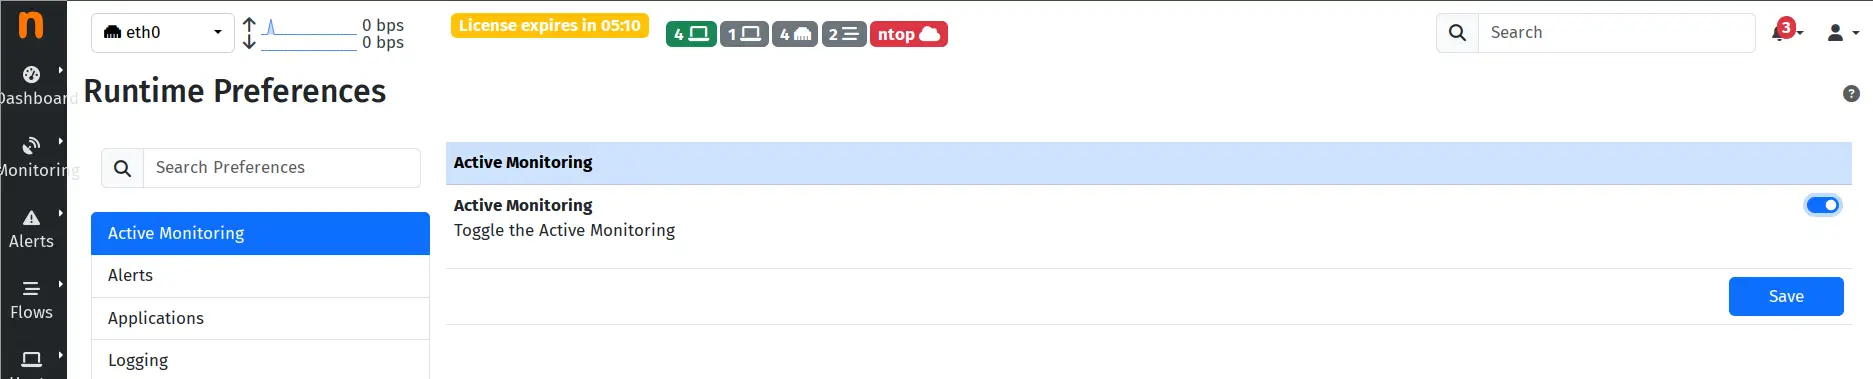
Click on the 'Settings > Preferences' and select 'Active Monitoring'.
Toggle the 'Active Monitoring' option and click 'Save' to confirm.
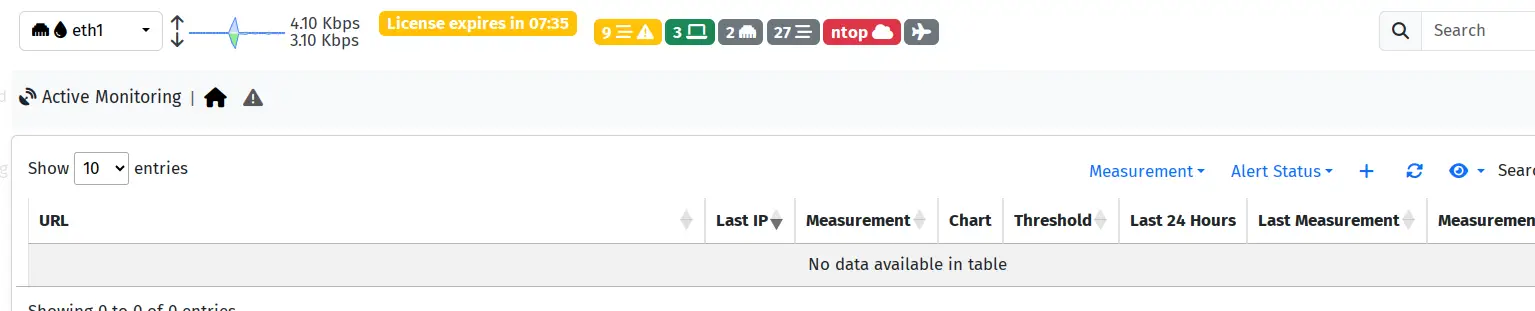
Next, click on 'Monitoring > Active Monitoring' and click the '+' button to add new active monitoring.
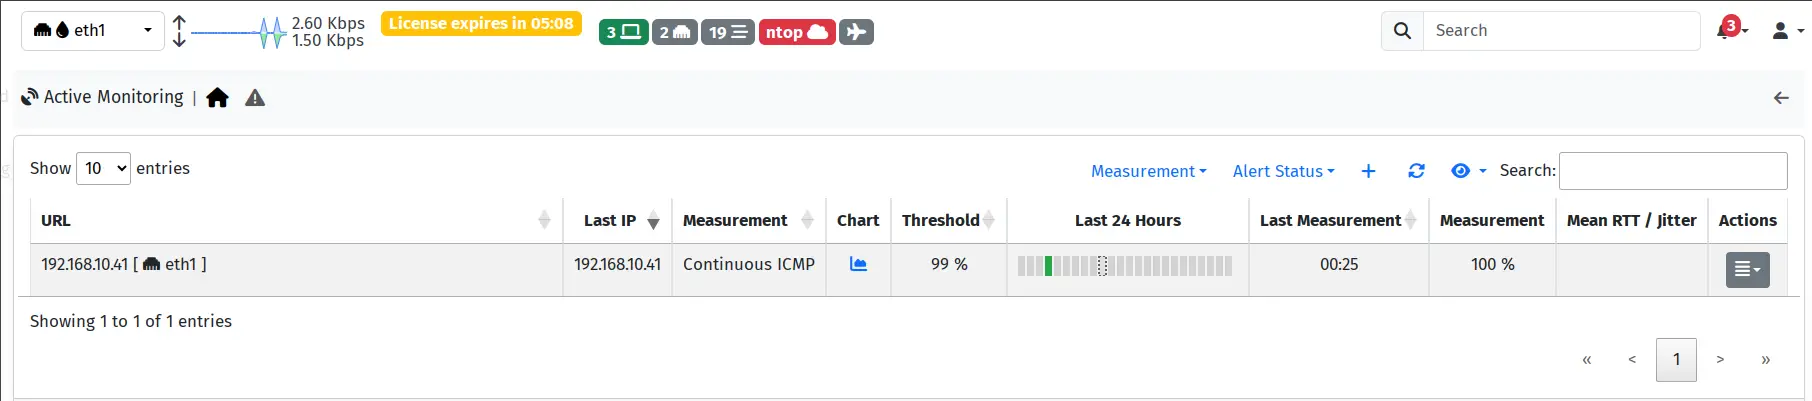
In this example, we'll monitor our host '192.168.10.41' through the ICMP or ping, click 'Add' to confirm.
You can see below the active monitoring for host '192.168.10.41' is created.
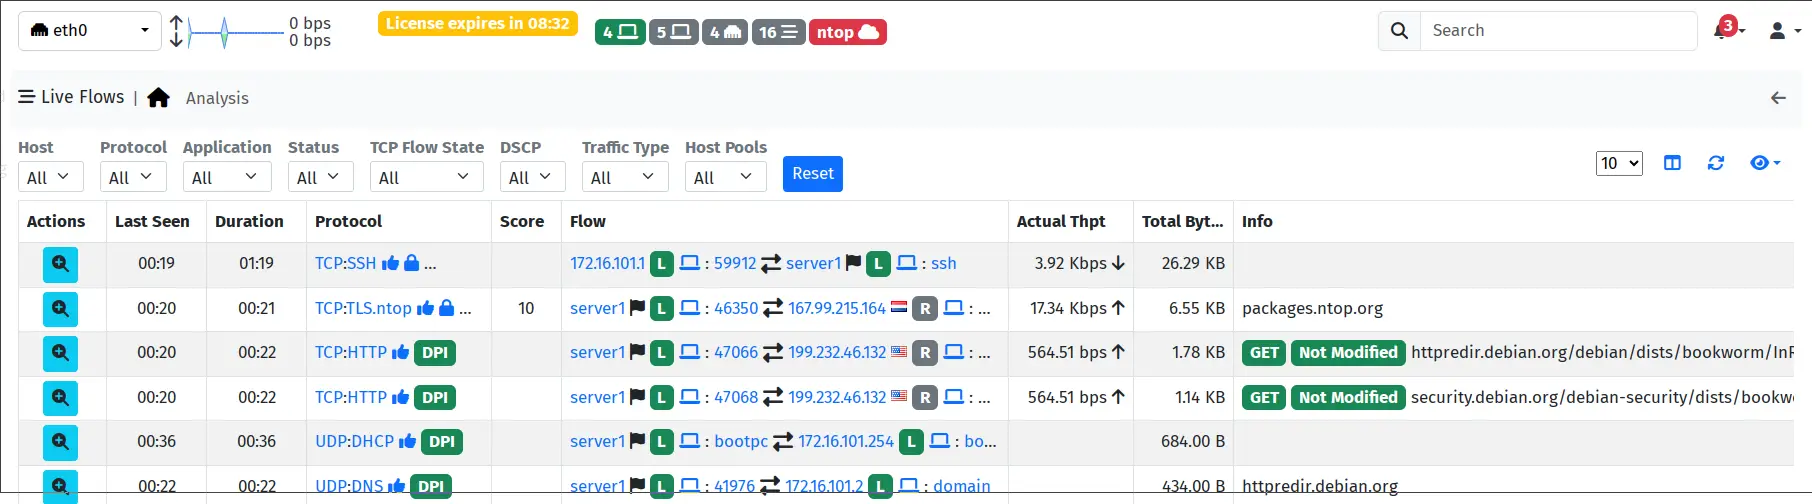
Checking the Live Traffic from Ntopng
Now that you've learned how to set up Network Discovery and enable Active Monitoring, let's see your network traffic live from the Ntopng dashboard.
Click on the 'Flow > Live' menu and you'll see the live traffic of your network. Select your specific network interface from the top menu. In the example below, you can see the external traffic of the server on interface 'eth0'.
Conclusion
Congratulations! You've completed the installation of Ntopng on the Debian 12 server. You've also learned how to set up and enable Network Discovery to automatically detect live hosts with Ntopng. Lastly, you've also learned how to enable Active Monitoring and monitor hosts/servers via Ntopng.

