How to install NodeBB Forum with Nginx and Let's Encrypt SSL on Ubuntu 20.04 LTS
This tutorial exists for these OS versions
- Ubuntu 24.04 (Noble Numbat)
- Ubuntu 22.04 (Jammy Jellyfish)
- Ubuntu 20.04 (Focal Fossa)
- Ubuntu 18.04 (Bionic Beaver)
On this page
- Prerequisites
- Step 1 - Configure Firewall
- Step 2 - Install Node.js
- Step 3 - Install MongoDB
- Step 4 - Configuring MongoDB
- Step 5 - Install Git
- Step 6 - Install NodeBB
- Step 7 - Install Nginx
- Step 8 - Configure Nginx
- Step 9 - Run NodeBB as a System Service
- Step 10 - Obtain a Let’s Encrypt SSL certificate
- Step 11 - Verify SSL Auto-Renewal
- Conclusion
NodeBB is a modern forum software powered by Node.js which uses MongoDB/Redis as database platforms. It uses web sockets for instant interactions and real-time notifications.
In this tutorial, we will learn how to install NodeBB forum on a Ubuntu 20.04 based server.
Prerequisites
-
An Ubuntu 20.04 based server with non-root user having sudo privileges.
-
Minimum 2GB RAM. If your server has only 1GB RAM, its best to enable a swap partition.
-
Make sure everything is updated.
$ sudo apt update && sudo apt upgrade -
Few essential packages. Some of these will already be on your server.
$ sudo apt install curl wget nano ca-certificates gnupg2 lsb-release
Step 1 - Configure Firewall
The first step is to configure the firewall. Ubuntu comes with ufw (Uncomplicated Firewall) by default.
Check if the firewall is running.
$ sudo ufw status
You should get the following output.
Status: inactive
Allow SSH port so that the firewall doesn't break the current connection on enabling it.
$ sudo ufw allow OpenSSH
Allow 27017 port for the MongoDB server and 4567 port for running the NodeBB forum. Allow HTTP and HTTPS ports as well.
$ sudo ufw allow 27017
$ sudo ufw allow 4567
$ sudo ufw allow 80
$ sudo ufw allow 443
Enable the Firewall.
$ sudo ufw enable
Command may disrupt existing ssh connections. Proceed with operation (y|n)? y
Firewall is active and enabled on system startup
Check the status of the firewall again.
$ sudo ufw status
You should see a similar output.
Status: active

To                         Action      From
--                         ------      ----
OpenSSH                    ALLOW       Anywhere
27017                      ALLOW       Anywhere
4567                       ALLOW       Anywhere
80                         ALLOW       Anywhere
443                        ALLOW       Anywhere
OpenSSH (v6)               ALLOW       Anywhere (v6)
27017 (v6)                 ALLOW       Anywhere (v6)
4567 (v6)                  ALLOW       Anywhere (v6)
80 (v6)                    ALLOW       Anywhere (v6)
443 (v6)                   ALLOW       Anywhere (v6)
Step 2 - Install Node.js
We will install the LTS version of Node.js here. Run the following commands to install Node.js.
$ curl -sL https://deb.nodesource.com/setup_12.x | sudo -E bash -
$ sudo apt install nodejs
Check if Node is properly installed.
$ node --version
You should see a similar output.
v12.18.3
Check npm as well.
$ npm --version
6.14.6
Step 3 - Install MongoDB
MongoDB is the default database for NodeBB. You can also use Redis instead of MongoDB. We will cover both databases in our tutorial.
MongoDB's repository for Ubuntu 20.04 is not yet ready and Ubuntu itself carries a very old version. For our purpose, we will use MongoDB repository for 18.04 which works just fine. You can update the package list with the latest repository once official support is available.
Import the public key for MongoDB.
$ wget -qO - https://www.mongodb.org/static/pgp/server-4.2.asc | sudo apt-key add -
Add MongoDB repository.
$ echo "deb [ arch=amd64 ] https://repo.mongodb.org/apt/ubuntu bionic/mongodb-org/4.2 multiverse" | sudo tee /etc/apt/sources.list.d/mongodb-org-4.2.list
Update the local package database.
$ sudo apt update
Install MongoDB.
$ sudo apt install mongodb-org
Verify the installation of MongoDB.
$ mongod --version
db version v4.2.8
...
Start the MongoDB service.
$ sudo systemctl start mongod
Enable the MongoDB service.
$ sudo systemctl enable mongod
Check the status of MongoDB service.
$ sudo systemctl status mongod
Step 4 - Configuring MongoDB
Mongo administration is done through the MongoDB shell. The default installation of MongoDB listens on port 27017.
Access the MongoDB shell.
$ mongo
Switch to the built-in admin database.
> use admin
Create an administrative user. This is not the same as the NodeBB admin user.
> db.createUser( { user: "admin", pwd: "yourpassword", roles: [ { role: "root", db: "admin" } ] } )
Change the placeholder “yourpassword” to your own password.
Add a new database for NodeBB.
> use nodebb
Next, create the nodebb user to manage the nodebb database.
> db.createUser( { user: "nodebb", pwd: "yourpassword", roles: [ { role: "readWrite", db: "nodebb" }, { role: "clusterMonitor", db: "admin" } ] } )
The readwrite permission allows NodeBB to store and retrieve data from the nodebb database. The clustermonitor permission allows NodeBB read-only access to the database statistics which are visible via its Admin panel.
Exit the Mongo shell.
> quit()
Open MongoDB configuration file for editing.
$ sudo nano /etc/mongod.conf
Append the following line at the end of the file.
security:
  authorization: enabled
Restart MongoDB and verify the administrative user created earlier.
$ sudo systemctl restart mongod
$ mongo -u admin -p yourpassword --authenticationDatabase=admin
You should see the Mongo prompt if everything was configured correctly.
Step 5 - Install Git
Before we proceed to install NodeBB, we need to install Git.
Run the following command to install Git.
$ sudo apt install git
Run the following commands to perform the initial configuration of Git.
$ git config --global user.name "Your Name"
$ git config --global user.email "[email protected]"
Step 6 - Install NodeBB
It is not advisable to run NodeBB as the root user.
Create an unprivileged user.
$ sudo adduser nodebb
Set a password of your choice and skip through other options.
Create the directory where your NodeBB forum will live.
$ sudo mkdir /var/www/nodebb
Change the ownership of the folder to the newly created user.
$ sudo chown -R nodebb:nodebb /var/www/nodebb
Log in to the newly created user.
$ su nodebb
Switch to the NodeBB installation directory.
$ cd /var/www/nodebb
To install NodeBB, first we need to clone its Github repository.
Clone NodeBB to the /var/www/nodebb directory. The dot at the end of the command refers to the current directory.
$ git clone -b v1.14.2 https://github.com/NodeBB/NodeBB.git .
Here we have cloned the v1.14.2 of NodeBB which was the latest stable version at the time of writing the tutorial. You can find the latest stable branch from NodeBB’s Latest Release page.
NodeBB ships with a command-line utility. Use the following command to install NodeBB.
$ ./nodebb setup
You can press enter to choose the default value.
For the value of URL used to access this NodeBB choose the final URL, you want to access the forum at. If you will access the forum via your server IP, enter that or enter the full domain of the forum. Here we will enter http://forum.example.com.
Keep choosing default values until you are prompted for MongoDB username which is when you enter nodebb and the password you chose earlier for that username while configuring MongoDB. Your database nodebb should be chosen. You will also be asked to create an administrator user and its details.
Once the setup is complete, run the following command to start NodeBB.
$ ./nodebb start
Your forum is now running. You should be able to access it via http://<yourserverip>:4567.
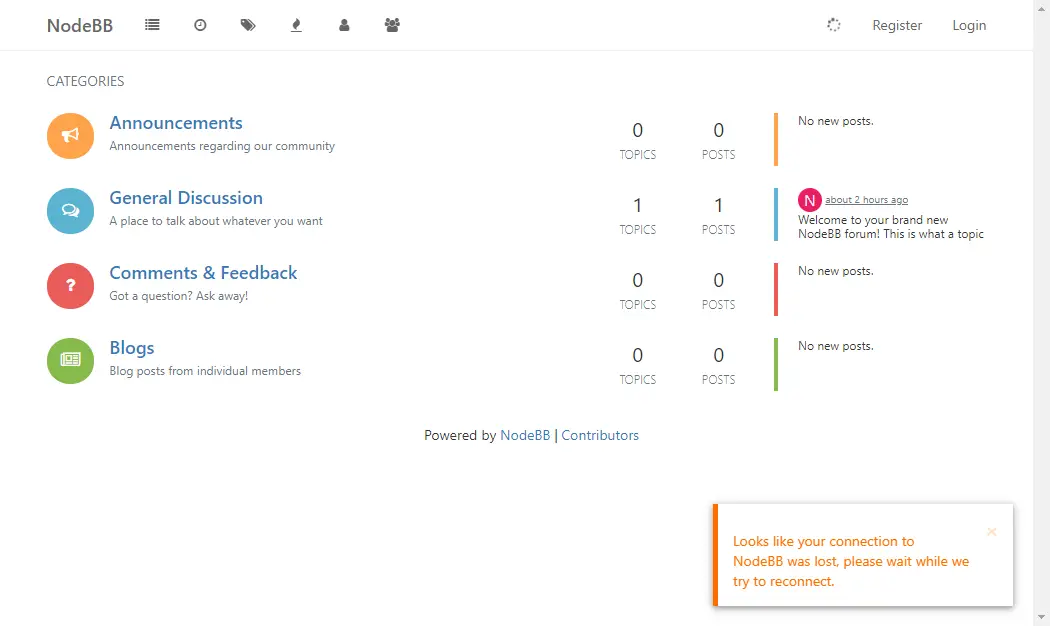
You may see an error message saying Looks like your connection to NodeBB was lost, please wait while we try to reconnect. It appears because we chose the default URL for NodeBB http://forum.example.com and not http://<yourserverip. But if you enter the IP address during setup, you won’t get the error anymore but will need to configure later again after you choose a domain for your forum.
Exit the NodeBB user.
$ exit
Step 7 - Install Nginx
Ubuntu 20.04 by default carries the latest stable version of Nginx. We will install that.
$ sudo apt install nginx
Check if it is installed properly.
$ nginx -v
nginx version: nginx/1.18.0 (Ubuntu)
Start and enable Nginx.
$ sudo systemctl start nginx
$ sudo systemctl enable nginx
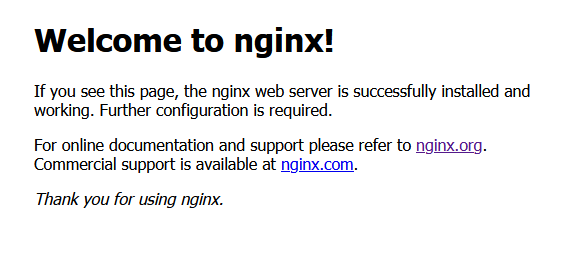
Open your server's IP address in your web browser. You should see the following page which means your server is up and running.
Step 8 - Configure Nginx
Run the following command to add a configuration file for your site.
$ sudo nano /etc/nginx/sites-available/nodebb.conf
Paste the following code in the editor.
server {
    listen 80;

    server_name forum.example.com;

    access_log /var/log/nginx/forum.example.com.access.log;
    error_log /var/log/nginx/forum.example.com.error.log;

    location / {
        proxy_set_header X-Real-IP $remote_addr;
        proxy_set_header X-Forwarded-For $proxy_add_x_forwarded_for;
        proxy_set_header X-Forwarded-Proto $scheme;
        proxy_set_header Host $http_host;
        proxy_set_header X-NginX-Proxy true;

        proxy_pass http://127.0.0.1:4567;
        proxy_redirect off;

        # Socket.IO Support
        proxy_http_version 1.1;
        proxy_set_header Upgrade $http_upgrade;
        proxy_set_header Connection "upgrade";
    }
}
Press Ctrl + X to exit the editor and enter Y when prompted.
Once you have finished, verify that Nginx configuration is correct.
$ sudo nginx -t
Reload Nginx service to enable the configuration.
$ sudo systemctl reload nginx
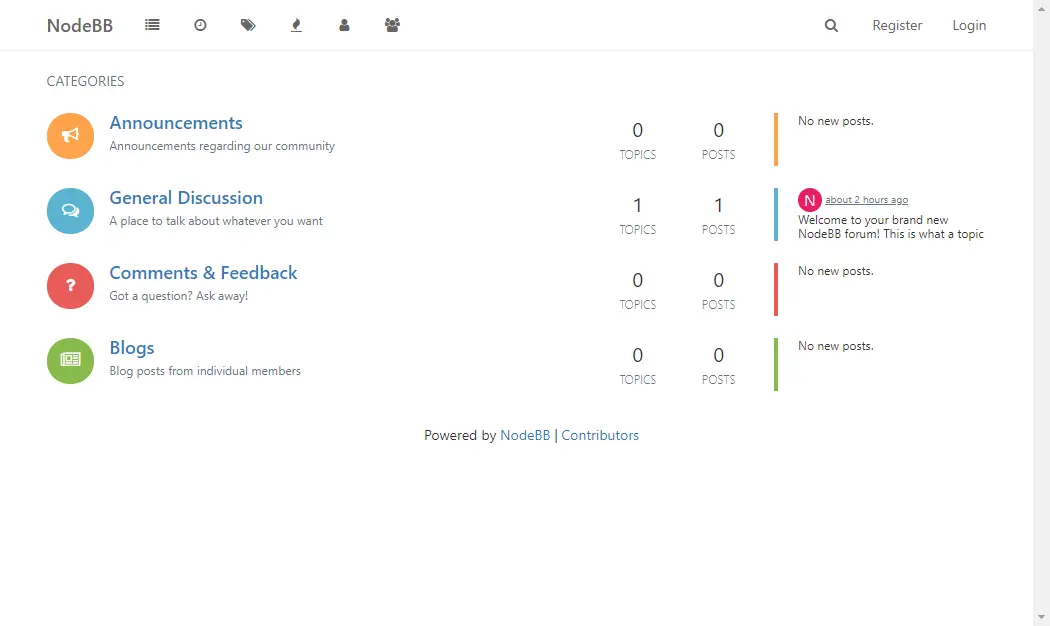
Visit http://forum.example.com in your browser to open the NodeBB forum.
Step 9 - Run NodeBB as a System Service
NodeBB service won’t run after a system reboot. To avoid starting NodeBB every time, we need to install it as a System Service.
Stop NodeBB service first.
$ ./nodebb stop
Run the following command to create and edit nodebb.service systemd unit configuration file.
$ sudo nano /etc/systemd/system/nodebb.service
Paste the following code in the editor.
[Unit]
Description=NodeBB
Documentation=https://docs.nodebb.org
After=system.slice multi-user.target mongod.service

[Service]
Type=forking
User=nodebb

StandardOutput=syslog
StandardError=syslog
SyslogIdentifier=nodebb

Environment=NODE_ENV=production
WorkingDirectory=/var/www/nodebb
PIDFile=/var/www/nodebb/pidfile
ExecStart=/usr/bin/env node loader.js
Restart=always

[Install]
WantedBy=multi-user.target
Here we have chosen the username as nodebb which we created in Step 6 and the path we have chosen to install NodeBB in it.
Enable the NodeBB service.
$ sudo systemctl enable nodebb
Start the NodeBB service.
$ sudo systemctl start nodebb
Check the status of the service.
$ sudo systemctl status nodebb
Step 10 - Obtain a Let’s Encrypt SSL certificate
Securing your NodeBB forum with HTTPS is a necessary step to secure your site’s traffic. For this tutorial, we will be using Certbot client to install the SSL.
For that first, install Certbot tool.
$ sudo apt install certbot python3-certbot-nginx
Generate the certificates.
$ sudo certbot --nginx -d forum.example.com
If this is your first time running Certbot on your system, you will be asked for an email address and to agree to the terms of service. You will also be asked whether you agree to share data with EFF foundation which you can say no to. After doing so, Certbot will communicate with Let's Encrypt servers and run a challenge to verify your domains.
If that is successful, you will be asked how to handle HTTPS redirects.
Please choose whether HTTPS access is required or optional.
-------------------------------------------------------------------------------
1: Easy - Allow both HTTP and HTTPS access to these sites
2: Secure - Make all requests redirect to secure HTTPS access
-------------------------------------------------------------------------------
Select the appropriate number [1-2] then [enter] (press 'c' to cancel):
Select Secure choice and press enter. This will ensure all requests to http domain will get properly redirected to the https version. Your certificates will then be created and your Nginx configuration files are updated with SSL settings.
Your certificates are ready and you can open your site now by going to https://forum.example.com
Step 11 - Verify SSL Auto-Renewal
This is the last step before we end this tutorial.
Check the renewal process by doing a dry run of the renewal process.
$ sudo certbot renew --dry-run
If you get no errors, it means you are set. Certbot will automatically renew your certificates for you. You will be sent an email warning about you the expiration of the certificate.
Conclusion
That's all to this tutorial. Your NodeBB forum setup is complete. If you have any questions, post them in the comments below.

