How to Install Netdata on Debian 10
This tutorial exists for these OS versions
- Debian 12 (Bookworm)
- Debian 11 (Bullseye)
- Debian 10 (Buster)
- Debian 9 (Stretch)
On this page
Netdata is a real-time performance monitor for Linux systems. It can be used to gather various system information such as network, disk usage or CPU power consumption statistics in live mode. Netdata can also run as an agent process on Netdata Chassis (a commercial server appliance from Netdata LLC) and collect end user experience metrics that are stored on central Netdata Servers for further processing and visualization through Netdata Web Dashboard.
Netdata is fast and efficient, lightweight and easy to deploy. It runs as a daemon on all major Linux distributions and is suitable for both server and embedded systems (including ARM boards).
Netdata is released under the GPLv2 with an additional grant of patent rights, which means it can be used without any limitations even in commercial products.
Netdata has been designed, from the ground up, to perform well in real-time dashboards. This includes optimized storage layout for fast data retrieval, minimal delay when streaming metrics over the network and avoiding unnecessary CPU load via efficient metric aggregation calculations.
Netdata's accumulated performance statistics are processed via RRDtool's rolling algorithm so that they are stored in compact time series files that need very little disk space but can still be used to generate graphical statistics via the web interface. Netdata uses TICK scripts for most of its visualisation and data processing routines.
Netdata's user interface is built using HTML5 (and therefore compatible with all modern browsers including mobile devices). The frontend has been made responsive so that it can be used efficiently on both phones and desktop monitors.
Netdata provides a REST API for custom development which can be used to create 100% Netdata compatible monitoring tools or dashboards. Netdata is also available as a docker container and is widely used in conjunction with Prometheus, the leading open source monitoring solution.
This guide will help you to install Netdata on Debian 10(Buster) 64bit server, which is the latest stable release of Debian.
Prerequisite
- You should have a basic Debian 10 server setup.
- Non-root user with sudo privilege.
Getting Started
Updating your System
Before you begin Netdata installation, it is wise to update your system.
Go to the terminal and type as follows:
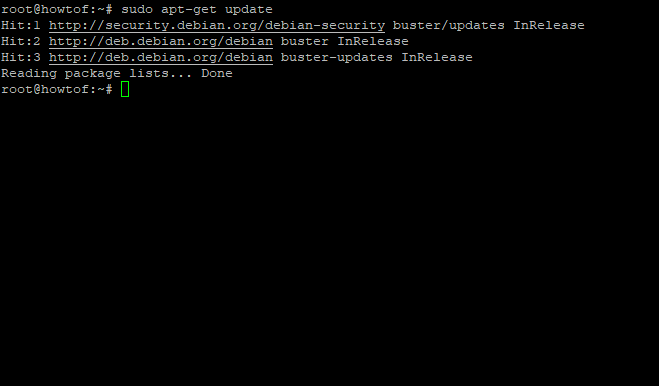
sudo apt-get update
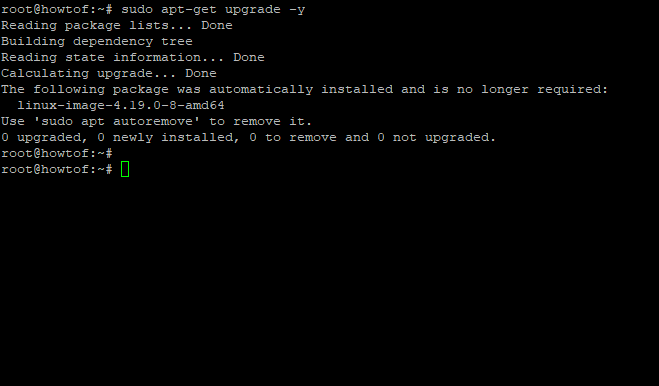
sudo apt-get upgrade -y
-y is to say yes to all the questions that may occur during the update process. This is a clean distro, so we should be doing this quite often.
apt-get update will update the package sources that you want to pull.
apt-get upgrade will execute a search for new packages or upgraded versions of those already installed.
Sample output:
Once the update complete you might want to restart your system:
sudo reboot
Installing Dependencies
You can install required dependencies with the following command:
sudo apt-get install zlib1g-dev libuv1-dev uuid-dev libmnl-dev gcc make git autoconf autoconf-archive autogen automake pkg-config cmake curl
autogen is a great tool for generating configure files. It will analyze the software, and determine all the necessary libraries it needs to compile and run correctly. Netdata will need autogen to be able to build some modules.
autoconf is a tool for creating configure scripts. autoconf-archive contains additional macros you might need to create configure scripts.
uuid-dev allows Netdata to use the Universally Unique Identifier (UUID).
libmnl-dev is like a leet version of libnetlink - and Netdata uses libmnl to interface with the kernel.
libuv1-dev allows you to build netdata as a library for other programs to use it.
The remaining libraries are so common that most system already have it.
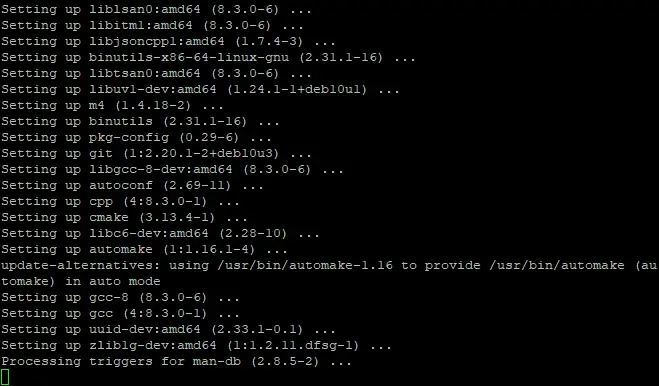
Sample output:
After installing the dependencies, you can follow the rest of this guide.
Installing Netdata
In this step, we will use the official installation script to installing Netdata. You can achieve this by running the following command:
git clone https://github.com/firehol/netdata.git --depth=1 ~/netdata
The command above will clone Netdata into ~/netdata , but you can change this with the --destination flag.
The --depth=1 flag will clone only one level, leaving all submodules untouched.
The --destination flag will root the Netdata directory to /home/netdata. You can put your netdata in any place you like as long as you remember it. If you already have a directory called Netdata, you should use the following command to change the name mv ~/netdata ~/Netdata-my-own-dir
After installing Netdata, you can run it by typing commands as follows. Don't worry if you don't see anything yet, we are just configuring some parameters first.
cd netdata
sudo ./netdata-installer.sh
cd netdata will move you into the Netdata directory .
sudo ./netdata-installer.sh will start the installation script for Netdata .
It might ask you to enter the "password" for the system if you are not logged in as root. So please input the password, and Netdata will be installed.
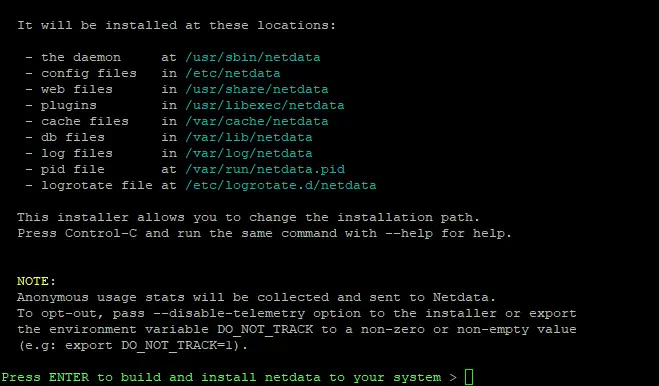
It will give you a summary about the deamon, config files and other things. On the bottom of the page, you will see some help commands to use Netdata better. Press Enter to build and run Netdata, or Ctrl+C to cancel.
Sample output:
Netdata then will start installing some dependencies, then compiling the sources and finally run it.
This might take a while depending on your system resources. So be patient and wait. Don't close your terminal, we will go through some configuration steps in the next section.
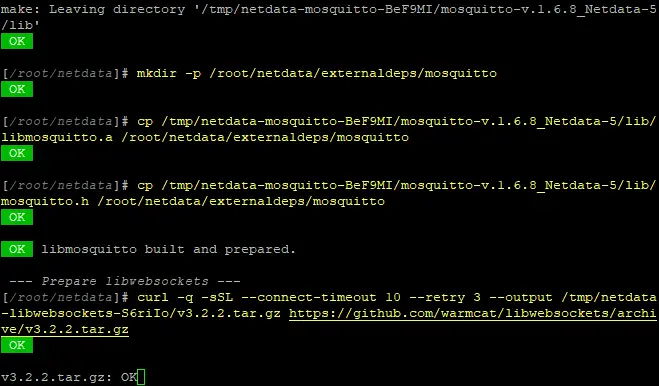
Sample output:
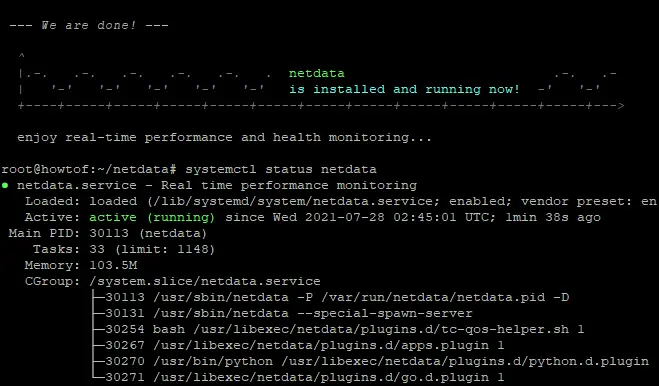
When it is installed, NetData will be automatically started and enabled for automatic start at system boot. You can check by running the command below:
systemctl status netdata
Sample output:
Updating NetData
It is advisable to update your Netdata configuration regularly, as new versions could feature significant improvements and bug fixes.
To update Netdata, you can download the latest version of Netdata by running the following command:
cd netdata
git pull
sudo ./netdata-installer.sh
The command will pull the latest version of NetData from github repository and update your copy in ~/netdata. Then start installing it again.
The Netdata update process will not change your existing configuration files or installed modules/dependencies. If you have already installed Netdata, it is not necessary to uninstall and re-install the packages.
If you want to get notifications when a new version is released, consider subscribing to the announce mailing list.
You can also monitor new versions automatically by using a project's Github integration feature. You just need to click on "Settings" button, then go to "Notifications" tab and choose "Watch". After that you will receive an email each time a new release is published.
Uninstalling Netdata
If you want to remove Netdata, you can use the following command in your terminal. Don't worry, it won't remove anything important, just some directories and files used by Netdata.
sudo ./netdata-installer.sh --uninstall
For those who are thinking on using this as a way to start/stop services or run commands on remote servers, don't do that because this will uninstall netdata service.
Configuring Firewall
The next step is to open firewall ports for UDP and TCP protocol. If you want other systems in your local network to be able to reach netdata, please allow the specified port tcp:19999 and udp:19999 in your router/firewall.
You can forward these ports to any machine that runs netdata by doing some additional configurations on the router. If you change this port number, make sure you also update it (and only it) in /etc/netdata/netdata.conf.
In current versions of Debian 10 such as the Buster release, the UFW firewall is optional rather than part of the default installation. You will need to manually install it with the following command:
sudo apt-get install ufw -y
Next enable UFW by running the command below:
sudo ufw enable
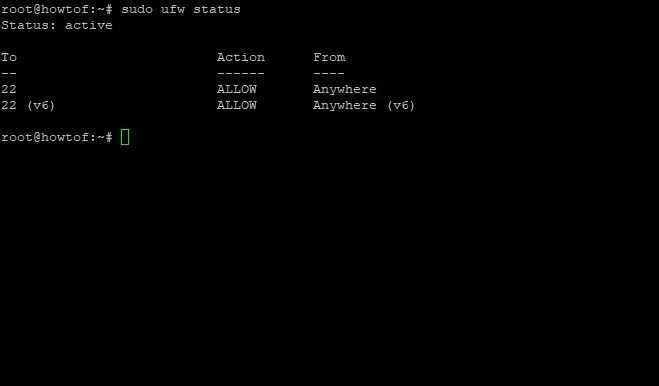
You can verify that UFW is enabled by running the command below:
sudo ufw status
Sample output:
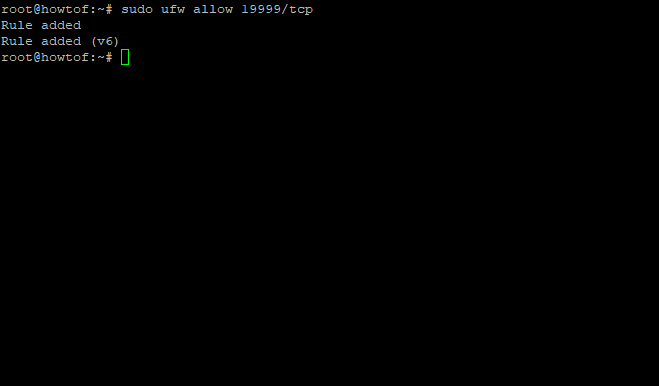
Now, allow port 19999 using the following command:
sudo ufw allow 19999/tcp
Sample output:
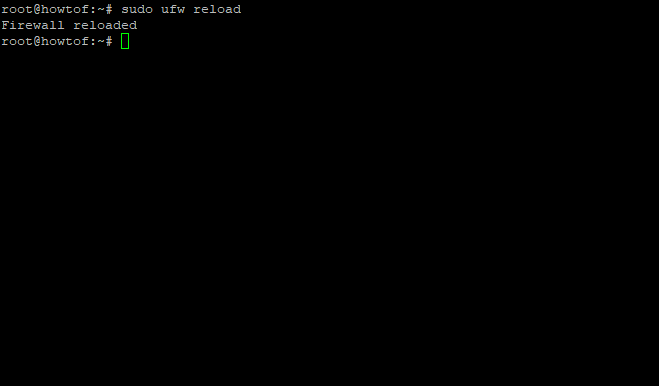
Finally, reload the firewall and apply all the changes, type:
sudo ufw reload
Sample output:
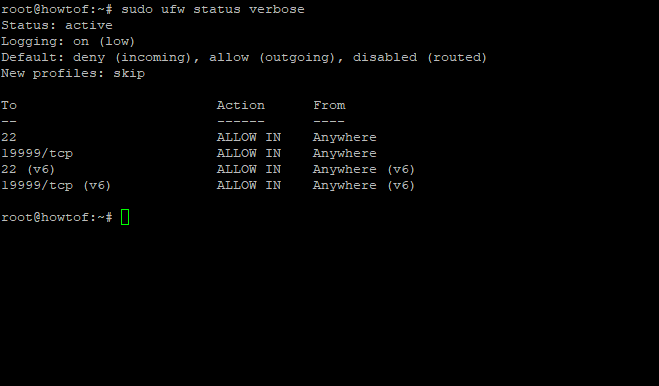
The port is now open for TCP traffic, and you can reach it from any other system in your local network. Use the following command to list all allowed ports/traffic:
sudo ufw status verbose
Sample output:
Accessing Netdata Web Interface
The default web address for Netdata is http://<server_IP>19999. You can access it in any browser by entering the IP of your server, such as http://192.168.1.120:19999
If you want to access it from another machine (outside your network), just use its public IP address instead of localhost or 127.0.0.1. To find the public IP of your server, go to this link: My IP and copy it.
Sample output:
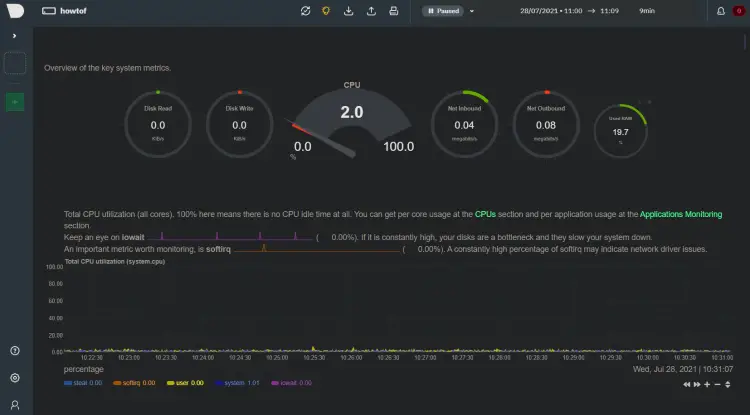
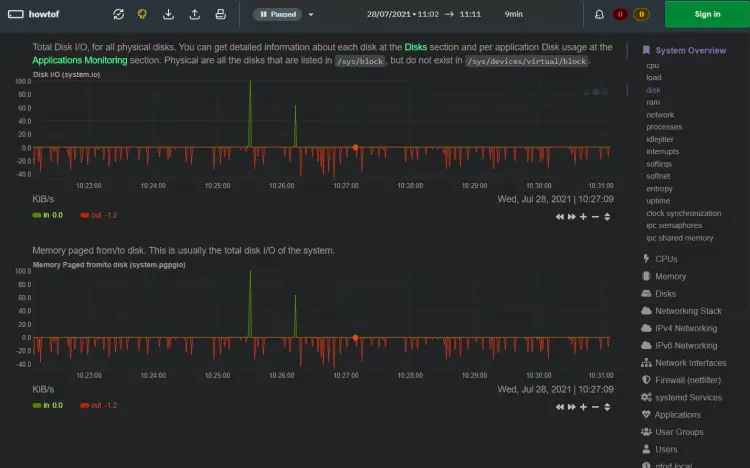
Netdata comes with two web interfaces: one is the main netdata dashboard which will show you key network metrics and the other one (in form of a sidebar) that will give you additional metrics data, e.g. CPU temperature, disk usage, etc...
To access the sidebar, you need to click on the "Dashboard" icon at the top right of your browser window.
Sample output:
If for some reason you want to change the default URL (http://localhost:19999), or enable https protocol, just edit or create /etc/netdata/netdata-conf.json file using any text editor with root privileges and update port number there. Substitute 19999 with your selected port number which is not used by other daemon process in this example, and use HTTPS_PORT value instead of PORT.
Troubleshooting:
A lot of people could access netdata from localhost but after upgrading php7/apache2/nginx to new versions, they're getting 404 errors or cannot reach it anymore. This happens because some programs that require access to localhost are now using 127.0.0.1 address instead of 127.0.0.1:19999. The fix is simple, just go to httpd config file of the service that needs localhost access and modify 127.0.0.1 inside the ServerName lines so it reads 127.0.0.1:19999.
If you're seeing an exaggerated amount of used RAM reported by netdata, it is quite likely due to limitations in the 'top' utility which is being used by the process_vm_read() function in your system. Install the htop package and restart netdata.
Netdata reports nothing/bad values for CPU temperature and fan speeds. Some users are reporting that for some reason, after a few hours or days of running netdata they noticed that their CPU temperatures were constant at very high levels (~90 C) while their fans had stopped spinning. The fix is simple: simply restart your system and run sudo service netdata restart before you try to access it again, this will fix all those values instantly.
If your server is having issues accessing your local network, make sure that it has the correct IP range settings on its NIC and access to 192.168.1.*/24 subnets is allowed on all interfaces where netdata will be accessed from by editing /etc/ufw/before.rules . If you want external access to work as well, add 1:65535 to the end of the file (near line 31).
"The following packages have unmet dependencies" error. Make sure that the netdata package ( sudo apt install netdata ) and all of its dependencies are installed on your system. If they're not, try installing them one by one until you find out which program is the problem.
"Failed checksum validation". If you're getting this error when accessing the netdata web interface (normally from a machine in your network), you're likely using a custom PHP config. If you don't use php-fpm, this software not for you.
"Bad return status for script" or "Script terminated with an error". It means that Apache/PHP or other web server software isn't running. Just start it again before accessing netdata through its web interface.
Programs like htop and dstat show wrong CPU usage data in their top processes list from 'load average' value shown inside metric called 'runlist'. That's because this metric represents the number of processes currently runnable on a CPU, not the total amount of CPU time used, which is what 'load average' stands for. If you want to see the total amount of usage in your CPU (which is more representative), simply add another metric inside netdata web interface called 'user' and assign it the same key inside htop or dstat as its 'runlist' counterpart. Most probably you will be interested in adding this metric into iftop as well, so it means that users have to install development version of it ( sudo apt-get install iftop-ng ) and edit /etc/iftop.conf file to point out the path where netdata data files are located.
The list above isn't complete, so if you found something that this guide didn't mention please share the info in the comments below, so others can find it and fix their issues with netdata quickly.
Conclusion
In this tutorial we tried to cover some areas related to netdata, and although it is not a complete installation guide, the steps provided can be easily adapted for new installations. Netdata is an extremely powerful tool which uses very little resources in order to monitor systems and web servers, making it perfect for ISPs and home users looking to setup a basic monitoring system without having to worry about constant resource use by monitoring programs.
Do you like this article or did we miss some important info about it? Feel free to leave your comment below. Share this article if you found it useful!
Be social and share it on your favorite media. If you have questions, use the comments section or ask us directly using our contact form .
Don't miss any of our future tutorials, follow us on Facebook.

