How to Install and Use Vuls Vulnerability Scanner on Debian 12
Vuls is an agentless, free, and open-source vulnerability scanner for Linux and FreeBSD. Vuls is mainly written in Go and can be run anywhere. You can run Vuls on Cloud, on-premise, and Docker, and supports major distributions. Vuls provides high-quality scan that supports multiple vulnerability databases such as NVD, JVN, OVAL, RHSA/ALAS/ELSA/FreeBSD-SA.
With Vuls, you can scan multiple operating systems using multiple methods. You can scan the locals of your host, and you can scan remote hosts/servers via SSH. It also provides multiple scanning methods: a fast scan that does not require root privileges and a deep scan that requires root privileges. Vuls can scan multiple target servers at once. When the scan is finished, you can send the result via Email and Slack.
In this guide, you'll learn how to install Vuls Vulnerability Scanner on the Debian 12 server. You'll install Vuls, set up CVE databases, and then scan the local system and remote machine Vuls.
Prerequisites
Before you get started, make sure you have the following:
- A Debian 12 server
- A non-root user with administrator privileges
- Additional servers such as RockyLinux/Ubuntu as targets for remote scan
Installing dependencies
Before installing Vuls, you must ensure dependencies are installed. In this section, you'll install the 'debian-goodies' and 'reboot-notifier' packages as dependencies for Vuls.
First, run the command below to update your Debian package index.
sudo apt update
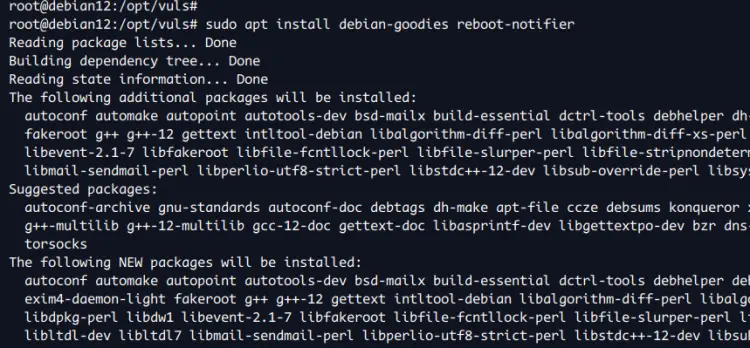
Now install packages 'debian-goodies' and 'reboot-notifier' with the following command. Enter 'Y' to confirm the installation.
sudo apt install debian-goodies reboot-notifier
Installing Vuls with installer script
After dependencies are installed, you'll be installing Vuls using the installer script. This will automatically compile and install Vuls and additional tools for Vuls to your system.
To install Vuls, execute the following command. With this, you'll download the Vuls installer script 'install.sh' and run it.
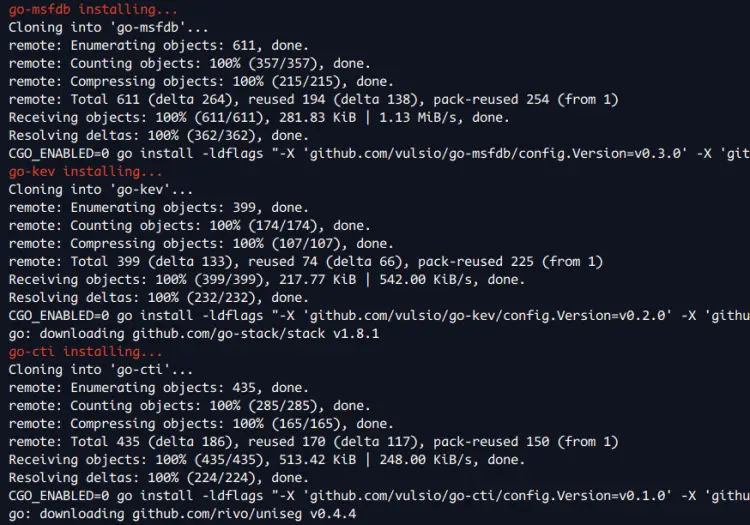
bash <( curl -s https://raw.githubusercontent.com/vulsio/vulsctl/master/install-host/install.sh )
Now the installer script will install the latest version of Golang, then compile and install multiple tools for Vuls, such as 'go-cti', 'go-cve-dictionary', 'goval-dictionary', 'go-exploitdb', 'go-kev', 'go-msfdb', and 'gost'.
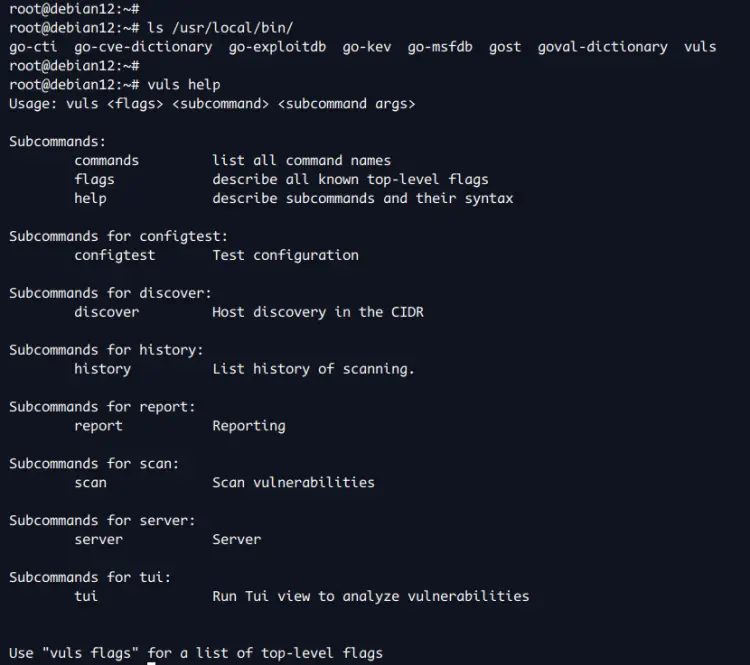
After the installation is finished, check the '/usr/local/bin' directory and you'll see a binary file for Vuls with its tools.
ls /usr/local/bin/
You can now check the help message with the 'vuls help' command below.
vuls help
You'll get an output like the following:
Configuring Vuls
With the Vuls installed, you'll need to configure it before scanning any computer or server. In this section, you'll create a new directory and files for Vuls installation. You'll define CVE databases to specific SQLite databases and create the first scan configuration for localhost.
Create a new directory '/opt/vuls' and move into it. And then, create a new file 'config.toml' with the 'nano' editor.
mkdir -p /opt/vuls; cd /opt/vuls
nano config.toml
Enter the following configuration to integrate CVE databases with Vuls. Also in the bottom line, you're defining scan for localhost.
[cveDict]
type = "sqlite3"
SQLite3Path = "/opt/vuls/cve.sqlite3"

[ovalDict]
type = "sqlite3"
SQLite3Path = "/opt/vuls/oval.sqlite3"

[gost]
type = "sqlite3"
SQLite3Path = "/opt/vuls/gost.sqlite3"

[metasploit]
type = "sqlite3"
SQLite3Path = "/opt/vuls/go-msfdb.sqlite3"

[servers]

[servers.localhost]
host = "localhost"
port = "local"
scanMode = [ "fast-root" ]
#scanMode = ["fast", "fast-root", "deep", "offline"]
Save and exit the file when finished.
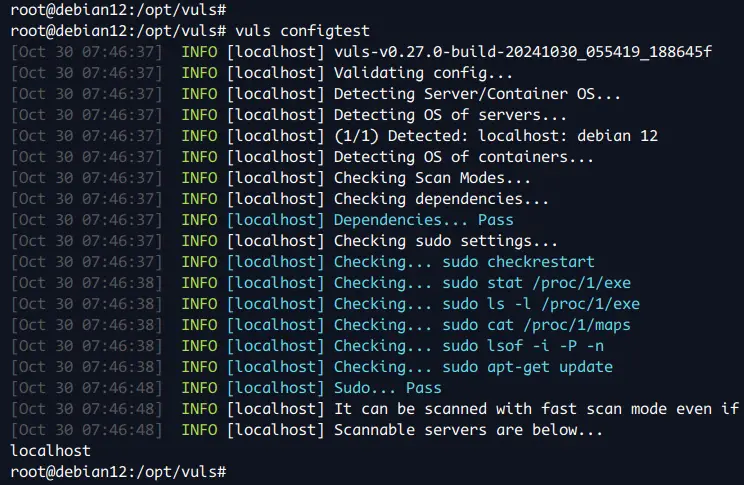
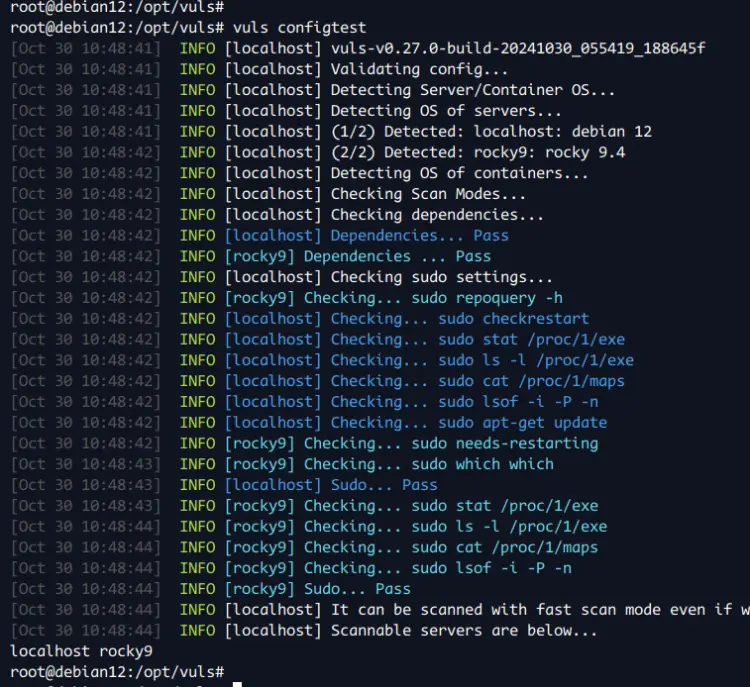
Lastly, run the 'vuls' command below to verify your configuration.
vuls configtest
If you've proper configuration, you'll see the following output:
Creating CVE databases with Vuls
In this section, you'll be building new CVE databases from various sources using Vuls tools. You'll be creating CVE databases for the Debian security tracker, NVD, OVAL, and Metasploit databases.
First, move to the '/opt/vuls' directory:
cd /opt/vuls
Now run the command below to download and build CVE databases from multiple sources. In this example, you'll be using the CVE database from the Debian security tracker, NVD, OVAL, and Metasploit database.
gost fetch debian --dbpath /opt/vuls/gost.sqlite3
go-cve-dictionary fetch nvd --dbpath /opt/vuls/cve.sqlite3
goval-dictionary fetch debian 12 --dbpath /opt/vuls/oval.sqlite3
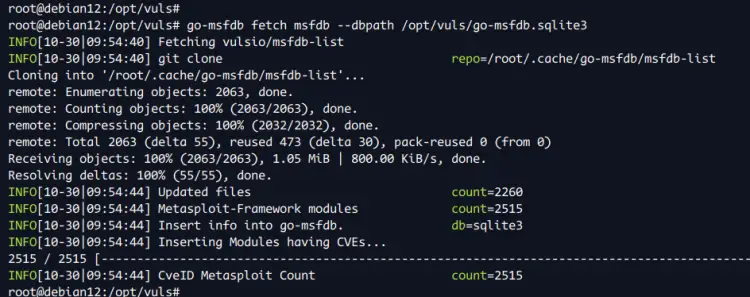
go-msfdb fetch msfdb --dbpath /opt/vuls/go-msfdb.sqlite3
After the process is finished, your CVE databases will be available in the '/opt/vuls' directory. Check the '/opt/vuls' directory with the command below.
ls /opt/vuls/*.sqlite3
Scanning localhost with Vuls
At this point, you've configured Vuls and created CVE databases. Now you're ready to scan your localhost or local machine with Vuls.
To scan your local machine, run the 'vuls' command below.
vuls scan localhost
After the process is finished, you'll see thesimple result on your terminal.
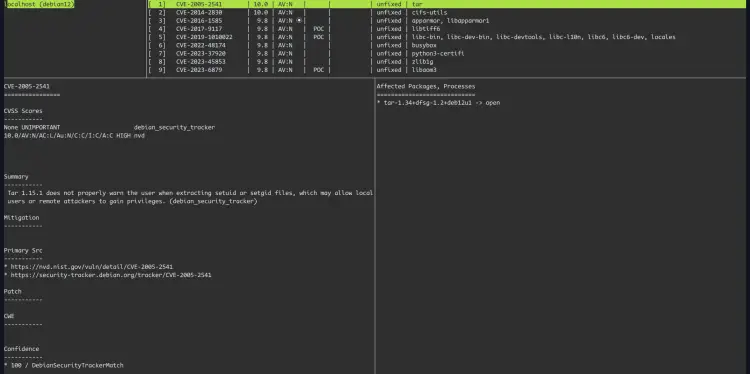
Now run the 'vuls tui' command below to view the scan report in detail.
vuls tui
In the following, you can see a detailed scan report for localhost.
Press 'Ctrl+c' to exit from the Vuls terminal user interface.
Scanning remote server with Vuls
In this section, you'll be scanning the remote server with Vuls. For this example, the target server will be Rocky Linux 9 server with IP address '192.168.10.45' and user 'rock'.
First, run the command below to download the OVAL CVE database for RedHat 9 with the following:
goval-dictionary fetch redhat 9 --dbpath /opt/vuls/oval.sqlite3
Now generate new SSH public and private key, and then upload the public key to the target server. In this example, the target server is Rocky Linux 9 with IP address '192.168.10.45' and the SSH user 'rock'.
ssh-keygen -t ed25519
ssh-copy-id [email protected]
Now log in to the target server with the 'ssh' command below and install the 'lsof' package with the command below.
ssh [email protected]
sudo dnf install lsof -y
Type 'exit' to log out from the Rocky Linux server.
Next, move to the '/opt/vuls' directory and edit the 'config.toml' file with the 'nano' editor.
cd /opt/vuls/
nano config.toml
Insert the following configuration to create a new scan for the remote system Rocky Linux 9 server. Also, make sure to change the details of the IP address and user with your information.
[servers.debian-server]
host = "192.168.10.45"
port = "22"
user = "rock"
keyPath = "/root/.ssh/id_ed25519"
scanMode = [ "fast-root" ] # "fast", "fast-root" or "deep"
Save the file and exit the editor.
With the new configuration, you can now test your 'config.toml' file using the command below.
vuls configtest
If no error, scan the remote server with the 'vuls' command below.
vuls scan rocky9
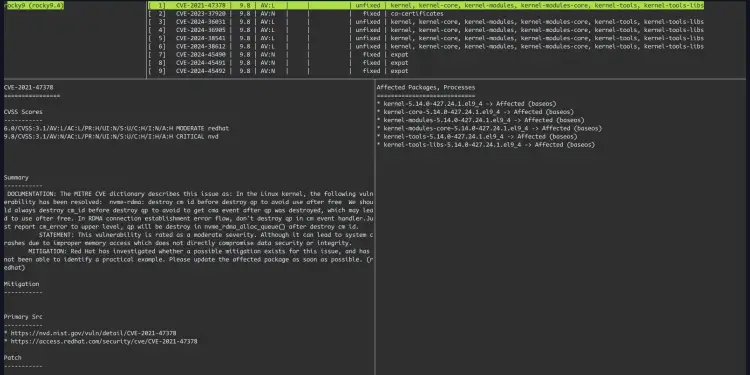
Lastly, run the 'vuls' command below to access the report of your remote scan.
vuls tui
In the following, you can see a details report of the remote server Rocky Linux 9.
Conclusion
Congratulations! You've completed the installation of the Vuls Vulnerability Scanner on the Debian 12 server. You've also learned how to build CVE databases using Vuls additional tools. After that. You've also learned how to scan local and remote servers/machines with Vuls.

