How to install the web-based Guacamole Remote Desktop Client on Ubuntu 18.04 LTS
This tutorial exists for these OS versions
- Ubuntu 20.04 (Focal Fossa)
- Ubuntu 18.04 (Bionic Beaver)
On this page
If you are a system administrator and responsible for managing Windows and Linux machines then you may often need remote desktop client software to manage them. Apache Guacamole is a free, open-source and web-based remote desktop application that allows you to access your desktop machines through a web browser. It is a clientless HTML5 web application that supports standard protocols like VNC, RDP, and SSH. You don't need to install and client software or plugins on the server. With Guacamole, you can easily switch between multiple remote desktop machines with the same browser window.
In this tutorial, we will show how to install Apache Guacamole remote desktop gateway on Ubuntu 18.04 LTS server.
Prerequisites
- A server running Ubuntu 18.04.
- A root password is setup on your server.
Getting Started
Before starting, it is a good idea to update your system's package to the latest version. You can update them using the following command:
apt-get update -y
apt-get upgrade -y
Once all the packages are updated, restart your system to apply the changes.
Install Required Dependencies
Before starting, you will need to install some dependencies in your system to compile Guacamole from the source. You can install all of them using the following command:
apt-get install gcc-6 g++-6 libossp-uuid-dev libavcodec-dev libpango1.0-dev libssh2-1-dev libcairo2-dev libjpeg-turbo8-dev libpng-dev libavutil-dev libswscale-dev libfreerdp-dev libvncserver-dev libssl-dev libvorbis-dev libwebp-dev -y
Once all the packages are installed, you can proceed to the next step.
Install Tomcat Server
Next, you will need to install Tomcat in your server to serve guacamole client content to users that connect to the guacamole server via the web browser. You can install it using the following command:
apt-get install tomcat8 tomcat8-admin tomcat8-common tomcat8-user -y
Once the Tomcat is installed, you can proceed to the next step.
Install Guacamole Server
Guacamole is separated into two components, guacamole-server which provides the guacd proxy and related libraries, and guacamole-client which provides the client to be served by your Tomcat server. By default, Guacamole Server is not available in the Ubuntu 18.04 default repository. So you will need to build it from the source.
First, download the latest version of Guacamole source using the following command:
wget http://apachemirror.wuchna.com/guacamole/1.1.0/source/guacamole-server-1.1.0.tar.gz
Once the download is completed, extract the downloaded file with the following command:
tar -xvzf guacamole-server-1.1.0.tar.gz
Next, change the directory to the extracted directory and configure it with the following command:
cd guacamole-server-1.1.0
./configure --with-init-dir=/etc/init.d
Once the configuration is successful, you should get the following output:
   Library status:

     freerdp2 ............ no
     pango ............... yes
     libavcodec .......... yes
     libavutil ........... yes
     libssh2 ............. yes
     libssl .............. yes
     libswscale .......... yes
     libtelnet ........... no
     libVNCServer ........ yes
     libvorbis ........... yes
     libpulse ............ no
     libwebsockets ....... no
     libwebp ............. yes
     wsock32 ............. no

   Protocol support:

      Kubernetes .... no
      RDP ........... no
      SSH ........... yes
      Telnet ........ no
      VNC ........... yes

   Services / tools:

      guacd ...... yes
      guacenc .... yes
      guaclog .... yes

   FreeRDP plugins: no
   Init scripts: /etc/init.d
   Systemd units: no

Type "make" to compile guacamole-server.
Next, run the following command to compile guacamole-server:
make
Once the compilation is completed successfully, you can install it with the following command:
make install
Once installed, run the following command to update your system's cache of installed libraries
ldconfig
Next, enable the Guacamole service to start on boot and start it with the following command:
systemctl enable guacd
systemctl start guacd
You can also check the status of Guacamole service with the following command:
systemctl status guacd
You should get the following output:
? guacd.service - LSB: Guacamole proxy daemon
   Loaded: loaded (/etc/init.d/guacd; generated)
   Active: active (running) since Sat 2020-04-11 14:48:03 UTC; 7s ago
     Docs: man:systemd-sysv-generator(8)
  Process: 28833 ExecStart=/etc/init.d/guacd start (code=exited, status=0/SUCCESS)
    Tasks: 1 (limit: 2359)
   CGroup: /system.slice/guacd.service
           ??28847 /usr/local/sbin/guacd -p /var/run/guacd.pid

Apr 11 14:48:03 ubuntu1804 systemd[1]: Starting LSB: Guacamole proxy daemon...
Apr 11 14:48:03 ubuntu1804 guacd[28834]: Guacamole proxy daemon (guacd) version 1.1.0 started
Apr 11 14:48:03 ubuntu1804 guacd[28833]: Starting guacd: guacd[28834]: INFO:        Guacamole proxy daemon (guacd) version 1.1.0 started
Apr 11 14:48:03 ubuntu1804 guacd[28833]: SUCCESS
Apr 11 14:48:03 ubuntu1804 systemd[1]: Started LSB: Guacamole proxy daemon.
Apr 11 14:48:03 ubuntu1804 guacd[28847]: Listening on host 127.0.0.1, port 4822
Install Guacamole Client
Next, you will need to install Guacamole client on your server. Guacamole client is written in Java and is cross-platform. This will make up the final HTML5 application that will be presented to you.
First, download the Guacamole binary file with the following command:
wget https://mirrors.estointernet.in/apache/guacamole/1.1.0/binary/guacamole-1.1.0.war
Once the download is completed, copy it to the /etc/guacamole directory:
mkdir /etc/guacamole
mv guacamole-1.1.0.war /etc/guacamole/guacamole.war
Next, create a symbolic link of the guacamole client to Tomcat webapps directory with the following command:
ln -s /etc/guacamole/guacamole.war /var/lib/tomcat8/webapps/
Finally, restart the Tomcat and Guacamole service to deploy the new web application
systemctl restart tomcat8
systemctl restart guacd
Configure Guacomole
After installing Guacamole, you need to configure users and connections in order to work Guacamole properly.
First, create a Guacamole main configuration file named guacamole.properties.
nano /etc/guacamole/guacamole.properties
Add the following lines:
guacd-hostname: localhost
guacd-port:    4822
user-mapping:    /etc/guacamole/user-mapping.xml
Save and close the file. Then, create a lib and extensions directory with the following command:
mkdir /etc/guacamole/{extensions,lib}
Next, the guacamole home directory environment variable to tomcat8 default configuration file.
echo "GUACAMOLE_HOME=/etc/guacamole" >> /etc/default/tomcat8
Guacamole's default authentication method reads all users and connections from a single file called user-mapping.xml. This file will define the user allowed to access Guacamole web UI, the servers to connect to and the method of connection.
First, generate md5 hash for the password with the following command:
echo -n yoursecurepassword | openssl md5
You should get the following output:
(stdin)= 55b38b03e7587a45fd886977842ff9b8
Note: Remember this hash, you will need to specify it in user-mapping.xml file.
Next, create a new user-mapping.xml with the following command:
nano /etc/guacamole/user-mapping.xml
Add the following lines:
<user-mapping>
    <authorize
            username="admin"
            password="55b38b03e7587a45fd886977842ff9b8"
            encoding="md5">

        <connection name="Ubuntu-Server">
            <protocol>ssh</protocol>
            <param name="hostname">192.168.0.150</param>
            <param name="port">22<param>
            <param name="username">root</param>
        </connection>
        <connection name="Windows Server">
            <protocol>rdp</protocol>
            <param name="hostname">192.168.0.100</param>
            <param name="port">3389</param>
        </connection>
    </authorize>
</user-mapping>
Save and close the file when you are finished. Then, restart Tomcat and Guacamole service to apply the changes:
systemctl restart tomcat8
systemctl restart guacd
Access Guacamole Web Interface
At this point, the Guacamole server is installed and configured. Now, it's time to access it through a web browser.
Open your web browser and type the URL http://your-server-ip:8080/guacamole/. You will be redirected to the Apache Guacamole login page:
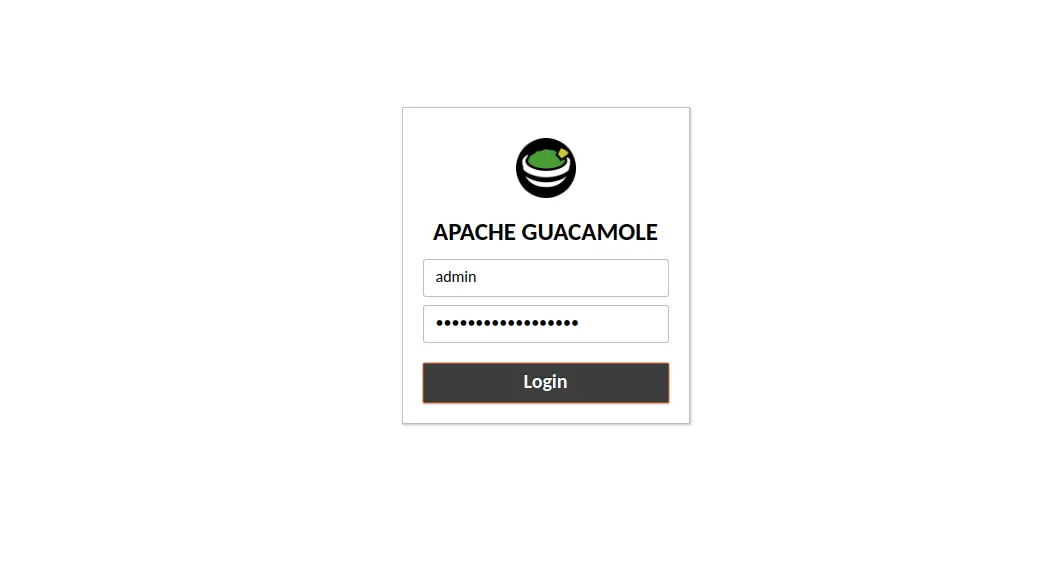
Provide the username and password which you have specified in user-mapping.xml file and click on the Login button. You should see the Apache Guacamole default dashboard with all connections:
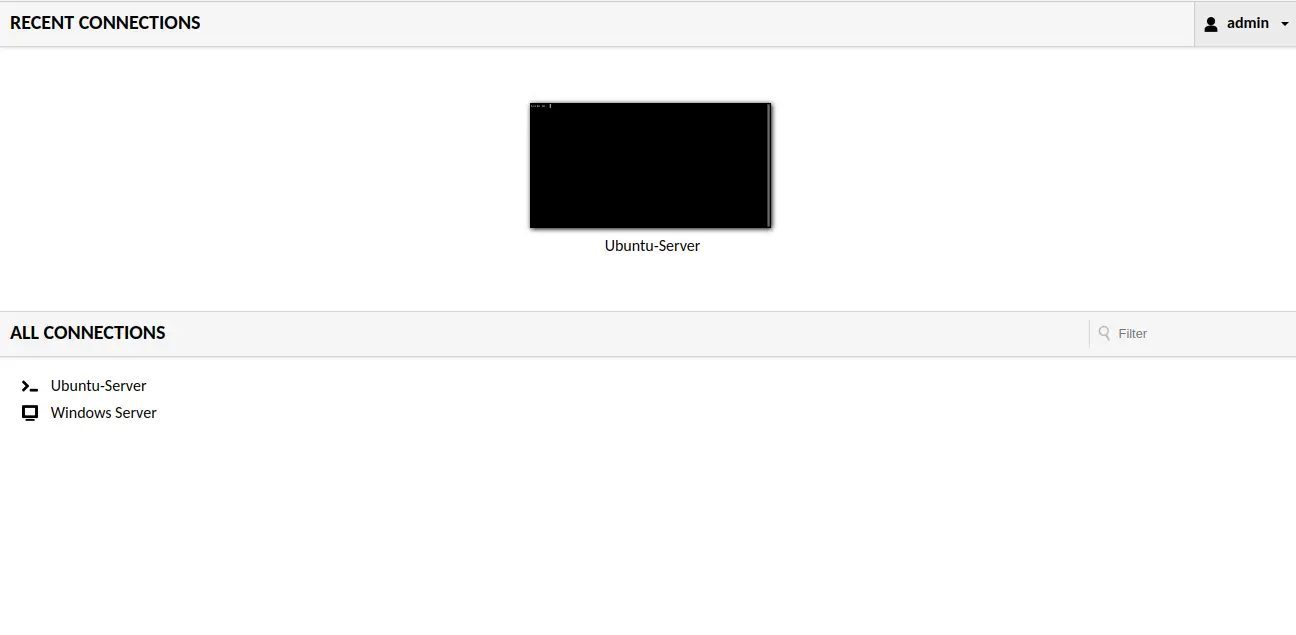
Now, click on the Ubuntu-Server and you will be prompted to enter the password for the user which you have defined in the user-mapping.xml as shown below:
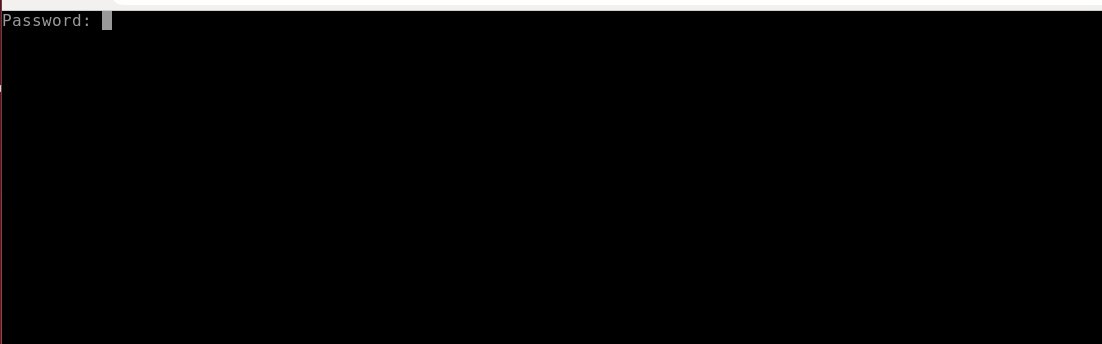
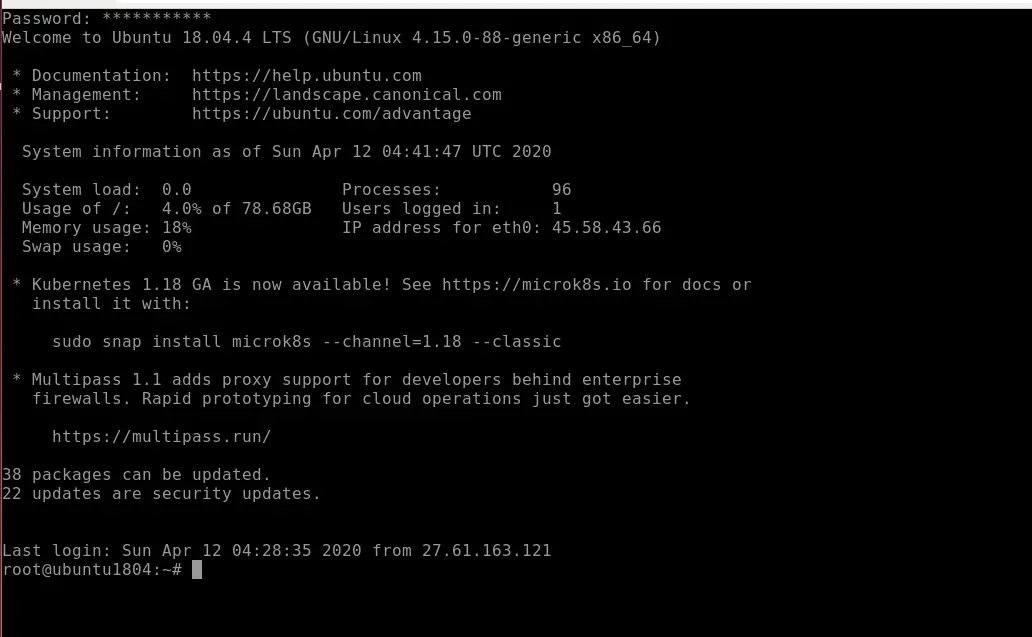
Provide your system users password and hit Enter. You will be login to the Ubuntu-Server as shown below:
Configure Nginx as a Reverse Proxy for Guacamole
Next, you will need to configure the Nginx as a reverse proxy to access the Guacamole dashboard. First, install the Nginx web server using the following command:
apt-get install nginx -y
Once installed, create a new Nginx virtual host configuration file:
nano /etc/nginx/sites-available/guacamole.conf
Add the following lines:
server {
        listen 80;
        server_name your-server-ip;
        access_log  /var/log/nginx/guac_access.log;
        error_log  /var/log/nginx/guac_error.log;

        location / {
                    proxy_pass http://your-server-ip:8080/guacamole/;
                    proxy_buffering off;
                    proxy_http_version 1.1;
                    proxy_set_header X-Forwarded-For $proxy_add_x_forwarded_for;
                    proxy_set_header Upgrade $http_upgrade;
                    proxy_set_header Connection $http_connection;
                    proxy_cookie_path /guacamole/ /;
        }

}
Save and close the file when you are finished. Then, enable the Nginx virtual host with the following command:
ln -s /etc/nginx/sites-available/guacamole.conf /etc/nginx/sites-enabled/
Next, check the Nginx for any syntax error with the following command:
nginx -t
You should get the following output:
nginx: the configuration file /etc/nginx/nginx.conf syntax is ok
nginx: configuration file /etc/nginx/nginx.conf test is successful
Finally, restart the Nginx service to apply the changes:
systemctl restart nginx
Now, you can access the Guacamole web interface using the URL http://your-server-ip.
Conclusion
Congratulations! you have successfully installed Guacamole remote desktop gateway on Ubuntu 18.04 server. You can now add another remote server that you want to manage remotely through a web browser.

