How to Install and Configure Envoy Proxy on Debian 11
Envoy proxy is a free and open-source service proxy designed for cloud-native applications. It's comparable to Nginx and haproxy which can be used as a reverse proxy, but Envoy proxy is designed for modern services and infrastructure.
Envoy is a high-performance service proxy that works with any application language. It uses YAML configuration files for static configuration and also uses a set of gRPC-based APIs.
Envoy proxy graduated from the Cloud Native Computing Foundation (CNCF). It is used in most modern infrastructure and container technology.
In this tutorial, we will show you how to install and configure the Envoy proxy on the Debian 11 server.
Prerequisites
For the Envoy installation, we will be using the following:
- A Linux server Debian 11 Bullseye
- A non-root user with the sudo privileges
Adding Envoy Repository
Envoy can be installed in many ways, including with the binary packages provided by the Envoy repository or using Docker. In this example, we will install Envoy using the binary package from the Envoy repository.
Before adding and installing Envoy, you must install the following package. The gnupg2 will be used to add the GPG key to your Debian server, and the apt-transport-https allow you to install packages from the secure https connection.
sudo apt install gnupg2 apt-transport-https -y
Next, add and verify the Envoy GPG key using the following command.
curl -sL 'https://deb.dl.getenvoy.io/public/gpg.8115BA8E629CC074.key' | sudo gpg --dearmor -o /usr/share/keyrings/getenvoy-keyring.gpg
echo a077cb587a1b622e03aa4bf2f3689de14658a9497a9af2c427bba5f4cc3c4723 /usr/share/keyrings/getenvoy-keyring.gpg | sha256sum --check
If the key is valid, you will see the output message such as OK.

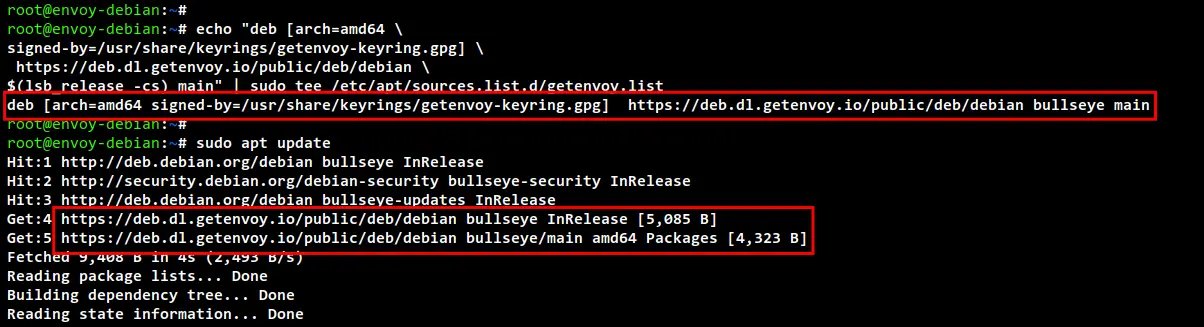
Now add the Envoy repository to your system using the below command.
echo "deb [arch=amd64 \
signed-by=/usr/share/keyrings/getenvoy-keyring.gpg] \
 https://deb.dl.getenvoy.io/public/deb/debian \
$(lsb_release -cs) main" | sudo tee /etc/apt/sources.list.d/getenvoy.list
Lastly, update and refresh your Debian repository.
sudo apt update
In the below screenshot you will see the Envoy repository is added to the Debian system.
Installing Envoy Proxy
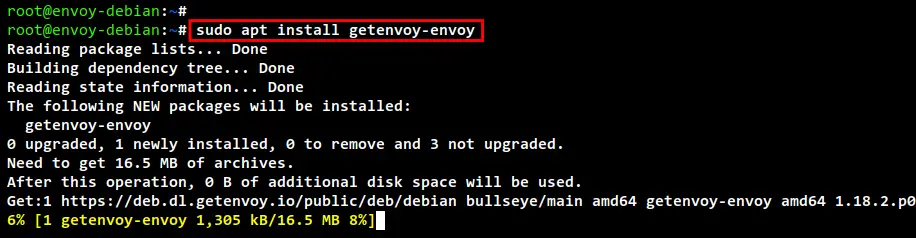
You have now added the Envoy GPG key and repository, now you will be installing the Envoy package to your system.
Run the apt command below to install the Envoy package to your Debian 11 system.
sudo apt install getenvoy-envoy
Below you can see the Envoy installation in the process.
After Envoy installation is completed, verify the Envoy version using the following command.
envoy --version
Below you can see the Envoy v1.18 installed on the Debian 11. This is the latest version of the Envoy proxy provided by the Envoy repository. If you want to get the latest version, you can use a pre-built binary file from the Envoy website.

Additionally, you can also check all available options on the envoy command using the following command.
envoy --help
You will see a lot of options that you can use for setting up Envoy.
Configuring Envoy Proxy
After installing Envoy, you will now learn how to set up Envoy.
First, create a new directory /etc/envoy/ using the following command.
mkdir -p /etc/envoy/
Now create a new file /etc/envoy/demo.yaml using nano editor.
sudo nano /etc/envoy/demo.yaml
Add the following configuration to the file. In this example, you will be using the static_resources configuration for Envoy, which must include the listeners, clusters, and static_resources.
The listeners determine which IP address and port will be used for Envoy. In this example, Envoy will be running on public IP address 0.0.0.0 with port 80.
The cluster service_envoyproxy_io here will be used as the endpoint of the service, which is the domain name www.envoyproxy.io.
static_resources:

  listeners:
  - name: listener_0
    address:
      socket_address:
        address: 0.0.0.0
        port_value: 80
    filter_chains:
    - filters:
      - name: envoy.filters.network.http_connection_manager
        typed_config:
          "@type": type.googleapis.com/envoy.extensions.filters.network.http_connection_manager.v3.HttpConnectionManager
          stat_prefix: ingress_http
          access_log:
          - name: envoy.access_loggers.stdout
            typed_config:
              "@type": type.googleapis.com/envoy.extensions.access_loggers.stream.v3.StdoutAccessLog
          http_filters:
          - name: envoy.filters.http.router
            typed_config:
              "@type": type.googleapis.com/envoy.extensions.filters.http.router.v3.Router
          route_config:
            name: local_route
            virtual_hosts:
            - name: local_service
              domains: ["*"]
              routes:
              - match:
                  prefix: "/"
                route:
                  host_rewrite_literal: www.envoyproxy.io
                  cluster: service_envoyproxy_io

  clusters:
  - name: service_envoyproxy_io
    type: LOGICAL_DNS
    connect_timeout: 5s
    # Comment out the following line to test on v6 networks
    dns_lookup_family: V4_ONLY
    load_assignment:
      cluster_name: service_envoyproxy_io
      endpoints:
      - lb_endpoints:
        - endpoint:
            address:
              socket_address:
                address: www.envoyproxy.io
                port_value: 443
    transport_socket:
      name: envoy.transport_sockets.tls
      typed_config:
        "@type": type.googleapis.com/envoy.extensions.transport_sockets.tls.v3.UpstreamTlsContext
        sni: www.envoyproxy.io
Save and close the file when you are done.
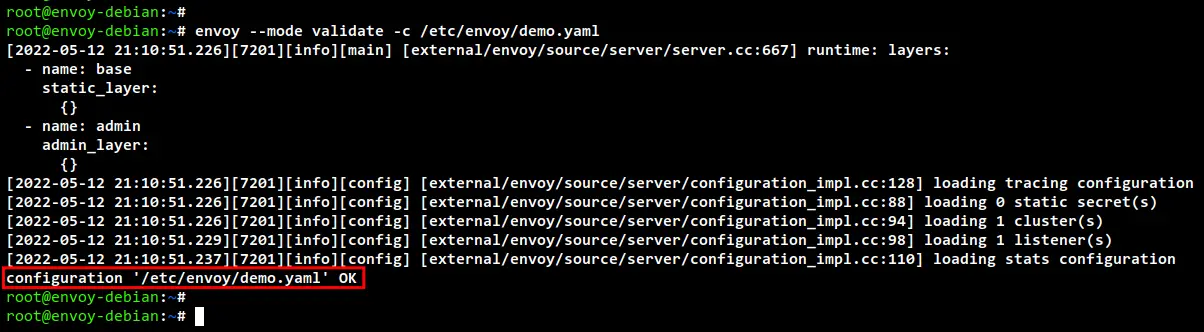
Next, run the envoy command below to verify the configuration file demo.yaml.
envoy --mode validate -c /etc/envoy/demo.yaml
If your YAML configuration is correct, you will see the output such as "configuration /etc/envoy/demo.yaml OK".
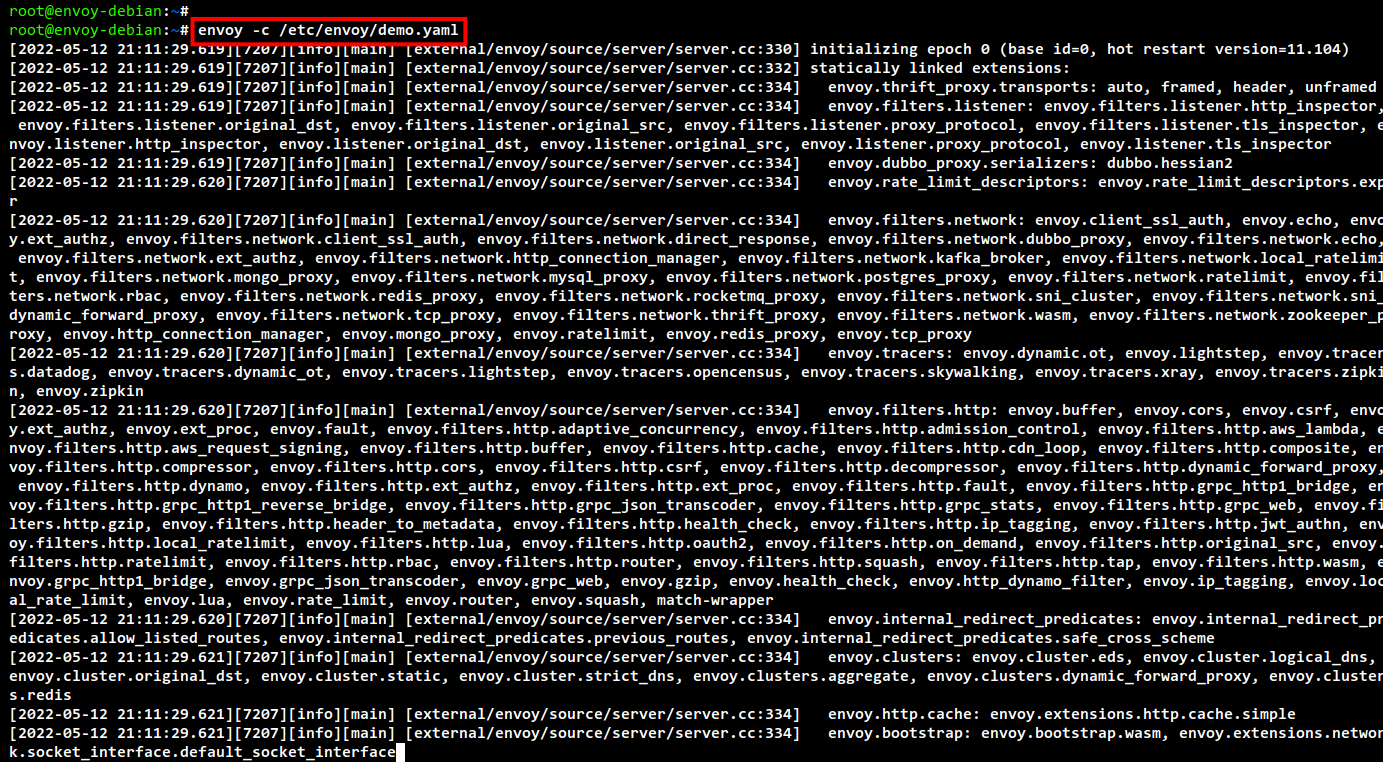
Now run Envoy with the configuration file demo.yml using the following command.
envoy -c /etc/envoy/demo.yaml
You will see the log output below. Also, be sure you don't get error messages.
Now move to your local machine and edit the configuration file /etc/hosts using nano editor.
sudo nano /etc/hosts
Add the www.envoyproxy.io domain name with your server IP address as below.
192.168.5.10 www.envoyproxy.io
Save and close the file when you are done.
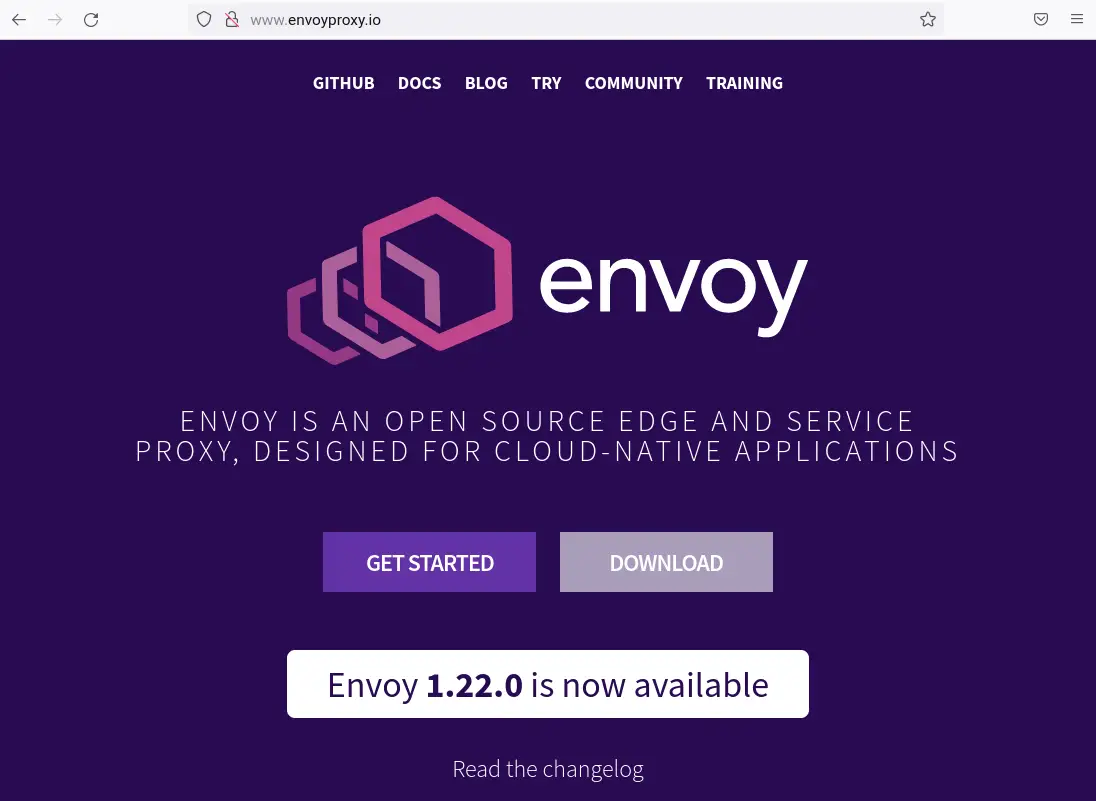
Lastly, open your web browser and visit the domain name www.envoyproxy.io and you should get the homepage of the domain name www.envoyproxy.io.
Conclusion
Congratulation! you have now successfully installed Envoy on the Debian 11 server. You have also learned how to set up Envoy using the YAML configuration for proxying the website www.envoyproxy.io.

