How to create a subscription between an SQS queue and SNS topic on AWS
The idea behind subscribing to SQS in SNS is to send messages from SNS to SQS. One can send both raw messages and any other message attributes included in the SNS message. Before proceeding with this article, it is assumed that you have an SNS and SQS in the account. The creation of SNS and SQS is not in the scope of this article.
SNS can have multiple SQS queues subscribed to it and SNS will publish the same message to all its subscriptions.
Go to AWS's official page to know the pricing of SNS and SQS.
Pre-requisites
- AWS Account(Create if you don’t have one).
- SNS Topic (Click here to learn to create an SNS Topic)
- SQS Topic
What will we do?
- Login to AWS.
- Check SNS.
- Check SQS and Modify its access policy.
- Create a Subscription from SNS to SQS.
- Poll messages on SQS and send a message from SNS.
- Delete the subscription.
Login to AWS
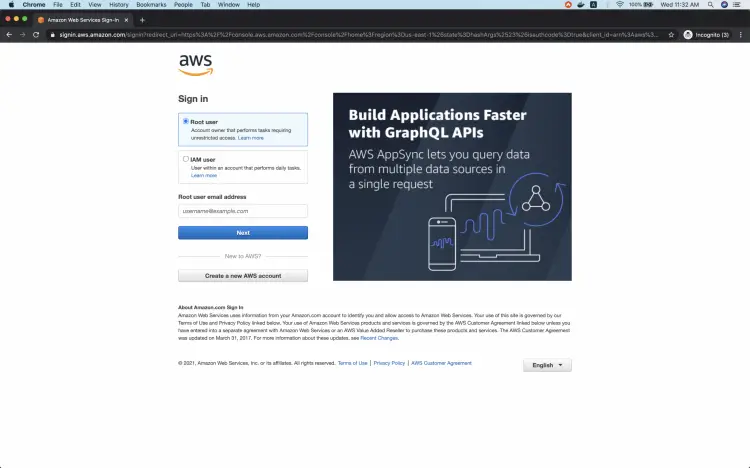
To login into your AWS account click here and enter your credentials
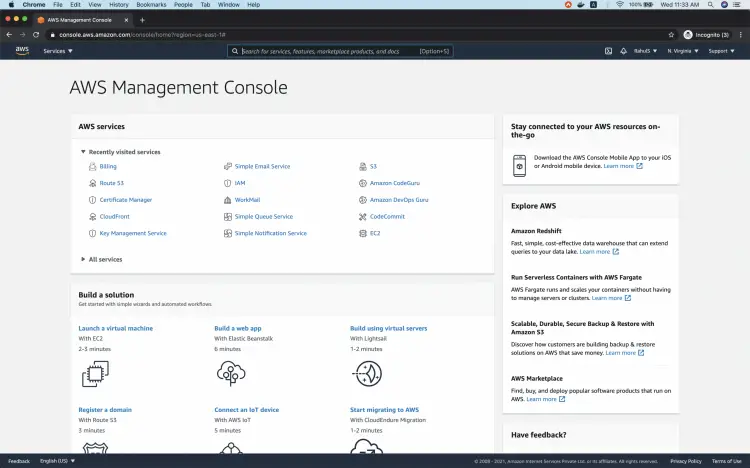
Once you successfully login into your account you will see the main AWS management console as follows.
Check SNS
Search for SNS in the search box at the top of the screen.
You will see the SNS dashboard as follows. Click on "Topics" in the left panel.
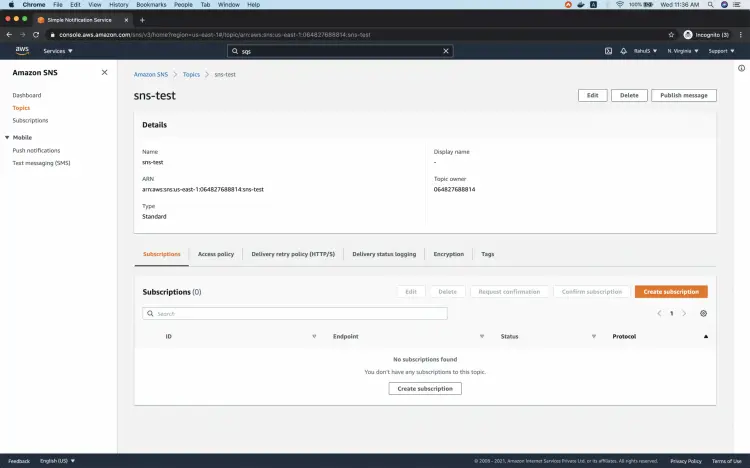
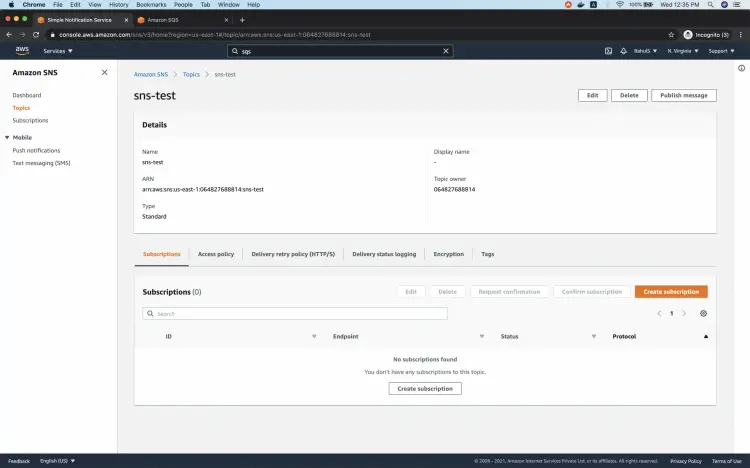
Here, you will see the existing SNS topics in your account under the selected region. I will be using the "sns-test" SNS topic. Click on the desired topic to see its details.
Here the topic does not have any subscription to it.
Check SQS and Modify its access policy
Search for SQS in the search box at the top of the screen.
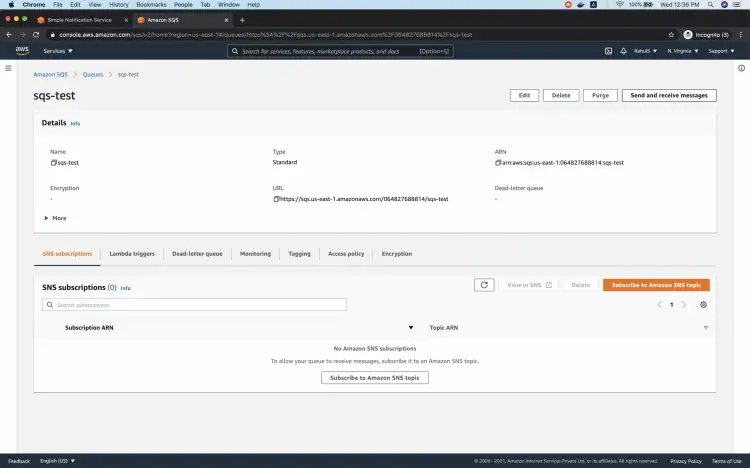
You will see the main dashboard as follows for SQS with a list of SQS queues available under the selected region in your AWS account. Here, I will be using the "sqs-test" queue. Click on the SQS topic to check its details and modify the access policy.
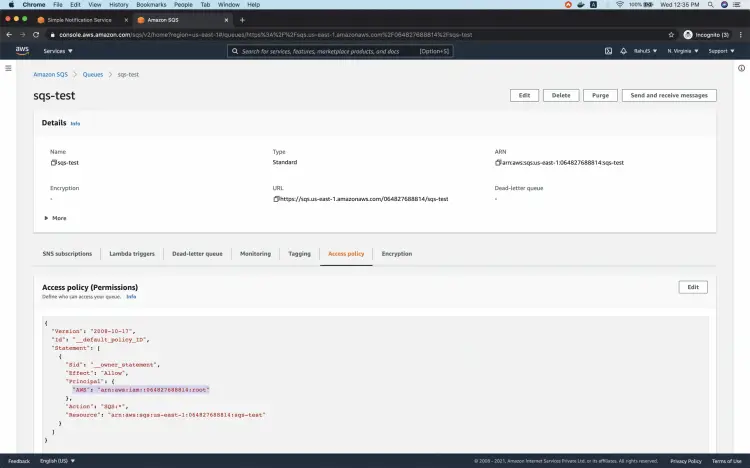
Go to the "Access policy" tab to modify the default/existing policy and click on the "Edit" button.
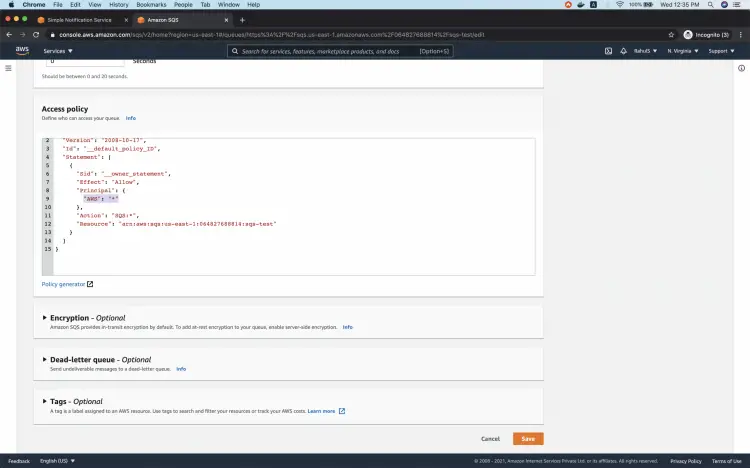
In the access policy, replace the account arn with * under Principal block to avoid any potential access issues and save the changes. This is not recommended in the Production accounts.
Create a Subscription from SNS to SQS
Go to the SNS topic and click on the "Create subscription" button to create a subscription.
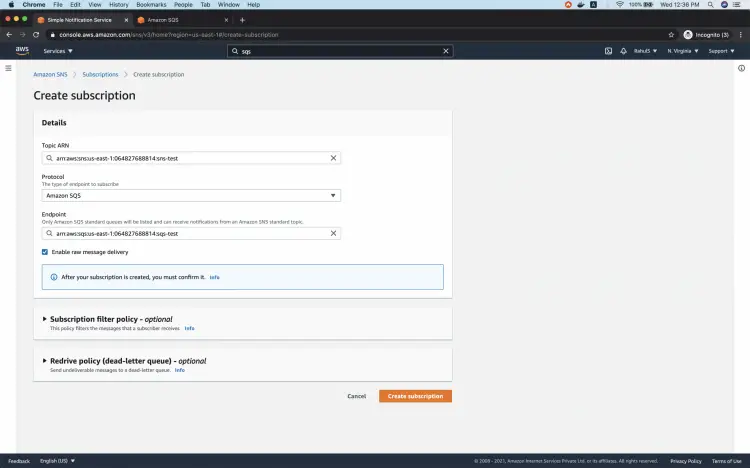
Here, change the protocol to Amazon SQS and specify the ARN of the SQS topic in the endpoint field. Check the "Enable raw message delivery" checkbox and then click on the "Create subscription" button.
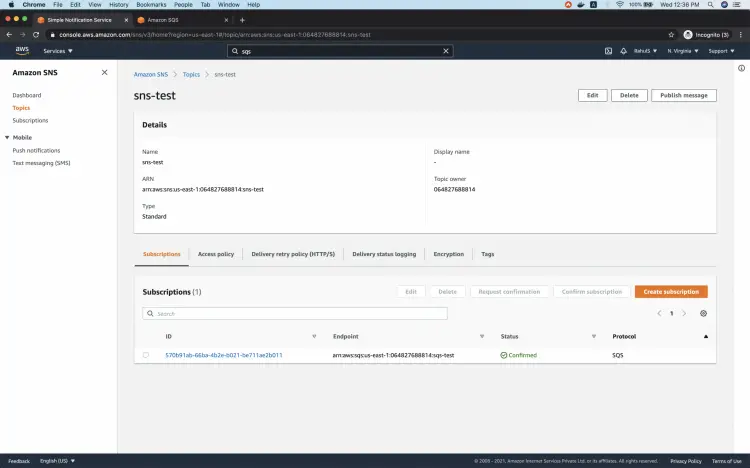
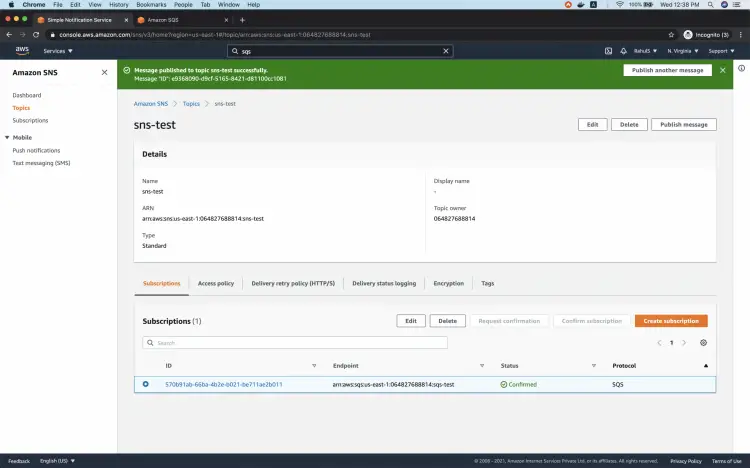
Now, if you go to the SNS topic you will see that the subscription has successfully been created and the status is confirmed.
Poll messages on SQS and send a message from SNS.
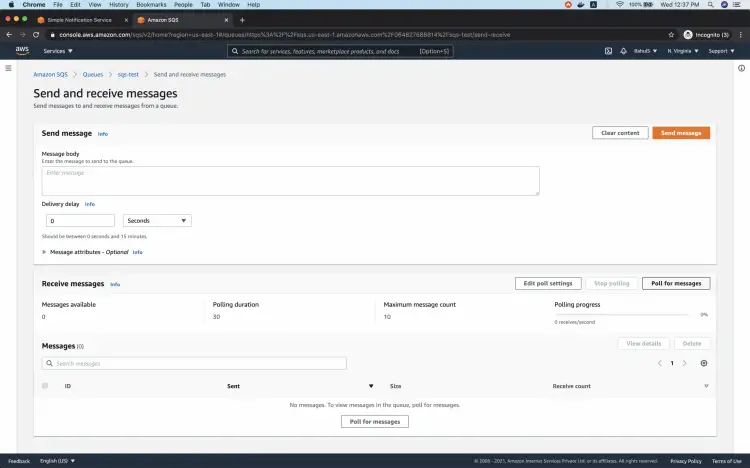
We can test if messages are arriving in SQS when sent from the SNS topic. To test this, go to the SQS topic and click on the "Send and receive messages" button.
Here click on the "Pool for messages" button.
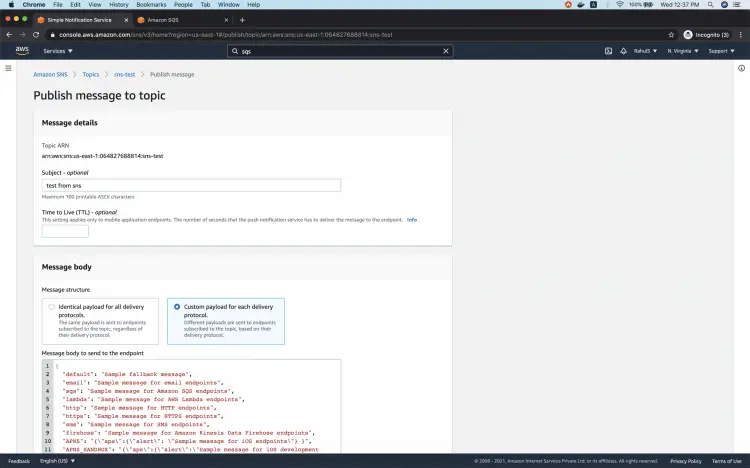
As soon as you click on the "Poll for messages" button, go to the SNS topic and click on the "Publish message" button.
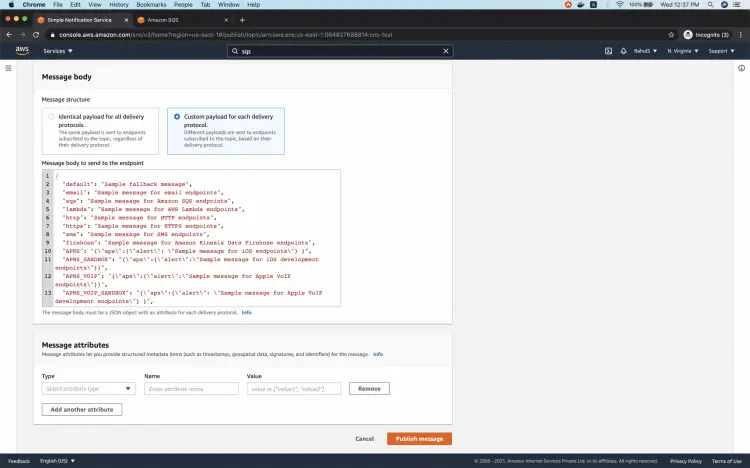
Here, add a subject to the message and select a "Custom payload for each delivery protocol" option.
Scroll down a bit and click on the "Publish message" button.
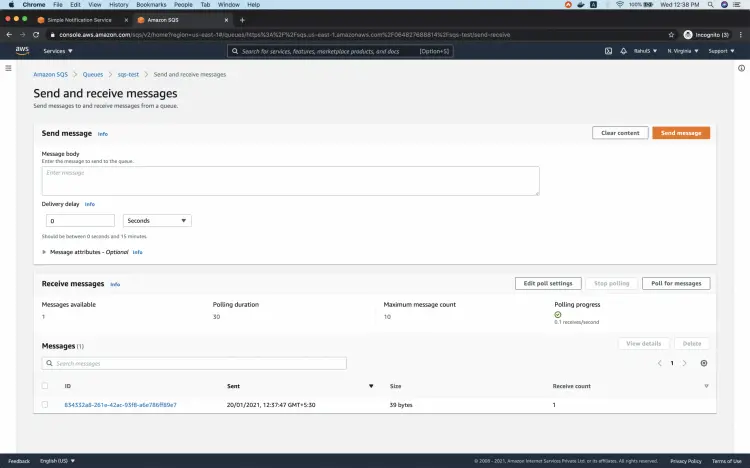
Now, if you come back to the SQS page, you will see that the message has been received by SQS.
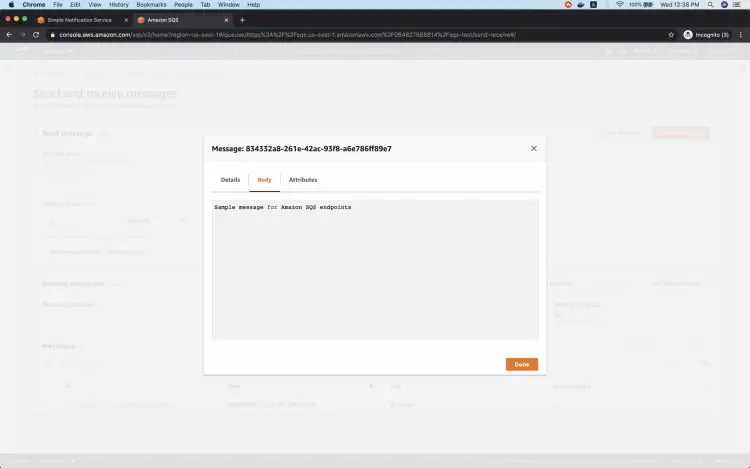
Click on the message ID to see what has been sent from SNS.
In the body section, you can see that the message which was sent by SNS has been successfully received by the SQS.
Delete the subscription
If you no longer need the subscription you can delete it easily from the SNS topic itself. Select the subscription and click on the "Delete" button.
You will get a pop-up screen to confirm your deletion. Once the subscription is deleted you cannot restore it. Be careful while performing deletion operations in your production accounts.
Conclusion
In this article, we saw the steps to create a subscription from the SNS topic to the SQS topic. We sent a sample message from SNS which was polled in the SQS. We also saw how easily a subscription can be deleted from the SNS.

