How To Configure An Email Account In Evolution
This tutorial shows step by step how to set up a POP3 email address with Evolution Email under the most Linux distributions. I'm assuming that Evolution Email is already installed on your system.
1. First step
Open Evolution Email, if you open it the first time you will see a window like that:
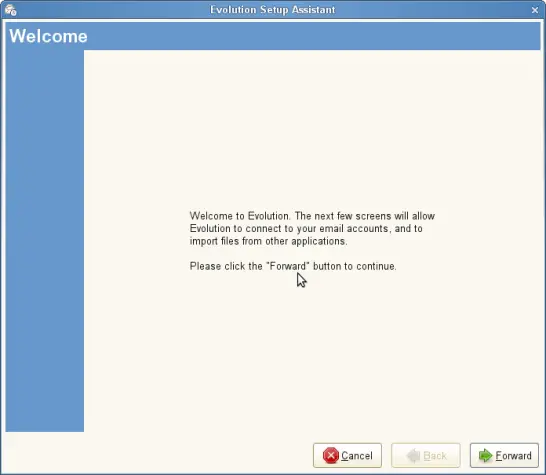
Click on the Forward button.
2. Backup
If you have a backup of Evolution Email you can restore your Evolution Email from the backup if you want to. You only have to mark the Restore Evolution from Backup file checkbox and than you can give the path were your file is.
I assume you didn't use Evolution before so you don't have any backup files.
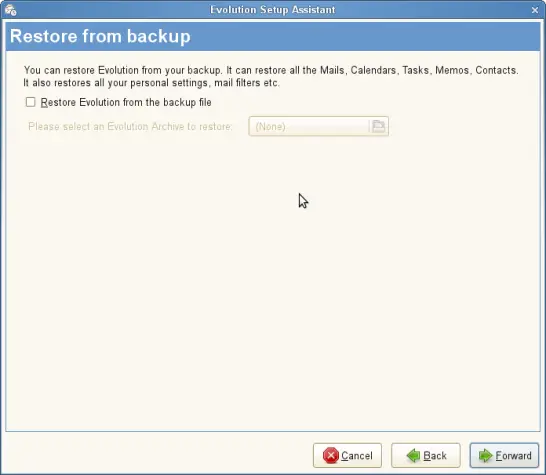
Click on the Forward button.
3. Identity
Now you have to personalize your Evolution. In the first field you have to type in your name, in the second your email address.
Now you can choose if the email address is your default address; if you want to make it your default address you have to choose Make this my default account.
You can type in an address where you want the others to reply, if this is the same as you typed in before you don't have to fill this field. In the last field you type in the name of the company you're working for but again this is optional.
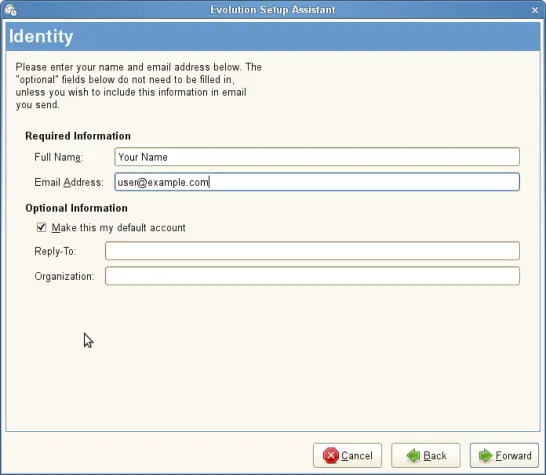
Then click on Forward.
4. Incoming Mails
Now you have to make some server settings.
For the server type you have to choose POP, as you can see on the screenshot.
Then you have to fill the configuration with the details of your provider. Here is a list with some information. If your provider isn't listed, you can have a look at your provider's homepage or write a mail to your provider.
| Provider | Inbox |
Outbox | Username |
| GMX | pop.gmx.net | mail.gmx.net | gmx email address |
| Google Mail | pop.googlemail.com | smtp.googlemail.de | googlemail address |
| WEB.de | pop3.web.de | smtp.web.de | username |
| Yahoo | pop.mail.yahoo.de | smtp.mail.yahoo.de | username |
| Freenet | mx.freenet.de | mx.freenet.de | Freenet email address |
| Strato | post.strato.de | post.strato.de | [email protected] |
| Arcor | pop3.arcor.de | mail.arcor.de | username |
| Mnet | pop.mnet-online.de | mail.mnet-online.de | mnet email address |
| 1und1 | pop.1und1.de | smtp.1und1.de | 1und1 email address |
As Username you have to type in your username or your email address that your provider told you. You can also find this information in the table above.
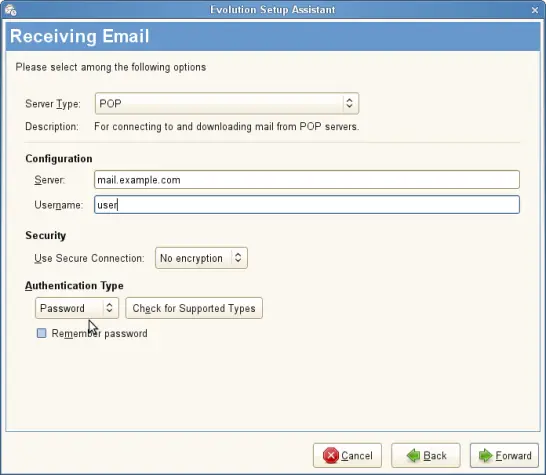
Under Security I didn't choose any encryption methods. This is the easiest method but not the safest.
Then you have to choose how you want to protect your mail inbox. I protect my mails with a password. You can look if the type of protection is supported by your provider. Then you can choose if Evolution should remember your password but this isn't such a safe method.
Afterwards click on Forward.
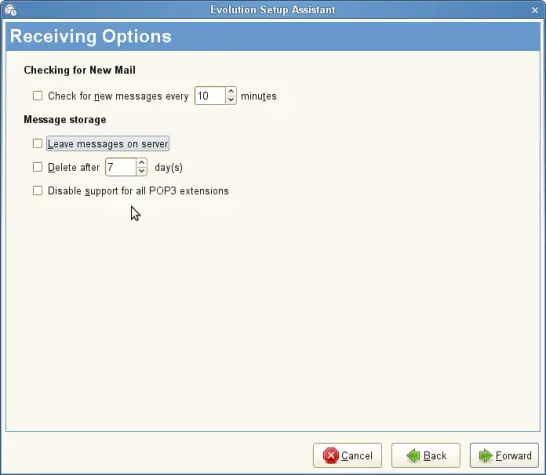
Then you can adjust how often Evolution should get the mails from your server. But please notice: some providers like GMX let you check your mails only every 10 min. So if you try to check your mails every 5 min. GMX will block your email account for 30 minutes.
You also can change these options afterwards.
If you have finished it, click on Forward.
5. Outgoing Mails
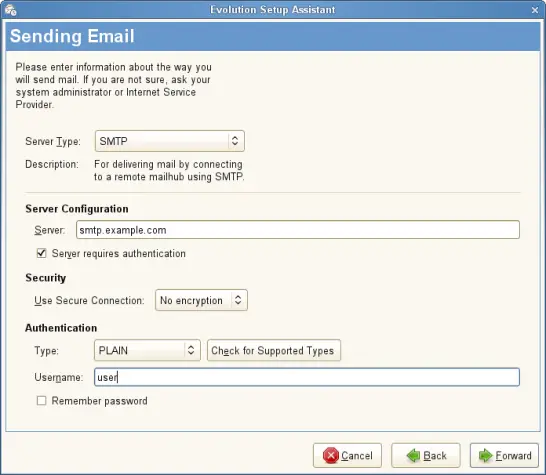
As the Server Type you have to choose SMTP. You have to type in all the server details from your provider (see list). Also for the outgoing mails you have to type in your username or your email address.
Then click on Forward.
6. Accountname
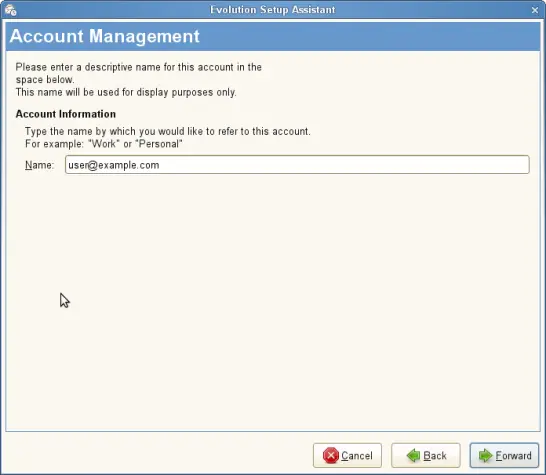
Here you can give your account a name. You can choose your own name or your email address or any name you want. This description is only for you.
And click on Forward again.
7. Timezone
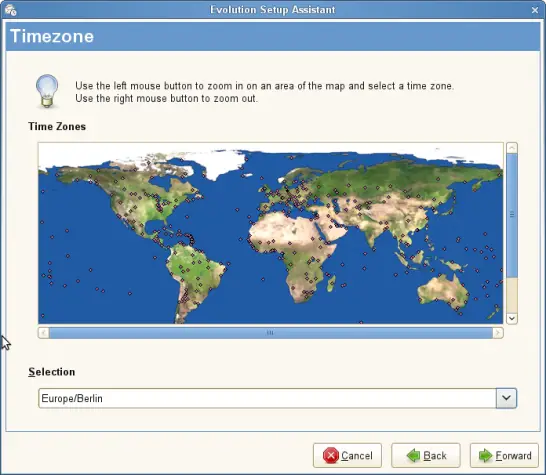
Here you can choose the timezone in which you live so that your mails have the right time and date. For Germany you have to choose Europe/Berlin.
Click on Forward again.
8. The End
At the end you have to click on Apply.
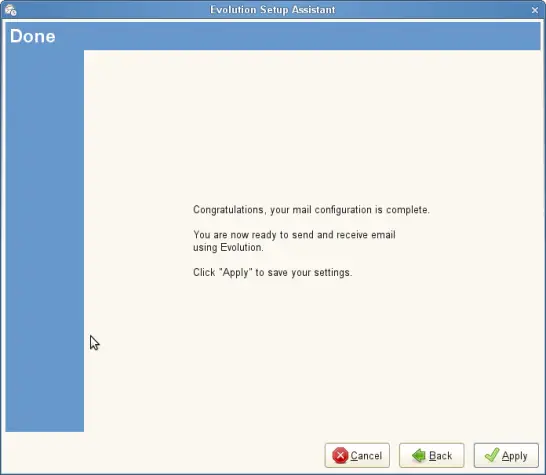
Now Evolution should look like this...
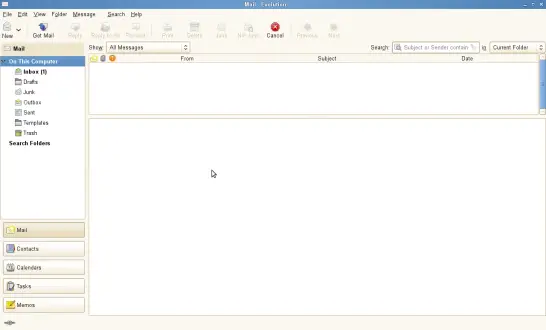
You can modify your settings or create new accounts, like I've explained before.
Have fun with Evolution Email.

