How to use Cloudformation to create SQS Queues on AWS
AWS Simple Queue Service (SQS) is a fully managed message queuing service that enables us to decouple and scale microservices, serverless applications, and distributed systems. Using SQS, we can send, store, and receive messages between software components without losing them. AWS SQS offers two types of message queues, Standard queues and FIFO Queues. To understand more about SQS Queues, search for "How to create an SQS Queue on AWS?" article.
AWS CloudFormation allows us to use programming languages (yaml/json) or a simple text file to model and provision all the resources needed for our applications. This gives us a single source of truth for our AWS resources.
In this article, we will see the steps to create a Standard and FIFO Queue using Cloudformation Stack.
Pre-requisites
- AWS Account (Create if you don’t have one).
- Basic understanding of Cloudformation Stack.
- Basic understanding of SQS Queues.
What will we do?
- Login to AWS.
- Create a Standard Queue using Cloudformation Stack
- Create a FIFO Queue using Cloudformation Stack
Login to AWS
- Click here to go to AWS Login Page.
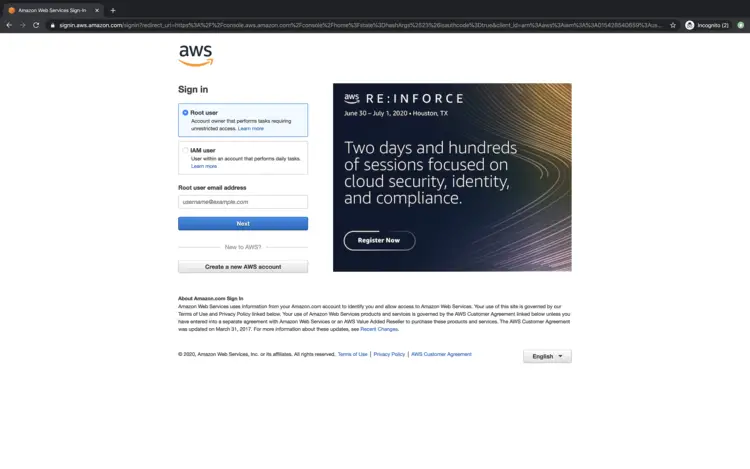
When we hit the above link, we will see a web page as follows where we are required to login using our login details.
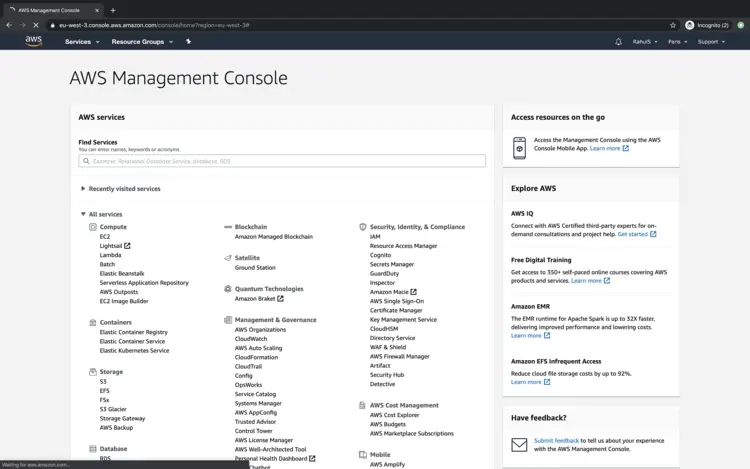
Once we login into AWS successfully, we will see the main console with all the services listed.
Create a Standard Queue using Cloudformation Stack
Before we proceed to create a Standard Queue, copy the code from the following block or download the template from here and save it on your local machine. This template will be required while creating a Cloudformation Stack.
---
AWSTemplateFormatVersion: '2010-09-09'
Description: This stack creates a Standard Queue
Parameters:
  DelaySeconds:
    Description: "The time in seconds that the delivery of all messages in the queue is delayed"
    Type: Number
    Default: '5'
  MaximumMessageSize:
    Type: Number
    Description: "The limit of how many bytes that a message can contain before Amazon SQS rejects it"
    Default: '262144'
  MessageRetentionPeriod:
    Description: "The number of seconds that Amazon SQS retains a message."
    Type: Number
    Default: '345600'
  ReceiveMessageWaitTimeSeconds:
    Description: "Specifies the duration, in seconds, that the ReceiveMessage action call waits until a message is in the queue in order to include it in the response"
    Type: Number
    Default: '0'
  UsedeadletterQueue:
    Description: "A dead-letter queue is a queue that other (source) queues can target for messages that can't be processed (consumed) successfully."
    Type: String
    AllowedValues:
    - 'true'
    - 'false'
    Default: 'false'
  VisibilityTimeout:
    Description: "This should be longer than the time it would take to process and delete a message"
    Type: Number
    Default: '5'
Mappings: {}
Conditions:
  CreateDeadLetterQueue:
    Fn::Equals:
    - Ref: UsedeadletterQueue
    - 'true'
Resources:
  SQSQueue:
    Type: AWS::SQS::Queue
    Properties:
      DelaySeconds:
        Ref: DelaySeconds
      MaximumMessageSize:
        Ref: MaximumMessageSize
      MessageRetentionPeriod:
        Ref: MessageRetentionPeriod
      ReceiveMessageWaitTimeSeconds:
        Ref: ReceiveMessageWaitTimeSeconds
      RedrivePolicy:
        Fn::If:
        - CreateDeadLetterQueue
        - deadLetterTargetArn:
            Fn::GetAtt:
            - MyDeadLetterQueue
            - Arn
          maxReceiveCount: 5
        - Ref: AWS::NoValue
      VisibilityTimeout:
        Ref: VisibilityTimeout
  MyDeadLetterQueue:
    Condition: CreateDeadLetterQueue
    Type: AWS::SQS::Queue
Outputs:
  QueueURL:
    Description: URL of the created SQS
    Value:
      Ref: SQSQueue
  QueueARN:
    Description: ARN of the created SQS
    Value:
      Fn::GetAtt:
      - SQSQueue
      - Arn
  QueueName:
    Description: Name of the created SQS
    Value:
      Fn::GetAtt:
      - SQSQueue
      - QueueName
  DeadLetterQueueURL:
    Condition: CreateDeadLetterQueue
    Description: URL of the dead letter queue
    Value:
      Ref: MyDeadLetterQueue
  DeadLetterQueueARN:
    Condition: CreateDeadLetterQueue
    Description: ARN of the dead letter queue
    Value:
      Fn::GetAtt:
      - MyDeadLetterQueue
      - Arn
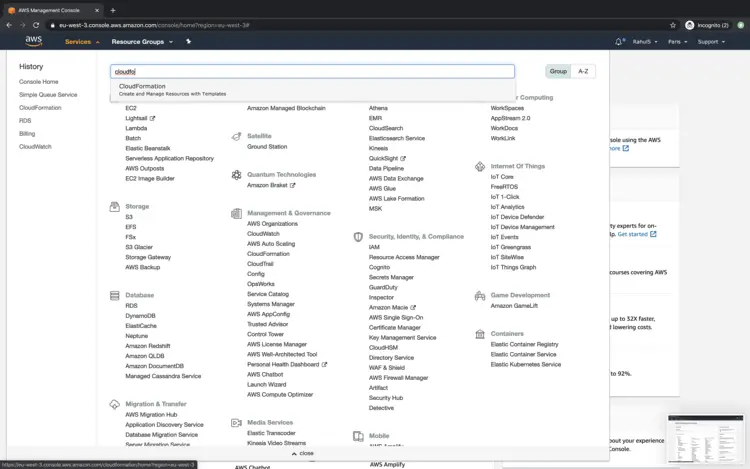
To create a Standard Queue using the Cloudformation Stack, click on "Services" from the top menu bar and search for "Cloudformation".
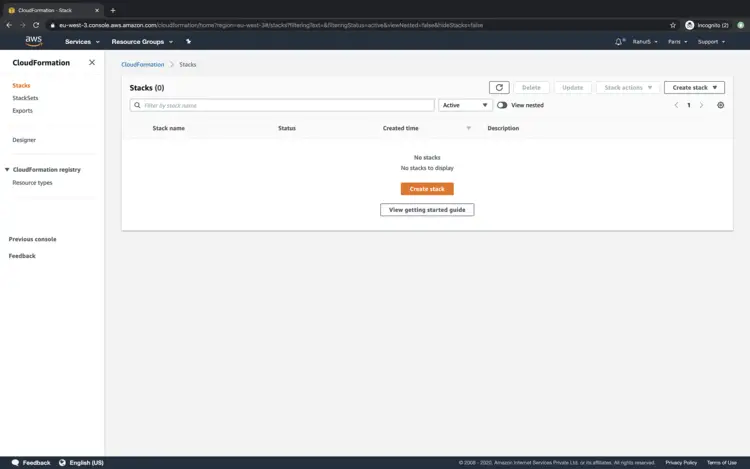
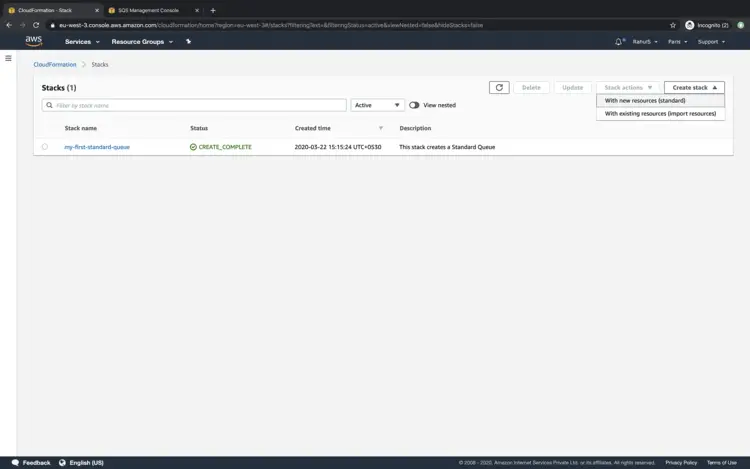
On the main dashboard for Cloudformation, click on "Create Stack" to create a stack.
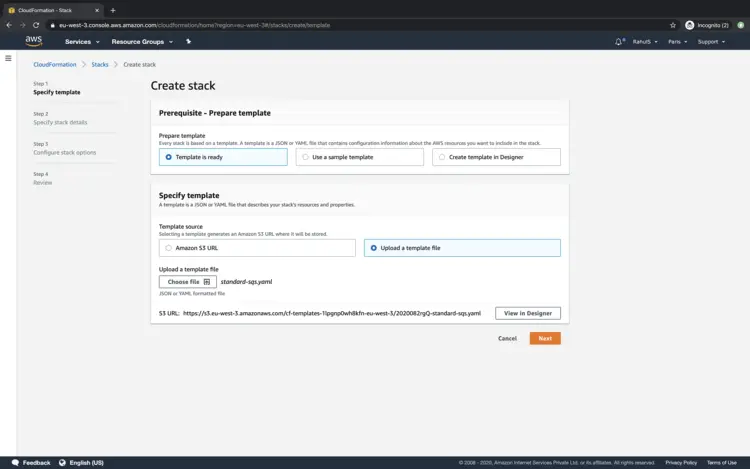
To upload the template from your local machine, click on "Upload a template file" radio button and click on "Next".
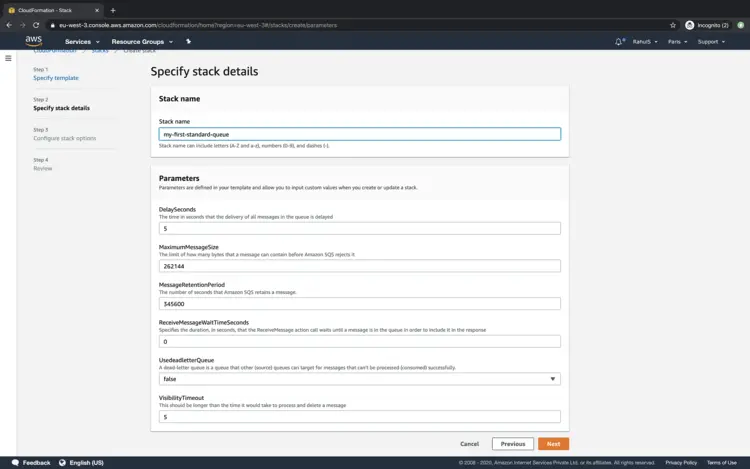
Specify a name to the stack to be created and fill in the required details or proceed with the default values and click on "Next".
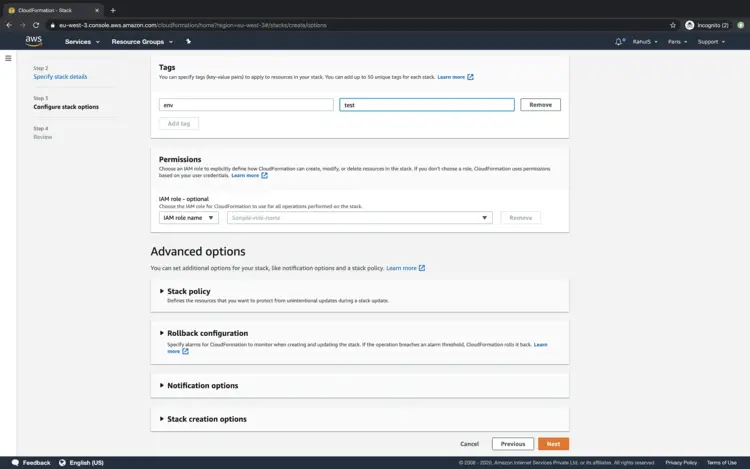
Specify the tag which can be applied to the SQS upon its creation and click on "Next".
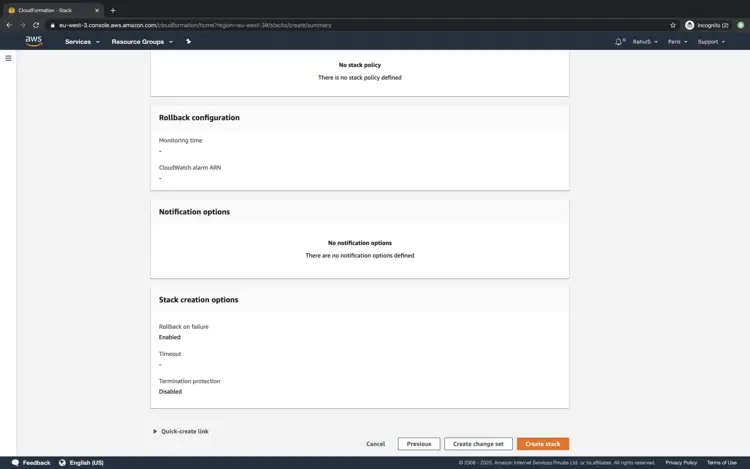
Scroll down the page and click on the "Create Stack" button to create a stack which will create a Standard Queue.
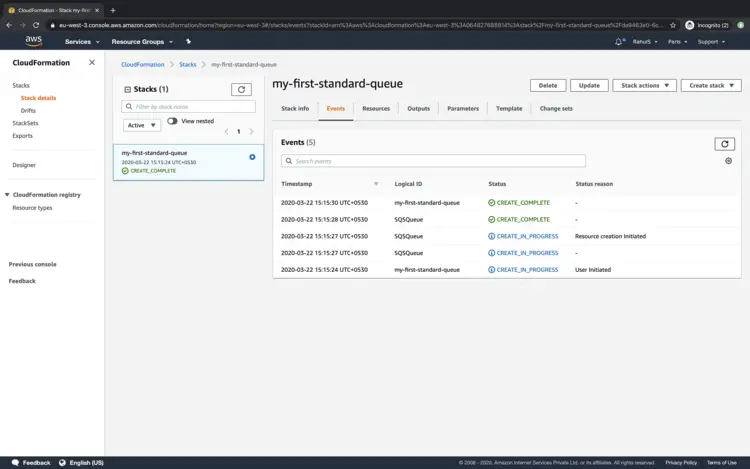
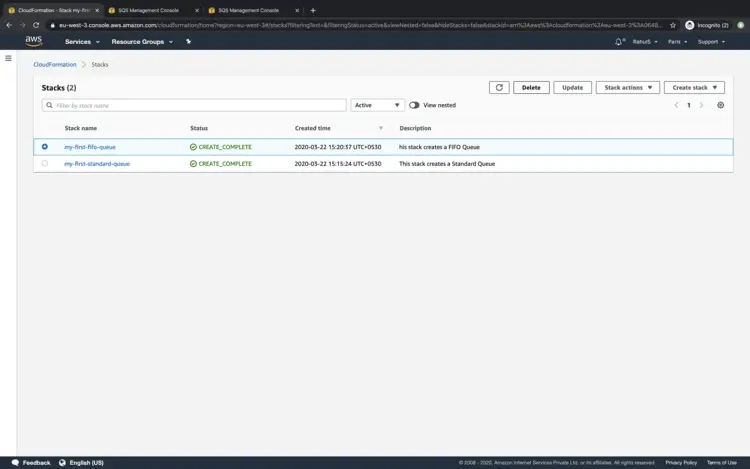
You can see the status under Events. Once the status changes to "CREATE_COMPLETE" of the stack, this means that the Queue has been created.
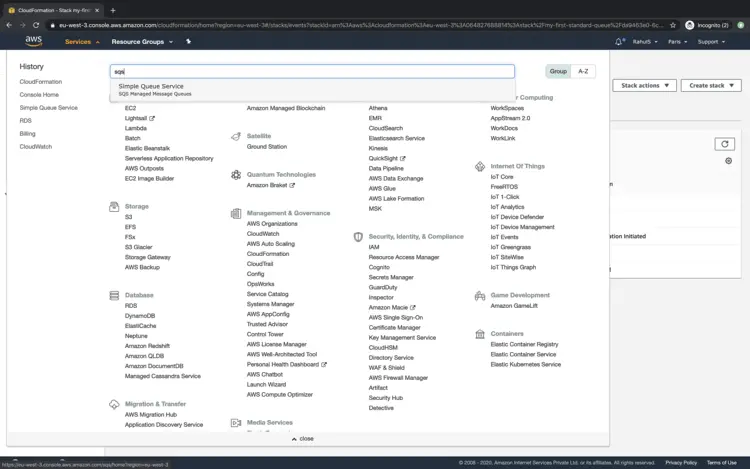
Click on "Services" and search for "SQS" to see if the queue has been created or not.
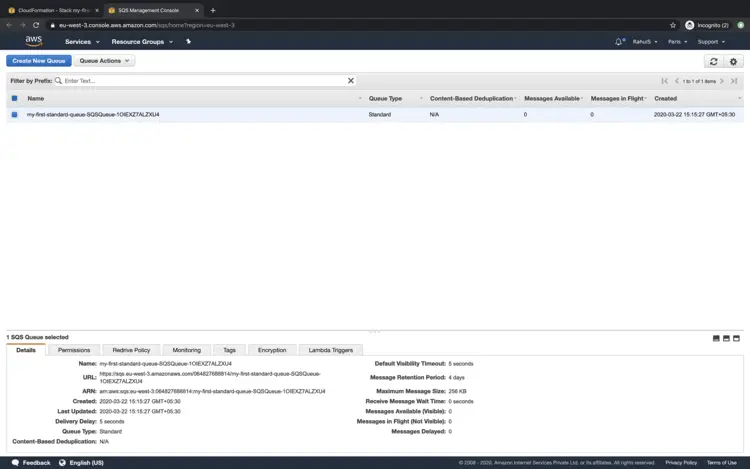
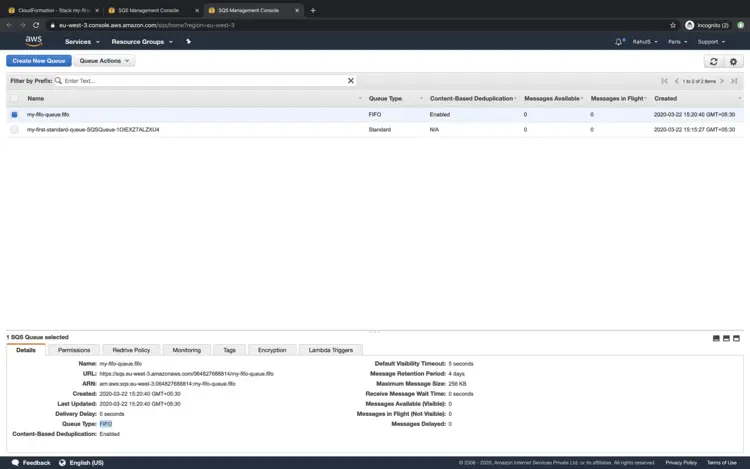
On the main dashboard of the SQS, you can see that the Queue has been created and the name given to the Queue is Cloudformation Stack name with some random suffix string to it, the reason for this is that we did not specify Queue Name in the stack.
Create a FIFO Queue using Cloudformation Stack
Before we proceed to create a FIFO Queue, copy the code from the following block or download the template from here and save it on your local system.
---
AWSTemplateFormatVersion: '2010-09-09'
Description: This stack creates a FIFO Queue
Parameters:
  ContentBasedDeduplication:
    Description: Specifie whether to enable content-based deduplication
    Type: String
    AllowedValues:
    - 'true'
    - 'false'
    Default: 'true'
  QueueName:
    Description: This stack will append .fifo to the end of the Queue name.
    Type: String
  DelaySeconds:
    Description: "The time in seconds that the delivery of all messages in the queue"
    Type: Number
    Default: '5'
  MaximumMessageSize:
    Type: Number
    Description: "The limit of how many bytes that a message can contain before Amazon"
    Default: '262144'
  MessageRetentionPeriod:
    Description: "The number of seconds that Amazon SQS retains a message."
    Type: Number
    Default: '345600'
  ReceiveMessageWaitTimeSeconds:
    Description: "Specifies the duration, in seconds, that the ReceiveMessage action
      call waits until a message is in the queue in order to include it in the response"
    Type: Number
    Default: '0'
  UsedeadletterQueue:
    Description: "A dead-letter queue is a queue that other (source) queues can target
      for messages that can't be processed (consumed) successfully."
    Type: String
    AllowedValues:
    - 'true'
    - 'false'
    Default: 'false'
  VisibilityTimeout:
    Description: "This should be longer than the time it would take to process and
      delete a message"
    Type: Number
    Default: '5'
Mappings: {}
Conditions:
  CreateDeadLetterQueue:
    Fn::Equals:
    - Ref: UsedeadletterQueue
    - 'true'
Resources:
  SQSQueue:
    Type: AWS::SQS::Queue
    Properties:
      ContentBasedDeduplication:
        Ref: ContentBasedDeduplication
      FifoQueue: 'true'
      QueueName:
        Fn::Join:
        - ''
        - - Ref: QueueName
          - ".fifo"
      MaximumMessageSize:
        Ref: MaximumMessageSize
      MessageRetentionPeriod:
        Ref: MessageRetentionPeriod
      ReceiveMessageWaitTimeSeconds:
        Ref: ReceiveMessageWaitTimeSeconds
      RedrivePolicy:
        Fn::If:
        - CreateDeadLetterQueue
        - deadLetterTargetArn:
            Fn::GetAtt:
            - MyDeadLetterQueue
            - Arn
          maxReceiveCount: 5
        - Ref: AWS::NoValue
      VisibilityTimeout:
        Ref: VisibilityTimeout
  MyDeadLetterQueue:
    Condition: CreateDeadLetterQueue
    Type: AWS::SQS::Queue
    Properties:
      FifoQueue: 'true'
      QueueName:
        Fn::Join:
        - ''
        - - Ref: QueueName
          - Deadletter
          - ".fifo"
Outputs:
  QueueURL:
    Description: URL of the created SQS
    Value:
      Ref: SQSQueue
  QueueARN:
    Description: ARN of the created SQS
    Value:
      Fn::GetAtt:
      - SQSQueue
      - Arn
  QueueName:
    Description: Name of the created SQS
    Value:
      Fn::GetAtt:
      - SQSQueue
      - QueueName
Go back to the main dashboard of Cloudformation and follow the same steps we followed to create a Standard Queue.
Once the stack gets created, you can see that the FIFO Queue is ready to use. Here you see that the FIFO Queue does not have some random string, the reason for this is that we have an option in the Cloudformation Template where we can specify the name for the Queue to be created.
If the Queues are no more needed, they can be deleted by deleting the Cloudformation Stack from the main dashboard.
Conclusion
In this article, we saw the steps to create a Standard and FIFO Queue using Cloudformation Stack.

