Adding WiKID Two-Factor Authentication To Google Apps For Your Domain
Google offers two-factor authentication for Google Apps via their own authenticator. Why would you want to use WiKID instead? Well, for starters, since you have outsourced most of your security to Google, the only security you can control is authentication. Wouldn't you like to keep a close eye on the keys to your kingdom? Second, have you ever tried to get support from Google? Third, does Google provide you with the logging required to meet your compliance needs?
In this document, we will add two-factor authentication to Google Apps for Your Domain using their SSO/SAML protocol and the open-source version of the WiKID Strong Authentication server.
We assume that you have a WiKID server up and running and a working Enterprise Google Apps account. Please see this how-to for installing WiKID or our website for complete documentation.
Configuring the WiKID Strong Authentication Server
On the WiKID server, through the WiKIDAdmin web interface, enable the GoogleSSO protocol under Configuration, Enable Protocols:
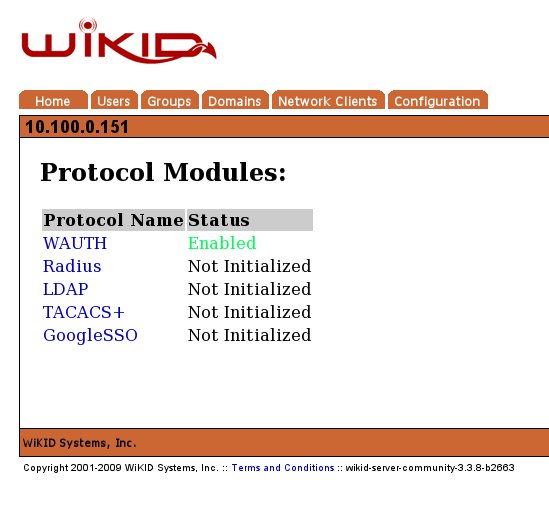
Click on GoogleSSO
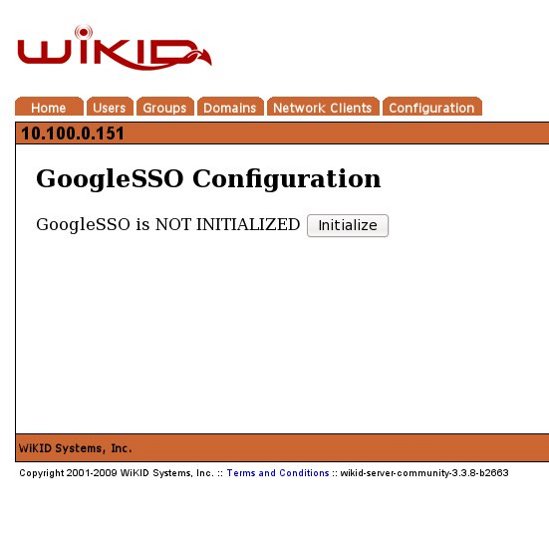
Click on Initialize.
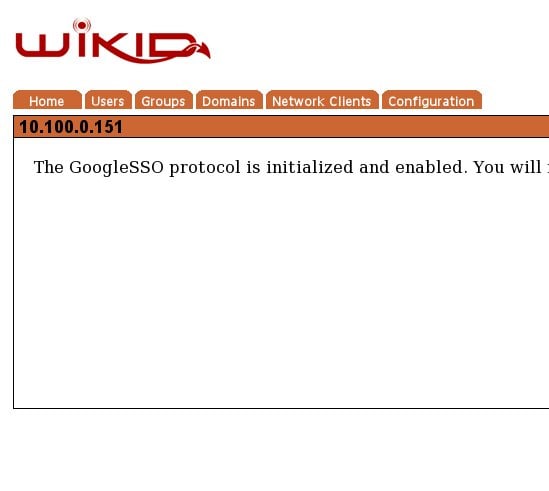
Don't restart the server just yet.
WiKID two-factor authentication users are grouped into Domains. If you haven't done so, please create a WiKID Domain. The domain identifier is the zero-padded ip address of the server. So, 72.44.47.107 becomes 072044047107. Here we are using an internal LAN address which is fine for testing, but external clients will not be able to route to it.
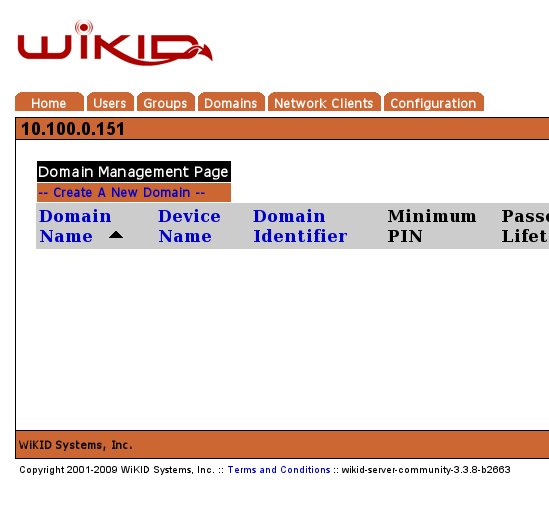
Click on Create a New Domain
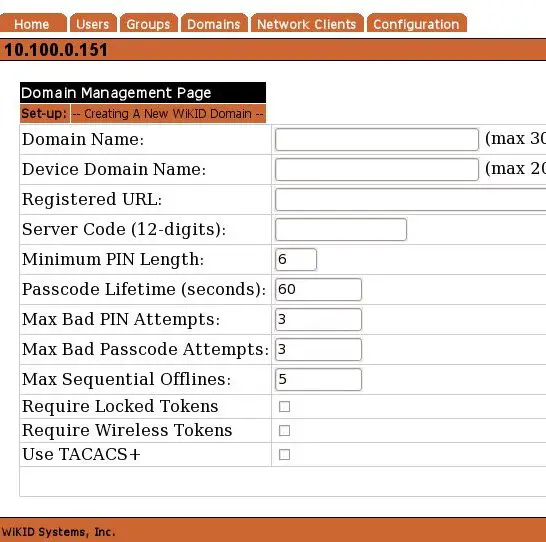
The required domain configuration options are:
Domain Name – This is a descriptive label for this domain visible only in the administration system.
Device Domain Name – This is the domain label that will appear in the menu option on the client device. This label should be relatively short to facilitate viewing on a mobile device.
Registered URL - This URL is for mutual https authentication and is not applicable here.
Server Code – This is the zero-padded IP address of the server or the pre-registered prefix in the wikidsystems.net domain. This value must be exactly 12 digits in length.
Minimum PIN Length - This is the minimum allowable PIN length for this domain. Any attempt to set a pin shorter than this value will generate an error on the client device.
Passcode Lifetime – This parameter specifies the maximum lifetime of the one-time passcode generated in this domain. After N elapsed seconds, the one-time passcode will automatically be invalidated.
Max Bad PIN Attempts – The maximum number of bad PINs attempted by a device in this domain before the device is disabled.
Max Bad Passcode Attempts – The maximum number of bad passcodes entered for a userid registered in this domain before the userid is disabled.
Max Sequential Offlines – The maximum number of times a device may use the offline challenge/response authentication before being required to authenticate online. This feature is used in the Enterprise version for the wireless clients when they are out-of-network coverage.
Require Locked Tokens - "Locked" software tokens are PC tokens that are tied to a particular PC by certain data from that PC such as the CPU identifier or the MAC address.
Require Wireless Tokens - If you prefer to use only wireless software tokens, check this box.
Use TACACS+ This for a TACACS+ only domain. Leave it unchecked.
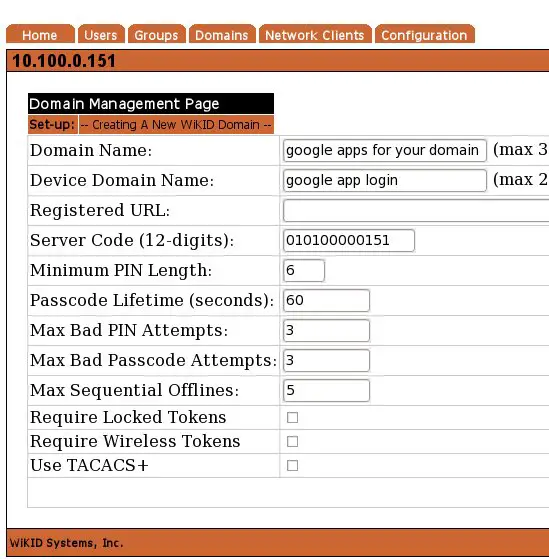
Once, complete, click Create Domain.
For an external service, such as Google Apps for your Domain in this case, to talk to the WiKID server it needs to be configured as a Network Client on the WiKID Strong Authentication Server. Click on the Network Clients Tab of the WiKIDAdmin.
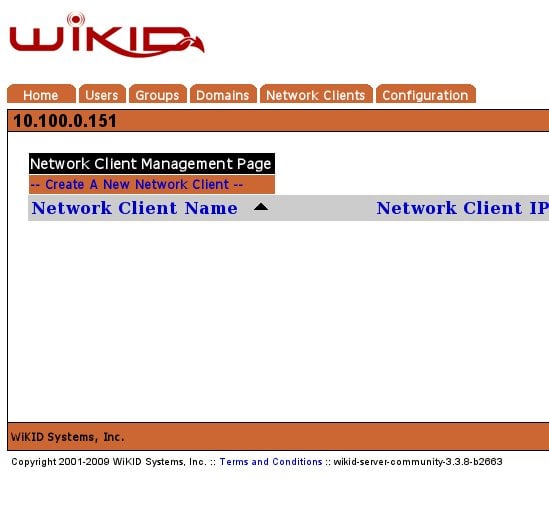
Click on Create a New Network Client
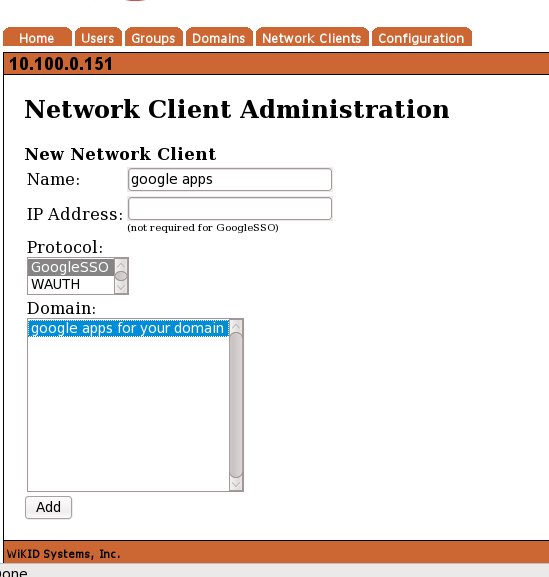
Give the network client a name. Leave the IP address empty. Select the domain and choose GoogleSSO as the protocol.
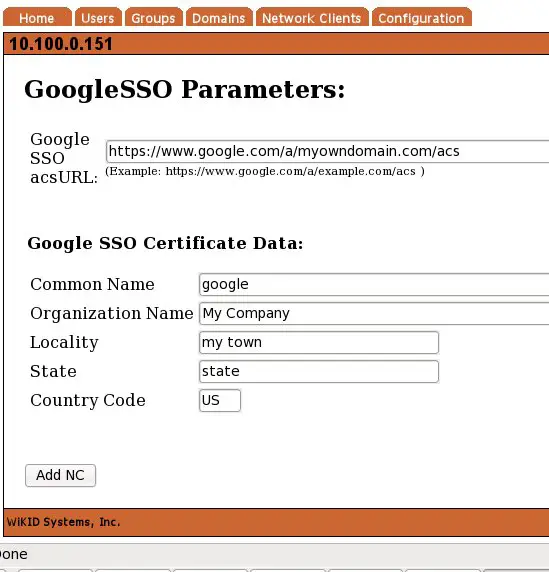
On the following page, set your ACS URL. This is usually http://www.google.com/a/yourdomain.com/acs. Enter the additional information that is required to create a certificate for Google. The WiKID server will create this certiticate for you to provide to Google.
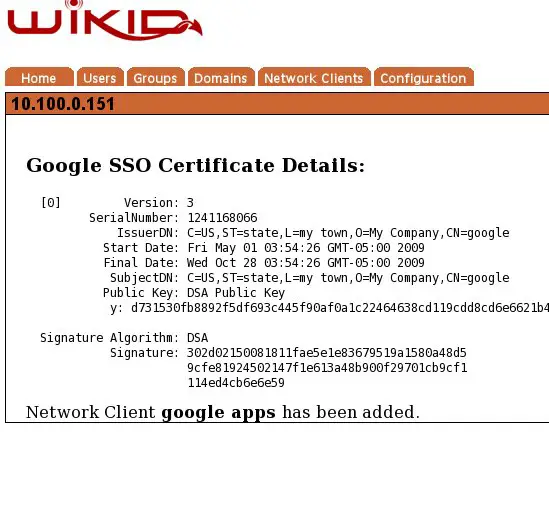
Your network client has been created.
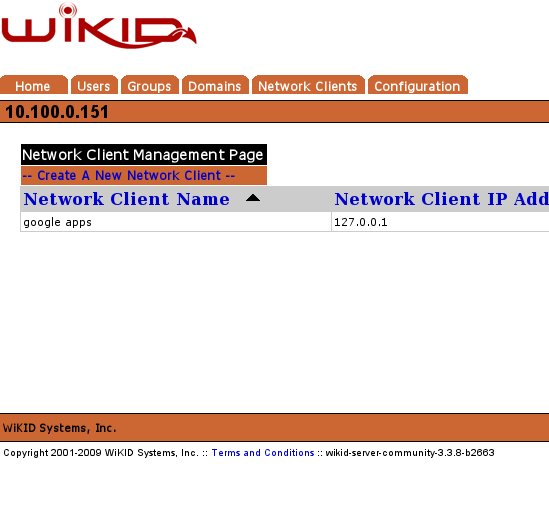
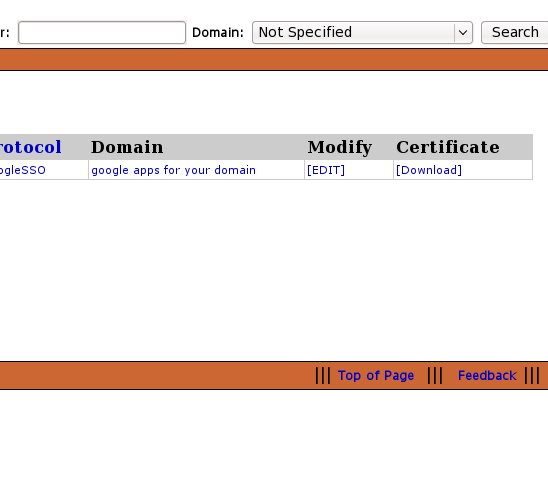
On the far right hand side of the Network Client page you will see a link to download the certificate. Download it to your local PC. You will upload this cert to Google.
Important: Now restart the WiKID server from the command line with:
# wikidctl restart
Configuring Google Apps For Your Domain
Log onto Google Apps for your Domain. Click on the Security icon. Then, click on Advanced Settings and Set Up single sign-on.
Click on Setup Single Sign-On (SSO):
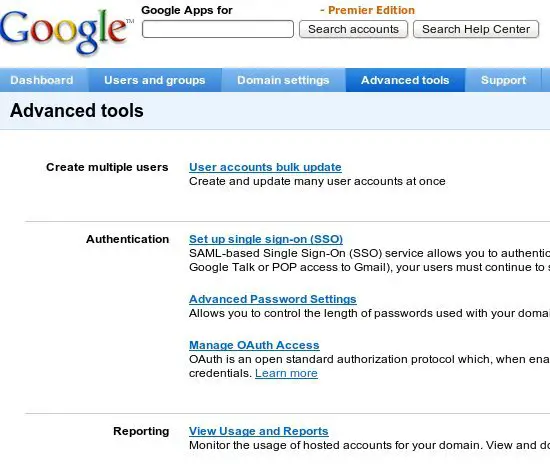
Check the box to enable SSO.
For the Sign-in page URL, enter the URL of your WiKID server and append wikid/GSSO/. Be sure to use https://! You can leave the sign-out and password urls the same.
Click on the link to upload a Verification Certificate and upload the certificate you downloaded to your computer in the Create Network Client steps.
Leave "Use a domain specific issuer" unchecked.
Enter a network mask, if you want the restriction.
Testing
Head to the Google Apps login page:
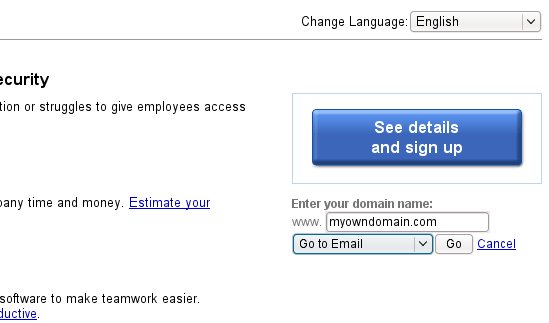
A SAML request will be create and you will be re-directed to the WiKID login page on your WiKID Server.
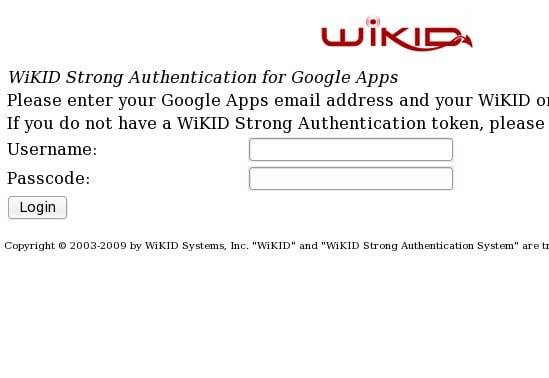
Start your WiKID token and generate a one-time passcode (assuming you have a registered token. See more on how to enable your users for two-factor authentication.
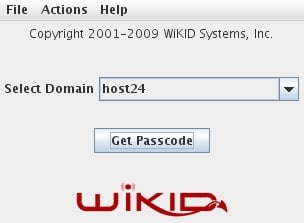
Select the domain. WiKID Software tokens are capable of authenticating to mutliple domains across multiple enterprises.
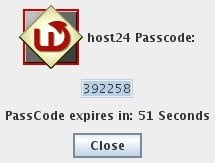
Type in your email address and the one-time passcode that is returned by the WiKID Software token (it is automatically pasted into the clipboard, so all you have to do it hit Ctrl-V in the password box) and login.
That should be it. Now access to your Google mail is secured using two-factor authentication from WiKID.
This document supercedes the previous tutorial on Google/WiKID two-factor authentication.

