Unattended Fedora 8 Installation With NFS And Kickstart - Page 2
4 Kickstart
4.1 NFS Share
First we create a directory within the NFS share where we'll later save the kickstart file.
mkdir /nfs_share/ks/
chown %your_username%:%your_username% /nfs_share/ks/
4.2 Kickstart File
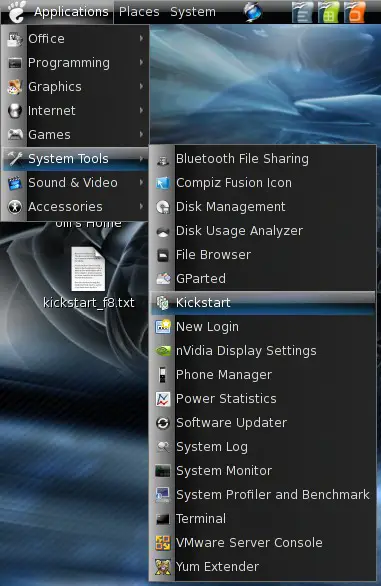
Now it's time to create the kickstart file - the kickstart configurator is available in the Gnome applications menu.
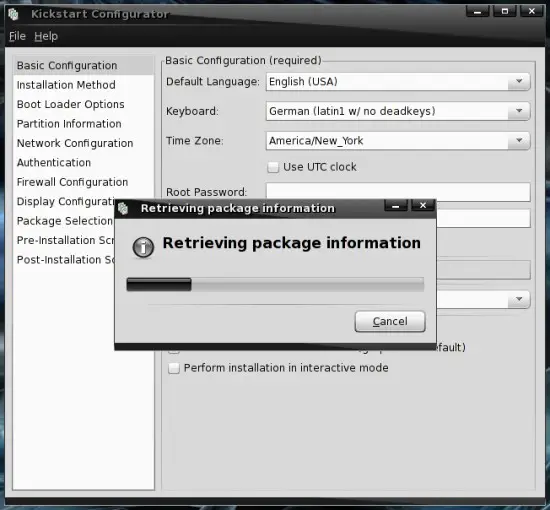
First of all the package information are being retrieved.
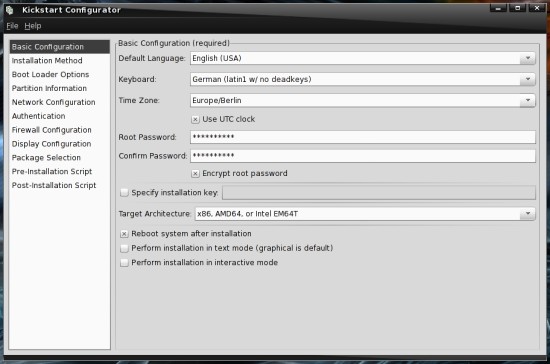
Select your preferred language, keyboard layout and time zone. Choose a root password and mark the checkbox below to encrypt the root password. Select the target architecture and mark the checkbox below so that the system will be rebooted after the installation.
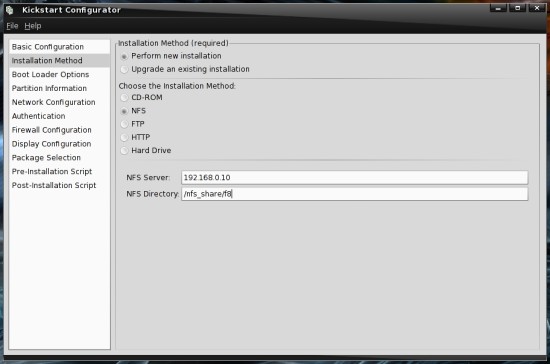
Choose "NFS" as installation method and enter your NFS server IP and the path to the installation files into the corresponding fields.
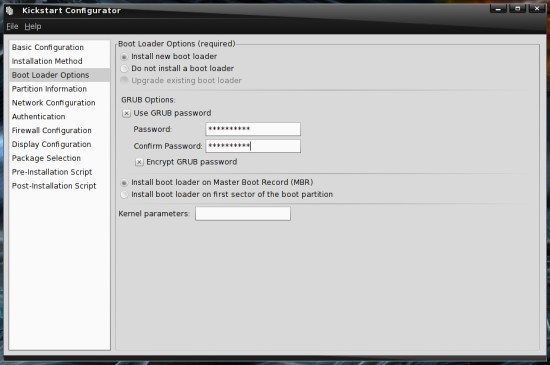
Enter a password for the GRUB bootloader and mark the checkbox below to encrypt it.
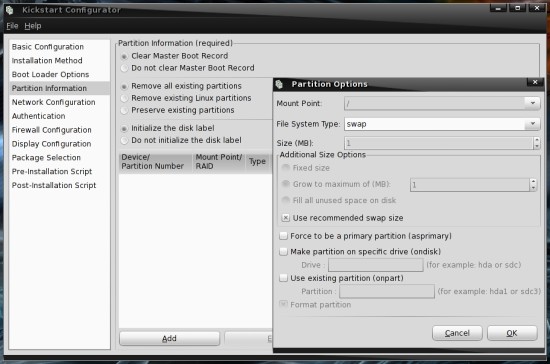
You'll need at least two partitions (swap & /). First choose "swap" as filesystem type and select "Use recommended swap size" to ensure that the swap partition has an optimal size even if you have client systems with different amounts of RAM.
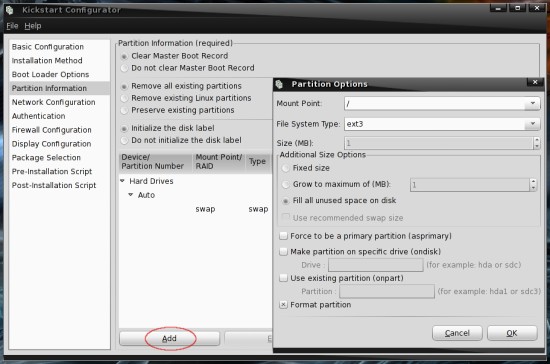
Choose "/" as mount point, "ext3" as file system type and select "Fill all unused space on disk" to ensure that no space will be wasted even if you have client systems with with different disks.
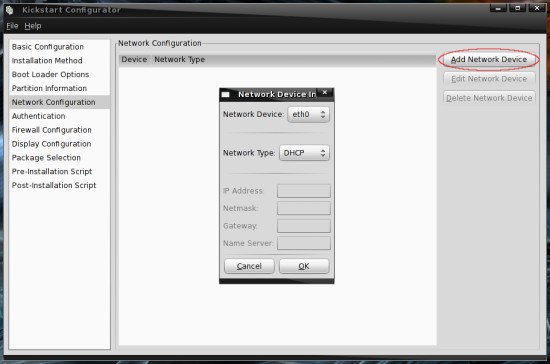
Click on "Add Network Device" and choose the default settings.
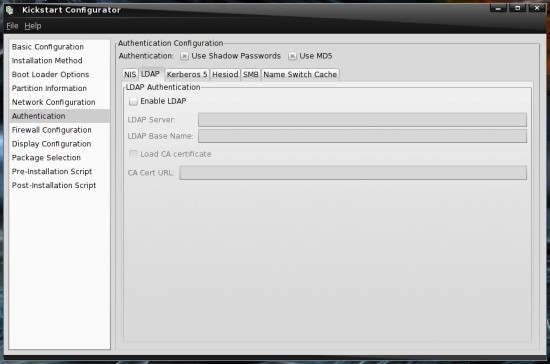
Here you can adjust the authentication settings - e.g. if you want to authenticate the users against LDAP.
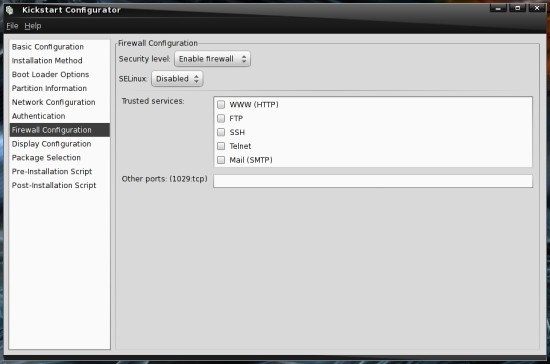
Enable the firewall and disable SELinux. Additionally you can adjust the fireall settings to your needs.
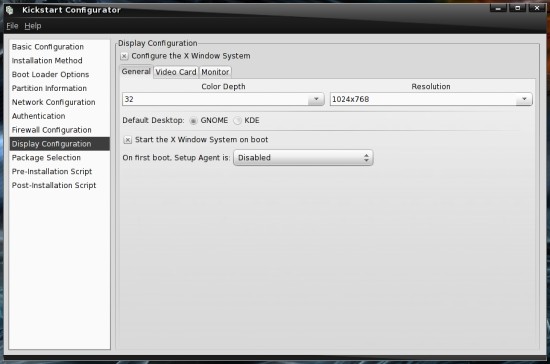
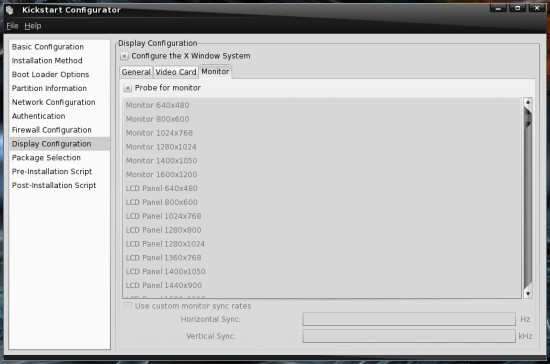
On the "General"-tab select 32bit as color depth, a screen resolution that fits to the screens that are attached to your client systems and mark the checkbox below to start the X window system on boot.
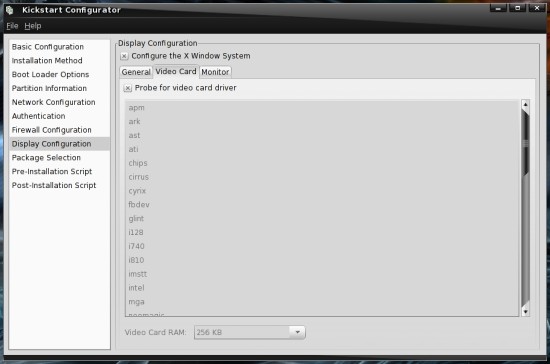
On the "Video Card"-tab you should leave the settings as they are to prevent problems with different graphics cards in your client systems.
On the "Monitor"-tab you should leave the settings as they are if there are different screens attached to your client systems.
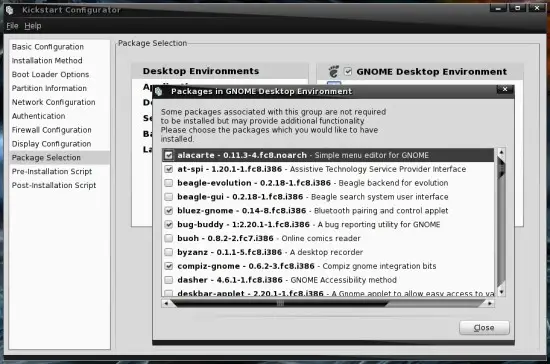
Now we reach the interesting part - the package selection. Select the packages that shall be installed on your client systems - keep in mind that we'll use the packages of a standard Fedora 8 DVD, so not all packages that are listed here will be available during the installation.
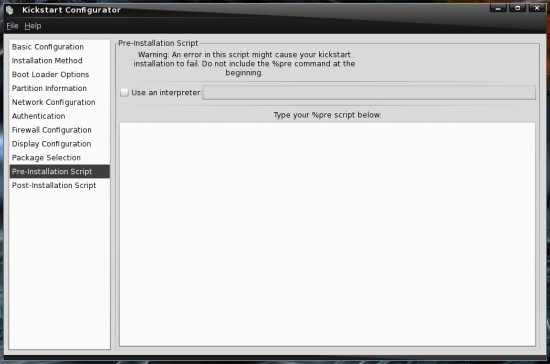
Here you can insert commands that shall be executed before the installation will start.
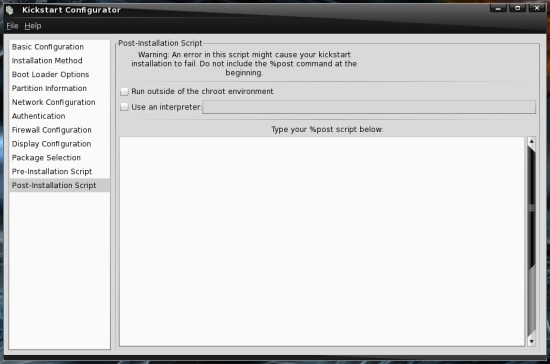
The post-installation script is the most interesting part of kickstart - it's very powerful. If you want, you can configure anything and everything on your clients.
For example, the post install script could look like this:
# default user
echo "Adding default user Olli ..."
/usr/sbin/useradd olli
/usr/bin/chfn -f "Oliver Meyer" olli
echo howtoforge | /usr/bin/passwd olli --stdin

# services
echo "Disabling useless services ..."
/sbin/chkconfig bluetooth off
/sbin/chkconfig firstboot off
/sbin/chkconfig restorecond off
/sbin/chkconfig setroubleshoot off

# Livna repository
echo "Adding Livna repository ..."
rpm -ivh http://rpm.livna.org/livna-release-8.rpm

# Adobe repository
echo "Adding Adobe repository ..."
rpm -ivh http://linuxdownload.adobe.com/adobe-release/adobe-release-i386-1.0-1.noarch.rpm

# GPG keys
echo "Importing GPG keys ..."
rpm --import /etc/pki/rpm-gpg/RPM-GPG-KEY*

# system update
echo "Updating the system ..."
yum -y install yum-fastestmirror yum-skip-broken yum-kernel-module yum-fedorakmod
yum -y update

# recommended packages
echo "Installing Adobe flash player plugin ..."
yum -y install flash-plugin
echo "Installing Adobe Reader ..."
yum -y install AdobeReader_enu
Finally save the file to /nfs_share/ks/.
5 Fedora Installation
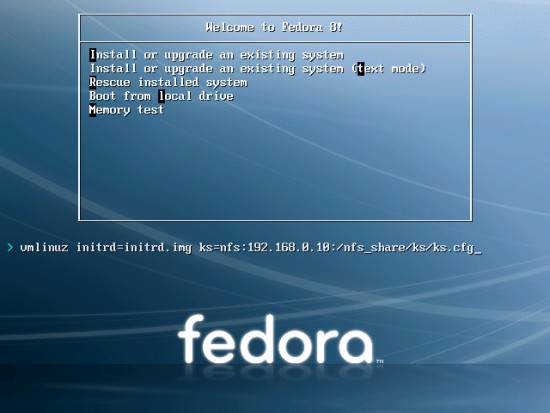
Now go to a client system and start it with a Fedora 8 install media - hit "TAB" on the first screen and add the following to the start parameters:
ks=nfs:%NFS_server_ip%:/nfs_share/ks/ks.cfg
E.g.:
ks=nfs:192.168.0.10:/nfs_share/ks/ks.cfg
It should look like this:
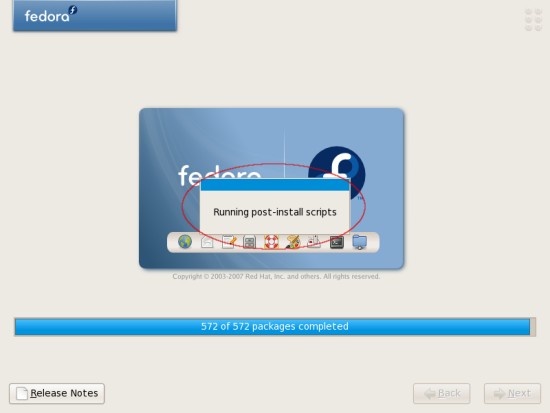
Then hit "Enter" to start the installation - wait a few seconds and remove the install media. Please note, that if you wait too long, the installation will start from the install media. The post install script will be executed after the basic installation is finished.

