Server monitoring with Icinga 2 and Icingaweb 2 on CentOS 7 - Page 2
On this page
5. Install icingaweb2
Before installing icingaweb2 be sure to open port 80 on your firewall.
Install icingaweb2:
yum -y install icingaweb2
Install icingacli. We will need it later to create a setup token for the webbased part of the installation.
yum -y install icingacli
We will now check if the group icingaweb2 exists and if apache is a member of that group:
cat /etc/group | grep icingaweb2
Output:
[root@icinga2 tmp]# cat /etc/group | grep icingaweb2
icingaweb2:x:990:apache
icinga2 will report a warning for the http service because there is no index.hml file at the webroot.
To prevent this we will create an empty one:
touch /var/www/html/index.html
chown apache /var/www/html/index.html
We will now create the setup token for the webbased part of the installation.
icingacli setup config directory --group icingaweb2
Output:
[root@icinga2 tmp]# icingacli setup config directory --group icingaweb2
Successfully created configuration directory /etc/icingaweb2
icingacli setup token create
Output:
[root@icinga2 tmp]# icingacli setup token create
The newly generated setup token is: 1826XXXXXXXXXXXX
Write down or copy the setup token.
Restart apache.
systemctl restart httpd
Web based part of the installation
Open a browser and go to http://192.168.250.100/icingaweb2/setup
Insert the generated token and press
Continue (Weiter)
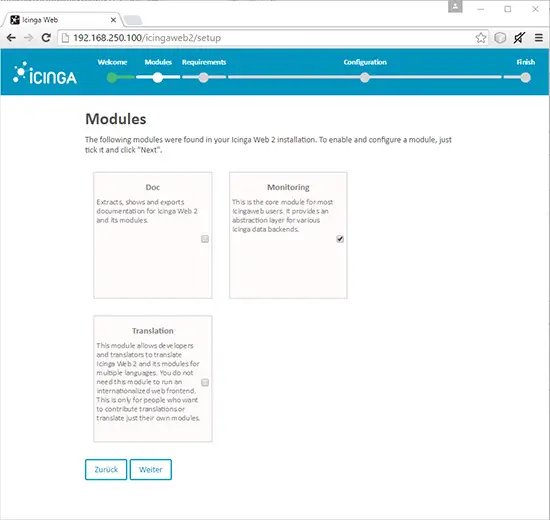
Press
Weiter (Continue)
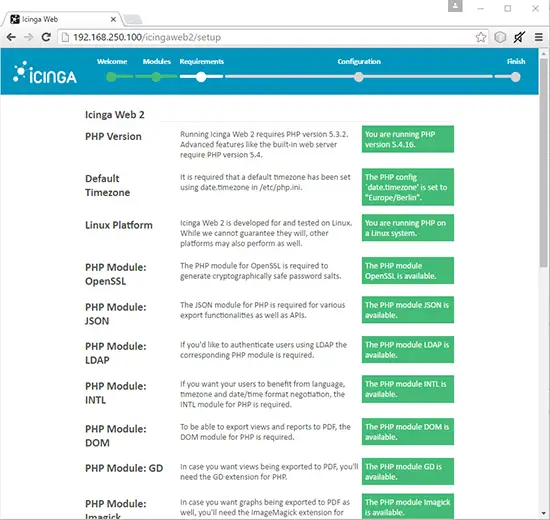
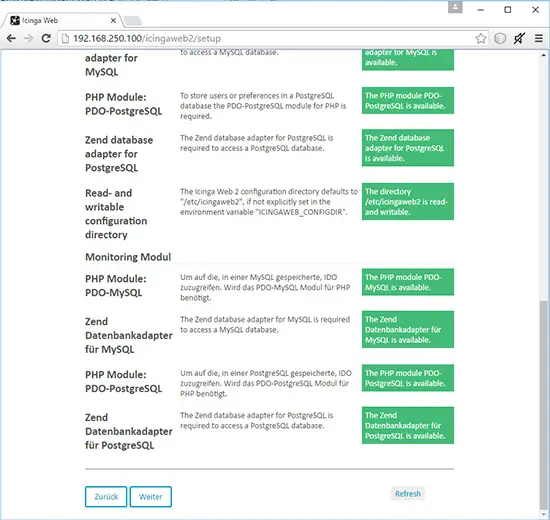
Check that all parts are green and press
Continue (Weiter)
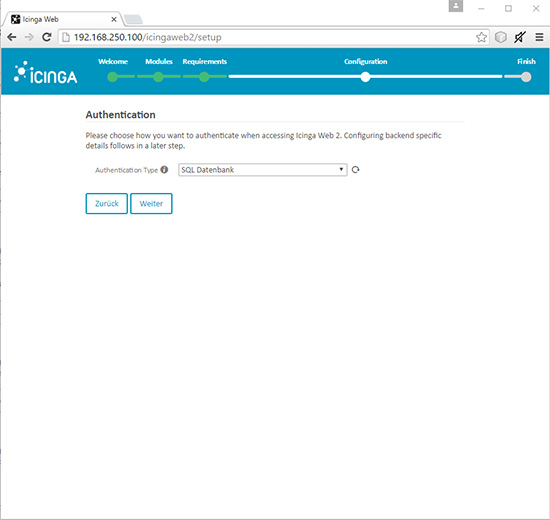
Keep the chosen type of authentication (SQL Database) press
Continue (Weiter)
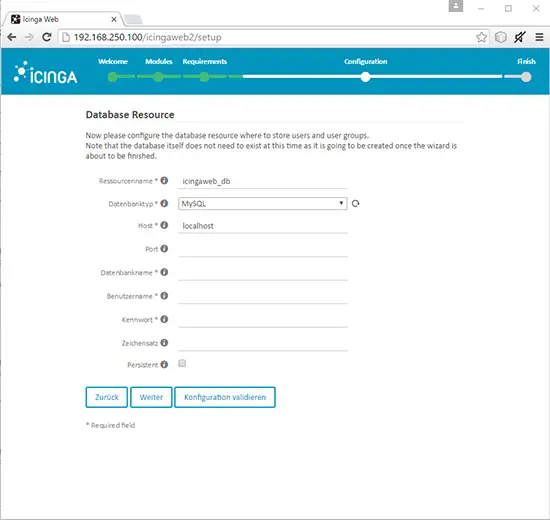
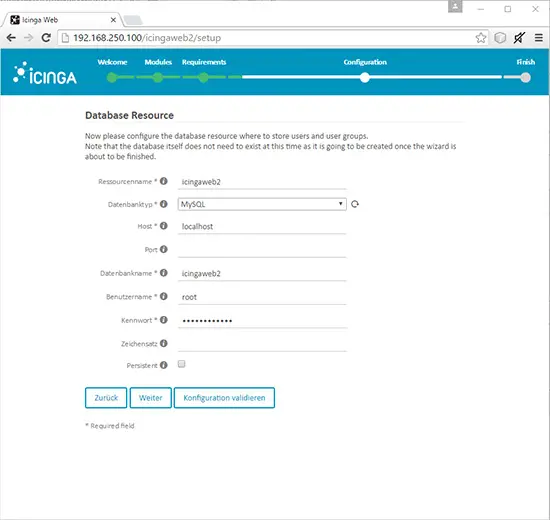
Insert the following values:
Resourcename = icingaweb2
Keep Databasetype (Datenbanktyp) to MySQL
Keep Host as localhost
Change Databasename (Datenbanknamen) to icingaweb2
Change Username to icingaweb2
Enter a password
Press
Validate Configuration
You should see
Configuration sucessfully validated
at the top of the page.
Press
Continue (Weiter)
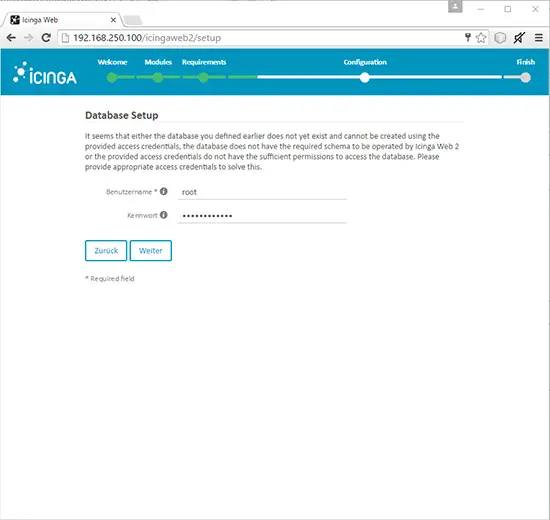
To create the database and user specified insert the credentials for root here. Then press
Continue (Weiter)
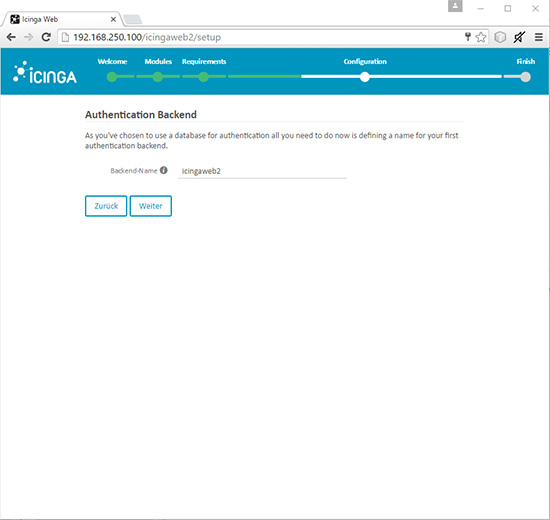
Keep icingaweb2 as BackendName and press
Continue (Weiter)
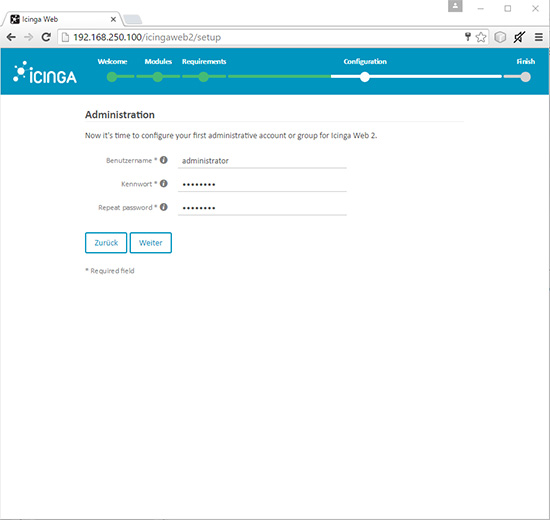
Create the user administrator. Enter username and password (twice). Then press
Continue (Weiter)
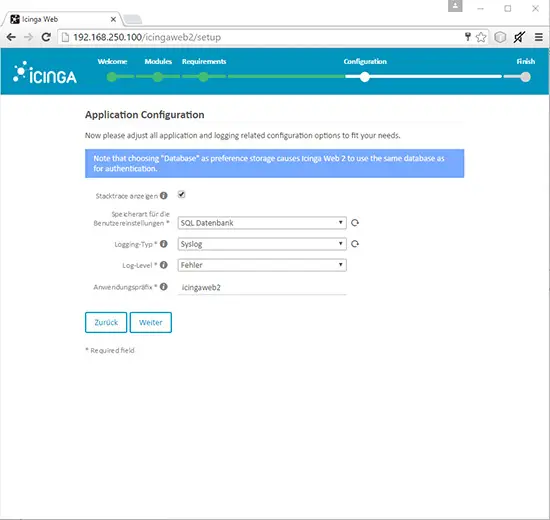
Leave everything as suggested and press
Continue (Weiter)
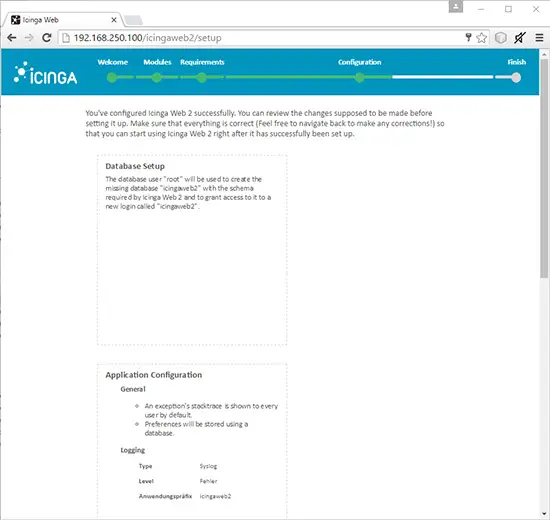
This page contains a summary of your inputs.
Check everything then press
Continue (Weiter)
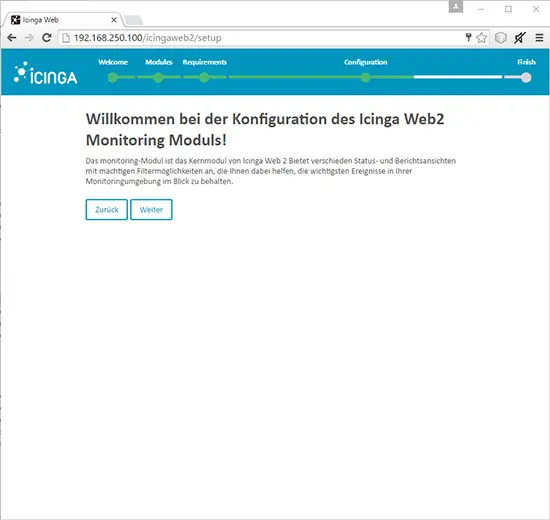
Press
Continue (Weiter)
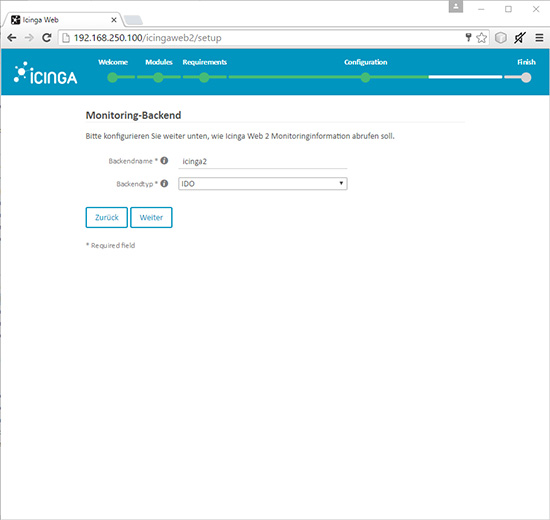
Leave everything as suggested and press
Continue (Weiter)
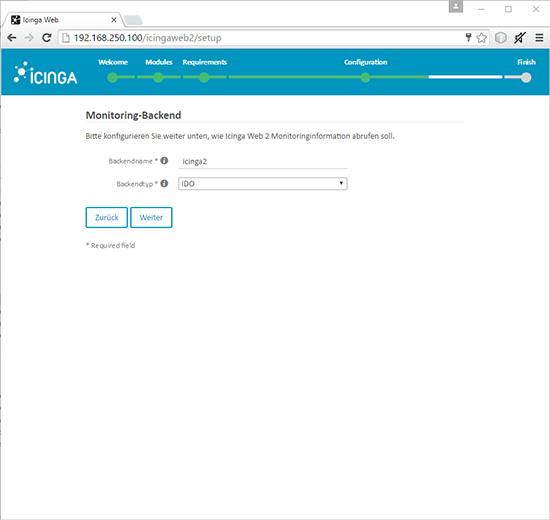
Leave everything as suggested and press
Continue (Weiter)
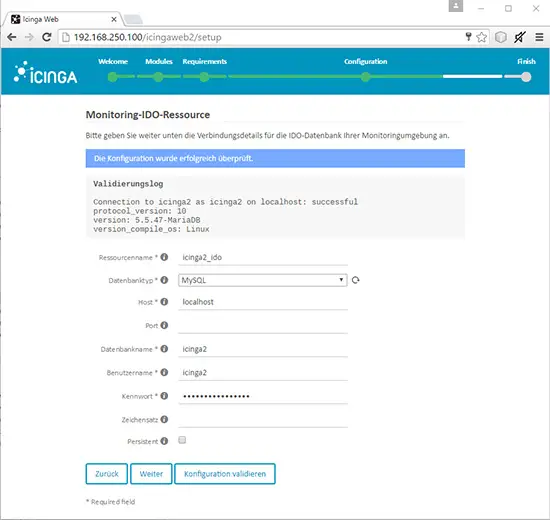
Insert the following values:
Resourcename = icniga2_ldo
Keep Databasetype (Datenbanktyp) to MySQL
Keep Host as localhost
Change Databasename (Datenbanknamen) to icinga2
Change Username to icnga2
Enter a mysql password for user icinga2 ("icinga2_password")
Hit Validate Configuration
If validation is ok press
Continue (Weiter)
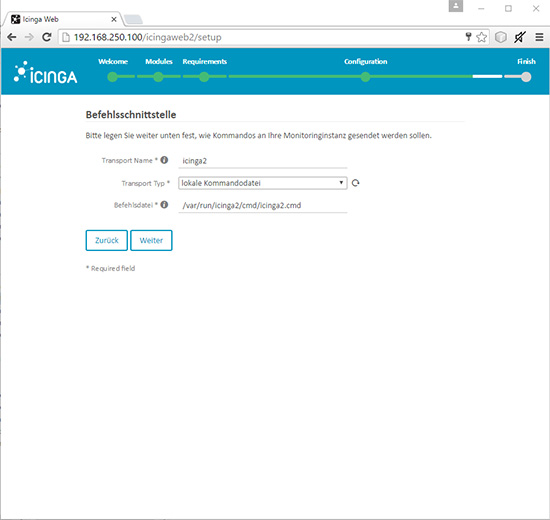
Leave everything as suggested and press
Continue (Weiter)
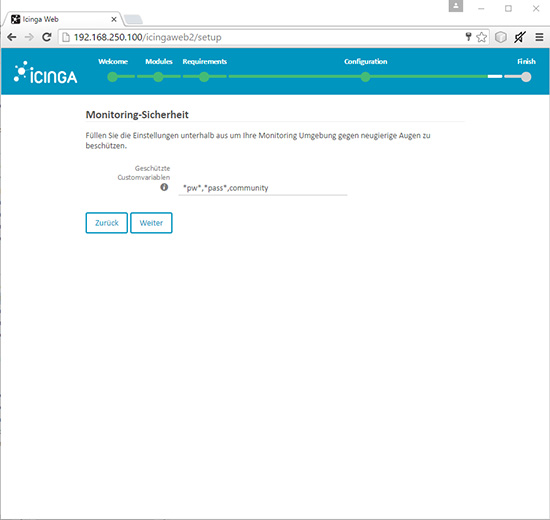
Leave everything as suggested and press
Continue (Weiter).
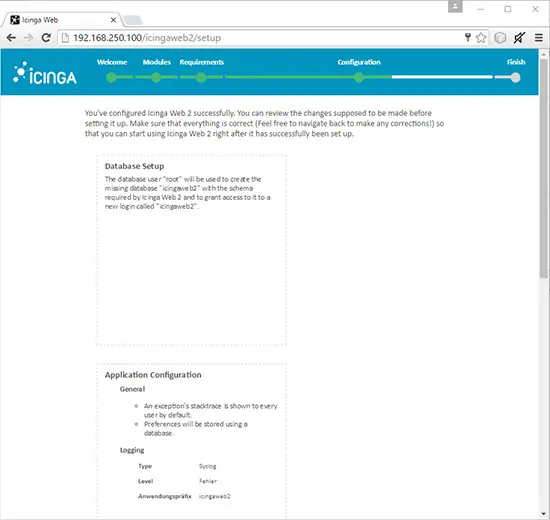
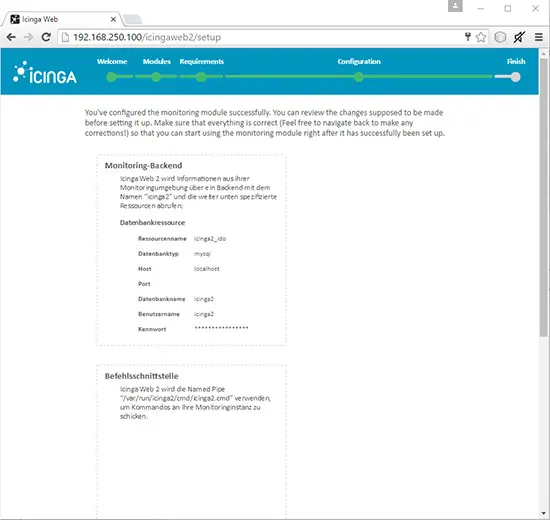
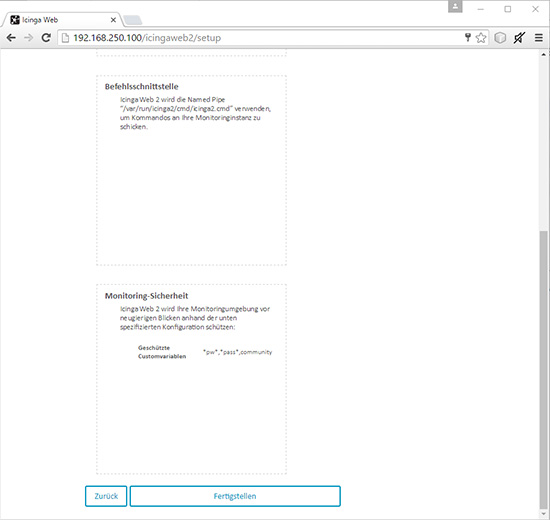
This page contains a summary of your inputs.
Check everything then press
Continue (Weiter)
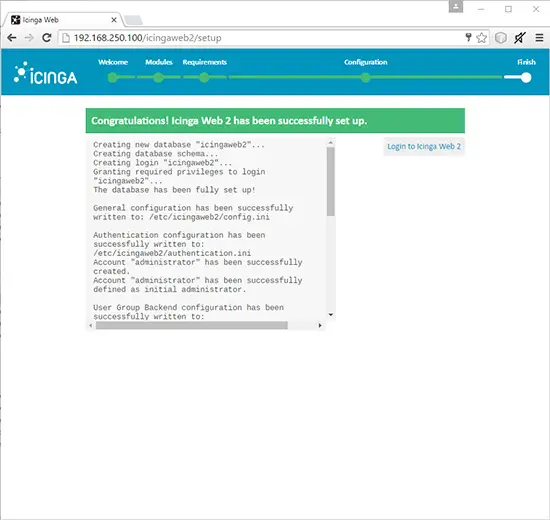
Press
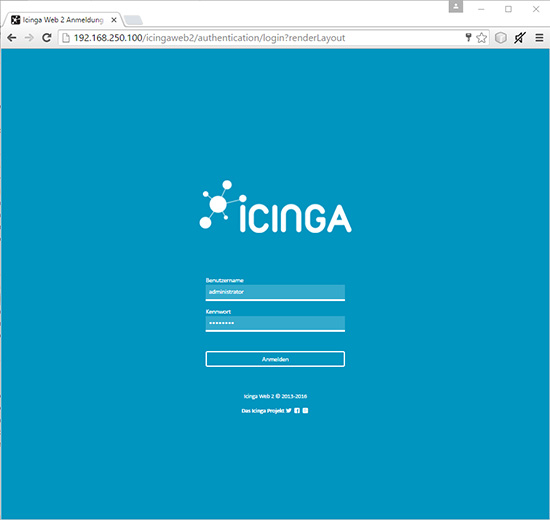
Login to icinga Web 2
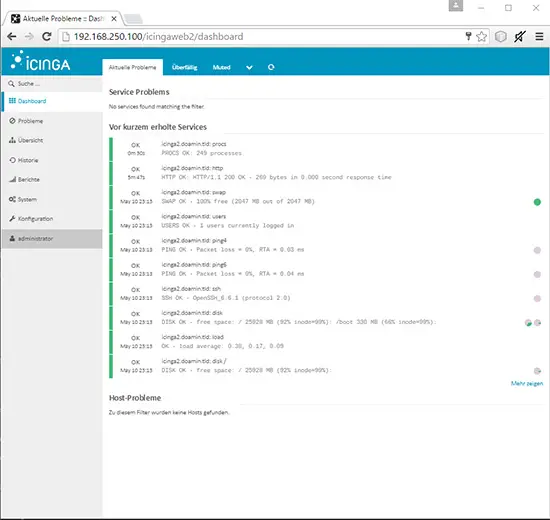
Login as administrator with the password defined.
Done.


