How to use the Photo Raw Software Darktable 2.0 on Ubuntu
Darktable is an open source RAW photo developing software that has just recently released its second major version, bringing new features, and a renovated GTK+ 3.0 user interface. On this quick guide, we will take a look on how we can use Darktable to perform basic image editing, advanced editing, and apply effects.
Installation on Ubuntu
Open a terminal window and run the following commands, they will add the official Darktable ppa repository to your system, update the package list and install Darktable.
sudo add-apt-repository ppa:pmjdebruijn/darktable-release
sudo apt-get update
sudo apt-get install darktable
Import Files
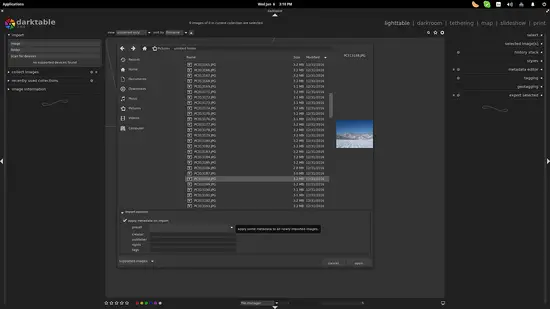
First, we need to add at least one image file. On the top left, there is the “import” option through which the user can add an image, a folder that contains images, or let Darktable scan the connected devices. Darktable 2.0 supports many camera models from a variety of manufacturers (see this list), so chances are that your device is supported. If the image files are already in your local disk, choose the first option and navigate to the file you want to import.
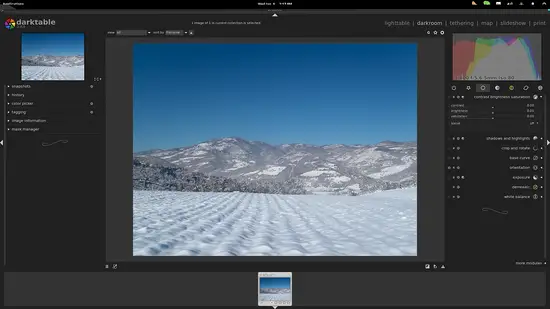
I added one image only, but you may add as many as you like. You can switch between the images through the “lighttable” tab on the top right, or the carousel on the bottom. Choose the image that you want to edit and Darktable will take you to the “Darkroom” tab.
Basic Image Editing
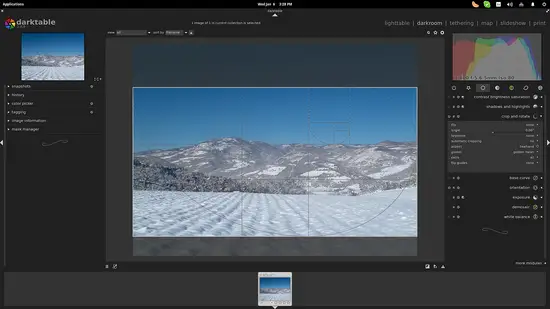
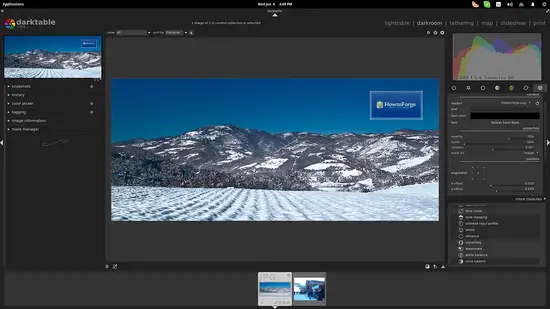
Notice the modules on the right panel and locate the categories called “groups”. We will start with the “basic” group that is represented by a hollow circle icon. Select this icon and then click on the “crop and rotate” module. This will open up a set of options that concern the cropping actions.
You may activate commonly used guides such as golden ratio spirals or the rule of thirds from the “guides” menu. Then select the “freehand” option on the “aspect” menu and drag the cropping points as you wish. The frame can be moved as a whole as well.
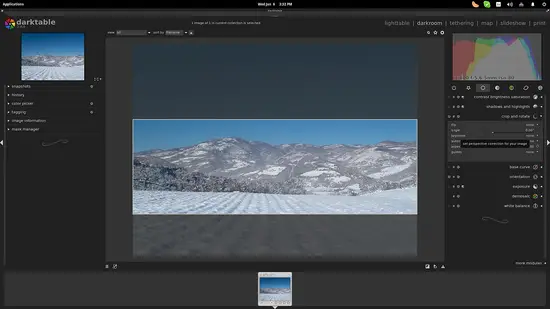
Darktable also supports auto-cropping ratios found in the “aspect menu”. Here I selected the 3:1 “panorama”.
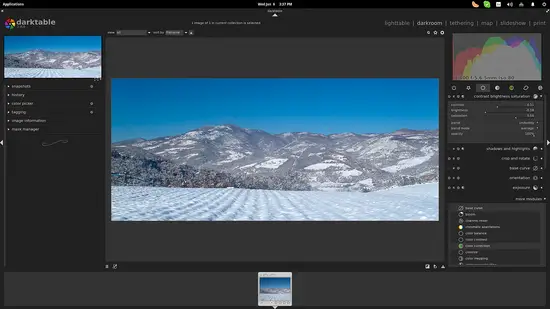
Other basic editing modules include contrasts and brightness settings (first module from the top), exposure, shadows etc. You may experiment with those to get a good result before we move on to the more advanced editing options.
Notice how the histogram on the top right changes as you set new contrast and brightness values. Hover the mouse over this histogram window to identify the blackpoint and exposure sections. You may drag the histogram to change these values, or double click to reset.
Advanced Image Editing
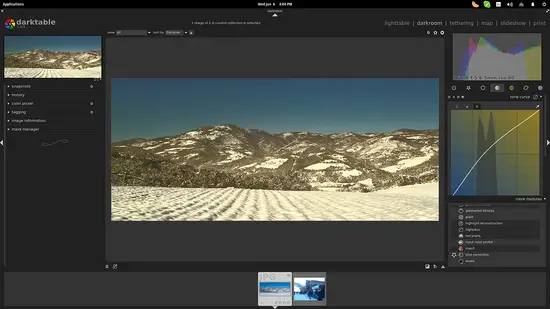
Now let's proceed to the more advanced image editing operations. Click on the “tone group” and select the “tone curve”. You can change the lightness of the image by dragging the line to the point that you want. Double clicking on this box will reset the curve to where it originally was. You may drag the line using multiple points, and you can individually set the L, a, and b channels. Just remember to set the “scale chroma” to manual for “a” and “b”. I tried to set the lighting in such a way that it would resemble an old photo look.
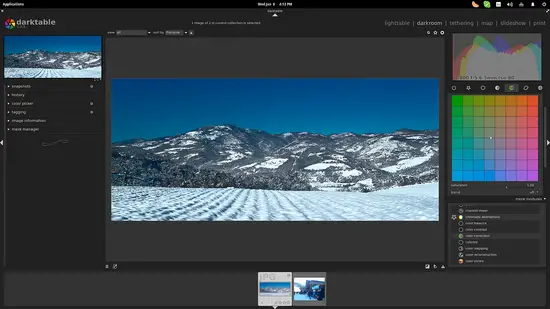
Now let's suppose that we want to perform color correction to our image. Select the “color correction” module from the “more modules” menu on the lower right, and this will bring it to the “color group” so that we may use it.
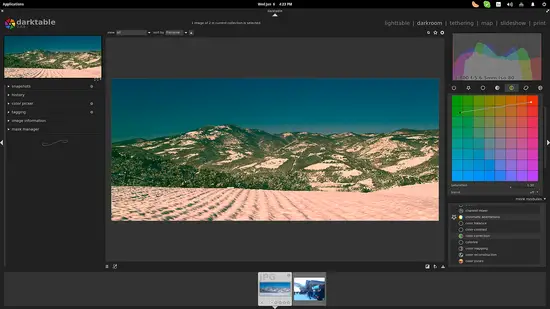
We can modify the global saturation of the image with our mouse wheel, and we may also adjust the toning of the highlights and the shadows, using the bright and dark spots respectively. Here I have brought highlights (snow) more to the red, and shadows (trees) more to the green.
Application of Effects
Darktable offers a rich set of artistic filters that we can apply in our images. I will add a watermark by selecting it from the “more modules” that will bring it to the “effects group”. Darktable gives us the ability to insert our own text, or add our own custom watermark. For the latter, we have to first add the .svg file on ''home/.config/darktable/watermarks''. If the “watermarks” folder doesn't exist, you will have to create it. Select the watermark from the “market menu, and then set the opacity, scale (size), and position the watermark with the “alignment” and x,y offset settings.
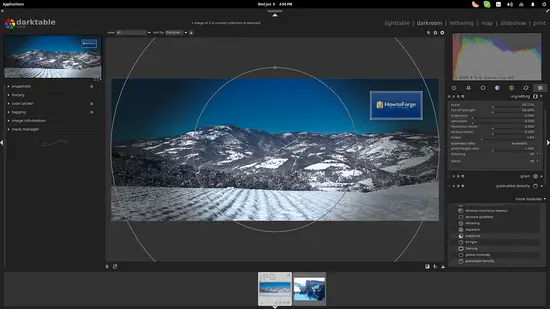
Another artistic effect is the “vignetting” through which we can alter the brightness on the border sections of the image. Again, choose the size, scale, saturation, and shape, and you should get something like this:
Image Exporting
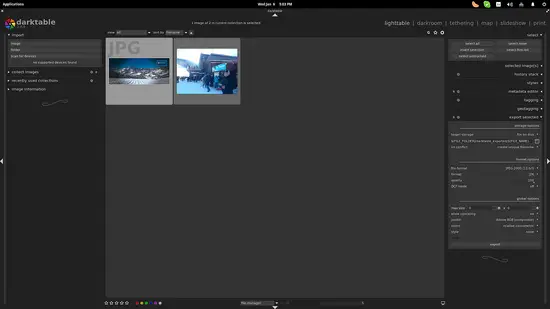
After having completed the editing of our image, it is time to export it. To do this, go back to the “lighttable” tab, and select the images you want to export. Then click on the “export selected” located on the right panel (last option), and then select the export location, the file format, quality, upscaling options, and press the “export” button.
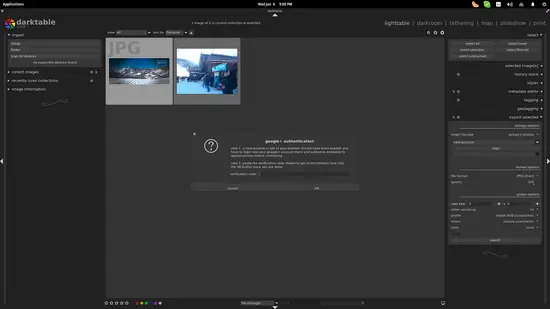
You may also upload the resulting files to an internet service, or send them via email. To do this, click on the “target storage” menu and select between Google Photos, Flickr, and Facebook web album.

