The Perfect Desktop - Linux Mint 3.1 "Celena" FE - Page 3
This tutorial exists for these OS versions
- Linux Mint 17.1 (Rebecca)
- Linux Mint 17 (Quiana)
- Linux Mint 15 (Olivia)
- Linux Mint 14 (Nadia)
- Linux Mint 13 (Maya)
- Linux Mint 12 (Lisa)
On this page
3 By Default Installed Software
3.1 Multimedia
- Amarok (audio player)
- Mplayer (video player)
- Totem (video player)
- Win32 codec binaries (codecs)
3.2 Internet
- Firefox (web browser)
- Pidgin (internet messenger)
- Thunderbird (mail)
- Xchat (IRC chat)
- Sun's Java JRE
- Adobe's flash player
3.3 Graphics
- GIMP (image editor)
- OpenOffice.org Drawing (drawing)
3.4 Office
- OpenOffice.org (office suite)
- Sunbird Calendar (calendar)
3.5 System
- Compiz & Beryl (desktop effects)
- ntfs3g (read/write support for NTFS)
- Envy (Nvidia & ATI driver support)
4 The Synaptic Package Manager
The Synaptic Package Manager is an easy to use program to install and deinstall software from the available repositorys - or just to check which programs are installed. There are about 22.000 Packages available in the repositorys that are added by default in Linux Mint 3.1.
The Synaptic Package Manager is accessible via the gnome menu in the bottom left corner.
When you click on the button a popup will be shown that is asking for your password.
After you entered your password the Synaptic Package Manager appears.
4.1 Deinstall Packages
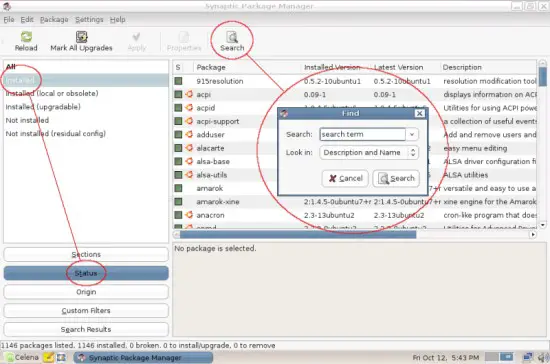
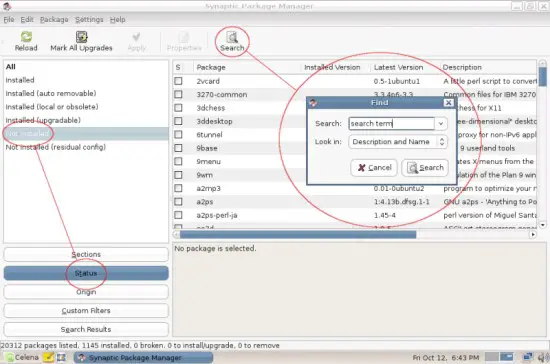
To deinstall one or more packages switch to the status view and mark "Installed". Now you'll see all packages that are installed on your system - you can browse them or search one or more packages with the search function. Within you can enter a package name or search term.
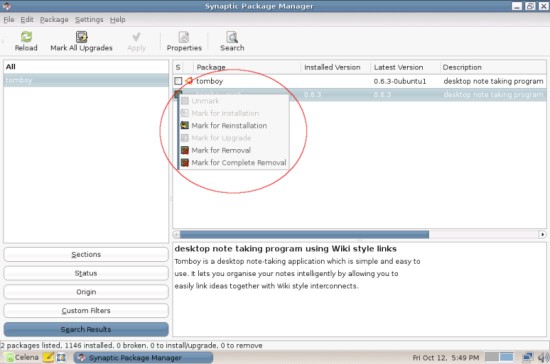
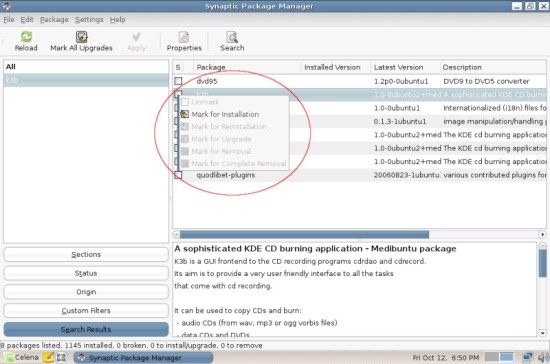
If you found a package that you want do deinstall, click on the green checkbox and select "Mark for Removal" or "Mark for Complete Removal" from the context menu. The difference between the both options for deinstall is, that a complete removal will also delete the configuration files while the normal removal won't delete them. This can be useful if you want to keep your configurations for a package (You can install it again later and don't need to configure it a second time).
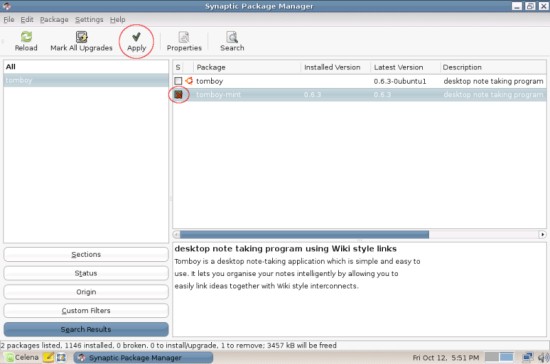
Afterwards the package is marked with a red cross.
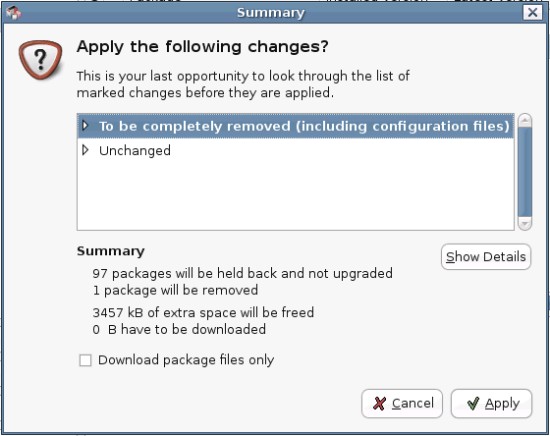
To take the changes affect click on "Apply" in the upper menu bar and afterwards commit the summary.
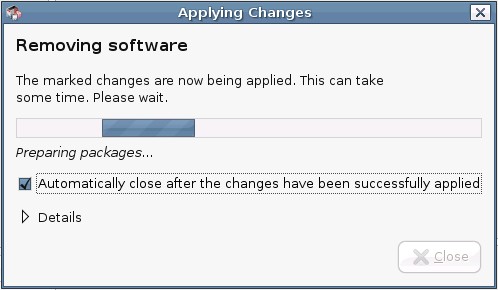
Now the deinstallation begins.
4.2 Install Packages
To install one or more packages switch to the status view and mark "Not installed". Now you'll see all packages that are not installed on your system - you can browse them or search one or more packages with the search function. Within you can enter a package name or search term.
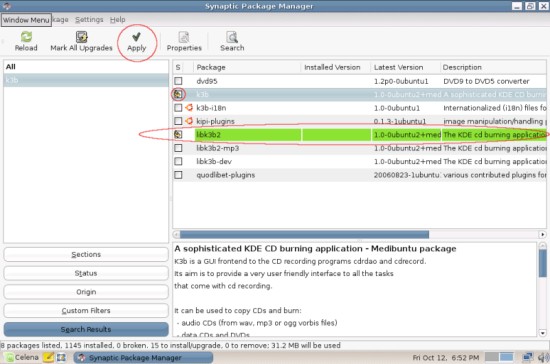
If you found a package that you want to install, click on the white checkbox and select "Mark for Installation" from the context menu.
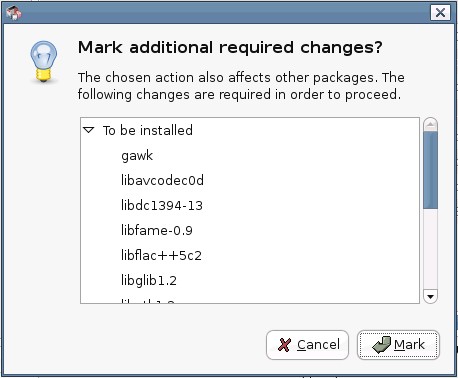
The packages you want to install will occasionally have dependences - then a window will pop up and you have to commit the marking of the additional needed packages.
Afterwars the package and its dependences are marked with a yellow arrow. Dependences are marked green as well.
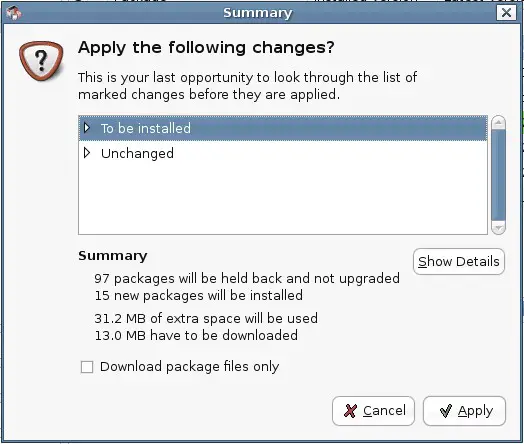
To take the changes affect click on "Apply" in the upper menu bar and afterwards commit the summary.
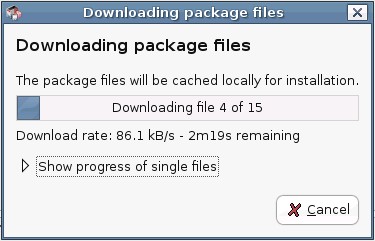
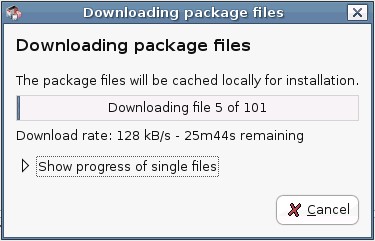
The packages are being downloaded...
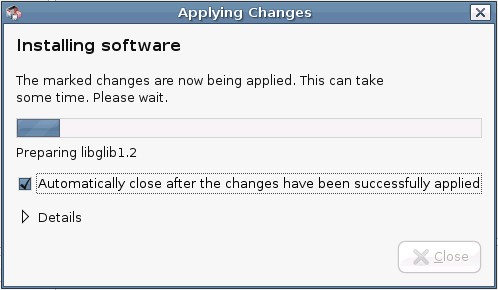
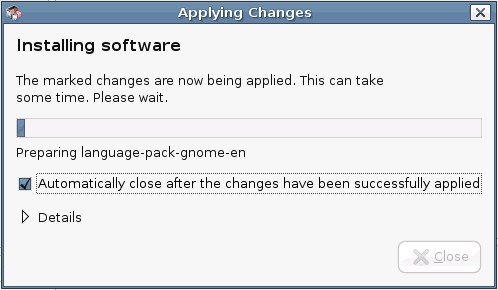
...and afterwards installed.
4.3 Update The System
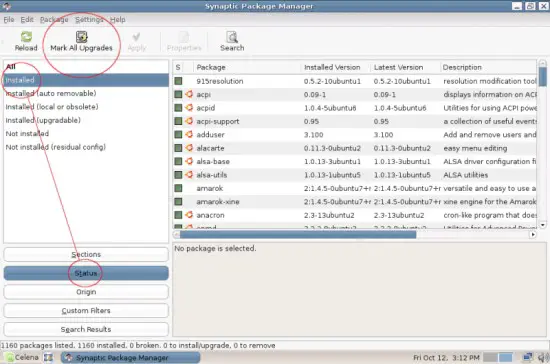
To update your system, switch to the status view, mark "Installed" and click on "Mark All Upgrades" in the upper menu bar.
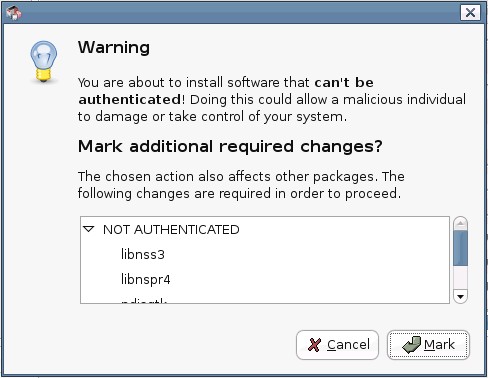
Sometimes some packages can't be authenticated - commit this warning, click on "Mark".
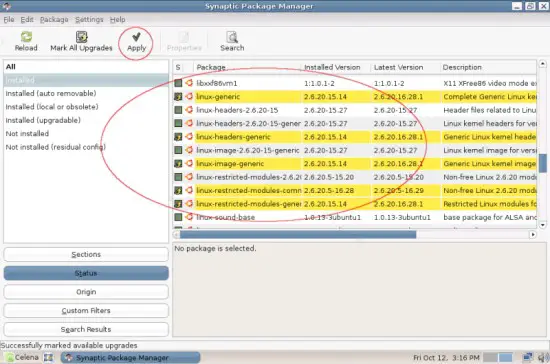
As you see, all packages that will be updated are marked yellow.
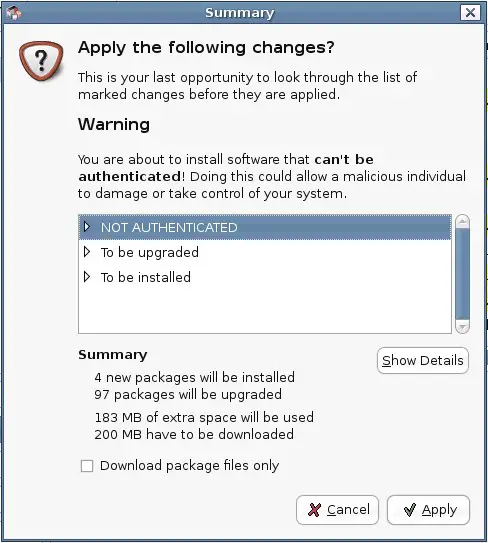
To take the changes affect click on "Apply" in the upper menu bar and afterwards commit the summary.
The updates are being downloaded... (this will take a while if you update your system for the first time)
...and afterwards installed. (this will take a while if you update your system for the first time)


