How to Install Wiki.js on Debian 12
Wiki.js is free and open-source wiki software based on Node.js, Git, and Markdown. It's released under the AGPL-v3 License and designed for performance and conservation system resources. Wiki.js is a powerful Wiki software that can be installed anywhere on your system. You can install it on your operating system or use cloud services such as Heroku, and also deploy Wiki.js on your container environments, such as Docker and Kubernetes.
Wiki.js is compatible with the PostgreSQL database and provides 50+ integrations for additional authentication, logging system, search engine, rendering, and storage. It's powerful Wiki software built on top of beautiful and intuitive interfaces for both the administration dashboard and pages. it's fully customizable wiki software for documenting your tech stack.
In this article, we'll show you how to install Wiki.js on a Debian 12 system. We'll guide you through the installation of Wiki.js, utilizing a PostgreSQL database server, Nginx as a reverse proxy, and then secure your Wiki.js instance with SSL/TLS certificates from Let's Encrypt.
Prerequisites
Before you proceed, make sure you have:
- A Debian 12 server.
- A non-root user with administrator privileges.
- A domain name is pointed to your server's IP address. This example will use the domain wiki.howtoforge.local.
Installing Dependencies
In the first stage, you will be installing some of the dependencies that will be used by Wiki.js, which include:
- PostgreSQL database server: This will be used as the database for your Wiki.js.
- Nginx web server: The Nginx web server will be used as a reverse proxy for Wiki.js.
- Node.js and NPM: The JavaScript runtime engine Node.js and the NPM package manager.
- Certbot and Nginx Certbot Plugin: Certbot for generating SSL/TLS certificates via Let's Encrypt and the Nginx Certbot Plugin will automatically confirm your Nginx server block with HTTPS.
To begin, update and refresh the Debian repository using the command below before installing packages.
sudo apt update
Now install package dependencies for Wiki.js via the apt install command below. With the following command, you will install the PostgreSQL database server, Node.js and NPM, Nginx web server, Certbot, and Certbot Nginx plugin.
sudo apt install postgresql postgresql-common nodejs npm nginx certbot python3-certbot-nginx
Type y to confirm and proceed with the installation.

Once dependencies are installed, verify each of them using the following commands.
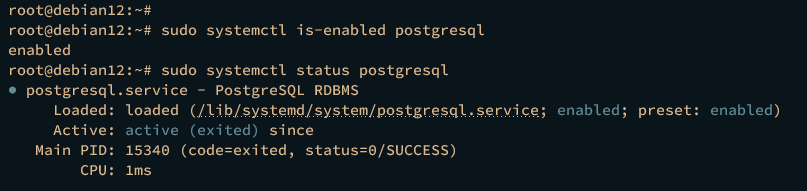
Verify the PostgreSQL service status using the systemctl command below.
sudo systemctl is-enabled postgresql
sudo systemctl status postgresql
A similar output below will be shown.
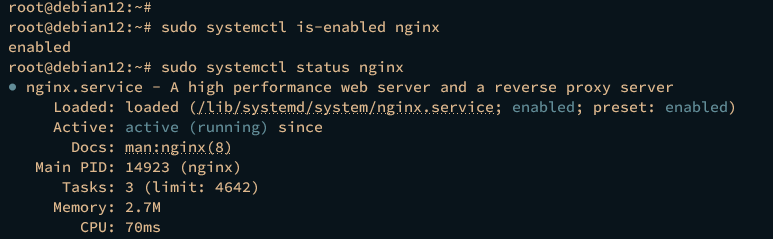
Verify the Nginx service status to ensure it is running and enabled.
sudo systemctl is-enabled nginx
sudo systemctl status nginx
If Nginx running and enabled, the output below will be displayed on your terminal.
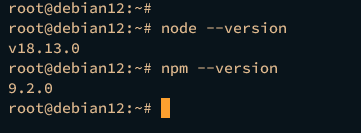
Lastly, verify the Node.js and NPN by executing the following command. The output will display the current Node.js and NPM versions installed on your system.
node --version
npm --version
Creating a PostgreSQL Database and User
After installing dependencies, the next step is to create a new database and user for your Wiki.js installation. To do that, you must log in to PostgreSQL via the psql client.
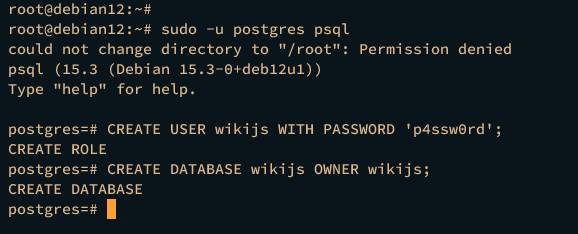
Log in to the PostgreSQL server by executing the following command.
sudo -u postgres psql
Once logged in, run the following queries to create a new PostgreSQL database and user wikijs. Be sure to change the password in the following queries.
CREATE USER wikijs WITH PASSWORD 'p4ssw0rd';
CREATE DATABASE wikijs OWNER wikijs;
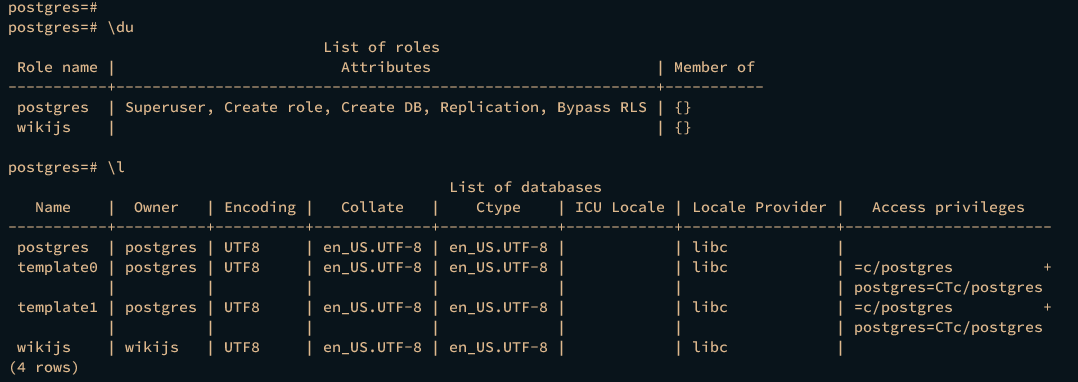
After the database and user are created, verify their existence using the following queries to list the available databases and users on your PostgreSQL instance.
\du
\l
You should see the database and user wikijs created on PostgreSQL.
Type quit to exit from the PostgreSQL server.
Downloading Wiki.js Source Code
In the following section, you will download the Wiki.js source code to your server and set up the installation directory with proper permission and ownership.
Create a new user wikijs by executing the following command.
sudo useradd -m -s /bin/false wikijs
Now create a new directory /opt/wikijs and move into it. Then, download the Wiki.js source code via the wget command below.
mkdir -p /opt/wikijs; cd /opt/wikijs
wget https://github.com/Requarks/wiki/releases/latest/download/wiki-js.tar.gz
Once downloaded, extract the Wiki.js source code and change the ownership of the /opt/wikijs directory to the user wikijs.
tar -xf wiki-js.tar.gz
sudo chown -R wikijs:wikijs /opt/wikijs
Configuring Wiki.js
With the Wiki.js downloaded, you will next configure your Wiki.js installation with the PostgreSQL database and user, and you will also configure the bind IP address for Wiki.js.
Copy the default WIki.js configuration config.sample.yml to config.yml, then open it using the following nano editor.
sudo -u wikijs cp config.sample.yml config.yml
sudo -u wikijs nano config.yml
Change the default database configuration with your PostgreSQL database, user, and password.
  # PostgreSQL / MySQL / MariaDB / MS SQL Server only:
  host: localhost
  port: 5432
  user: wikijs
  pass: p4ssw0rd
  db: wikijs
  ssl: false
Change the default bindIP option to localhost or 127.0.0.1. This will run the Wiki.js on the localhost.
bindIP: 127.0.0.1
Save and exit the after finished.
Next, run the following command to run and test your Wiki.js installation.
sudo -u wikijs node server
You should see the confirmation that the Wiki.js is running on localhost with default port 3000.
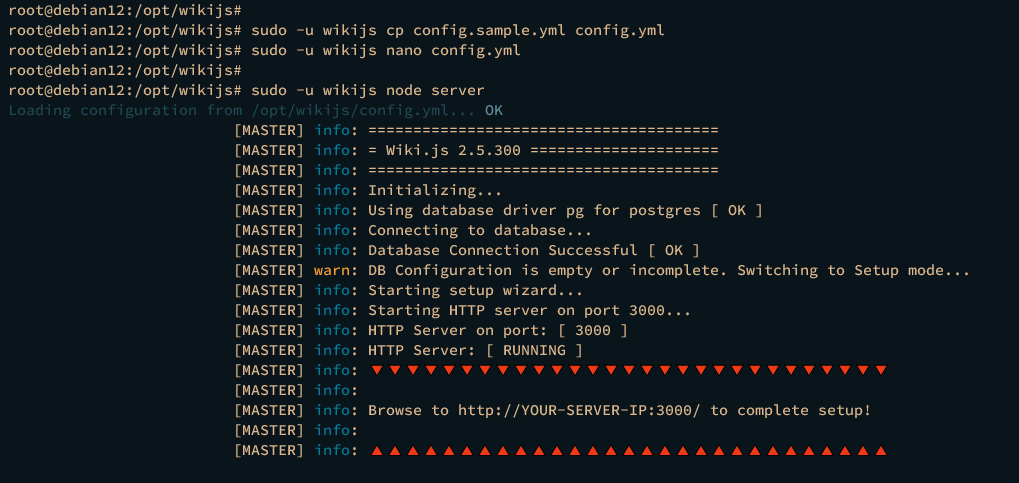
Lastly, press Ctrl+c to terminate the Wiki.js process.
Running Wiki.js in the Background as a Service
Now that you've completed the WIki.js configuration, the next step you will set up Wiki.js to run in the background as a systemd service. By using the following approach, you can easily manage WIki.js via the systemctl utility.
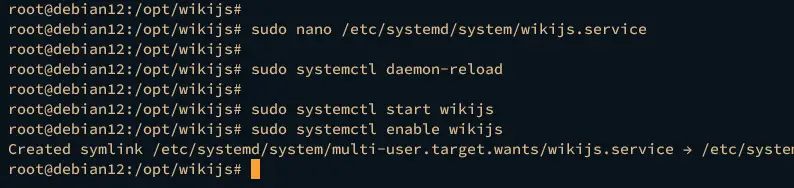
Create a new systemd service file for Wiki.js /etc/systemd/system/wikijs.service using the nano editor command below.
sudo nano /etc/systemd/system/wikijs.service
Insert the following configuration that will enable Wiki.js to run in the background as a service.
[Unit]
Description=Wiki.js
After=network.target postgresql.service

[Service]
Type=simple
ExecStart=/usr/bin/node server
Restart=always

User=wikijs
Environment=NODE_ENV=production
WorkingDirectory=/opt/wikijs

[Install]
WantedBy=multi-user.target
Save the file and exit the editor when finished.
Next, run the systemctl command below to reload the systemd manager and apply the new service file for Wiki.js.
sudo systemctl daemon-reload
You can now start and enable the wiki.js service using the command below. This will start Wiki.js in the background on localhost with the default port 3000 and enable it to run automatically at boot.
sudo systemctl start wikijs
sudo systemctl enable wikijs
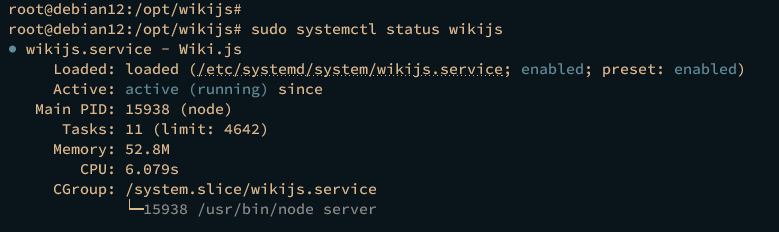
Verify the wikijs service using the command below to ensure that the service is running.
sudo systemctl status wikijs
An output below should be presented.
Lastly, run the ss command below to verify port 3000 which is used by the Wiki.js application.
ss -tulpn | grep 3000
If Wiki.js is running, you should see that the Node.js application uses port 3000.

Configuring Nginx as a Reverse Proxy
Now that the Wiki.js is running on localhost with default port 3000. In the next step, you will create a new Nginx server block configuration that will be used as a reverse proxy for Wiki.js. Before you start, ensure that you have a domain name pointed to your server IP address.
Create a new Nginx server block configuration /etc/nginx/sites-available/wikijs using the following nano editor command.
sudo nano /etc/nginx/sites-available/wikijs
Insert the following configuration and be sure to change the domain name of your Wiki.js installation.
server {
    listen 80;
    server_name wiki.howtoforge.local;

    root /opt/wikijs;

    access_log  /var/log/nginx/wikijs.access.log;
    error_log   /var/log/nginx/wikijs.error.log;

    location / {
        proxy_http_version 1.1;
        proxy_set_header Upgrade $http_upgrade;
        proxy_set_header Connection "upgrade";
        proxy_set_header Host $http_host;
        proxy_set_header X-Real-IP $remote_addr;
        proxy_set_header X-Forwarded-For $proxy_add_x_forwarded_for;
        proxy_set_header X-Forwarded-Proto $scheme;
        proxy_pass http://127.0.0.1:3000;
    }
}
Save the file and exit the editor when finished.
Next, run the following command to enable the Wiki.js server block configuration and verify the Nginx syntax.
sudo ln -s /etc/nginx/sites-available/wikijs /etc/nginx/sites-enabled
sudo nginx -t
If you've proper Nginx syntax, you should get an output test is successful - syntax is ok.

Now restart the Nginx service using the below command to apply the new server block that you've configured.
sudo systemctl restart nginx
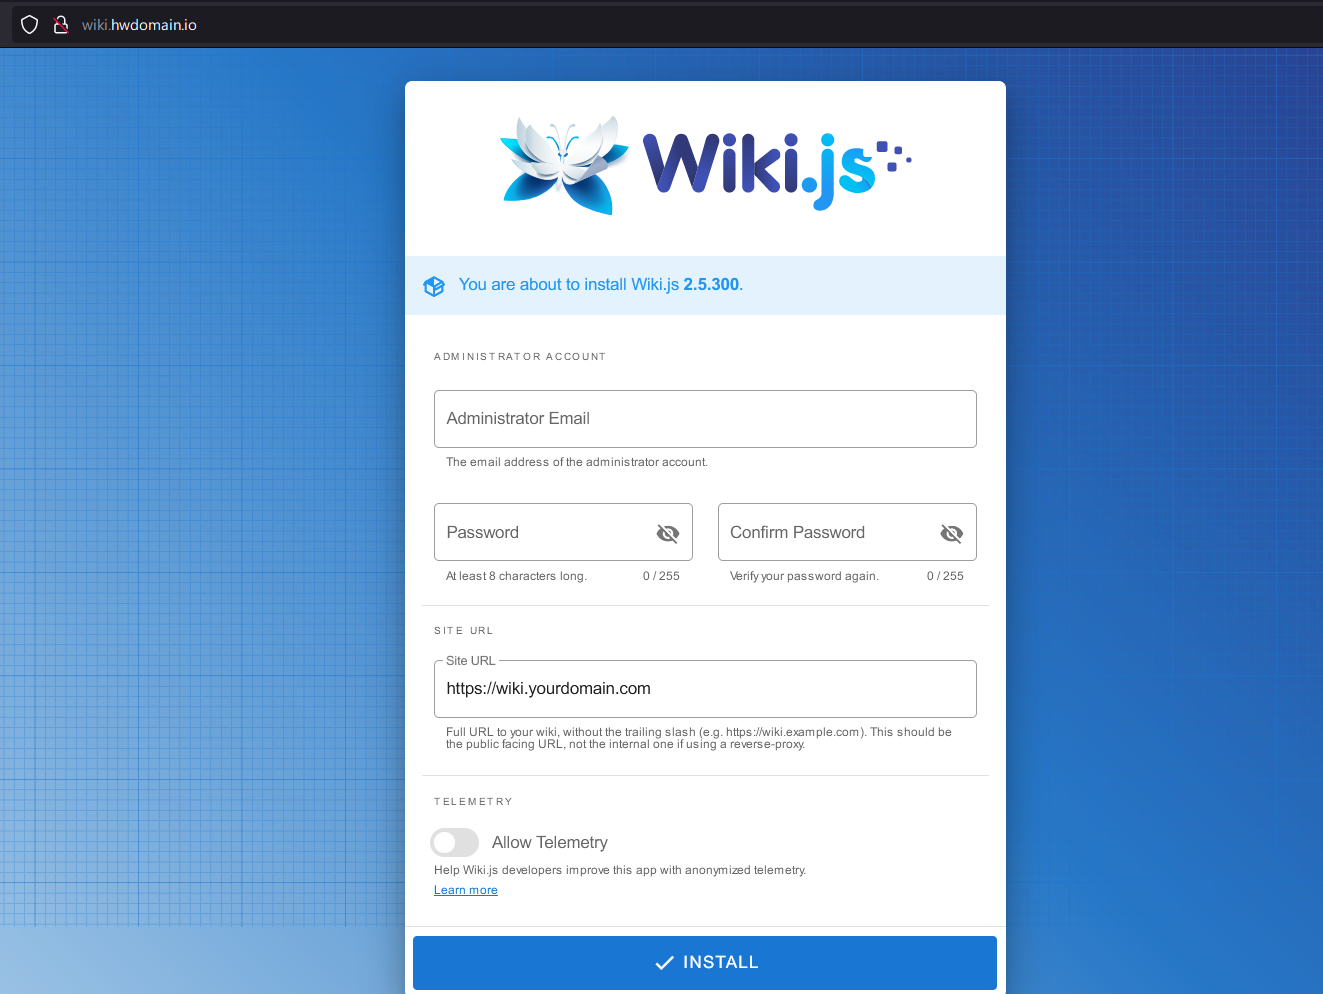
Once the Nginx is restarted, launch your preferred web browser and visit the domain name of your Wiki.js installation, such as http://wiki.howtoforge.local/. If everything goes well, you should see the Wiki.js installation page like this:
Securing Wiki.js with SSL/TLS Certificates
In the following step, you will secure your Wiki.js installation with SSL/TLS certificates from Letsencrypt. Also, you will set up automatic HTTP to HTTPS via the Certtbot Nginx Plugin.
Execute the certbot command below to generate new SSL/TLS certificates from letsencrypt. Be sure to change the details of the domain name and email address with your information.
sudo certbot --nginx --agree-tos --redirect --hsts --staple-ocsp --email [email protected] -d wiki.howtoforge.local
After the process is finished, your SSL certificates will be available at /etc/letsencrypt/live/wiki.howtoforge.local/ directory. As for the Wiki.js server block configuration, it will automatically configured with HTTPS via the Certbot Nginx Plugin.
Starting Wiki.js Installation
Back to your web browser and visit your Wiki.js domain name, for example, http://wiki.howtoforge.local/. You should automatically redirected to a secure HTTPS connection.
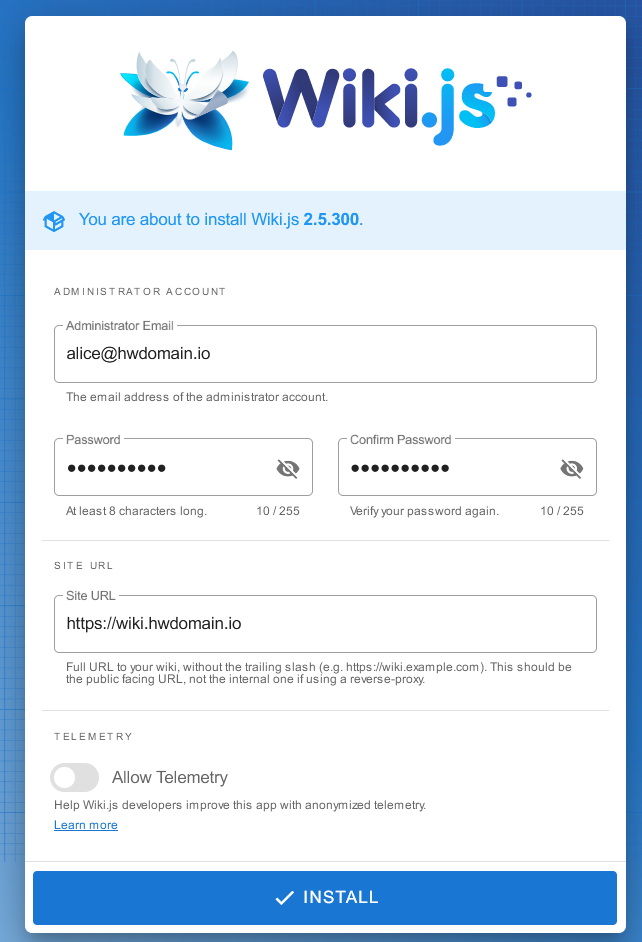
Now create the administrator user for Wiki.js and input your email address and password. Then, click INSTALL to confirm the installation.
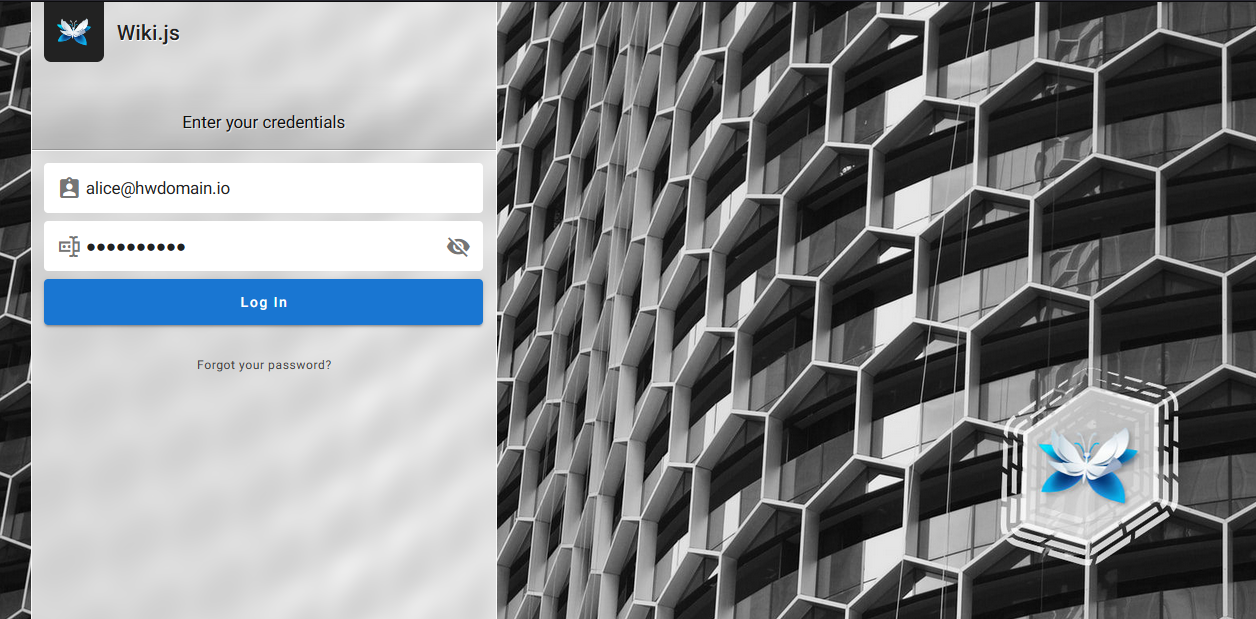
Once the installation is finished, you should be redirected to your Wiki.js login page. Input your admin email address and password, then click LOGIN.
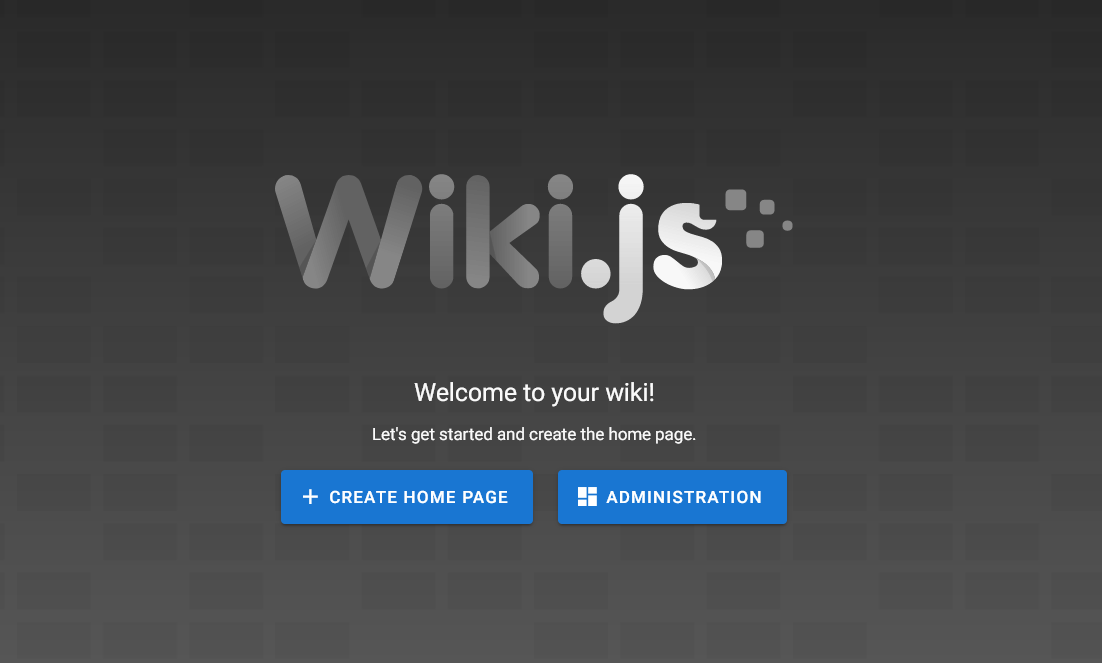
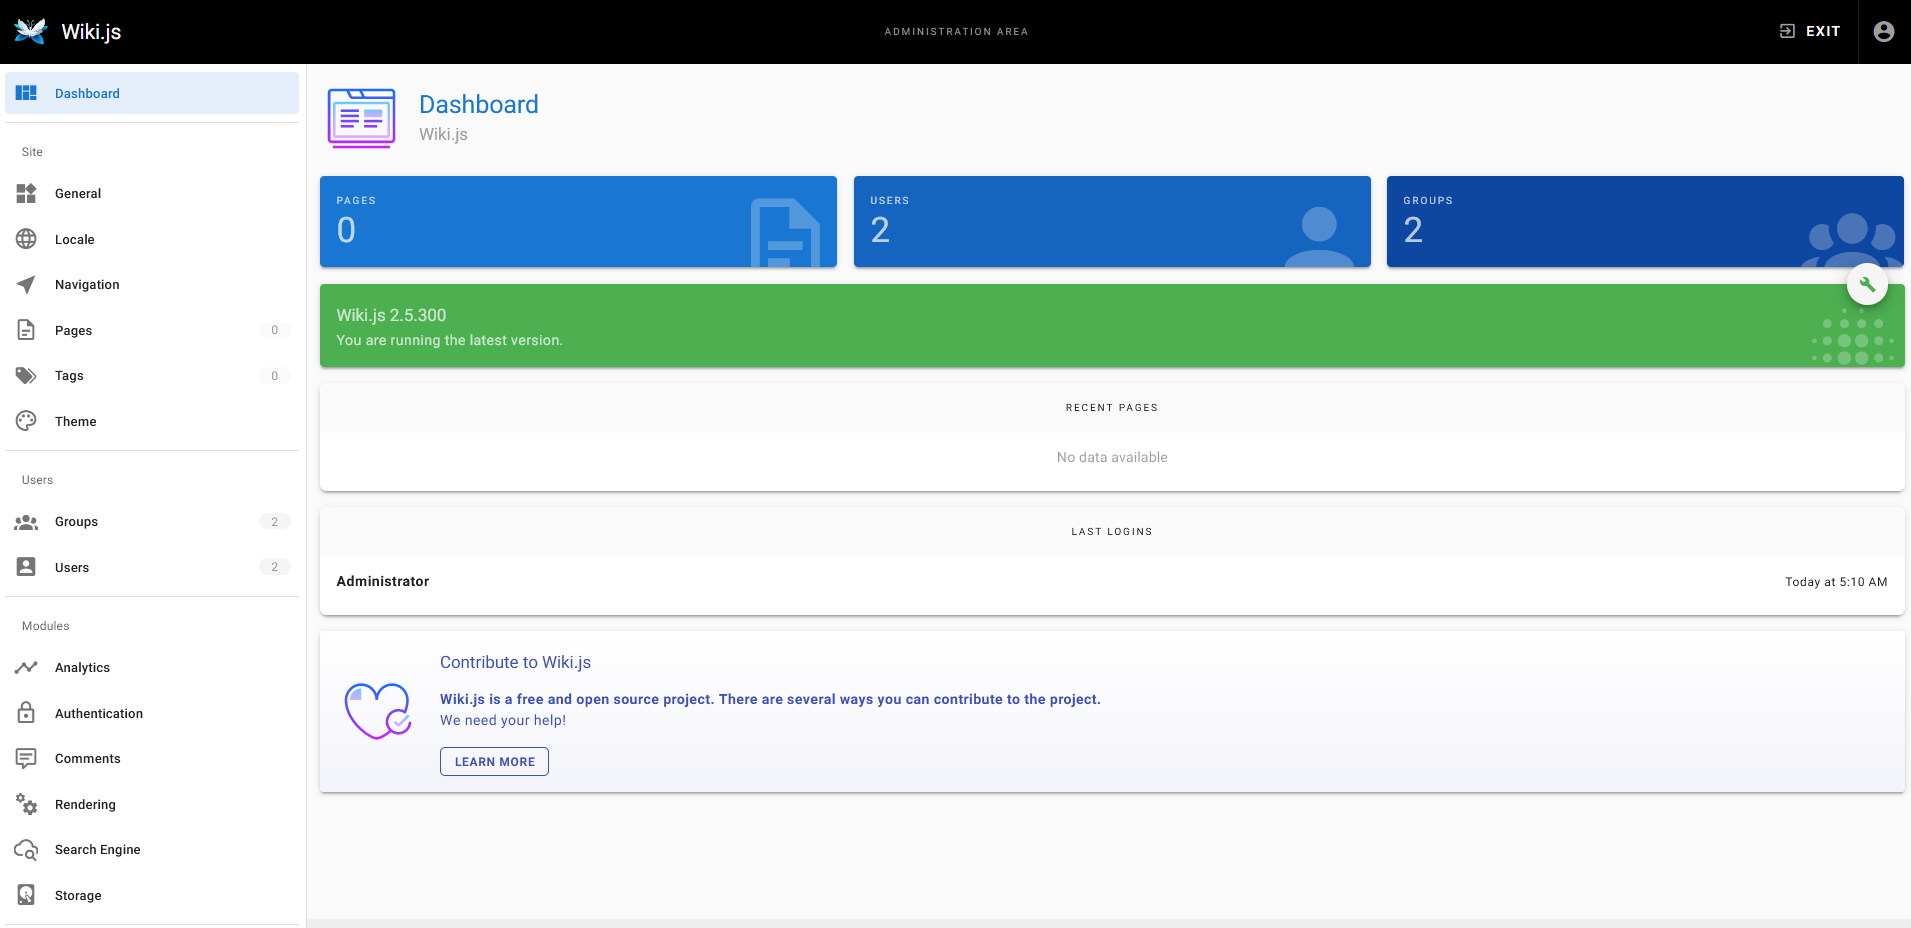
If your installation is successful, you should see the welcome page of Wiki.js. From here, you can create a new home page or access the Wiki.js administration dashboard.
If you click the ADMINISTRATION, you should see the Wiki.js administration page like this:
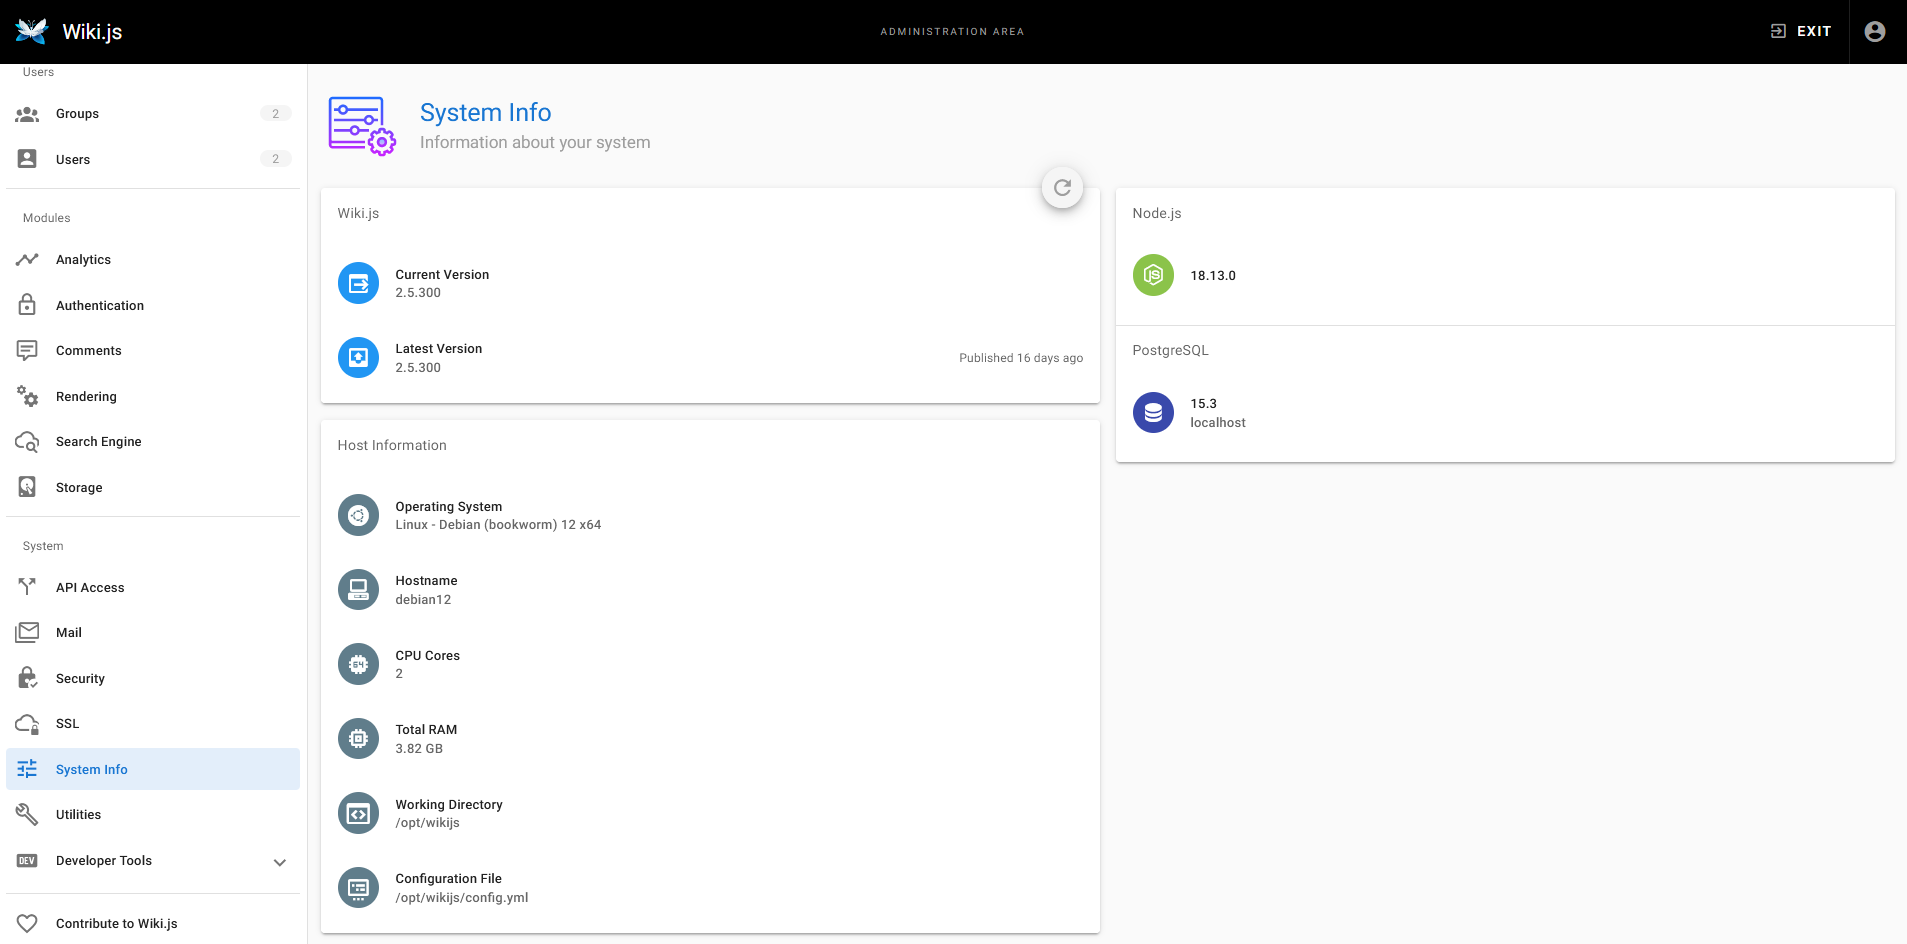
On the SYSTEM section, click the System Info menu to get detailed information about your Wiki.js installation. Below you should see that Wiki.js 2.5 is installed with Node.js 18.x and PostgreSQL 15.x.
Conclusion
That's it! You've followed all the steps and installed Wiki.js on your Debian 12 system, complete with a PostgreSQL database server, Nginx as a reverse proxy, and secured the installation via SSL/TLS certificates from Let's Encrypt. You can now begin building your company's documentation with Wiki.js.

