How to Install Wiki.js - NodeJS based Wiki Software on Debian 9
Wiki.js is an open source, modern and powerful wiki app based on Node.js, Git, and Markdown. Wiki.js runs on the flamingly fast Node.js engine and is optimized to conserve CPU resources. Some of the Wiki.js features worth mentioning are:
- Markdown editing, backed by Git
- Lightweight, yet extremely powerful
- Beautifully designed for the modern web
- Integrated Access Control
- Intuitive Assets Management
- Built-in search engine
In this tutorial, we will walk you through the Wiki.js version 1 installation process on a Debian 9 operating system by using NGINX as a reverse proxy server, MongoDB as a database server, PM2 as a process manager and optionally you can secure transport layer by using acme.sh client and Let's Encrypt certificate authority to add SSL support.
Requirements
Requirements to run Wiki.js are the following:
- Node.js
6.11.1to10.xis required. - MongoDB version
3.2or later. - Git version
2.7.4or later. - Web Server software such as NGINX, Apache, Caddy, H2O...
- An empty Git repository (optional).
- Minimum of 512MB RAM. 1GB of RAM recommended.
- About 300MB of disk space.
- Domain name with A/AAAA DNS records set up.
Prerequisites
- A Debian 9 operating system.
- A non-root user with
sudoprivileges.
Initial Steps
Check your Debian system version:
lsb_release -ds
# Debian GNU/Linux 9.8 (stretch)
Set up the timezone:
dpkg-reconfigure tzdataUpdate your operating system packages (software). This is an important first step because it ensures you have the latest updates and security fixes for your operating system's default software packages:
apt update && apt upgrade -yInstall some essential packages that are necessary for basic administration of the Debian operating system:
apt install -y curl wget vim git unzip socat sudo bash-completion apt-transport-https build-essential dirmngrStep 1- Install Node.js and npm
Wiki.js is built on Node.js. We are going to install the latest recommended version for Wiki.js which is version 10 at the time of this writing. On Linux, you have a few Node.js installation options: Linux Binaries (x86/x64), Source Code or via Package Managers. We will use a Package Management option which makes installing and updating Node.js a breeze.
Download and install the latest recommended version of Node.js from the NodeSource repository:
curl -sL https://deb.nodesource.com/setup_10.x | sudo -E bash -
sudo apt install -y nodejs NOTE: npm is distributed with Node.js - which means that when you download Node.js, you automatically get npm installed on your system.
Check Node.js and npm version:
node -v && npm -v
# v10.15.1
# 6.4.1
Npm is a separate project from Node.js and tends to update more frequently. As a result, even if you’ve just downloaded Node.js (and therefore npm), you’ll probably need to update your npm. Luckily, npm knows how to update itself! To update your npm, type this into your terminal:
sudo npm install -g npm@latestThis command will update npm to the latest stable version.
Re-check npm version with:
npm -v
# 6.8.0
And it should return the latest version number.
Step 2 - Install MongoDB database
Wiki.js needs a database to store its data, and the current stable version of Wiki.js supports only MongoDB database engine. According to that, we will need to install MongoDB database.
Download and install MongoDB database:
sudo apt-key adv --keyserver hkp://keyserver.ubuntu.com:80 --recv 9DA31620334BD75D9DCB49F368818C72E52529D4
echo "deb http://repo.mongodb.org/apt/debian stretch/mongodb-org/4.0 main" | sudo tee /etc/apt/sources.list.d/mongodb-org-4.0.list
sudo apt-get update
sudo apt-get install -y mongodb-org
Check the MongoDB version:
mongo --version | head -n 1 && mongod --version | head -n 1
Start and enable (set it to start on reboot) MongoDB service if not already started and enabled:
sudo systemctl start mongod.service
sudo systemctl enable mongod.service
Step 3 - Install acme.sh client and obtain Let's Encrypt certificate (optional)
Securing your website with HTTPS is not necessary, but it is a good practice to secure your site traffic. In order to obtain an SSL certificate from Let's Encrypt, we will use acme.sh client. Acme.sh is a pure UNIX shell software for obtaining SSL certificates from Let's Encrypt with zero dependencies.
Download and install acme.sh:
sudo su - root
git clone https://github.com/Neilpang/acme.sh.git
cd acme.sh
./acme.sh --install --accountemail [email protected]
source ~/.bashrc
cd ~
Check acme.sh version:
acme.sh --version
# v2.8.1
Obtain RSA and ECC/ECDSA certificates for your domain/hostname:
# RSA 2048
acme.sh --issue --standalone -d example.com --keylength 2048
# ECDSA
acme.sh --issue --standalone -d example.com --keylength ec-256
If you want fake certificates for testing you can add --staging flag to the above commands.
To list your issued certs you can run:
acme.sh --listCreate folders to store your certs. We will use /etc/letsencrypt but it can be anything you prefer to store SSL certs.
mkdir -p /etc/letsencrypt/example.com
mkdir -p /etc/letsencrypt/example.com_ecc
Install/copy certificates to /etc/letsencrypt directory.
# RSA
acme.sh --install-cert -d example.com \
        --cert-file /etc/letsencrypt/example.com/cert.pem \
        --key-file /etc/letsencrypt/example.com/private.key \
        --fullchain-file /etc/letsencrypt/example.com/fullchain.pem \
        --reloadcmd "sudo systemctl reload nginx.service"

# ECC/ECDSA
acme.sh --install-cert -d example.com --ecc \
        --cert-file /etc/letsencrypt/example.com_ecc/cert.pem \
        --key-file /etc/letsencrypt/example.com_ecc/private.key \
        --fullchain-file /etc/letsencrypt/example.com_ecc/fullchain.pem \
        --reloadcmd "sudo systemctl reload nginx.service"
After running the above commands, your certificates and keys will be in:
- For RSA: /etc/letsencrypt
/example.comdirectory. - For ECC/ECDSA: /etc/letsencrypt
/example.com_eccdirectory.
All the certificates will be automatically renewed every 60 days.
After obtaining certs, exit from root user and return back to normal sudo user:
exitStep 4 - Install and configure NGINX
Wiki.js (or any HTTP Node.js app) can run without any actual web server (such as NGINX or Apache). However, it is highly recommended to put a standard web server in front of Wiki.js. This ensures you can use features like SSL, multiple websites, caching, etc. We will use NGINX in this tutorial, but any other server will do, you just need to configure it properly.
Download and install NGINX from the official NGINX repo by issuing the following commands:
wget https://nginx.org/keys/nginx_signing.key
sudo apt-key add nginx_signing.key
rm nginx_signing.key
sudo -s
printf "deb https://nginx.org/packages/mainline/debian/ $(lsb_release -sc) nginx\ndeb-src https://nginx.org/packages/mainline/debian/ $(lsb_release -sc) nginx\n" >> /etc/apt/sources.list.d/nginx_mainline.list
exit
sudo apt update
sudo apt install -y nginx
Check the NGINX version:
sudo nginx -v
# nginx version: nginx/1.15.8
Enable and start NGINX service:
sudo systemctl enable nginx.service
sudo systemctl start nginx.service
Run sudo vim /etc/nginx/conf.d/wiki.js.conf and configure NGINX as an HTTPS reverse proxy.
server {

    listen [::]:443 ssl http2;
    listen 443 ssl http2;
    listen [::]:80;
    listen 80;

    server_name example.com;

    charset utf-8;
    client_max_body_size 50M;

    ssl_certificate /etc/letsencrypt/example.com/fullchain.pem;
    ssl_certificate_key /etc/letsencrypt/example.com/private.key;
    ssl_certificate /etc/letsencrypt/example.com_ecc/fullchain.pem;
    ssl_certificate_key /etc/letsencrypt/example.com_ecc/private.key;

    location / {
        proxy_set_header Host $http_host;
        proxy_set_header X-Real-IP $remote_addr;
        proxy_pass http://127.0.0.1:3000;
        proxy_http_version 1.1;
        proxy_set_header Upgrade $http_upgrade;
        proxy_set_header Connection "upgrade";
        proxy_next_upstream error timeout http_502 http_503 http_504;
    }

}
The only thing you need to change in the above config is server_name directive, and potentially proxy_pass directive if you decide to configure some other than 3000 port. Wiki.js uses port 3000 by default.
Check the NGINX configuration:
sudo nginx -t
Finally, for changes to take effect, we need to reload NGINX:
sudo systemctl reload nginx.serviceStep 5 - Install and setup Wiki.js
Create a document root directory where Wiki.js should reside in:
sudo mkdir -p /var/www/wiki.jsNavigate to the document root directory:
cd /var/www/wiki.jsChange ownership of the /var/www/wiki.js directory to your_user:
sudo chown -R [your_user]:[your_user] /var/www/wiki.jsNOTE: Replace your_user in the above command with your non-root user that you should have created as a prerequisite for this tutorial.
From /var/www/wiki.js directory, run the following command to fetch and install the latest Wiki.js application:
curl -sSo- https://wiki.js.org/install.sh | bashOnce the installation is completed, you can run the following command in order to view the currently installed version of Wiki.js:
node wiki --version
# 1.0.117
Once the installation is completed, you'll be prompted to launch the configuration wizard.
So, start the configuration wizard by running:
node wiki configureUsing your web browser, navigate to http://example.com and follow the on-screen instructions. All settings entered during the configuration wizard are saved in the config.yml file. The configuration wizard will automatically start Wiki.js for you.
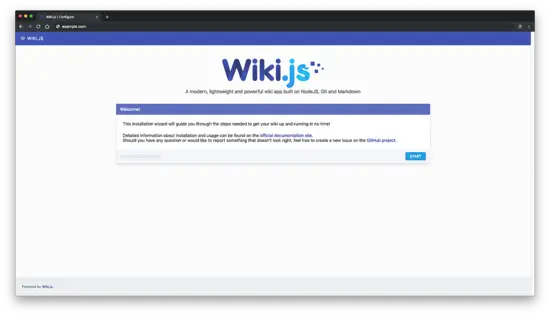
First, you will see a welcome message. Click on the "Start" button:
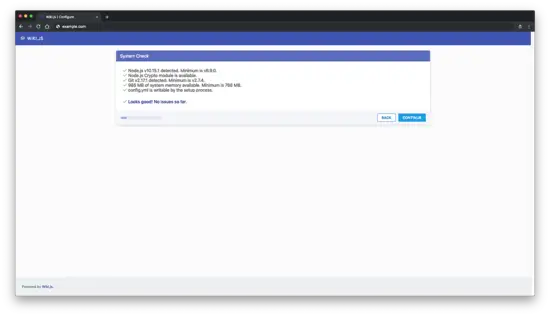
Next "System Check" page will appear. If all requirements are met, click on the "Continue" button.
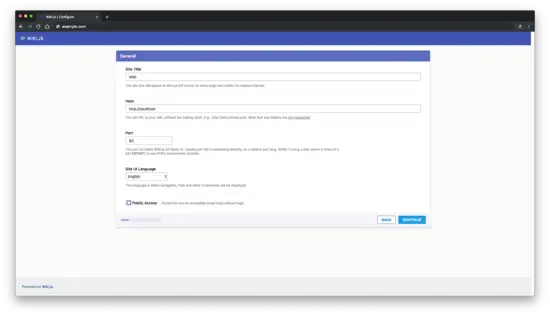
Enter general information about your wiki and click the "Continue" button:
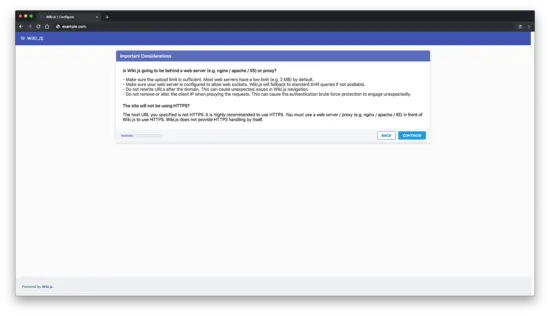
Read the "Important Consideration" notice and click "Continue" for the next step:
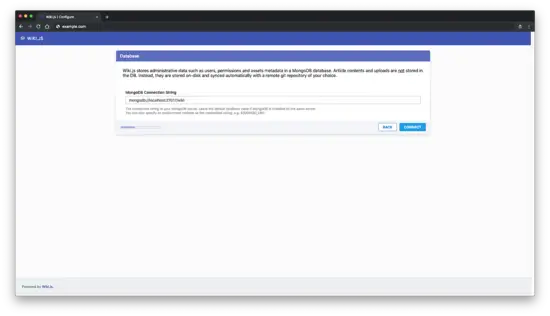
Next, connect to the database and continue:
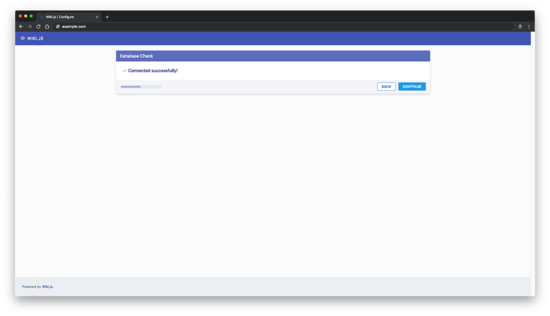
You should see a message that Wiki.js has been successfully connected to the database. Click the "Continue" button:
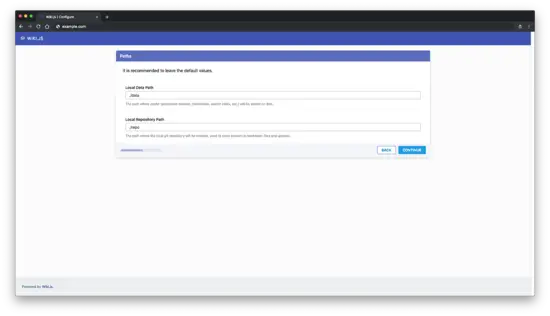
Set paths and continue:
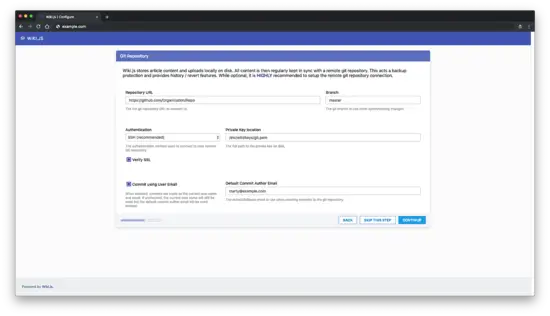
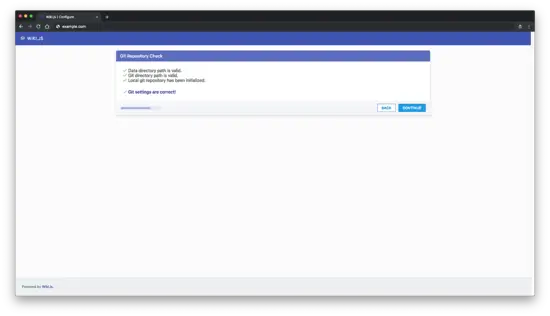
Set up remote Git repo if you want or skip this step. This step is optional but highly recommended:
Next, click the "Continue" button:
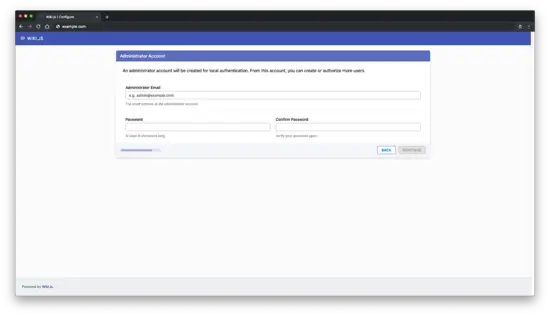
Create an admin account and click the "Continue" button:
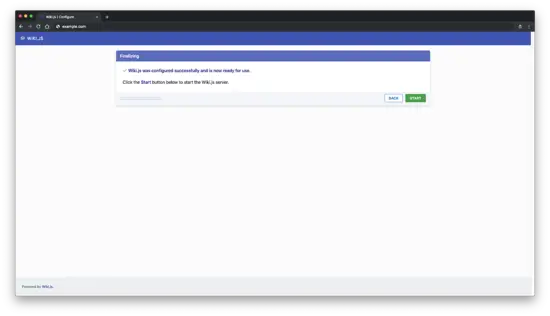
And finally, start the Wiki.js:
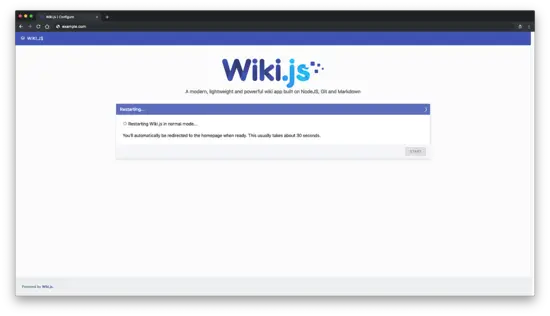
Wait around 30 seconds and you should be redirected to Wiki.js homepage:
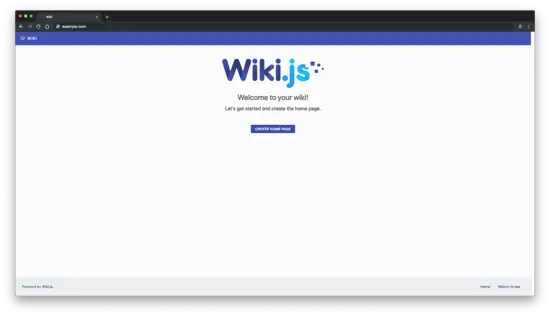
The installation is completed. You should wiki welcome page:
Step 6 - Setup PM2 Process Manager
By default, Wiki.js will not start automatically after a system reboot. In order to make it start on boot, we need to setup PM2 process manager. PM2 comes bundled with Wiki.js as a local npm module, so we don't need to install PM2 globally.
Tell PM2 to configure itself as a startup service by running:
/var/www/wiki.js/node_modules/pm2/bin/pm2 startupFinally, save the current PM2 configuration by running the command:
/var/www/wiki.js/node_modules/pm2/bin/pm2 saveYour Wiki.js now runs as a background process, using PM2 as its process manager.

