How to secure VNC remote access with two-factor authentication - Page 2
Configuring the clients
Configuring WiKID
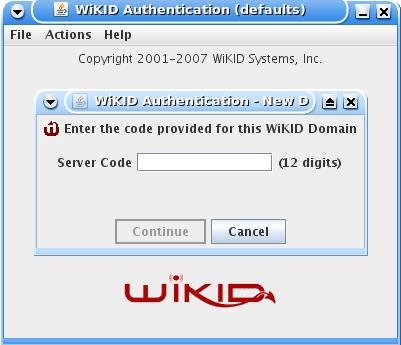
If you haven't already, you can download a copy of the WiKID open-source token client. The first time you launch the token client, you need to create a passphrase. Once started, select Actions and Create New Domain
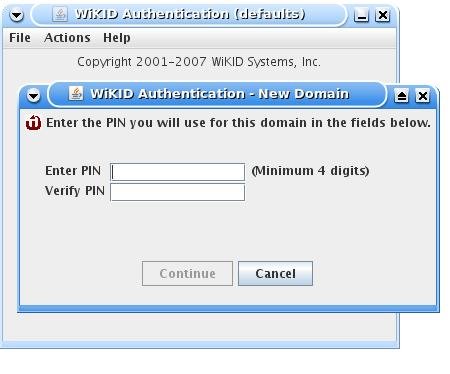
Enter the 12 digit domain identifier and the public key will be sent to the WiKID server. You will be prompted for a PIN.
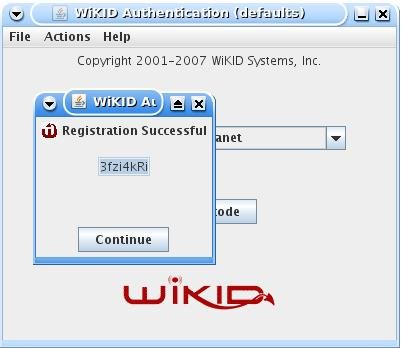
The WiKID server will store the PIN and return a registration code.
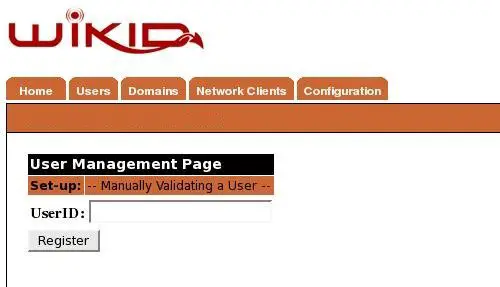
At this point, the account has been created on the WiKID server, but it is not active. You can create self-service registration pages for users based on existing trusted credentials or out-of-band mechanisms, but in the case, we will manually validate the user on the WiKID server. From the WiKIDAdmin web interface, click on Users and Manually Validate A User. Click on the Registration Code and enter a user name.
Configuring the NX Client
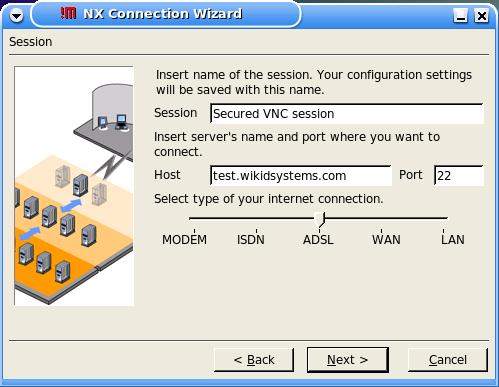
While these screen shots are from Linux, the set up for Windows is very similar. Start the NX Connecition Wizard. First, create a name for the session and enter IP address or name of the SSH/NoMachine server:
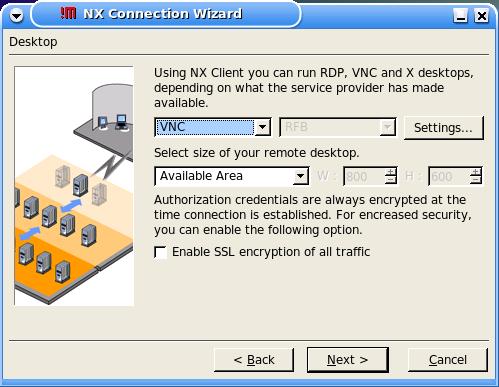
Click Next, and select VNC as the connection method:
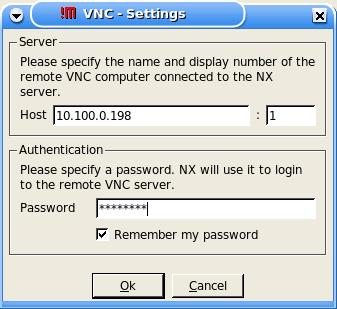
Enter the internally routable IP address target PC and the VNC password. Remember, this connection is between the NX server and the target VNC box - it should occur inside your firewall.
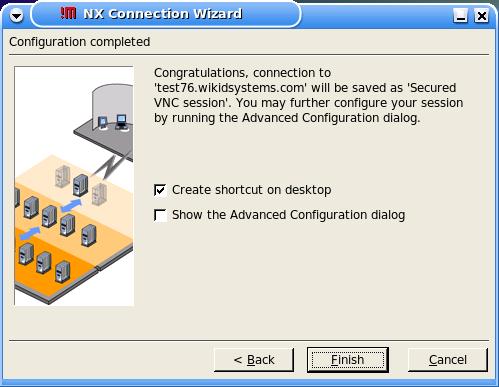
Select "Create a short cut on the Desktop and Finish.
Testing the Setup
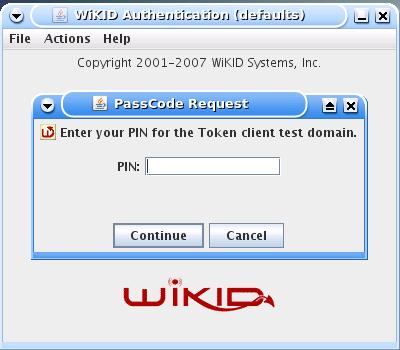
Now, start the WiKID Token client, select the domain you created and enter your PIN:
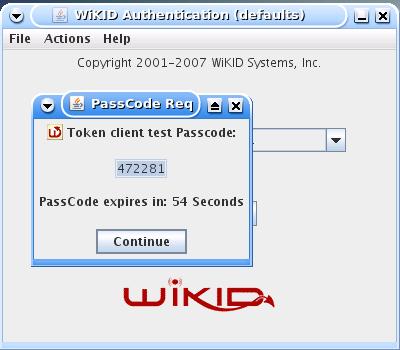
You will get a WiKID one-time passcode back:
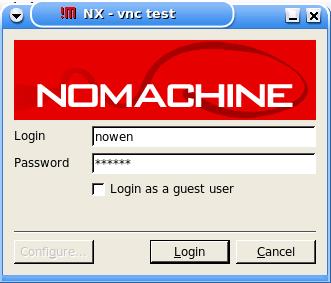
Enter the WiKID one-time passcode into the NX client password box:
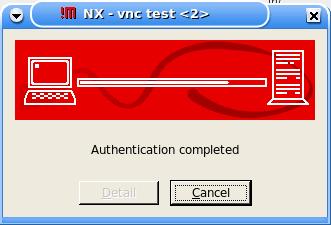
You will see NX connecting:
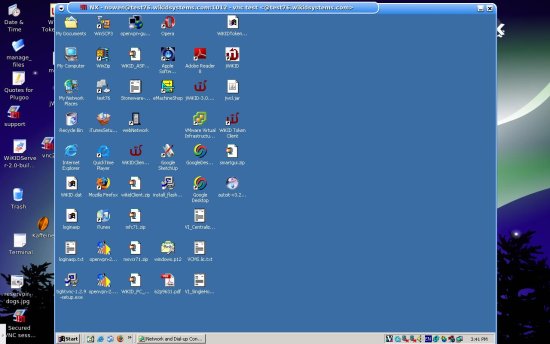
Once authenticated, NX will launch giving you a secured, strongly authenticated VNC session.
Security always involves trade-offs and it's never perfect. Users want all the power they have inside the firewall outside the firewall. By combining NoMachine's NX server, WiKID's two-factor authentication and VNC, you can give users remote access without sacrificing security or speed.
Links of interest:

