Linux Security Auditing with Lynis
Linux undoubtedly has an unmatched security structure. In fact, it is the epitome of performance and security. The general consensus is that Linux is not vulnerable to malware or viruses, but this is not really true. The "Bash" bug virus, Troj/SrvInjRk-A, Linux/Rst-B, etc. are malware and viruses that target a Linux system. Now we understand how important it is to think about Linux security and use tools that allow us to scan our system for such threats.
Lynis is one such tool developed to take Linux security to the next level. Lynis is a free and open-source security checker released under the GPL license and available for Linux and Unix-based operating systems such as MacOS, FreeBSD, NetBSD, OpenBSD, etc.
Lynis has many use cases, for e.g.
- Developers can improve the security of their web applications.
- System admins can check for vulnerabilities by running the health scans.
- Auditors can light the areas that can be further hardened from a security perspective.
- Penetration testers can find critical security issues and vulnerabilities that may lead to system compromise.
What will we cover?
In this article, we will explore how to install Lynis and conduct an audit of a Kali Linux system.
How Lynis works
Lynis scan process is modular in nature which means that only those modules or components are scanned that it can discover. Also it does not require to install any dependencies for scanning. The audit becomes more extensive as more components are found. After launching a Lynis audit, basic check operations are performed, it will then look for OS and other tools and software components. Lynis will check the installed version and execute enabled plugins and security tests, custom tests and generate reports of the scan. These reports are saved in different files like lynis.log and lynis-report.dat
Installing and running Lynis on Kali Linux
Lynis can be installed using the default package manager on Kali using the command:
$ sudo apt install lynis
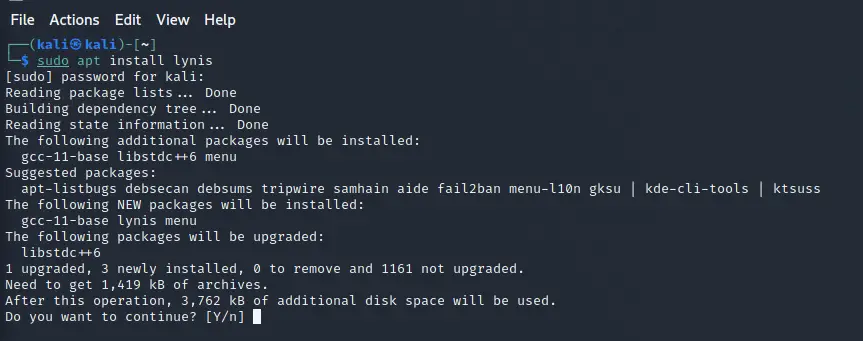
The above method will install version 3.0.6-1 which might not be updated to the latest one, Check the information using the command:
$ sudo apt show lynis

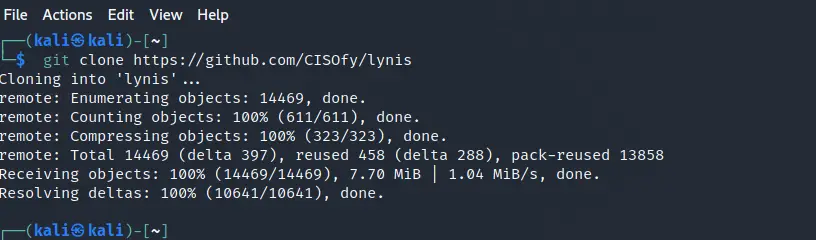
If you need to install the latest version, lynis can be cloned from its Git repository:
$ git clone https://github.com/CISOfy/lynis
Now navigate to the ‘lynis’ directory from cloned it to.
$ cd lynis
Now check the version of Lynis using the command:
$ ./lynis show version
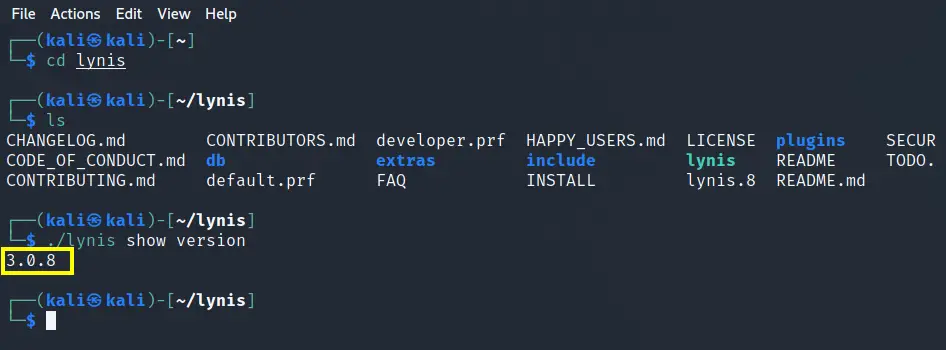
This time you can see, the version of Lynis is 3.0.8 as compared to 3.0.6 for the earlier case.
Executing Lynis without Root
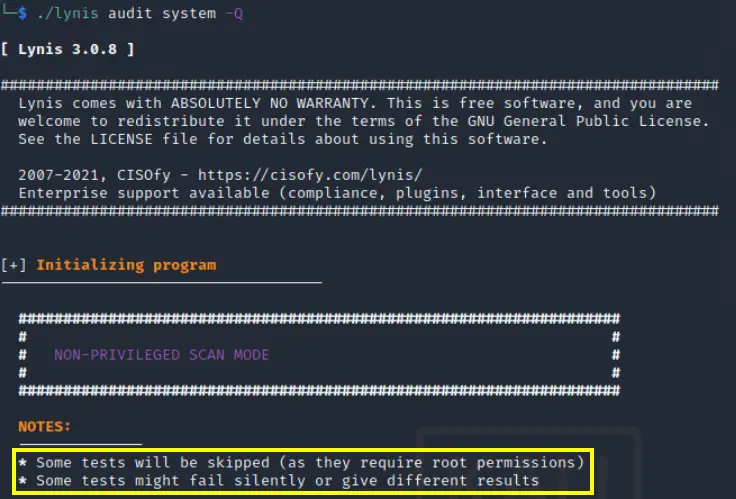
We are now all set to run the lynis script to launch the Lynis audit. Below we are running Lynis without ‘sud’ powers so it will be a ‘NON-PRIVILEGED SCAN MODE’:
$ ./lynis audit system -Q
In a NON-PRIVILEGED SCAN MODE, some tests will not run as they require root permission. This is mentioned on the scanning terminal also:
Executing Lynis with Root
Executing Lynis requires a different approach. When you run Lynis with root privileges for the first time you will see the below warnings:
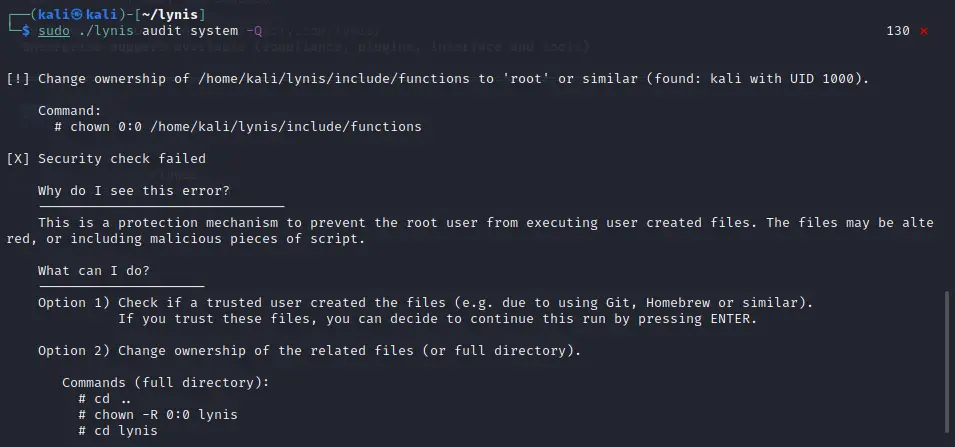
We are now left with two approaches: 1) Press enter and continue scan without any modifications. 2) Press ‘Ctrl+c’ set certain files/directories permission. Let us go with the later approach and do the permission set task as mentioned in the above picture.
$ sudo su
This command will make assure us not enter sudo every time and our prompt symbol will now change to ‘#’:
cd ..
chown -R 0:0 lynis
cd lynis
./lynis audit system -Q
When the audit is complete you will notice that more tests are performed in this case as compared to the previous one. Lynis scan results have lots of things to show you. On a broad basis, Lynis divides the scan results in three categories: warnings, suggestions, and scan details.
Lynis Commands
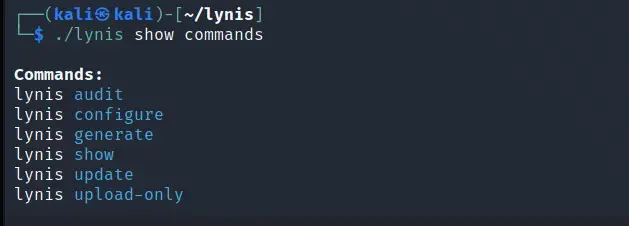
1. Lynis has a set of commands for different purposes, to view them you can use the command:
$ ./lynis show commands
2. To see different options available with Lynis run the command:
$ ./lynis show help
To further explore a command, append it with the name of the particular command:
$ ./lynis show help audit
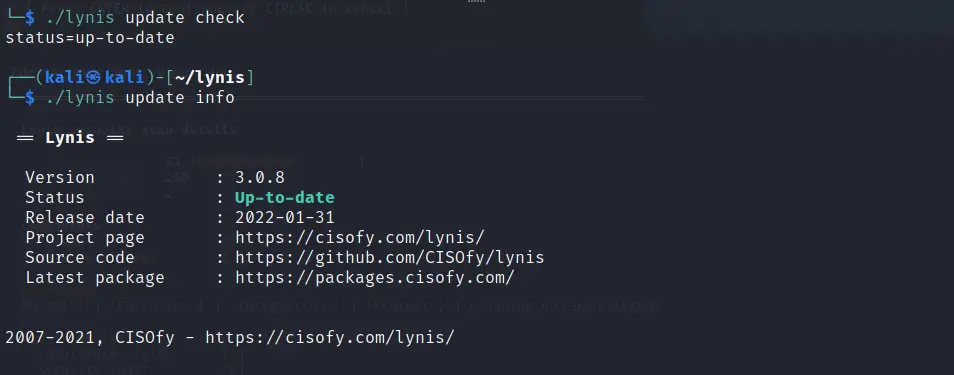
3. Checking the installed version of Lynis with:
$ ./lynis update check
Or use the command:
$ ./lynis update info
4. Lynis provides a default profile ‘default.prf’ to configure its startup values. To view the active profile use the command:
$ lynis show profiles
We can also generate a custom profile if we want to modify the default profile. To see your active settings use the command:
$ ./lynis show settings
Conclusion
In this guide, we have seen how to install Lynis on Kali Linux and how to run a general lynis scan. What next you can do is to use Lynis to run an audit for a remote system. Hopefully, we will try to cover this part in our next guide, so stay tuned with us.

