Open-Source Classroom Management With iTALC On Ubuntu 7.10 - Page 2
6 Usage
You can now use the launcher to access iTALC.
During the first start you'll see this warning - it's normal. No classroom is configured yet.
The iTALC interface.
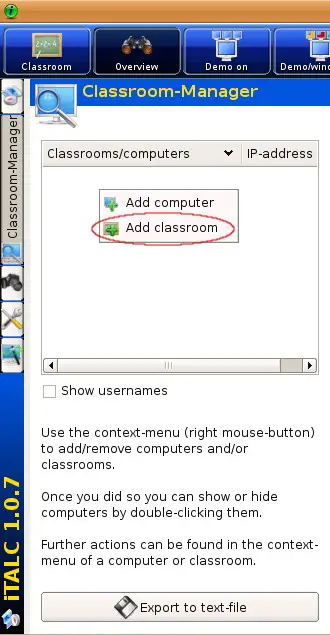
The first thing you have to do is to create a classroom and add at least one computer to it. The classroom manager is available in the left menu. Right click into the classroom manager and select "Add classroom".
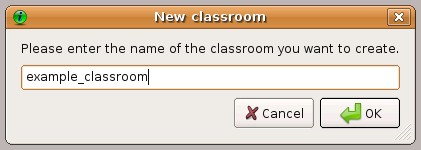
Next enter a name for the new classroom.
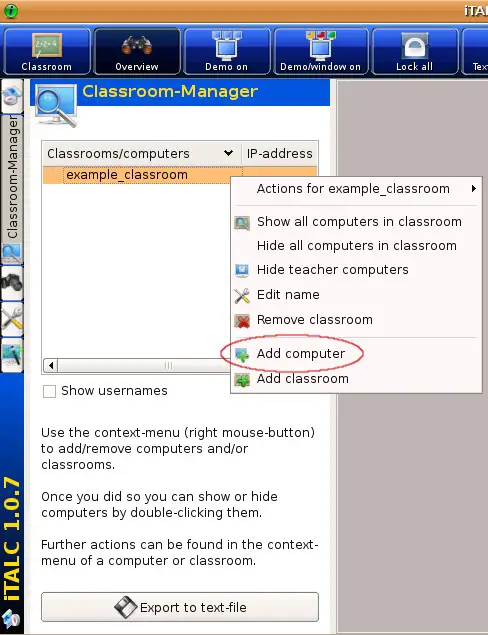
Afterwards right click on the classroom and select "Add computer".
In the next window you have to enter the client settings. Enter a name for the client and its IP or hostname - please note, that if the clients get their IPs via DHCP, you have to use their hostnames and need a running WINS server in your LAN - an alternative is, if your DHCP server supports it, to bind the DHCP IPs to the client's MAC adresses. The MAC address is optional - you only need it if you want to start the client per WOL. Lastly you have to choose the classroom (if you have more than one) and the client type.
Now the client is listed in the classroom on the left side and ready to be observed. :)
Please have a look at the manual to find out how to work with iTALC.
7 Links
- Ubuntu: http://www.ubuntu.com/
- iTALC: http://italc.sourceforge.net/
- iTALC wiki: http://italc.sourceforge.net/wiki/index.php?title=Main_Page
- iTALC user forum: http://sourceforge.net/mailarchive/forum.php?forum_name=italc-users


