How to update ONLYOFFICE Document Server to version 5.5
ONLYOFFICE Document Server comprises web-based viewers and collaborative editors for text documents, spreadsheets, and presentations for integration with various cloud storage services like Nextcloud, ownCloud, Seafile, HumHub, Plone, etc, as well as for integration into the solution you're building yourself. The suite is distributed under GNU AGPL v3.0 and features full compatibility with OOXML formats (docx, xlsx, pptx).
The latest update brought lots of enhancements:
- More options for bulleted and numbered lists;
- Mirror & gutter margins and captions in the document editor;
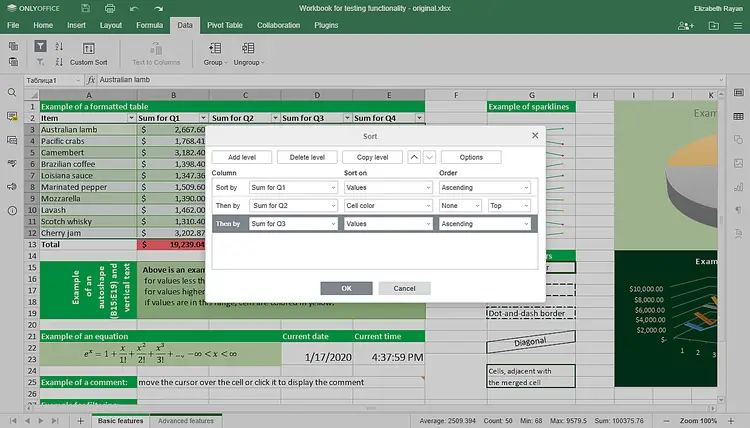
- Custom sort and cell snapping in spreadsheets;
- Scale to Fit option to make a worksheet fit a printed page;
- Filling cells with colors, patterns, and gradients;
- Performing actions with several worksheets in bulk;
- Re-calculating formulas;
- Custom separators for thousands and decimals;
- Adding objects to the presentation slide layout;
- Reset Slide.
Document Server can be installed as a part of ONLYOFFICE Community Edition. It’s a free open-source solution with online editors and collaboration platform that includes doc management, projects, CRM, mail, chat, calendar and more.
In this tutorial, we'll learn how to update ONLYOFFICE Document Server to the new version 5.5 separately from other components. In case you're new to ONLYOFFICE, get the latest version of the editors from GitHub.
Step 1: Shut down ONLYOFFICE Document Server
Disconnect Document Server users:
documentserver-prepare4shutdown.sh
Step 2: Install the dependencies
Check if the following dependencies are installed on your machine:
- libcurl3
- libxml2
- supervisor
- fonts-dejavu
- fonts-liberation
- ttf-mscorefonts-installer
- fonts-crosextra-carlito
- fonts-takao-gothic
- fonts-opensymbol
If not, install the missing ones manually.
Step 3: Install the new Document Server version
Update the repository:
sudo apt-get update
Install the new version:
sudo apt-get dist-upgrade
That’s all! Relaunch your portal and check that everything works properly.


