How to replace MS Office with open-source ONLYOFFICE Docs integrated in SharePoint
ONLYOFFICE Docs is an open-source office suite distributed under GNU AGPL v3.0. It comprises web-based viewers and collaborative editors for text documents, spreadsheets, and presentations highly compatible with OOXML formats.
ONLYOFFICE Docs can be integrated with various cloud services such as Nextcloud, ownCloud, Seafile, Alfresco, Plone, etc., as well as embedded into your own solution. The editors can also be used as a part of the complete productivity solution ONLYOFFICE Workspace.
If you want to ditch MS Office, but not ready to do it abruptly, you can try ONLYOFFICE Docs integrated in the SharePoint content management system. This combo allows you to edit and collaborate on docx, xlsx, and pptx files directly within the CMS.
In this tutorial, we’ll learn how to connect these two applications using WOPI, a Web Application Open Platform Interface protocol intended to standardize the integration process.
What's new in ONLYOFFICE Docs 6.4
- 125% and 175% scaling options for comfortable work on small HDPI monitors.
- Color-blind-friendly chart styles where patterns are used to signify different segments.
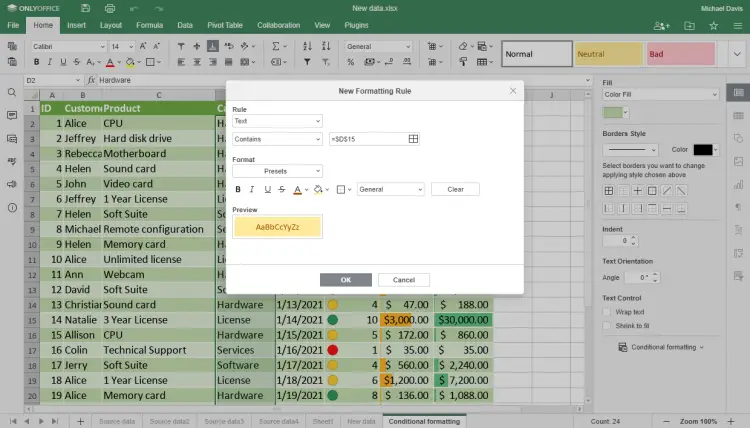
- Conditional formatting to identify trends.
- Sparklines to show trends in a series of values.
- Easy data import from txt and csv files.
- New autocorrect option to automatically replace links and local paths with hyperlinks.
- Assigning a macro to be executed when you click on a graphic object.
- Presets for Freeze Panes.
- Deleting or resolving comments you already reviewed in a couple of clicks.
- Text to table option to quickly convert existing text to a table and vice versa.
- Version History in presentations.
- WOPI support.
Step 1: Install ONLYOFFICE Docs v.6.4
The easiest way to install the latest version of the suite with all the dependencies is to use Docker. You will need to run the following command:
sudo docker run -i -t -d -p 80:80 --restart=always onlyoffice/documentserver
Find detailed instructions in this HowtoForge tutorial. In case you already have ONLYOFFICE Docs installed, update it to version 6.4 following the instructions given here.
Step 2: Launch SharePoint server
Run the SharePoint Management Shell console and set the needed WOPI zone:
Set-SPWOPIZone -Zone "external-http"
ONLYOFFICE Document Server uses the external-http parameter by default.
Step 3: Check WOPI bindings
Run the following command to check whether there are WOPI bindings to other document types on the current farm:
Get-SPWOPIBinding
Delete these bindings, if there are any:
Remove-SPWOPIBinding -All:$true
Step 4: Create new bindings
Create new bindings for default actions as per file types. Run the following command to create bindings for all file types at once:
New-SPWOPIBinding -ServerName ip_or_domain.com:port
Or run the following command to create bindings for particular file types only:
New-SPWOPIBinding -ServerName ip_or_domain.com:port -Extension DOCX
If SSL is not used, add -AllowHTTP at the end of the command.
That’s all! Now you can edit and co-author documents within SharePoint using ONLYOFFICE Docs. Just click the file type for which you created bindings to open it for editing.


