How to integrate ONLYOFFICE editors with Moodle on Ubuntu
ONLYOFFICE is an open-source office suite distributed under GNU AGPL v3.0. It comprises web-based viewers and collaborative editors for documents, spreadsheets, and presentations. ONLYOFFICE editors can be integrated with various content management services like Nextcloud, Seafile, OpenOlat, Alfresco, ownCloud, HumHub, Plone, etc. as well as into the solution other developers are building themselves. The editors can also be used with the ONLYOFFICE collaboration platform.
Moodle is an open-source e-learning platform that allows building custom secure teaching environment on your own network. Integrated with Moodle, ONLYOFFICE allows teachers and students to collaborate on electronic documents within the courses in real time while all the changes are saved back to Moodle.
In this tutorial, we’ll learn how to connect ONLYOFFICE online editors and your Moodle instance using the activity plugin available in the Moodle library.
Step 1: Install ONLYOFFICE Document Server
To work with documents within Moodle, you need an instance of ONLYOFFICE Document Server (online editors) that is resolvable and connectable both from your Moodle server and any end clients. ONLYOFFICE Document Server must also be able to POST to your Moodle server directly.
The easiest way to install ONLYOFFICE Document Server is to use Docker.
Run the following command:
sudo docker run -i -t -d -p 80:80 onlyoffice/documentserver
or get the latest version of the editors from GitHub.
You can also compile ONLYOFFICE Document Server from source code following the steps given in this tutorial.
Step 2: Install the integration plugin
Get the integration plugin from GitHub and follow the usual Moodle plugin installation steps to install it into your mod/onlyoffice directory.
Step 3: Configure ONLYOFFICE within Moodle
Once done, specify the address of the machine with the installed ONLYOFFICE editors:
https://documentserver/
To secure your instance and restrict access to ONLYOFFICE Document Server, specify the Secret Key within Moodle. Then, specify the same Secret Key in the ONLYOFFICE Document Server config file to enable the validation.
Step 4: Use ONLYOFFICE within Moodle
Once you are ready with the integration, you can create ONLYOFFICE activity in any course to start working with documents.
Admins/Teachers can restrict document downloading and printing from inside the ONLYOFFICE editor.
By clicking the activity name/link in the course page, ONLYOFFICE editor opens in the user’s browser. With ONLYOFFICE, students and teachers are able to:
- create and edit docx, xlsx, pptx, txt, csv files attached to the courses;
- open the above-mentioned formats and PDF files for viewing;
- convert the following files into the corresponding OOXML (docx, xlsx, pptx) formats: odt, ods, odp, doc, xls, ppt, pps, epub, rtf, html, htm;
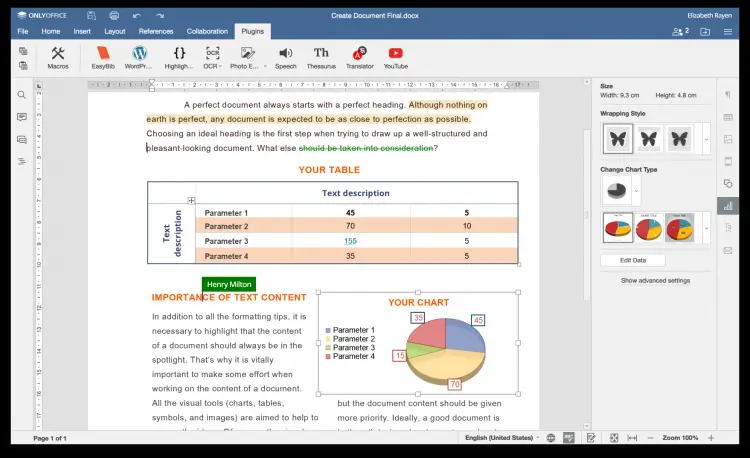
- work with advanced formatting and objects including autoshapes, tables, charts, equations, etc.;
- co-author files in real time using multiple collaboration tools;
- use plugins such as Translator, Thesaurus, etc.


