How to Install Vagrant on Fedora 34
Vagrant is a powerful tool for building and managing virtual machines in a development environment. It has an easy-to-use workflow. It lowers the development environment setup time and increases productivity. Virtual images of Ubuntu, Centos etc are available on the vagrant website in the form of vagrant boxes. As per the official website, Vagrant provides easy to configure, reproducible, and portable work environments built on the top of industry-standard technology and controlled by a single consistent workflow to help maximize productivity and flexibility.
Virtual Machines can be provisioned on the top of VirtualBox, VMware or any other provider. These VM’s can be provisioned using industry-standard provisioning tools such as shell scripts, Ansible, Chef, or Puppet etc. These provisioning tools can automatically install and configure the software on the virtual machine.
What will we cover?
In this guide, we will see how to install Vagrant virtual machine management tool on Fedora 34. Let us get started with this tutorial.
Prerequisites
- Hardware virtualization should be enabled on your system.
- Access to ‘sudo’ privileges.
- A working Internet connection.
Installing Vagrant on Fedora 34
It is fairly very easy to install Vagrant on Fedora 34. Vagrant official website provides ways of installing Vagrant from both a distribution-specific package manager as well as from a binary file.
1. Since Vagrant works on top of some virtualization tools, we will need to install one for our purpose. Virtualbox is the default provider so we will go with it. To Install VirtualBox on your system.
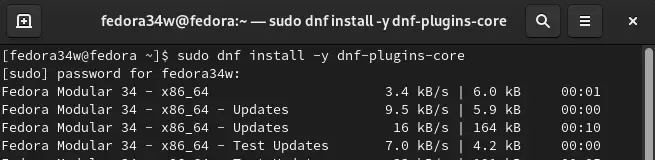
2. Install the ‘dnf-plugins-core‘ package:
sudo dnf install -y dnf-plugins-core
3. Add the hashicorp official repo using:
sudo dnf config-manager --add-repo https://rpm.releases.hashicorp.com/fedora/hashicorp.repo

4. Now we can continue to install Vagrant with the normal dnf install command as here:
sudo dnf -y install vagrant

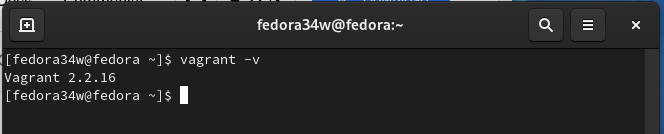
Vagrant is now installed on your system, check the version of Vagrant with the command:
vagrant -v
Vagrant encourages the above method of installation via its own repository instead of using distribution-based repos. The latter may have missing dependencies or older versions of Vagrant which may cause issues in using Vagrant.
Using Vagrant
Vagrant provides pre-built images of virtual machines stored in its cloud storage. In the below section we we will see some commands for using Vagrant by creating Ubuntu box:
Step 1. To add a vagrant box ‘ubuntu/trusty64’ for Ubuntu trusty, we use the ‘vagrant box add’ command:
vagrant box add ubuntu/trusty64
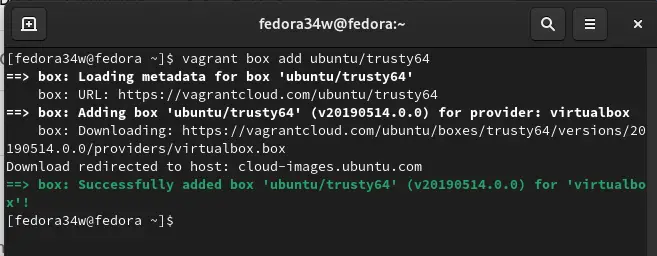
If the installation is successfully completed, the following message appears on the terminal:
Step 2. Now initialize the above vagrant box in the same working directory as above with the init command:
vagrant init ubuntu/trusty64
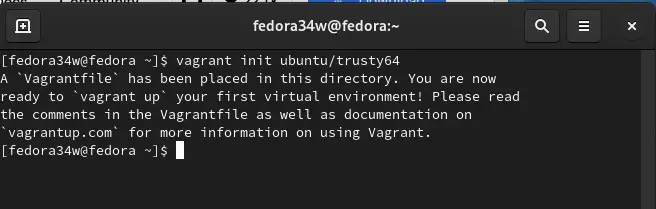
It puts a Vagrantfile in the same directory. Using this file we can directly manage multiple aspects of the virtual machine. The following message appears on terminal window after the initialization:
“A `Vagrantfile` has been placed in this directory. You are now
ready to `vagrant up` your first virtual environment! Please read
the comments in the Vagrantfile as well as documentation on
`vagrantup.com` for more information on using Vagrant.”
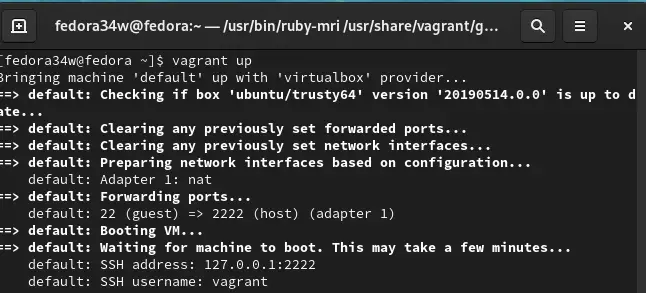
Step 3. Finally, we run the ‘vagrant up’ command to start the Ubuntu virtual machine.
vagrant up
Step 4. Once the VM is up and running, we can log into the box using the ‘vagrant ssh’ command.
In the above case, we build a VM from scratch by downloading its box image. This has automatically placed a Vagrantfile in the same folder from where we run the ‘vagrant init’ command. The above box is now stored on our system and we can now use it to create new Ubuntu trusty (ubuntu/trusty64) machines. Now whenever we use the above box for creating new machines, it will act as the base machine and there will be no requirement for downloading the base image again.
In the below code we have used the same box as above. A sample file snippet of Vagrantfile to create a virtual machine from the above vagrant box is given below:
Vagrant.configure("2") do |config|
# create mgmt node
config.vm.define :mgmt do |mgmt_config|
mgmt_config.vm.box = "ubuntu/trusty64"
mgmt_config.vm.hostname = "mgmt"
mgmt_config.vm.network :private_network, ip: "10.0.15.10"
mgmt_config.vm.provider "virtualbox" do |vb|
vb.memory = "256"
end
end
The following table contains the list of commands that are generally used with vagrant:
|
Command |
Usage |
|
vagrant box add ‘Box Name’ |
To add a new virtual machine box |
|
vagrant init ‘ORG/BUILD’ |
To initialize virtual machine box |
|
vagrant up |
To start up a virtual machine box |
|
vagrant reload |
To restart virtual machine box |
|
vagrant halt |
To shut down virtual machine box |
|
vagrant ssh |
To SSH into the virtual machine box |
Conclusion
Vagrant is a powerful tool to simplify the development process and increase productivity. In this guide, we have learned to install and use Vagrant on Fedora 34 OS. We can spin up multiple machines, for e.g. web servers, by just a little tweaking of the configuration file (Vagrantfile).

