How To Install Tomcat6 With SUN-Java And Apache2 Integration On Ubuntu 10.04 [Lucid Lynx] With Virtual Hosts - Page 2
4.3 Setup a new virtual host in Apache2
Create the folders for our new virtual host:
mkdir /var/www/server1.example.com
mkdir /var/www/server1.example.com/htdocs
mkdir /var/www/server1.example.com/logs
Then create a new site in Apache2:
vi /etc/apache2/sites-available/server1.example.com
Then add:
<VirtualHost *:80>
    JkMount /* default
    ServerName server1.example.com
    ServerAdmin [email protected]
    DocumentRoot /var/www/server1.example.com/htdocs
    ErrorLog /var/www/server1.example.com/logs/error.log
    CustomLog /var/www/server1.example.com/logs/access.log combined
    <Directory /var/www/server1.example.com/htdocs>
        Options -Indexes
    </Directory>
</VirtualHost>
Note: JkMount can be setup in different ways.
JkMount /* will use tomcat for all files
JkMount /*.jsp only for .jsp files
JkMount /folder/* for tomcat files in a specific directory
Enable the new virtual host we created, by running:
a2ensite server1.example.com
4.4 Setup a the new virtual host in Tomcat6
Open up the configuration file for Tomcat6:
vi /etc/tomcat6/server.xml
Find the following lines:
<!--
<Connector port="8009" protocol="AJP/1.3" redirectPort="8443" />
-->
And uncomment the connector port, like this:
<Connector port="8009" protocol="AJP/1.3" redirectPort="8443" />
Then scroll down and find:
  </Host>
</Engine>
AFTER the ending </Host> tag, and BEFORE the ending </Engine> tag, insert the following:
<!-- server1.example.com -->
<Host name="server1.example.com" appBase="/var/www/server1.example.com" unpackWARs="true" autoDeploy="true">
    <Context path="" docBase="htdocs" debug="0" reloadable="true"/>
    <Valve className="org.apache.catalina.valves.AccessLogValve" directory="/var/www/server1.example.com/logs"  prefix="tomcat_access_" suffix=".log" pattern="common" resolveHosts="false"/>
</Host>
Make sure you replace server1.example.com with your details in all the places.
Now lets create a Catalina folder for our new domain:
mkdir /etc/tomcat6/Catalina/server1.example.com
And copy the original context files to new domain:
cp /etc/tomcat6/Catalina/localhost/* /etc/tomcat6/Catalina/server1.example.com/
But remove the ROOT.xml file, because we don't need that one on our new domain:
rm -f /etc/tomcat6/Catalina/server1.example.com/ROOT.xml
4.5 Create a test file and test our new setup
Create a new test.jsp file for our new virtual host:
vi /var/www/server1.example.com/htdocs/test.jsp
and add:
<html>
    <head>
        <title>Hello World</title>
    </head>
    <body>
        <h1>Hello World</h1>
        Today is: <%= new java.util.Date().toString() %>
    </body>
</html>
Save and exit the file.
Finally restart the services, so that the new configuration will load:
/etc/init.d/apache2 stop
/etc/init.d/tomcat6 restart
/etc/init.d/apache2 start
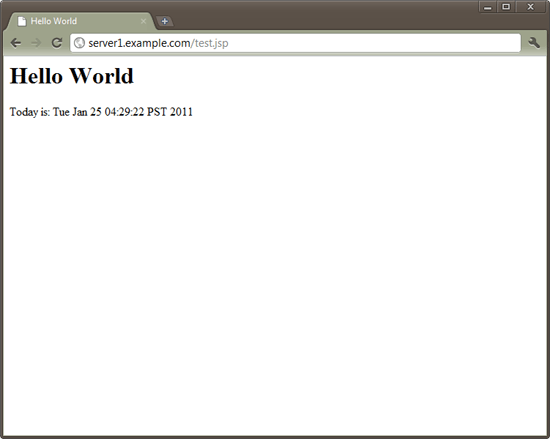
Then use your browser to visit http://server1.example.com/test.jsp and verify that you get the test page we just created.
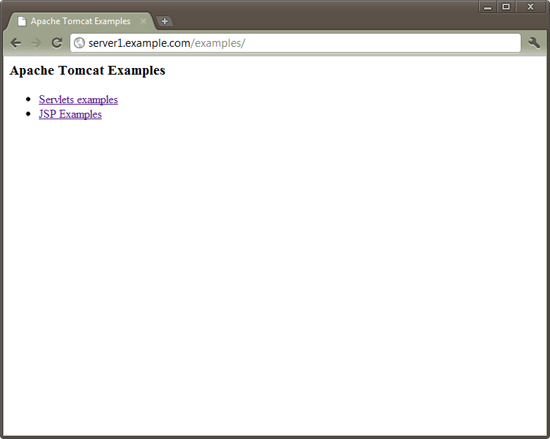
You should also be able to visit http://server1.example.com/examples which is now also available on our virtual host (/docs, /manager/html and /host-manager/html should also work):
References:
- Apache Tomcat: Official Site; http://tomcat.apache.org/
- Apache Tomcat: Wiki; http://en.wikipedia.org/wiki/Apache_Tomcat
- Apache Tomcat Connector: mod-jk; http://tomcat.apache.org/connectors-doc/index.html
- Ubuntu: Adding Launchpad PPA Repositories; https://help.ubuntu.com/community/Repositories/CommandLine#Adding Launchpad PPA Repositories
- Ubuntu: Java; https://help.ubuntu.com/community/Java
- Ubuntu: Sun Java; https://wiki.ubuntu.com/LucidLynx/ReleaseNotes#Sun Java moved to the Partner repository
- Ubuntu: Apache Tomcat; https://help.ubuntu.com/10.04/serverguide/C/tomcat.html
Paths:
Apache2 configuration
/etc/apache2/workers.properties
/etc/apache2/conf.d/mod_jk.conf
/etc/apache2/sites-available/server1.example.com
/var/www/server1.example.com/htdocs/
Tomca6 configuration
/etc/tomcat6/tomcat-users.xml
/etc/tomcat6/server.xml
/etc/tomcat6/Catalina/server1.example.com/
Restart Apache2 and Tomcat6
/etc/init.d/apache2 stop
/etc/init.d/tomcat6 restart
/etc/init.d/apache2 start


