How to Install Ruby on Rails with PostgreSQL on AlmaLinux 9
Ruby on Rails or RoR or Rails is a free and open-source web application framework written in Ruby with the MIT License. It is a full-stack web framework that uses the model-view-controller (MVC) pattern.
The Rails web framework provides structures for a database, web service, and web pages. Also, Rails includes some important tools such as scaffolding, Puma, Gems, etc.
This guide will teach you how to install Ruby on Rails with PostgreSQL database on an AlmaLinux 9 machine. And by the end of this guide, you will have a development environment for your Rails project configured.
Prerequisites
To complete this guide, ensure you have the following:
- An AlmaLinux 9 machine - This example will be using AlmaLinux 9 with hostname almalinux9 and IP address 192.168.10.15.
- A non-root user with root/sudo privileges.
Installing PostgreSQL
First, you will install the PostgreSQL server used as the database for your Rails project. You can install it via the AppStream repository, but you will install it officially from the PostgreSQL repository for this guide.
Run the following command to download and add the PostgreSQL repository to your system.
sudo dnf install -y https://download.postgresql.org/pub/repos/yum/reporpms/EL-9-x86_64/pgdg-redhat-repo-latest.noarch.rpm
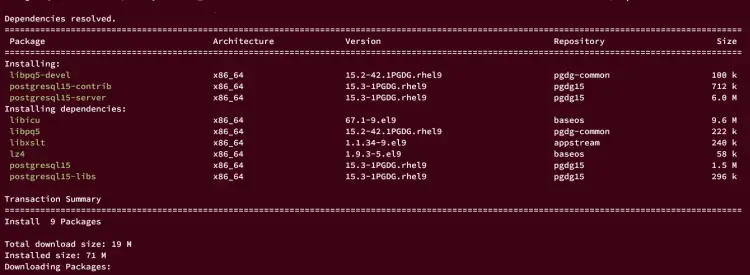
Now, install the PostgreSQL server using the following command. With this, you will also install the libpq5-devel, which is the PostgreSQL library that will be used for your Rails application.
sudo dnf install -y postgresql15-server postgresql15-contrib libpq5-devel
After that, run the following command to initialize the PostgreSQL server configuration.
sudo postgresql-15-setup initdb
Then start and enable the PostgreSQL service using the following systemctl command.
sudo systemctl start postgresql-15
sudo systemctl enable postgresql-15
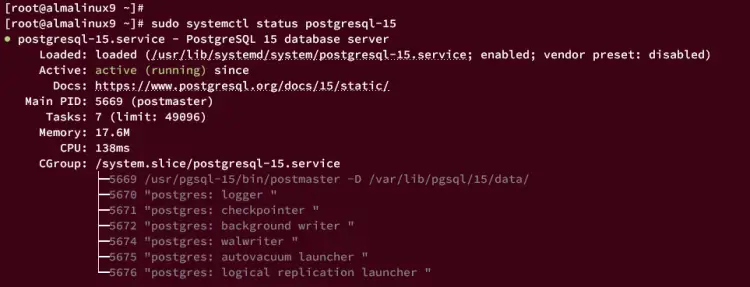
Lastly, verify the PostgreSQL service using the command below. When running, you should get a message such as 'active (exited)' or 'active (running)'.
sudo systemctl status postgresql-15
Installing Ruby
By default, the AlmaLinux appstream repository provides Ruby 3.x which is suitable for Ruby on Rails. You will install Ruby 3.0 via the DNF package manager in this section.
Run the command below to verify the list of available Ruby versions on the appstream repository.
sudo dnf module list ruby
The following output confirms that the AlmaLinux repository also provides Ruby 3.1.
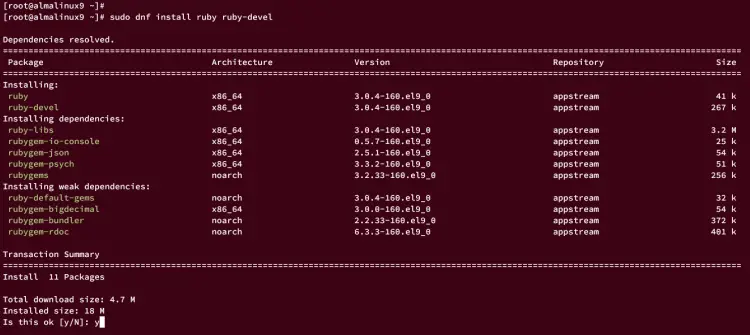
Now, run the following command to install Ruby and Ruby development packages. Input y to confirm and press ENTER to proceed.
sudo dnf install ruby ruby-devel
Once Ruby is installed, check it using the following command. You should see the Ruby v3.0 installed on your AlmaLinux system.
ruby --version
Installing Node.js and Yarn Package Manager
Before installing Rails, you must install the Node.js and Yarn package manager. Both packages will be used by Rails for compiling static files on your Rails project.
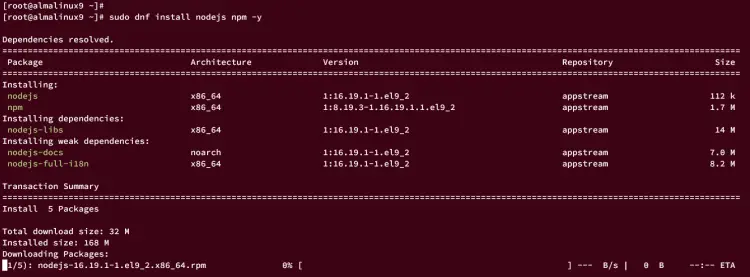
Run the dnf command below to install Node.js and NPM packages. When prompted, input y and press ENTER to continue.
sudo dnf install nodejs npm -y
Next, run the npm command below to install the Yarn package manager.
sudo npm install -g yarn
The Yarn package manager should be available in /usr/local/bin directory. So. you must add the /usr/local/bin directory to the PATH environment variable.
Run the following command to add the /usr/local/bin directory to the PATH environment variable via the .bashrc file and reload it to apply the changes.
echo "export PATH=$PATH:/usr/local/bin" >> ~/.bashrc
source ~/.bashrc
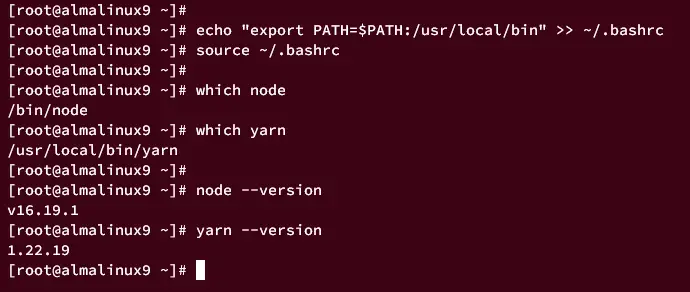
Now, run the following command to locate both Node.js and Yarn package manager. The Node.js binary file is located at /bin/node and the Yarn package manager is located at /usr/local/bin/yarn.
which node
which yarn
Lastly, run the following command to check the version of Node.js and Yarn package manager.
node --version
yarn --version
Installing Development Tools
In this step, you will install "Development Tools" that are needed by Rails.
Run the following command to install "Development Tools" to your AlmaLinux system.
sudo dnf group install "Development Tools" -y
Once installation is finished, move to the next step for installing Rails.
Installing Ruby on Rails via Gem Package Manager
With all dependencies installed, you're ready to install Ruby on Rails on the AlmaLinux machine.
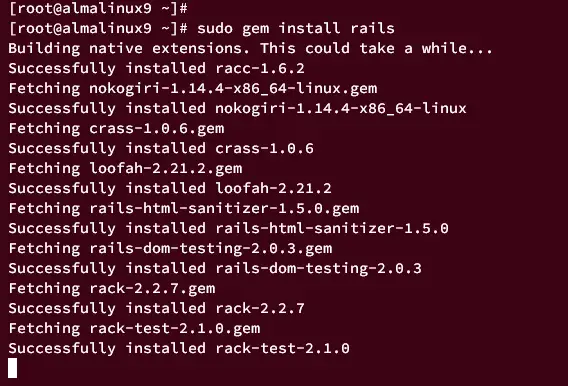
Run the following gem command to install Ruby on Rails to your system.
sudo gem install rails
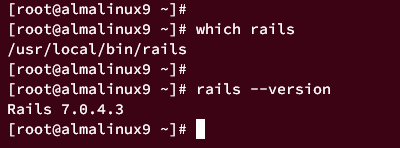
After installation is finished, run the following command to locate the Rails binary file and verify the Rails version.
which rails
rails --version
In the following output, you should see the Rails executable file is located at /usr/local/bin/rails and the current Rails version that is installed is 7.0.
Creating PostgreSQL Role for Rails Project
In this section, you will create a new PostgreSQL role that will be used for the Rails project. This new role must have permission to create new databases on PostgreSQL.
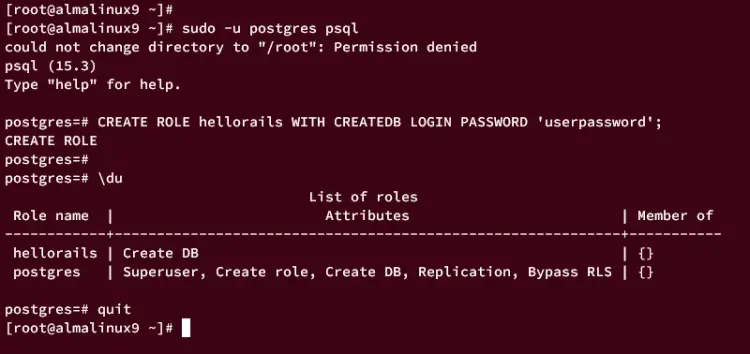
Log in to PostgreSQL using the following command. Once logged in, you should get the prompt postgres=>, which confirms that you're connected to the default database 'postgres'.
sudo -u postgres psql
Now run the following query to create a new PostgreSQL role that will be used for Rails. In this example, you will create a new role called hellorails with the password userpassword. This role is allowed to create new databases on PostgreSQL.
CREATE ROLE hellorails WITH CREATEDB LOGIN PASSWORD 'userpassword';
Next, run the following query to check the list of available users on PostgreSQL
\du
If successful, you should see the new role hellorails with the permission attribute Create DB.
Press Ctrl+d or type \q to exit from PostgreSQL.
Creating First Rails Project
In this section, you will learn how to create the first Ruby on Rails project using the rails command.
Create a new project directory /var/www and move the current working directory into it.
mkdir -p /var/www; cd /var/www
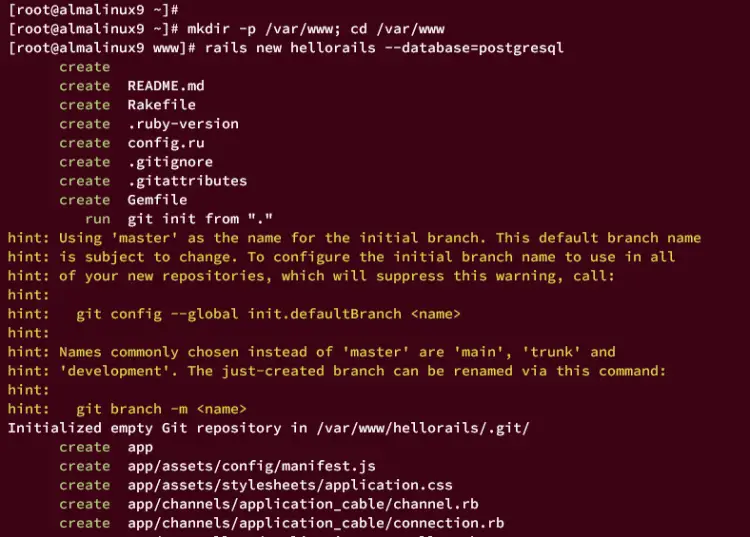
Now, create a new Rails project called hellorails with the database PostgreSQL using the following rails command. This will also generate new project directory hellorails.
rails new hellorails --database=postgresql
Move to the hellorails directory and open the database configuration config/database.yml using nano or your preferred editor.
cd hellorails
nano config/database.yml
Change the default database configuration for development, test, and production like this, and be sure to use the proper user and password for your PostgreSQL details.
development:
  <<: *default
  database: hellorails_development
  username: hellorails
  password: userpassword
  host: localhost
  port: 5432

test:
  <<: *default
  database: hellorails_test
  user: hellorails
  password: userpassword
  host: localhost
  port: 5432

production:
  <<: *default
  database: hellorails_production
  username: hellorails
  password: userpassword
  host: localhost
  port: 5432
Save the file and exit the editor when finished.
Next, run the following command to migrate the database. This will generate new databases for your Rails project.
rails db:setup
rails db:migrate
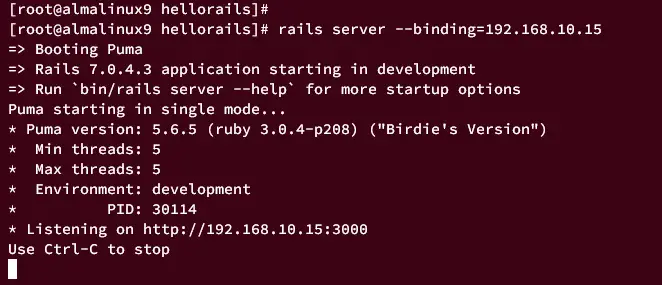
After the database is migrated, run the following command to start your Rails project, and be sure to change the server IP address. This will start your Rails project on the specific IP address 192.168.10.15 with the default port 3000.
rails server --binding=192.168.10.15
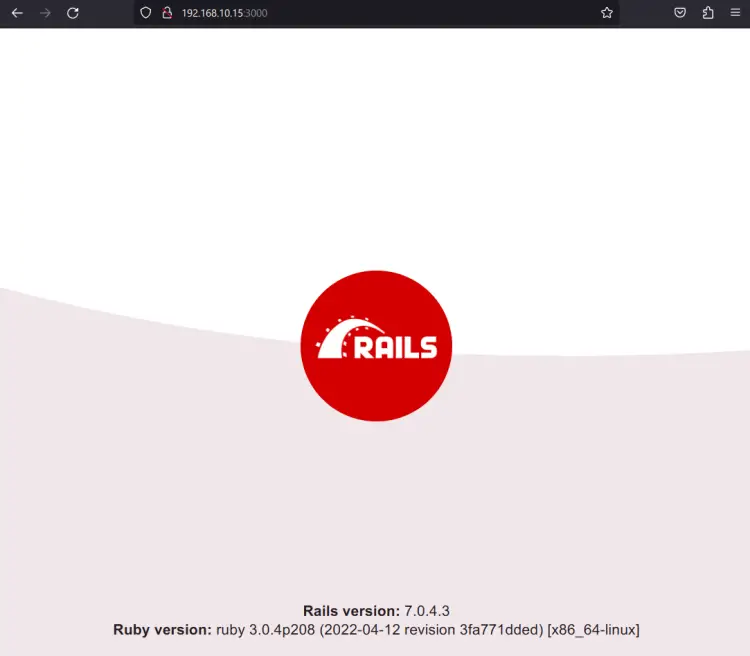
Launce your web browser and visit the server IP address followed by port 3000 (i.e: http://192.168.10.15:3000/). If the Rails installation is successful, you should get the default index.html page of your Rails project.
Conclusion
Congratulations! You have now installed Ruby on Rails with PostgreSQL on an AlmaLinux 9 machine. You've also learned how to create a PostgreSQL role and create the first Rails project.
With Rails installed on your system, you can continue to develop an application with Rails, and for the starter pack, you may be interested in Ruby Scaffolding to get to know MVC (Model View Controller) in Rails.


