How to Install ONLYOFFICE Docs on Ubuntu 24.04
ONLYOFFICE Docs or Document Server is an online office suite that can be installed on your local server. It supports the ONLYOFFICE Collaboration platform and popular systems such as Nextcloud, OwnCloud, WordPress, Drupal, Odoo, SuiteCRM, and many more. The ONLYOFFICE Document Server can be used as a document editor, spreadsheet editor, presentation editor, and collaborative editor. It supports all the popular formats: DOC, DOCX, TXT, ODT, RTF, ODP, EPUB, ODS, XLS, XLSX, CSV, PPTX, and HTML.
This guide shows you how to deploy the ONLYOFFICE Document Server on an Ubuntu 24.04 server, with PostgreSQL as the database and Nginx as a reverse proxy. You'll also secure the ONLYOFFICE Docs with HTTPS through Certbot and Letsencrypt.
Prerequisites
Before you begin, make sure you have the following:
- An Ubuntu 24.04 server
- A non-root user with administrator privileges
- A domain name pointed to server IP address
Installing PostgreSQL and RabbitMQ
The ONLYOFFICE Document Server requires PostgreSQL and RabbitMQ installed on your Ubuntu server. So now you'll be installing both PostgreSQL and RabbitMQ servers through the official Ubuntu repository.
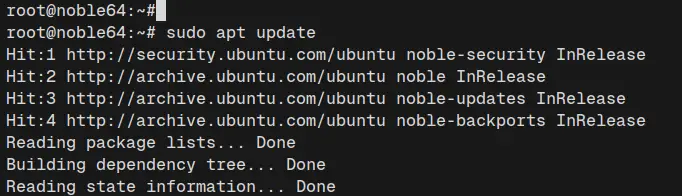
First, run the following command to update your package index.
sudo apt update
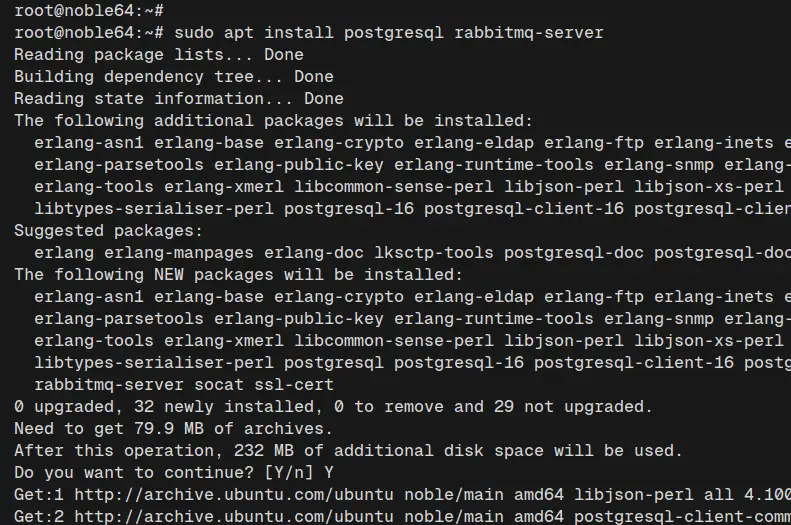
Now, install the PostgreSQL and RabbitMQ server via the official Ubuntu repository using the command below. Enter 'Y' to confirm the installation.
sudo apt install postgresql rabbitmq-server
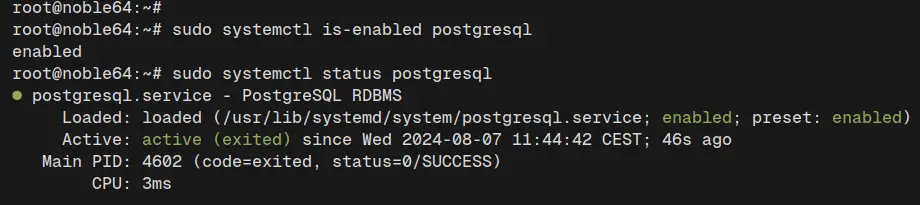
After the installation is complete, check the PostgreSQL server using the 'systemctl' command below.
sudo systemctl is-enabled postgresql
sudo systemctl status postgresql
You can see below the PostgreSQL with the status active and exited.
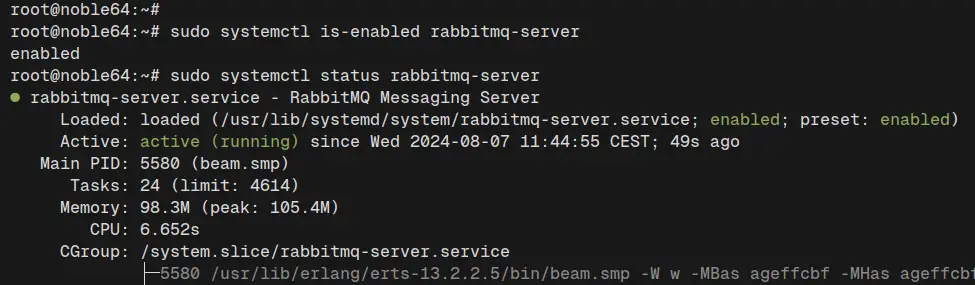
Lastly, check the RabbitMQ server with the following command.
sudo systemctl is-enabled rabbitmq-server
sudo systemctl status rabbitmq-server
As seen in the following, the RabbitMQ server also running.
Creating PostgreSQL database and user
After PostgreSQL and Rabbit are up and running, you'll be creating a new PostgreSQL database and user that the ONLYOFFICE Docs will use. In this example, you'll use a command line to create a PostgreSQL database and user.
Run the command below to create a new PostgreSQL user 'onlyoffice' with the password 'onlyoffice'.
sudo -i -u postgres psql -c "CREATE USER onlyoffice WITH PASSWORD 'onlyoffice';"
Now create a new database 'onlyoffice' with the default owner 'onlyoffice' with the following:
sudo -i -u postgres psql -c "CREATE DATABASE onlyoffice OWNER onlyoffice;"

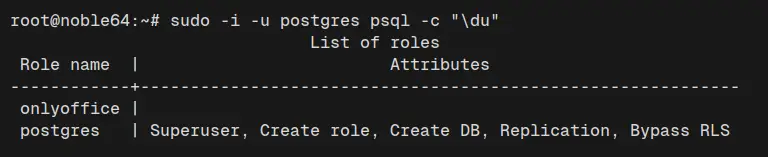
Lastly, check the list of users and databases in the PostgreSQL server using the command below.
sudo -i -u postgres psql -c "\du"
sudo -i -u postgres psql -c "\l"
You can see below the user 'onlyoffice' and the database 'onlyoffice' are available.

Installing ONLYOFFICE Document Server
Now that the PostgreSQL database and RabbitMQ server are ready, you can start the ONLYOFFICE Document Server installation. Here, you'll be adding the ONLYOFFICE GPG key and repository, then installing the Document Server through the APT package manager.
Download the GPG key for ONLYOFFICE to your Ubuntu system with the following:
curl -fsSL https://download.onlyoffice.com/GPG-KEY-ONLYOFFICE | sudo gpg --dearmor -o /etc/apt/trusted.gpg.d/onlyoffice.gpg
Now run the command below to add the ONLYOFFICE repository for the Debian/Ubuntu system.
echo "deb [signed-by=/etc/apt/trusted.gpg.d/onlyoffice.gpg] https://download.onlyoffice.com/repo/debian squeeze main" | sudo tee /etc/apt/sources.list.d/onlyoffice.list
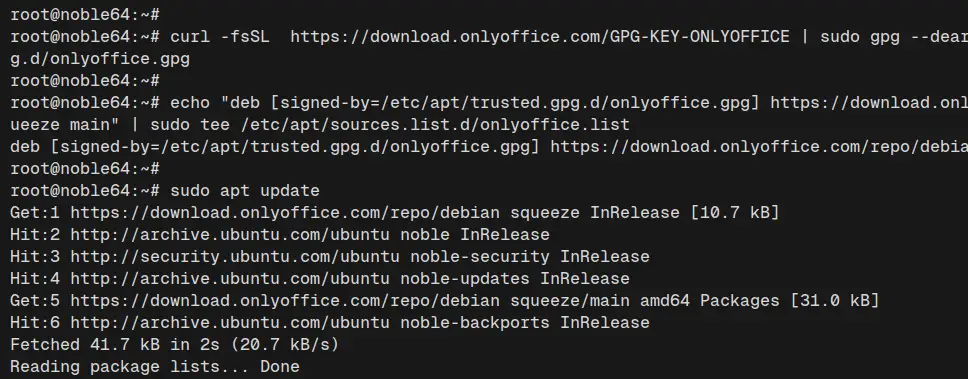
Next, update and refresh your Ubuntu package index, and then install the 'onlyoffice-documentserver' package with the following command. By default, the ONLYOFFICE will install the Nginx web server too, which will be used as a reverse proxy.
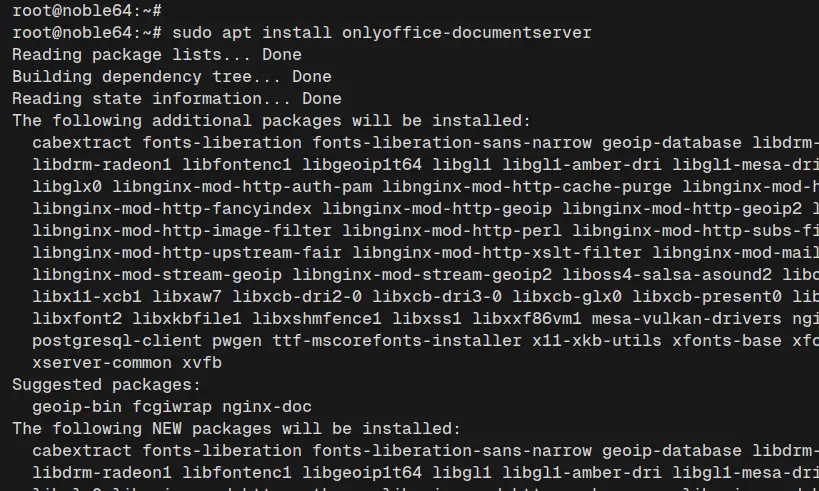
sudo apt update && sudo apt install onlyoffice-documentserver
Enter 'Y' to proceed with the installation.
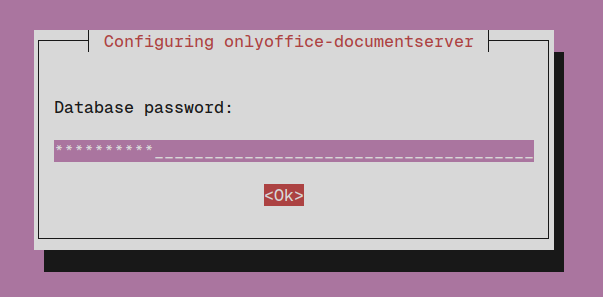
Enter the database postgreSQL password 'onlyoffice'.
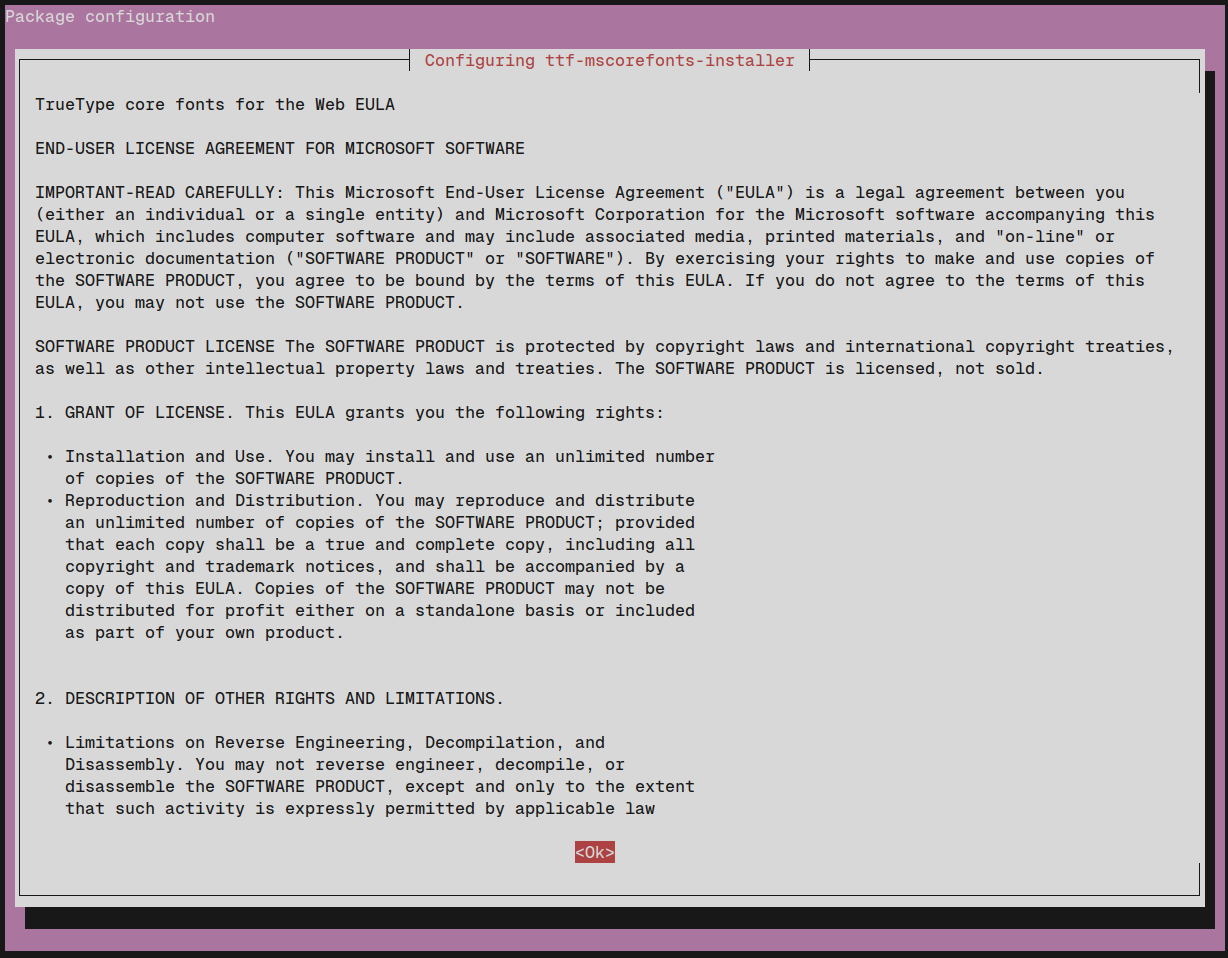
Select OK to accept the TTF mscorefont license.
Select Yes to accept EULA license terms.

After the installation is complete, the ONLYOFFICE Document Server will be running on default HTTP port 80 with the Nginx web server.
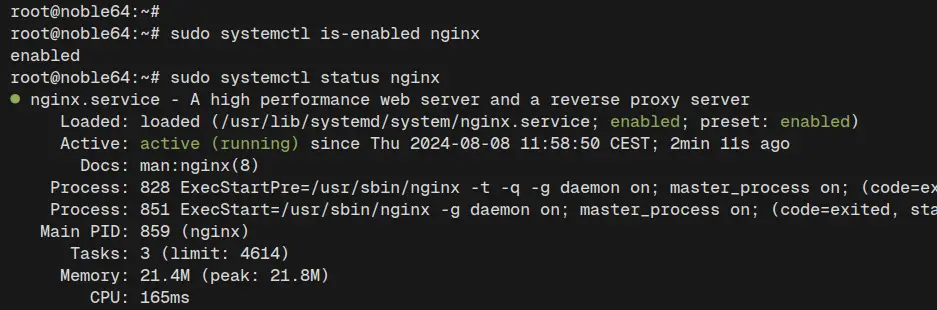
Check the Nginx web server status with the command below.
sudo systemctl is-enabled nginx
sudo systemctl status nginx
You will see Nginx web server is running.
Setting up UFW (Uncomplicated Firewall)
In this section, you'll enable the UFW (Uncomplicated Firewall) and open ports for SSH, HTTP, and HTTPS protocols.
Before you enable UFW, run the command below to add profiles for 'OpenSSH' and 'Nginx Full'. This will open port 22 for SSH, HTTP, and HTTPS for the Nginx web server.
sudo ufw allow OpenSSH
sudo ufw allow 'Nginx Full'
Now run the following command to enable UFW. Input 'y' to proceed and you'll get an output Firewall is active and enabled on system startup.
sudo ufw enable
Lastly, check the UFW status with the following.
sudo ufw status
You can see below UFW with the status active and the 'OpenSSH' and 'Nginx Full' profiles are enabled.
Securing ONLYOFFICE Document Server with HTTPS
With the UFW configured, let's secure the ONLYOFFICE Document Server with HTTPS through Certbot and Letsencrypt. Make sure your domain name is ready and pointed to your Ubuntu server IP address. If you're installing ONLYOFFICE Document Server locally, you can use Self-Signed certificates.
First, run the 'systemctl' command below to stop the Nginx web server.
sudo systemctl stop nginx
Now install Certbot with the 'apt' command below. Certbot will be used for generating free SSL/TLS certificates from Letsencrypt.
sudo apt install certbot -y
After the installation is complete, run the 'certbot' command below to generate new SSL certificates for your ONLYOFFICE Document Server installation. Make sure to change the domain name and email address with your information.
sudo certbot certonly --standalone -m [email protected] --agree-tos --no-eff-email -d office.howtoforge.local
When the process is complete, your certificates will be available in the '/etc/letsencrypt/live/domain.com' directory. The 'fullchain.pem' for the public key, 'privkey.pem' is your private key.
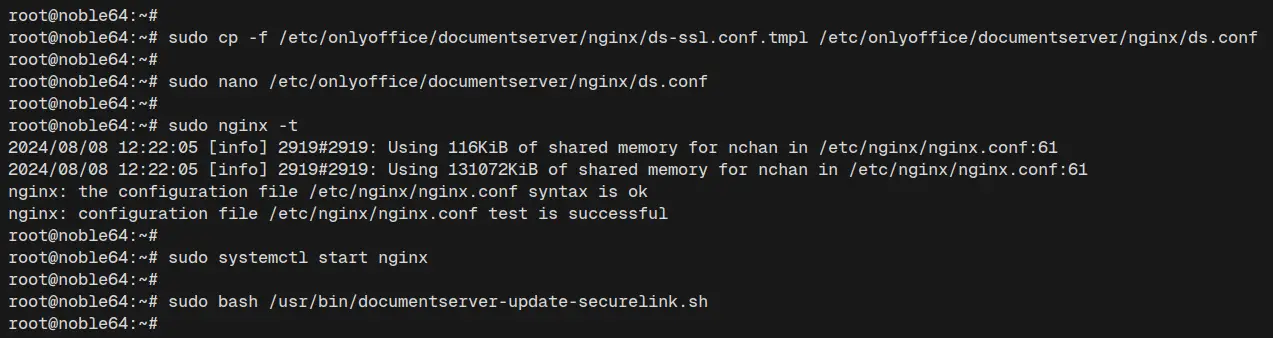
Next, copy the default Nginx template for ONLYOFFICE to the '/etc/onlyoffice/documentserver/nginx/ds.conf' file.
sudo cp -f /etc/onlyoffice/documentserver/nginx/ds-ssl.conf.tmpl /etc/onlyoffice/documentserver/nginx/ds.conf
Edit the '/etc/onlyoffice/documentserver/nginx/ds.conf' with the following 'nano' editor command.
sudo nano /etc/onlyoffice/documentserver/nginx/ds.conf
Change the 'ssl_certificate' with the path of the 'fullchain.pem' certificate, and the 'ssl_certificate_key' with the path of the 'privkey.pem' certificate.
ssl_certificate /etc/letsencrypt/live/office.howtoforge.local/fullchain.pem;
ssl_certificate_key /etc/letsencrypt/live/office.howtoforge.local/privkey.pem;
When finished, save the file and exit the editor.
Now run the command below to verify your Nginx syntax and ensure that you've no error. Then, start again the Nginx web server with the 'systemctl' command.
sudo nginx -t
sudo systemctl start nginx
If you've proper Nginx syntax, you'll see an output such as 'test is successful - syntax is OK'.
Lastly, run the script below to apply the HTTPS on the ONLYOFFICE Document Server. With this, your ONLYOFFICE will be running on secure HTTPS connections.
sudo bash /usr/bin/documentserver-update-securelink.sh
Verify ONLYOFFICE Document Server Installation
Visit your domain name such as https://office.howtoforge.local/ to access your ONLYOFFICE Document Server installation. If successful, you'll see the confirmation such as ONLYOFFICE Docs Community Edition installed.
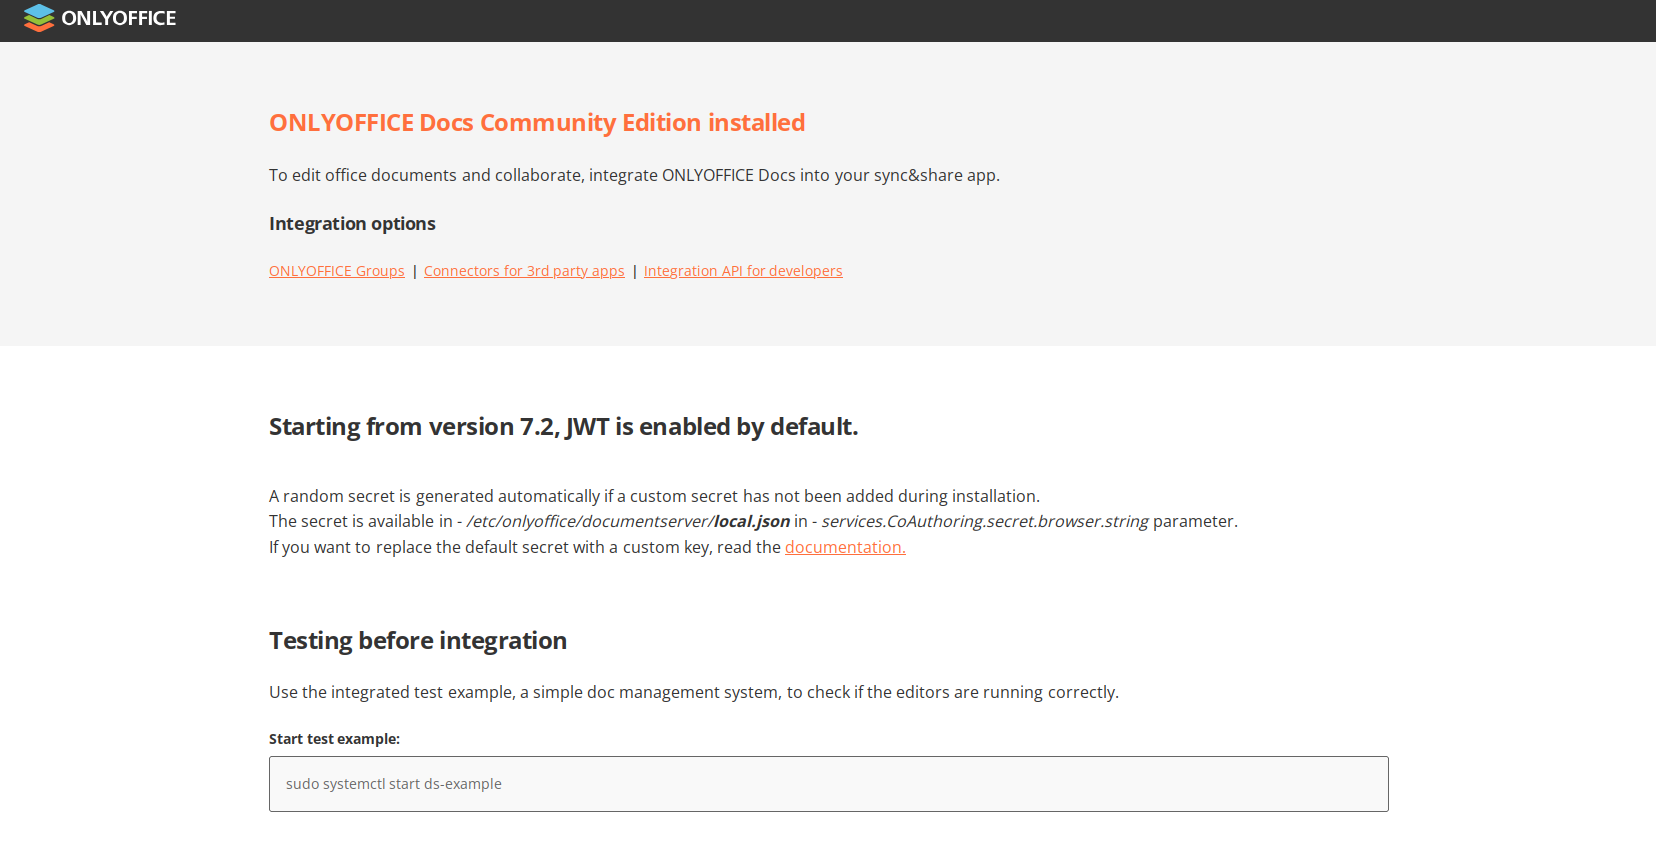
From here, you can integrate ONLYOFFICE Document Server to your file servers such as Nextcloud and ownCloud, CMS such as WordPress and Drupal, or CRM such as Odoo and SuiteCRM.
Conclusion
Congratulations! You've completed the installation of the ONLYOFFICE Document Server on an Ubuntu 24.04 server. Your ONLYOFFICE Document Server is running with the PostgreSQL database and Nginx web server. Lastly, you've also secured ONLYOFFICE with HTTPS through Certbot and Letsencrypt.

