How to Install NodeBB with MongoDB and Nginx Proxy on AlmaLinux 9
NodeBB is an open-source, Node.js-based forum software that provides a modern and responsive solution for online communities. Running on Ubuntu Linux, NodeBB leverages the robustness and flexibility of the operating system to deliver high performance and scalability. It utilizes a combination of MongoDB and Redis for database management, making it capable of handling large volumes of user-generated content efficiently.
NodeBB is known for its real-time notifications, seamless integration with various social media platforms, and extensive plugin ecosystem, allowing administrators to customize their forums to meet specific needs. Additionally, its mobile-first design ensures a consistent and engaging user experience across all devices. Ubuntu's stability and security features complement NodeBB, making it an ideal choice for hosting and managing dynamic online communities.
This guide will provide step-by-step instructions for installing NodeBB on an Alma Linux 9 server. You'll use MongoDB as the database, Nginx as a reverse proxy, and then secure NodeBB with HTTPS through Certbot and Letsencrypt.
Prerequisites
Before you get started, make sure you have the following:
- An Alma Linux 9 server
- A non-root user with administrator privileges
- A domain name pointed to server IP address
- An SELinux with status permissive and enabled
Install dependencies
NodeBB is an open-source forum software based on Node.js. To install NodeBB, you must ensure the following packages are installed, including:
- System tools such as "Development Tools", Git, and ImageMagick
- Node.js 18 or higher and NPM (Node Package Manager)
- MongoDB NoSQL database server
- Nginx web server as a reverse proxy
In this section, you'll install those dependencies on the Alma Linux 9 server.
First, run the command below to enable the Alma Linux CRB (CodeReadyBuild) repository and install the EPEL repository.
sudo crb enable
sudo dnf install epel-release -y
Then create a new repository file '/etc/yum.repos.d/mongodb-org-7.0.repo' with 'nano' editor.
sudo nano /etc/yum.repos.d/mongodb-org-7.0.repo
Input the following configuration to the file:
[mongodb-org-7.0]
name=MongoDB Repository
baseurl=https://repo.mongodb.org/yum/redhat/9/mongodb-org/7.0/x86_64/
gpgcheck=1
enabled=1
gpgkey=https://pgp.mongodb.com/server-7.0.asc
Save the file and exit the editor when finished.
Now run the command below to enable the Node.js 18 repository for AlmaLinux.
sudo dnf module enable nodejs:18 -y
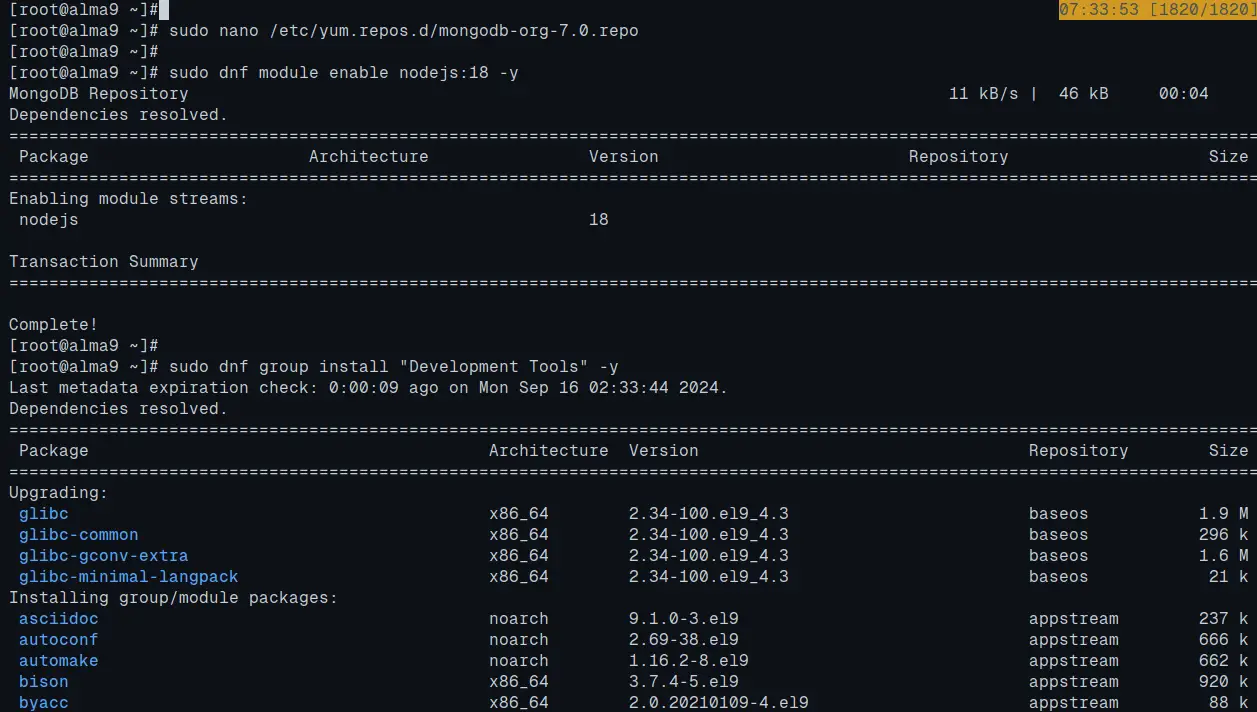
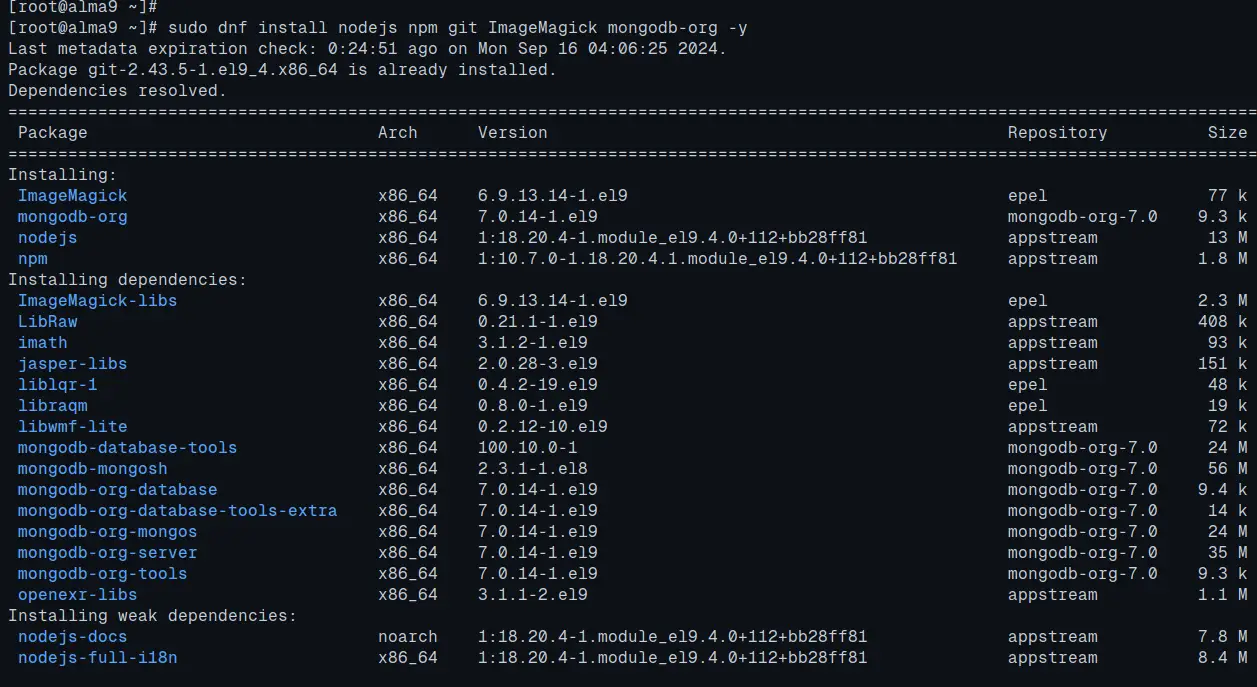
Next, run the following 'dnf' command to install the 'Development Tools', MongoDB server, Node.js, NPM, Git, and ImageMagick.
sudo dnf group install "Development Tools" -y
sudo dnf install nodejs npm git ImageMagick mongodb-org -y
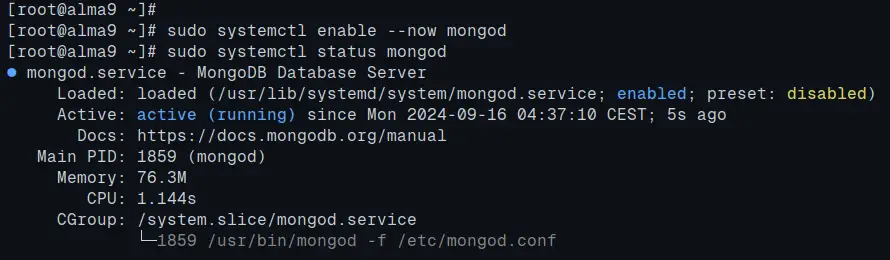
After the installation is finished, start and enable the 'mongod' service with the following command.
sudo systemctl enable --now mongod
sudo systemctl status mongod
You can see below the MongoDB server is running and enabled.
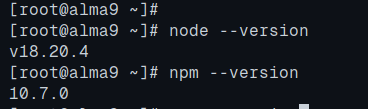
Lastly, check the Node.js version with the command below. You should see that Node.js 18 is installed on the Alma Linux server.
node --version
npm --version
Setting up MongoDB server and database for NodeBB
With dependencies installed, you'll secure the MongoDB server by enabling password authentication and setting up the MongoDB admin password. After that, you'll also create a new MongoDB database and user for NodeBB installation.
Log in to the MongoDB server with the 'mongosh' command below.
mongosh
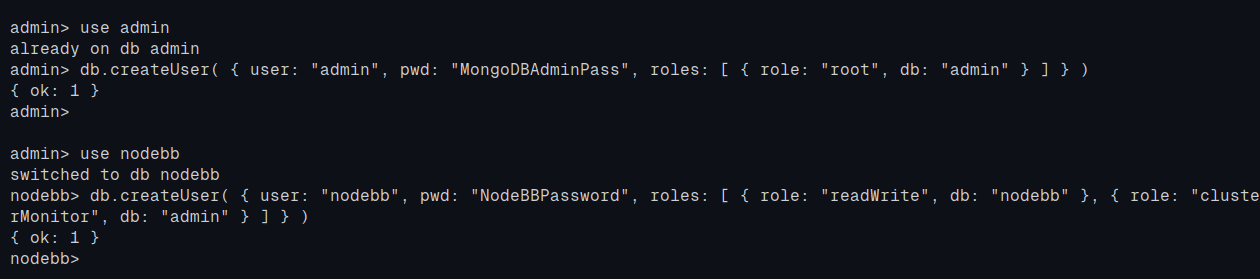
Once logged in, switch to the 'admin' database and run the query below to set up an admin password for MongoDB. Make sure to change the 'MongoDBAdminPass' with your password combination.
use admin
db.createUser( { user: "admin", pwd: "MongoDBAdminPass", roles: [ { role: "root", db: "admin" } ] } )
Now run the following queries to create a new database and user 'nodebb' with the password 'NodeBBPassword'. You can adjust the following database details as needed.
use nodebb
db.createUser( { user: "nodebb", pwd: "NodeBBPassword", roles: [ { role: "readWrite", db: "nodebb" }, { role: "clusterMonitor", db: "admin" } ] } )
Type 'quit()' to exit from the MongoDB server.
After you've configured the admin password for MongoDB, let's enable the MongoDB authentication.
Open the default MongoDB config file '/etc/mongod.conf' with the 'nano' editor.
sudo nano /etc/mongod.conf
To enable MongoDB authentication, uncomment the 'security' line and add the 'authorization: enabled' like the following:
security:
 authorization: enabled
Save and exit the file when done.
Now run the following 'systemctl' command to restart the MongoDB server and apply your changes. The MongoDB authentication should be enabled now.
sudo systemctl restart mongod
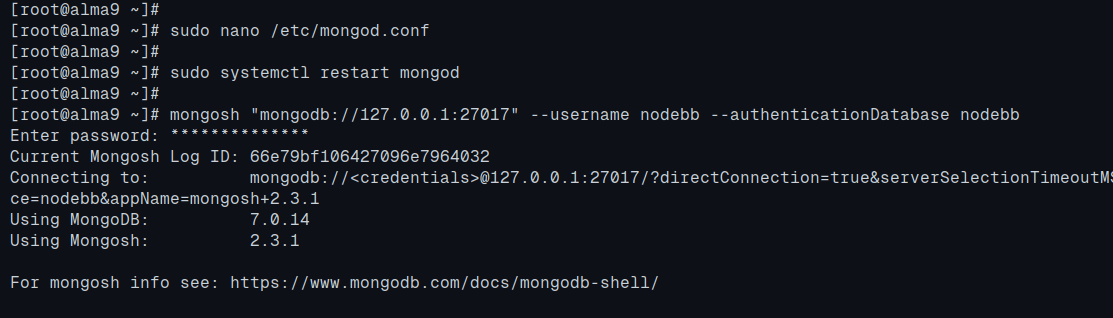
To verify the configuration, run the 'mongosh' command below to log in to the MongoDB using user 'nodebb'. Enter the password for the 'nodebb' user.
mongosh "mongodb://127.0.0.1:27017" --username nodebb --authenticationDatabase nodebb
Installing NodeBB
Now that you've configured the MongoDB server, you're ready to install NodeBB on the Alma Linux server.
Add a new system user and group 'nodebb' with the following command.
sudo adduser -r -M -d /opt/nodebb -U nodebb
Download the NodeBB source code to the '/opt/nodebb' directory and change the ownership to the 'nodebb' user.
git clone -b v3.x https://github.com/NodeBB/NodeBB.git /opt/nodebb
sudo chown -R nodebb:nodebb /opt/nodebb
Go to the '/opt/nodebb' directory and execute the NodeBB setup script like the following:
cd /opt/nodebb
sudo su -s /bin/bash -c "./nodebb setup" nodebb
Here, you'll be asked about some NodeBB configurations:
- Enter your domain name for NodeBB, such as https://forum.howtoforge.local.
- Press ENTER on the NodeBB secret configuration. Leave it as default.
- Enter no to disable anonymous access to the NodeBB.
- Select the MongoDB as the database.
- Enter your MongoDB database details in the format like mongodb://nodebb:[email protected]:27017/nodebb.
- Enter the new admin user and email address for NodeBB.
- Enter the password for your NodeBB admin user and repeat.
After the process is complete, you'll see an output like this:
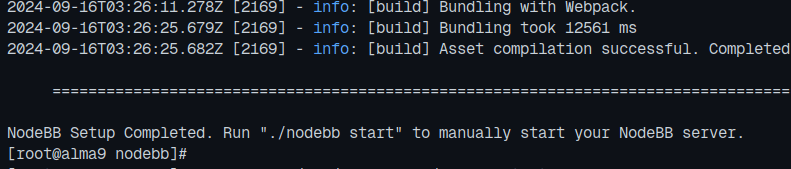
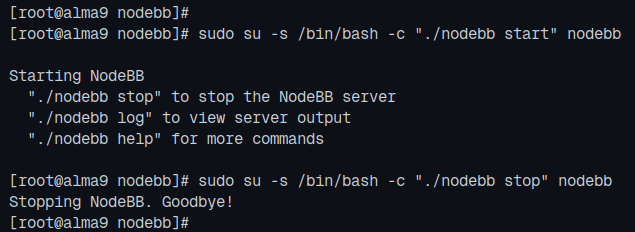
You can now start or stop NodeBB manually by executing the 'nodebb' script like the following:
sudo su -s /bin/bash -c "./nodebb start" nodebb
sudo su -s /bin/bash -c "./nodebb stop" nodebb
Running NodeBB as a systemd service
To manage NodeBB easier, you can control the NodeBB process using the 'systemctl' utility. To do this, you need to create a new systemd service file for running NodeBB.
Create a new systemd service file '/etc/systemd/system/nodebb.service' with the 'nano' editor.
sudo nano /etc/systemd/system/nodebb.service
Input the following configuration to run NodeBB as a systemd service.
[Unit]
Description=NodeBB
Documentation=https://docs.nodebb.org
After=system.slice multi-user.target mongod.service

[Service]
Type=simple
User=nodebb

StandardError=syslog
SyslogIdentifier=nodebb

Environment=NODE_ENV=production
WorkingDirectory=/opt/nodebb
ExecStart=/bin/env node loader.js --no-silent --no-daemon
Restart=always

[Install]
WantedBy=multi-user.target
Save the file and exit the editor.
Reload the systemd manager with the 'systemctl' command below.
sudo systemctl daemon-reload
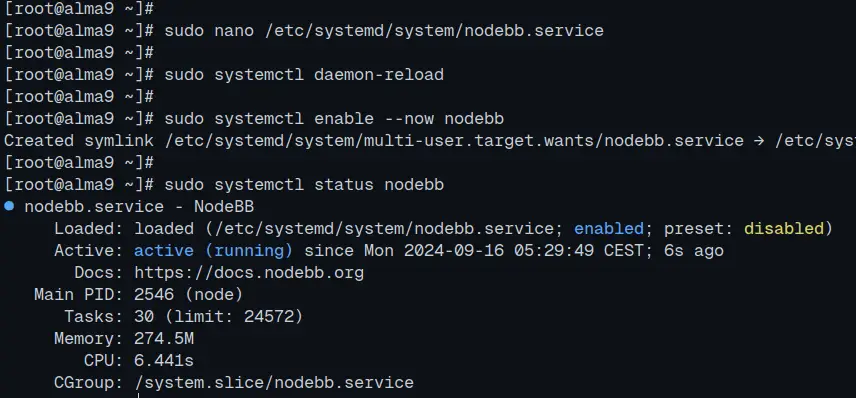
Lastly, start and enable the 'nodebb' service, and then check it to ensure that the service is running:
sudo systemctl enable --now nodebb
sudo systemctl status nodebb
You can see below the NodeBB is running in the background as a systemd service.
Setting up Nginx as a reverse proxy
Now that NodeBB is running in the background as a service, let's install Nginx and create a new server block that will be used as a reverse proxy for NodeBB.
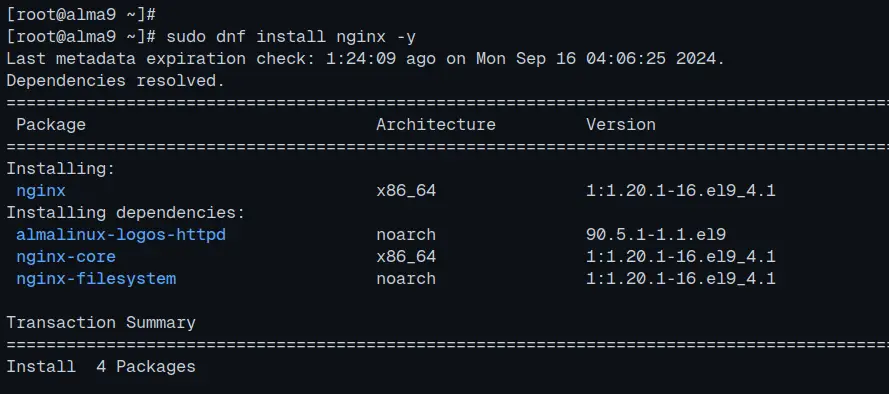
First, run the 'dnf' command below to install the Nginx web server.
sudo dnf install nginx -y
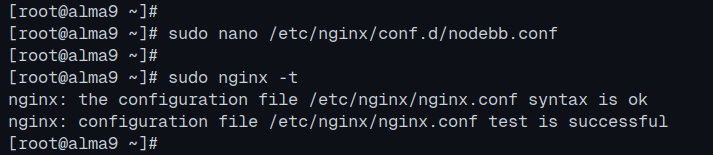
Now create a new Nginx configuration '/etc/nginx/conf.d/nodebb.conf' with the 'nano' editor.
sudo nano /etc/nginx/conf.d/nodebb.conf
Enter the following configuration and make sure to change the 'server_name' parameter with your domain name.
server {
listen 80;

server_name forum.howtoforge.local;

location / {
proxy_set_header X-Real-IP $remote_addr;
proxy_set_header X-Forwarded-For $proxy_add_x_forwarded_for;
proxy_set_header X-Forwarded-Proto $scheme;
proxy_set_header Host $http_host;
proxy_set_header X-NginX-Proxy true;

proxy_pass http://127.0.0.1:4567;
proxy_redirect off;

# Socket.IO Support
proxy_http_version 1.1;
proxy_set_header Upgrade $http_upgrade;
proxy_set_header Connection "upgrade";
}
}
When finished, save the file and exit the editor.
Next, run the command below to verify the Nginx syntax. If successful, you'll have an output 'syntax is ok - test is successful'.
sudo nginx -t
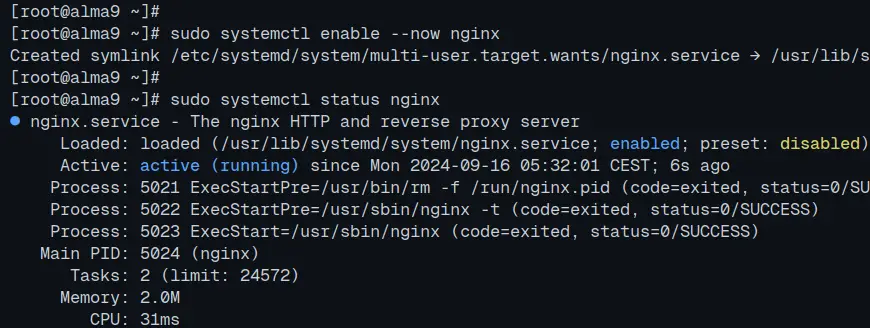
Lastly, run the 'systemctl' command below to start, enable, and verify the Nginx web server.
sudo systemctl enable --now nginx
sudo systemctl status nginx
You can see below the Nginx web server is running.
Securing NodeBB with HTTPS
At this point, your NodeBB installation is ready. But if you're on the public domain name, you must secure NodeBB with HTTPS. In this section, you'll set up HTTPS for NodeBB with Certbot and Letsencrypt.
Install Certbot and the Certbot Nginx plugin with the following command:
sudo dnf install certbot python3-certbot-nginx -y
Now run the 'certbot' command below to secure your NodeBB installation with HTTPS. Make sure to change the domain name and email address in this command.
sudo certbot --nginx --agree-tos --redirect --hsts --staple-ocsp --email [email protected] -d forum.howtoforge.local
After the process is complete, your SSL/TLS certificates will be available at the '/etc/letsencrypt/live/domain.com' directory and your NodeBB installation should be secured with HTTPS.
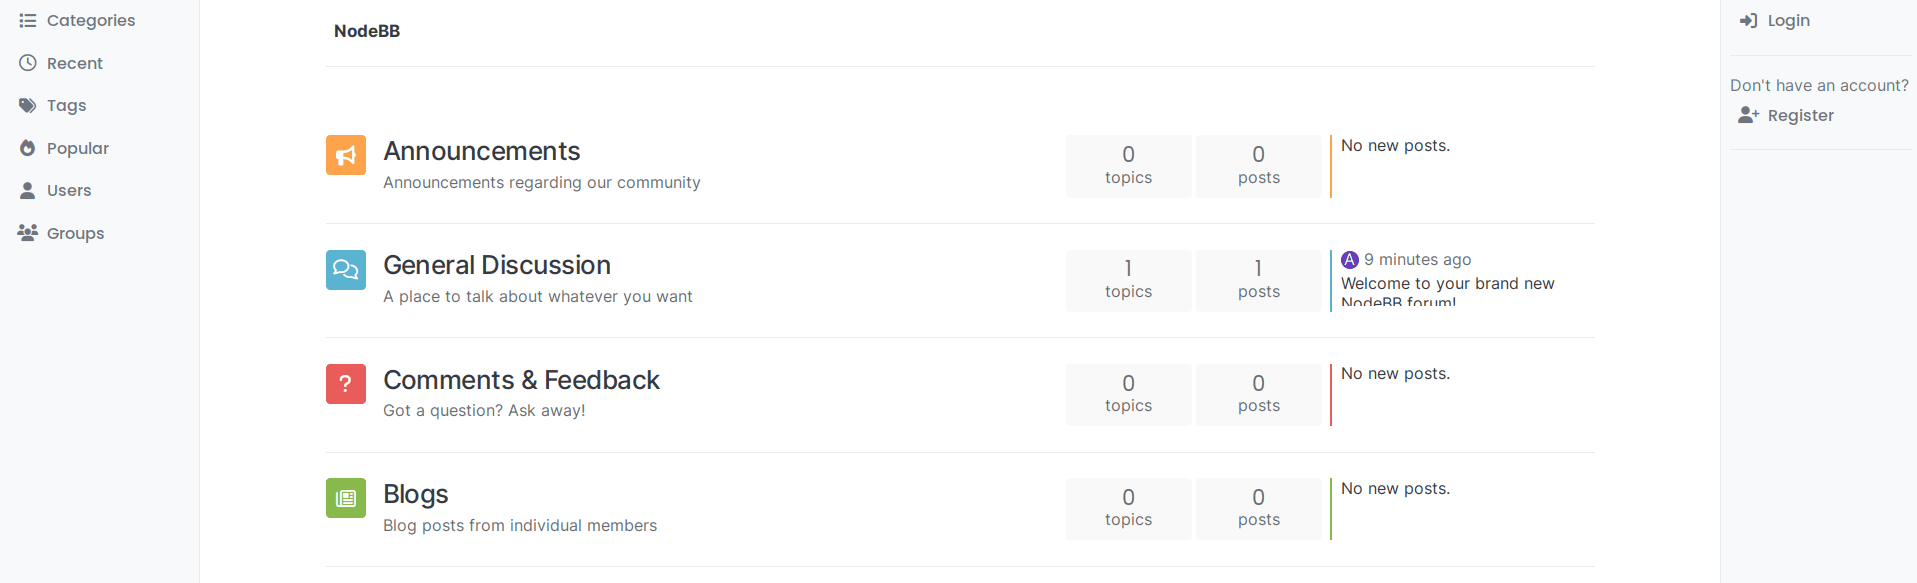
Accessing NodeBB
Open your web browser and visit the NodeBB domain name such as https://forum.howtoforge.local. If your installation is successful, you'll see the following NodeBB home page.
Conclusion
Congratulations! You've finished the NodeBB installation on the Alma Linux 9 server. You have the NodeBB forum up and running with the MongoDB server and Nginx as a reverse proxy. You also secured NodeBB installation with HTTPS through Certbot and Letsencrypt.

