How to Install NetBox IRM on Debian 11
NetBox is an Infrastructure Resource Modelling (IRM) software designed for network automation and infrastructure engineering. Initially, it was created by the DigitalOcean team, and now became an open-source project released under the Apache 2 License. NetBox was created in the Python Django Web framework with PostgreSQL as the default database, and the installation of NetBox is quite similar to other Python Django web applications.
NetBox helps you to manage your infrastructure, which includes:
- DCIM (Data Center Infrastructure Management)
- IPAM (IP Address Management)
- Data Circuits
- Connections (Network, console, and power)
- Equipment racks
- Virtualization
- Secrets
This article will walk you through the steps on how to install the NetBox Infrastructure Resource Modeling on a Debian 11 server. This article includes the basic installation of the PostgreSQL database, Redis server, and the basic configuration of Apache2 as a reverse proxy. In the end, you will have the NetBox up and running on your Debian 11 with HTTPS/SSL enabled on top of it.
Prerequisites
To complete this tutorial, you will need the following requirements:
- One Debian 11 server instance.
- A non-root user with root/administrator privileges.
- A domain name pointed to your Debian Server.
Installing PostgreSQL Server
The NetBox application only suppoorts PostgreSQL as the default database. So, you will install PostgreSQL on your Debian server. Then, create a new database and user for your NetBox installation.
The current version of NetBox required at least PostgreSQL v10 or later. On Debian 11, the repository provides the default PostgreSQL server v13.
To begin, run the apt command below to update your Debian repository and refresh the package index.
sudo apt update
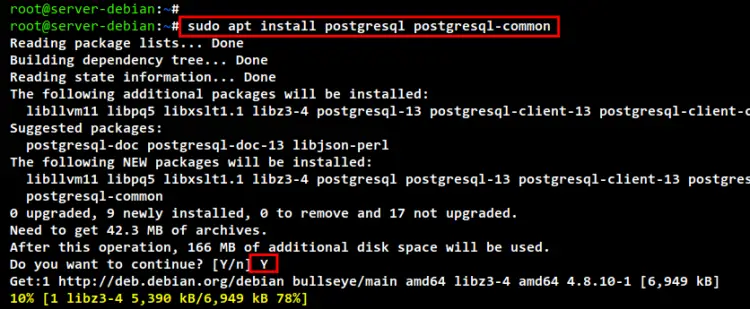
Now install the PostgreSQL server using the following apt command. Input Y to confirm and press ENTER, and the PostgreSQL installation will begin.
sudo apt install postgresql postgresql-common
Now that you are finished with the PostgreSQL installation, run the following systemctl command to check and verify the PostgreSQL service. You should see that PostgreSQL is enabled and will be run automatically at system boot. And the current status of the PostgreSQL service is running.
sudo systemctl is-enabled postgresql
sudo systemctl status postgresql
Next, you will create a new PostgreSQL database and user for Nextbox. To do that, you must log in to the PostgreSQL console.
Run the following command to log in to the PostgreSQL console using the role "postgres".
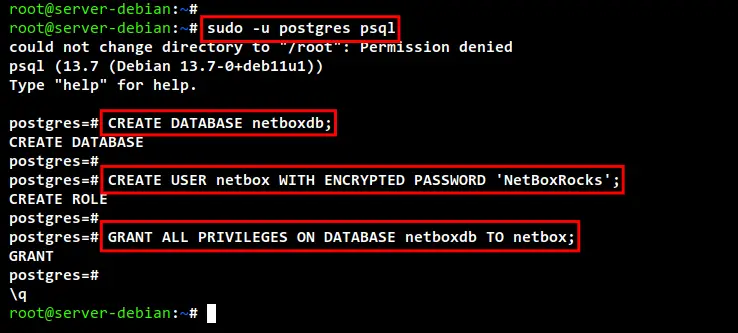
sudo -u postgres psql
Now run the following queries on the PostgreSQL console to create a new database and user. in this example, we will create a new database named "netboxdb", and the PostgreSQL user "netbox" with the password "NetBoxRocks".
CREATE DATABASE netboxdb;
CREATE USER netbox WITH ENCRYPTED PASSWORD 'NetBoxRocks';
GRANT ALL PRIVILEGES ON DATABASE netboxdb TO netbox;
Now press "Ctrl+d" to exit from the PostgreSQL console or type "\q" for quit.
To verify the database and user, run the following command. This will connect to the PostgreSQL shell using the user "netbox" to the database "netboxdb" on your PostgreSQL server.
When prompted for the database password, input the password 'NetBoxRocks".
sudo -u postgres psql --username netbox --password --host localhost netboxdb
After logging in to the PostgreSQL console and the database "netboxdb", run the following query to check the current connection. And you should see that you are connected to the PostgreSQL database "netboxdb" with the user "netbox".
\conninfo
Press "Ctrl+d" to exit from the PostgreSQL console or type "\q" for quit.
Installing Redis Server
Redis is an in-memory key-value database that will be used by NetBox for caching and queuing. So, now you will install the Redis server on your Debian server.
At the time of this writing, the latest version of NetBox required Redis v4.0 or higher. the latest Debian 11 repository provides Redis v5.6.
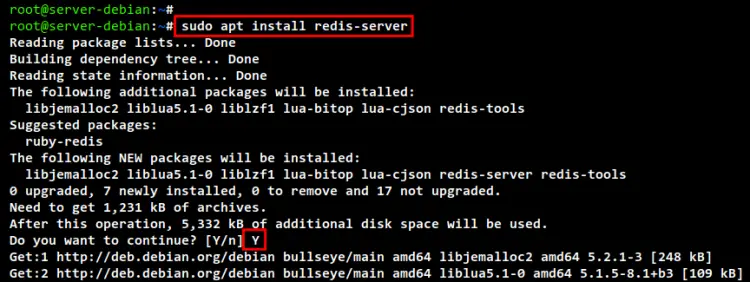
To start the Redis installation, run the apt command below. input Y to confirm the installation and press ENTER, and the Redis installation will begin.
sudo apt install redis-server
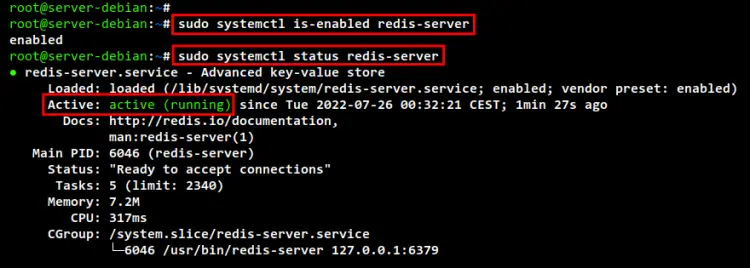
When the installation is finished, run the following systemctl commands to check and verify the Redis service. You should see the Redis service is enabled and will be run automatically at system boot. And the current status of Redis service is running.
sudo systemctl is-enabled redis-server
sudo systemctl status redis-server
The default Redis installation comes without authentication. For the production environment, it's recommended to use authentication on the Redis server. To enable Redis authentication, you will modify the configuration file "/etc/redis/redis.conf"
Run the following command to edit the Redis config file "/etc/redis/redis.conf".
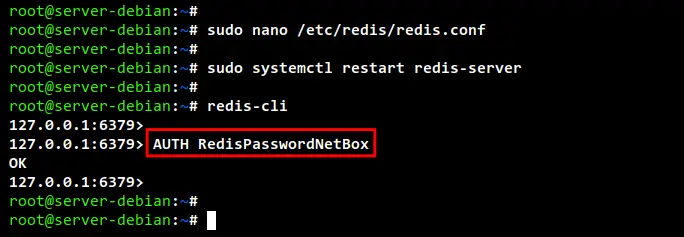
sudo nano /etc/redis/redis.conf
Uncomment the "requirepass" option and input the password authentication for Redis. in this example, we will use the password "RedisPasswordNetBox".
requirepass RedisPasswordNetBox
When you are finished, save and close the file.
Now run the following command to restart the Redis service and apply new changes.
sudo systemctl restart redis-server
To verify the Redi authentication, run the "redis-cli" command below to connect to the Redis console.
redis-cli
Now run the following command to verify your Redis authentication. If your password is correct, you will see the output message such as "OK".
AUTH RedisPasswordNetBox
Now press "Ctrl+d" to exit from the Redis console.
Installing NetBox IRM
NetBox is an open-source web application written with the Python Django framework. So the installation of NetBox is quite similar to Python Django Web-Framework. The latest version of Netbox required at least Python v3.8 or higher.
Before starting installing NetBox, run the following command to create a new system user "netbox" that will be used to run the NetBox web application.
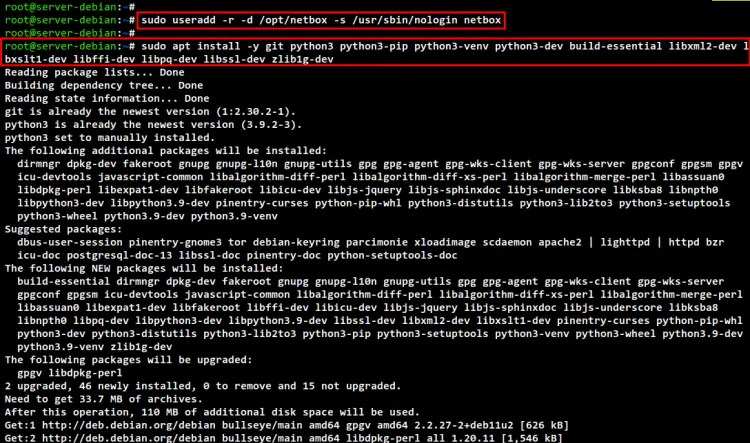
sudo useradd -r -d /opt/netbox -s /usr/sbin/nologin netbox
Install Python3 and some package dependencies using the apt command below.
sudo apt install -y git python3 python3-pip python3-venv python3-dev build-essential libxml2-dev libxslt1-dev libffi-dev libpq-dev libssl-dev zlib1g-dev
When the installation is finished, run the following command to create a new NetBox installation directory "/opt/netbox" and clone the NetBox source code using the Git command.
mkdir -p /opt/netbox; cd /opt/netbox
sudo git clone -b master --depth 1 https://github.com/netbox-community/netbox.git .
Now change ownership of the NetBox installation directory to the correct user "netbox" using the following command.
sudo chown -R netbox:netbox /opt/netbox
Next, move the working directory to "/opt/netbox/netbox/netbox" and copy the example configuration of NetBox "configuration_example.py" to "configuration.py".
cd /opt/netbox/netbox/netbox
sudo -u netbox cp configuration_example.py configuration.py
Before editing the netBox configuration file, run the following command to generate the "SECRET_KEY" for NetBox. Copy the generated "SECRET_KEY" to your editor, this will be used later when editing the file "configuration.py".
sudo -u netbox python3 ../generate_secret_key.py
Run the following command to start editing the file "configuration.py".
sudo -u netbox nano configuration.py
Now you will need to set up the NetBox installation as below:
- On the "ALLOWED_HOSTS" configuration, input the domain name for NetBox installation and the server IP address. In this example, NetBox will be installed under the domain name "netbox.howtoforge.local" and the server IP address "192.168.5.20".
- Input details PostgreSQL database for your NetBox to the "DATABASE" setting.
- Input the Redis password on the "REDIS" configuration. Be sure to change the password on both "tasks" and "caching" sections.
- Lastly, paste the generated "SECRET_KEY" to the file.
# domain and IP address
ALLOWED_HOSTS = ['netbox.howtoforge.local', '192.168.5.20']

# database configuration
DATABASE = {
    'NAME': 'netboxdb',               # Database name
    'USER': 'netbox',               # PostgreSQL username
    'PASSWORD': 'NetBoxRocks', # PostgreSQL password
    'HOST': 'localhost',            # Database server
    'PORT': '',                     # Database port (leave blank for default)
    'CONN_MAX_AGE': 300,            # Max database connection age (seconds)
}

# Redis cache configuration
REDIS = {
    'tasks': {
        'HOST': 'localhost',      # Redis server
        'PORT': 6379,             # Redis port
        'PASSWORD': 'RedisPasswordNetBox',           # Redis password (optional)
        'DATABASE': 0,            # Database ID
        'SSL': False,             # Use SSL (optional)
    },
    'caching': {
        'HOST': 'localhost',
        'PORT': 6379,
        'PASSWORD': 'RedisPasswordNetBox',
        'DATABASE': 1,            # Unique ID for second database
        'SSL': False,
    }
}

# Secret key
SECRET_KEY = 'Slr-8H@1XMcW!22_UYNLcWw+_5=$$=8mtL#JImfOlD*-KiuI6h'
When you are finished, save and close the file.
Now to start the NetBox installation, you can run the script "upgrade.sh" as below.
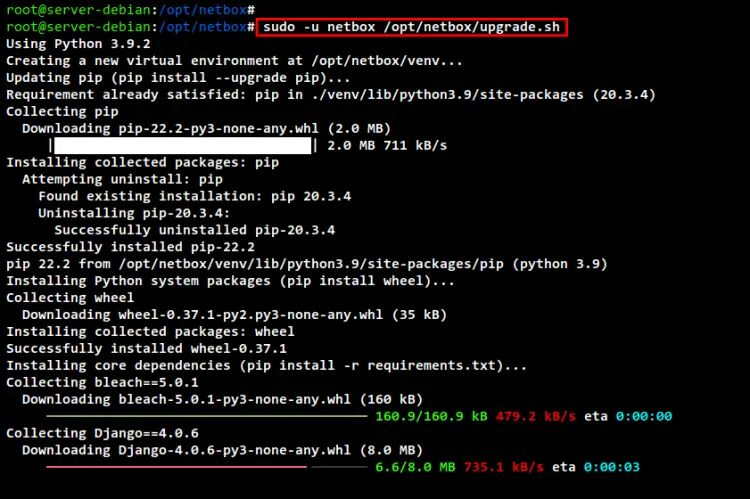
sudo -u netbox /opt/netbox/upgrade.sh
This script will install and configure the NetBox installation automatically. The detailed version is below:
- This will create a new Python virtual environment for your NetBox installation.
- This is also will install some Python dependencies and libraries for NetBox.
- Running the database migration for NetBox.
- Generating static files resource for NetBox.
Below is the output when the installation begins.
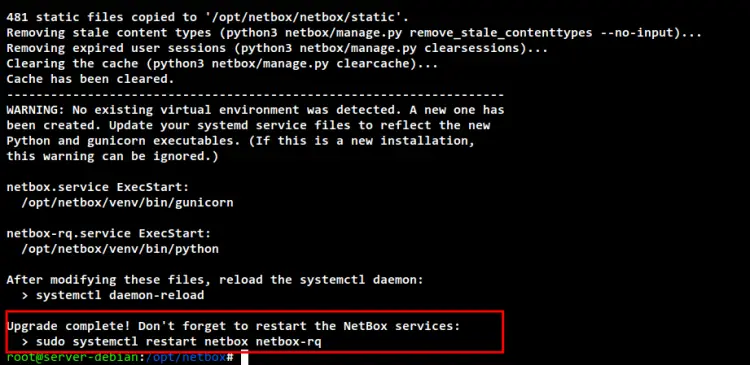
When the installation is finished, you will see the following output.
Creating NetBox Administrator User
You have finished the NetBox basic installation. Now, you will create a new admin user for NetBox. And this is also similar way when you need to create a Django admin user.
Run the following command to activate the Python virtual environment.
source /opt/netbox/venv/bin/activate
Move the working directory to "/opt/netbox/netbox". Then, run the script "manage.py" to create a new admin user for NetBox.
cd /opt/netbox/netbox
python3 manage.py createsuperuser
Input the username, email, and password for NextBox.
After the admin configuration is finished, run the following command to set up the necessary cron script for NetBox. this will be run automatically on daily basis.
sudo ln -s /opt/netbox/contrib/netbox-housekeeping.sh /etc/cron.daily/netbox-housekeeping
Lastly, run the following command to test and verify your NetBox installation. if your installation is correct, you will see the netBox is now running on the port "8000".
python3 manage.py runserver 0.0.0.0:8000 --insecure
Now press "Ctrl+c" to the terminal for the process. Then, run the "deactivate" command to exit from the Python virtual environment.
Setting Up NetBox as Systemd Service
After finishing the admin configuration for NetBox. Now, you will set up the NetBox as a systemd service. The NetBox service will be running under the Gunicorn and HTTP reverse proxy.
All necessary configuration NetBox Gunicorn and systemd service script is available by default on the "/opt/netbox/contrib" directory.
Run the following command to copy the Gunicorn configuration to "/opt/netbox/gunicorn.py". Then, edit the file using nano editor.
sudo -u netbox cp /opt/netbox/contrib/gunicorn.py /opt/netbox/gunicorn.py
sudo -u netbox nano /opt/netbox/gunicorn.py
On the default configuration, the NetBox application will be running on localhost with port "8001". You can leave the configuration as default or make changes based on your environment.
bind = '127.0.0.1:8001'
Save and close the config file when you are finished.
Next, copy the systemd service files to the "/etc/systemd/system" directory using the following. This will enable two services the "netbox" service as the main service for your NetBox application and the "netbox-rq" service for the NetBox requests queue service.
sudo cp -v /opt/netbox/contrib/*.service /etc/systemd/system/
Now reload the system manager to apply new NetBox service files.
sudo systemctl daemon-reload
After reloading the systemd manager, you can run the "netbox" and "netbox-rq" services using the systemctl command as below. both services will be run automatically at system startup.
sudo systemctl start netbox netbox-rq
sudo systemctl enable netbox netbox-rq
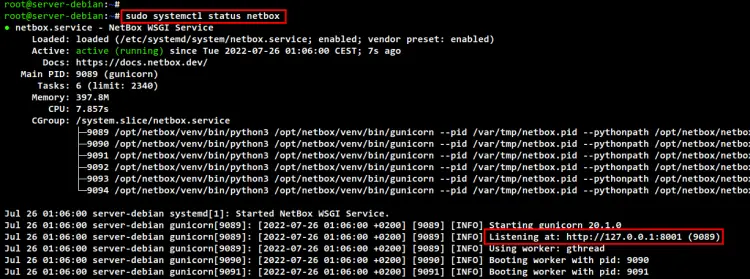
Lastly, check and verify NetBox services using the following command.
sudo systemctl status netbox
sudo systemctl status netbox-rq
In the following output, you can see the "netbox" service is enabled. And the current status is running.
For the 'netbox-rq" service, you will also get the output of the service enabled. And it's running.
Setting Up Apache2 as a Reverse Proxy
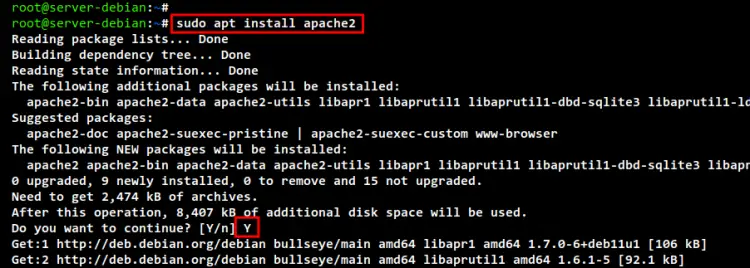
Run the apt command below to install the Apache2 web server. Input Y to confirm the installation and press ENTER, and the installation will begin.
sudo apt install apache2
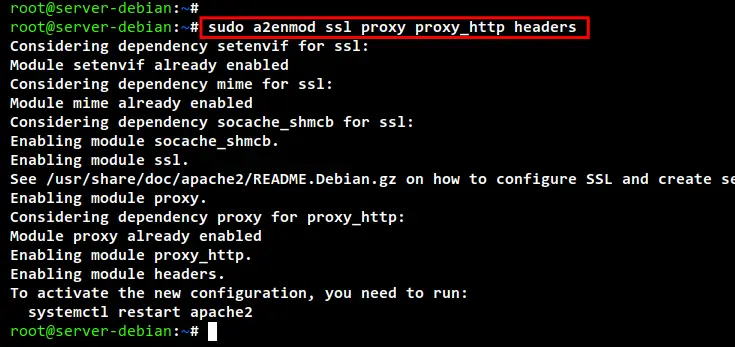
After finished the Apache2 installation, run the following command to enable some Aapche2 modules that will be used for Reverse Proxy. You should see some additional modules are also enabled.
sudo a2enmod ssl proxy proxy_http headers
Next, copy the sample of Apache2 virtual host configuration for NetBox to "/etc/apache2/sites-available/netbox.conf". Then, edit the file "/etc/apache2/sites-available/netbox.conf" using nano editor
sudo cp /opt/netbox/contrib/apache.conf /etc/apache2/sites-available/netbox.conf
sudo nano /etc/apache2/sites-available/netbox.conf
Change the domain name for your NetBox installation and the path of SSL certificates. In this example, we will use the domain "netbox.howtoforge.local" with the SSL certificates from Letsencrypt that are available on the directory "/etc/letsencrypt/live/netbox.howtoforge.local/".
<VirtualHost *:443>
    ProxyPreserveHost On

    # CHANGE THIS TO YOUR SERVER'S NAME
    ServerName netbox.howtoforge.local

    SSLEngine on
    SSLCertificateFile /etc/letsencrypt/live/netbox.howtoforge.local/fullchain.pem
    SSLCertificateKeyFile /etc/letsencrypt/live/netbox.howtoforge.local/privkey.pem

    Alias /static /opt/netbox/netbox/static

    <Directory /opt/netbox/netbox/static>
        Options Indexes FollowSymLinks MultiViews
        AllowOverride None
        Require all granted
    </Directory>

    <Location /static>
        ProxyPass !
    </Location>

    RequestHeader set "X-Forwarded-Proto" expr=%{REQUEST_SCHEME}
    ProxyPass / http://127.0.0.1:8001/
    ProxyPassReverse / http://127.0.0.1:8001/
</VirtualHost>
When you are finished, save and close the file.
Now run the following command to activate the virtual host configuration "netbox.conf". Then, test and verify the Apache configuration. You should get the output message such as "Syntax OK", which means the Apache2 configuration is correct.
sudo a2ensite netbox.conf
sudo apachectl configtest
Now restart the Apache2 service to apply new changes to the virtual host file. The Apache2 web server is now running with HTTPS/SSL enabled as a reverse for the NetBox web application that running on "localhost:8001".
sudo systemctl restart apache2
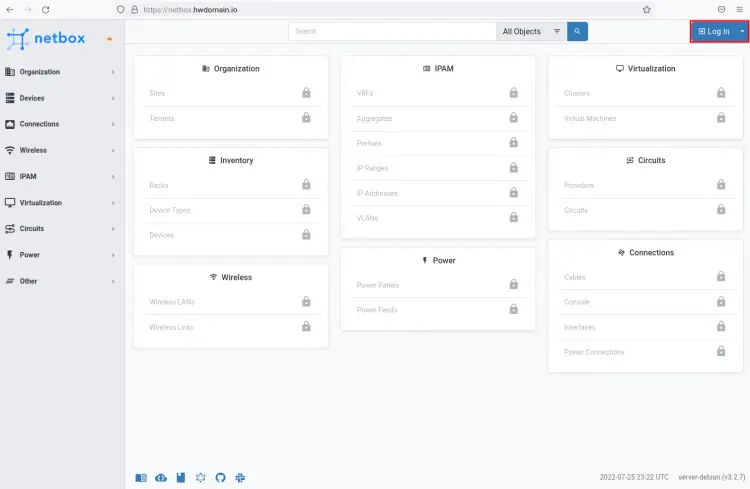
To verify the installation, open your web browser and visit the domain name of the NetBox installation (i.e: https://netbox.howtoforge.local/). And you should get the dashboard administration for NetBox with a locked status.
Click on the "Login" button at the top right.
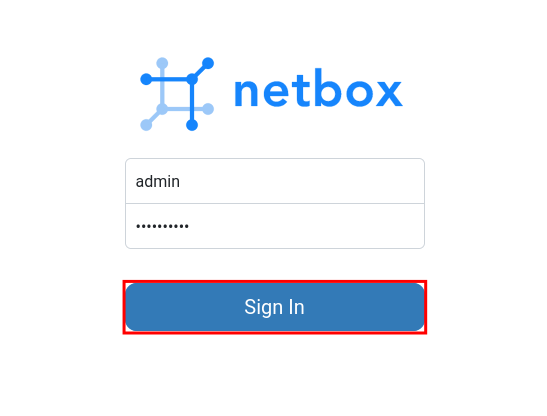
Now input the admin user and password for your netBox installation and click "Login".
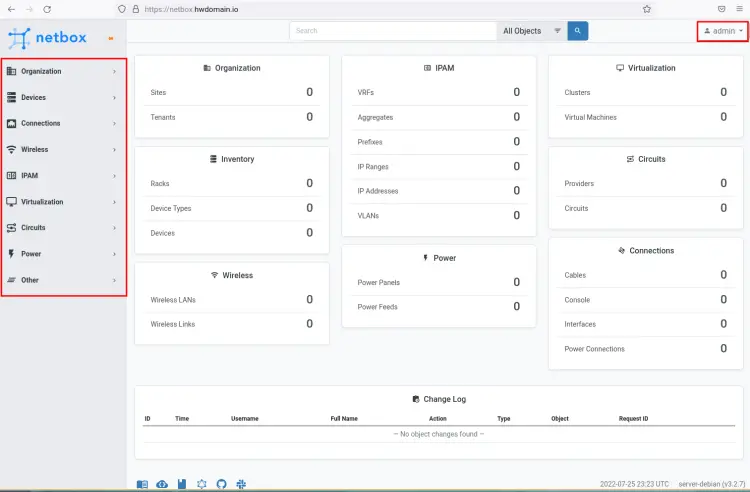
You should get the dashboard administration of NetBox.
Conclusion
Through this tutorial, you have set up NetBox Infrastructure Resource Modelling (IRM) with the PostgreSQL database, Redis caching system, Gunicorn, and the Apache2 reverse proxy on a Debian 11 server. You have also configured NetBox as a systemd service that makes you easier to start and stop the NetBox web application. In the end, you have fully configured NetBox IRM running on your Debian server with secure HTTPS/SSL enabled on top of it.

