How to Install Monica Personal Relationship Manager on Debian 11
Monica CRM is a free and open-source CRM (Customer Relationship Manager) written in PHP. Monica CRM helps you track personal events, activities, work information, contacts, journals, notes, and many more.
Monica CRM provides so many features such as contacts management and the relationship between contacts, reminders, activities and task management, basic journaling, importing and exporting data, upload media files such as Documents and photos, and many more. It can be installed in multiple ways, via Docker, manually on the server (VPS), or using PaaS (Platform as a Service).
In this guide, you will go over how to install the Personal Relationship Manager Monica CRM on Debian 11 server. You will also install and configure the LEMP Stack (Nginx, MariaDB, PHP-FPM), install PHP dependencies via Composer, installing and compile static assets using Node.js and Yarn.
Prerequisites
For this tutorial to work, you will need one Debian 11 server and configured the non-root user with root or administrator privileges. Also, if you plan to deploy on production, you will need a domain name pointed to your Debian server IP address. Additionally, it's recommended to turn on the Firewall on your Debian server production.
Installing Nginx Web Server
Monica CRM is a web application mainly written in PHP. To install Monica CRM, you can use a web server like Apache2, Nginx, or Caddy web server.
In this guide, you will run Monica CRM with the Nginx web server. So, now you will install Nginx packages to your Debian server.
Before starting installing packages, run the following apt command to update and refresh the Debian package index.
sudo apt update
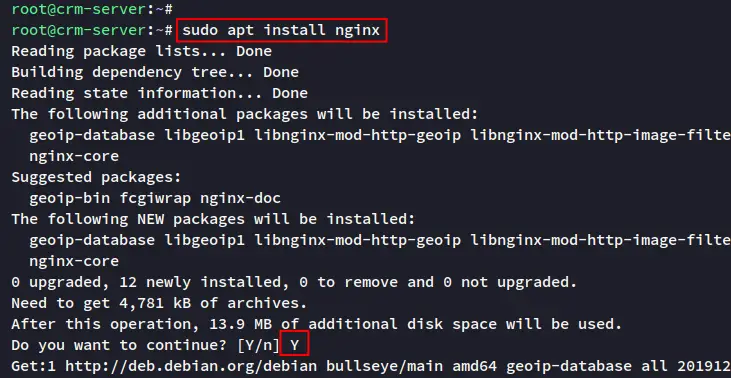
Now, install Nginx packages via the apt command below. When prompted to confirm the installation, input Y and press ENTER to proceed.
sudo apt install nginx
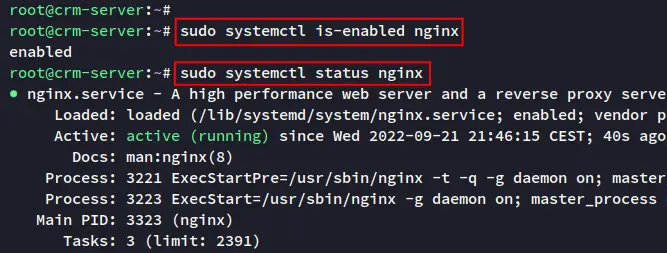
Once Nginx is installed, verify the 'nginx' service to make sure it's running via the systemctl command below.
sudo systemctl is-enabled nginx
sudo systemctl status nginx
You will now see the 'nginx' service is enabled and will be running automatically at system boot. And the status of the Nginx service is now running.
Installing MariaDB Server
The Monica CRM supports MySQL/MariaDB for the installation. Now you will install the MariaDB to your Debian server. You will also secure the deployment of the MariaDB server via the script 'mysql_secure_installation'.
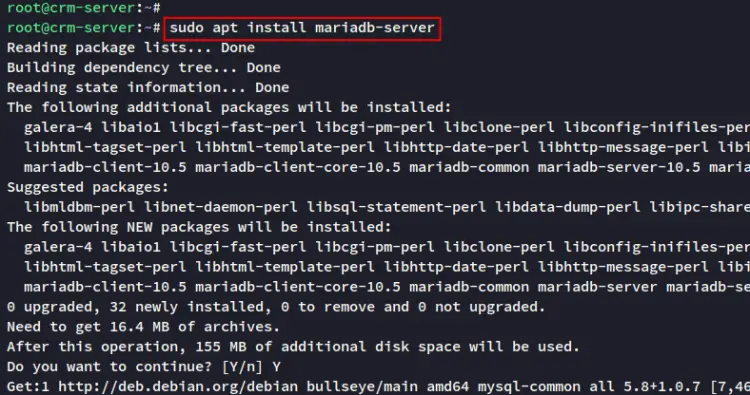
Install the MariaDB server via the apt command below. When prompted to confirm the installation, input Y and press ENTER to proceed.
sudo apt install mariadb-server
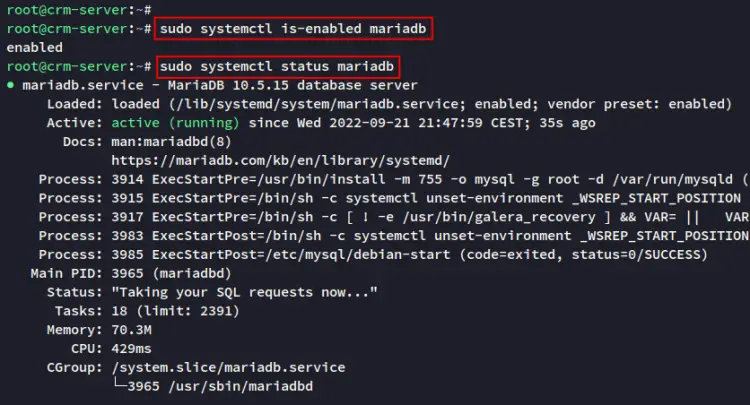
If the MariaDB is installed, verify the MariaDB service and make sure the service is running. Run the following systemctl command.
sudo systemctl is-enabled mariadb
sudo systemctl status mariadb
You will see the MariaDB server is enabled and will be running automatically at system boot. And the current status of the MariaDB service is running.
Next, you will secure the MariaDB server deployment via the script 'mysql_secure_installation', which is provided by MariaDB packages.
Run the following command to start securing MariaDB deployment.
sudo mysql_secure_installation
You will be asked about multiple MariaDB configurations:
- Change authentication to unix_socket? input n.
- Change the MariaDB root password? input y to confirm, input the new password for your MariaDB server and repeat the password.
- Disable remote root login? input y to confirm - the root user should not be allowed to connect remotely.Remove anonymous user? input y to confirm.
- Remove the default database 'test'? input y to confirm and remove the test database.
- Lastly, input y to reload tables privileges and apply new changes.
The MariaDB server is now installed and secured.
Installing and Configuring PHP-FPM 8.1
The Monica CRM is a web application based on PHP, so you must install PHP packages to your Debian server. The current version of Monica CRM required at least PHP v8.1 or newer.
For Debian 11 system, you will install PHP 8.1 packages via a third-party repository. You will now install PHP-FPM 8.1 via the sury.org repository and configure your PHP installation according to the Monica CRM requirements.
Run the following command to add the PHP 8.1 repository to your Debian server.
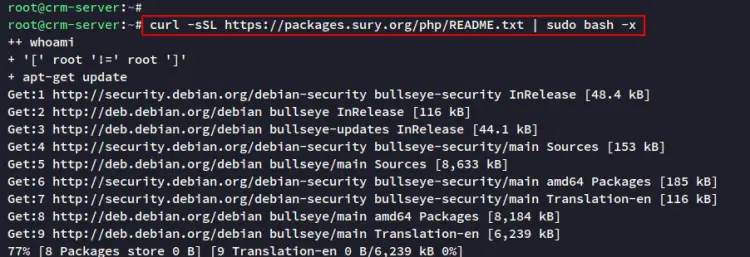
curl -sSL https://packages.sury.org/php/README.txt | sudo bash -x
Now you will see the new repository for PHP 8.1 is added and the package index is automatically refreshed and updated.
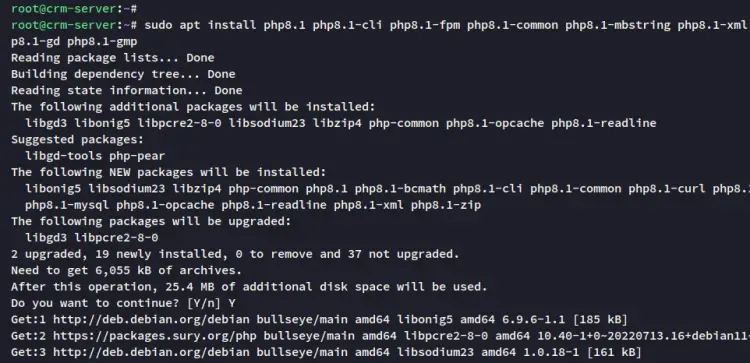
Next, install PHP-FPM 8.1 packages via the apt command below.
sudo apt install php8.1 php8.1-cli php8.1-fpm php8.1-common php8.1-mbstring php8.1-xml php8.1-mysql php8.1-curl php8.1-zip php8.1-intl php8.1-bcmath php8.1-gd php8.1-gmp php8.1-redis
Input Y to confirm the installation and press ENTER to proceed.
Once PHP 8.1 is installed, edit the configuration file '/etc/php/8.1/fpm/php.ini' using the nano editor command.
sudo nano /etc/php/8.1/fpm/php.ini
Change the default PHP configuration with the following settings.
date.timezone = Europe/Paris
max_execution_time = 130
memory_limit = 256M
post_max_size = 128M
upload_max_filesize = 128M
Save the file and close the editor when you are finished.
Next, restart the PHP-FPM 8.1 service to apply new changes via the systemctl command below.
sudo systemctl restart php8.1-fpm
Lastly, run the following systemctl command to verify the PHP-FPM 8.1 service and make sure the service is enabled and running.
sudo systemctl is-enabled php8.1-fpm
sudo systemctl status php8.1-fpm
You will see that PHP-FPM 8.1 is enabled and will be running automatically at system startup. And the current status of the PHP-FPM 8.1 service is running.
The LEMP Stack is now installed and configured, next start creating a new database and user for Monica CRM.
Setting up MariaDB Database and User
To set up the MariaDB database and user for the Monica CRM installation, you must log in to the MariaDB shell.
Log in to the MariaDB shell via the mysql command below.
sudo mysql -u root -p
Run the following queries to create a new database and user for Monica CRM. For this guide, you will create a new database monicacrm_db with the MariaDB user monica@localhost. Also, be sure to change the password with the new password.
CREATE DATABASE monicacrm_db;
CREATE USER monica@localhost;
GRANT ALL ON monicacrm_db.* TO 'monica'@'localhost' IDENTIFIED BY 'password';
FLUSH PRIVILEGES;
Next, run the following query to verify the privileges for the MariaDB user monica@localhost.
SHOW GRANTS FOR monica@localhost;
quit
And you will see the MariaDB user monica@localhost is allowed to access the Monica CRM database monicacrm_db.
Installing Composer
After the MariaDB database and user is configured, you will now install the Composer that will be used to install PHP dependencies for the Monica CRM.
Install Composer via the one-line command below. This command will download the installer script for Composer and run it. Then, install the Composer to the /usr/bin/composer.
curl -sS https://getcomposer.org/installer | php -- --install-dir=/usr/bin --filename=composer
Once Composer is installed, verify using the following composer command. You should see the detailed version of Composer and the help page on how to use Composer.
sudo -u www-data composer -v
Installing Node.js and Yarn
After installed Composer, you will now install Node.js and Yarn. Both packages will be used to compile static files for Monica CRM. And the current version of Monica CRM required at least Node.js v16.
The default Debian repository provides Node.js v12, so you will install the latest version of Node.js via the third-party repository Nodesource.
Run the following command to add the Node.js Nodesource repository. In this example, you will install Node.js v16.
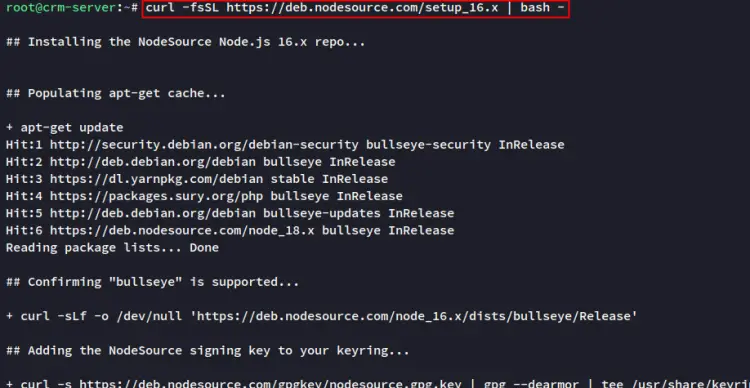
curl -fsSL https://deb.nodesource.com/setup_16.x | bash -
Now you will see the Nodesource repository is added to ypur Debian system and the package index is refreshed.
Next, run the following command to add the Yarn package repository to your system.
curl -sL https://dl.yarnpkg.com/debian/pubkey.gpg | gpg --dearmor | sudo tee /usr/share/keyrings/yarnkey.gpg >/dev/null
echo "deb [signed-by=/usr/share/keyrings/yarnkey.gpg] https://dl.yarnpkg.com/debian stable main" | sudo tee /etc/apt/sources.list.d/yarn.list
Now update and refresh your Debian package index. Then, install Node.js and Yarn via the following apt command.
sudo apt update
sudo apt install nodejs yarn
Input y to confirm the installation and press ENTER to confirm and proceed.
After Node.js and Yarn is installed, run the following command to check the binary file of both applications.
which node
which yarn
Lastly, check the Node.js and Yarn version using the following command. You will see the installed version of Node.js and Yarn in the output.
node --version
yarn --version
At this point, the package dependencies for Monica CRM is installed. Next, you will start the Monica CRM installation by downloading the source code, installing package dependencies via Composer, then compiling static files using Node.js and Yarn.
Installing Monica CRM
Now you will start the installation of Monica CRM. You will download the source code, set up the correct permission and ownership, install PHP dependencies via Composer, install and generate static files via Yarn and Node.js, then generate the application key and migrate the database for production.
Before starting the installation, be sure the git package is installed. If not, you can install it via the apt command below.
sudo apt install git -y
Now, move the working directory to "/var/www/" and download the Monica CRM source code via the git command as below. You will see the new directory "monica".
cd /var/www/
git clone https://github.com/monicahq/monica.git
Move to the "/var/www/monica" directory and move the master branch to the specific version "3.7.0". You can check the GitHub page of Monica CRM to get detailed versions of Monica CRM.
cd /var/www/monica
git checkout tags/v3.7.0
Next, copy the default configuration .env.example to .env. Then, change the ownership to 'www-data'.
cp /var/www/monica/.env.example /var/www/monica/.env
sudo chown www-data:www-data /var/www/monica/.env
Edit the file .env using nano editor.
nano /var/www/monica/.env
Change the 'APP_ENV' to production and the 'APP_URL' to the domain name of your Monica CRM installation. Then, change the details of the MariaDB database with the database and user that you have created before.
APP_ENV=production
...
APP_URL=https://howtoforge.local/
...
DB_CONNECTION=mysql
DB_HOST=127.0.0.1
DB_PORT=3306
...
DB_DATABASE=monica
DB_USERNAME=homestead
DB_PASSWORD=password
Save the file and exit the editor when you are finished.
Now run the following command to change the ownership of the Monica CRM installation directory '/var/www/monica' to the user www-data. Then, create another directory '/var/www/.cache', and change the ownership to www-data.
sudo chown -R www-data:www-data /var/www/monica

sudo mkdir -p /var/www/.cache
sudo chown -R www-data:www-data /var/www/.cache
Next, run the following composer command to install PHP package dependencies for Monica CRM.
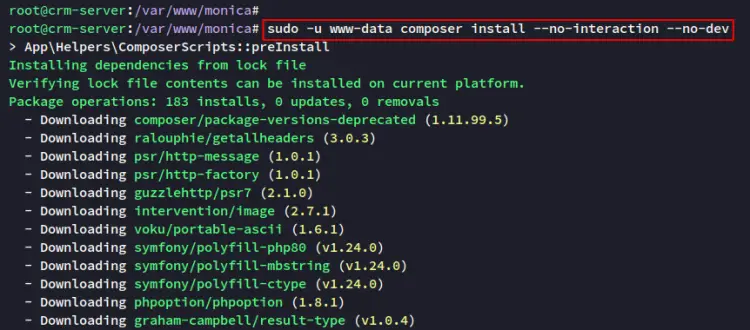
sudo -u www-data composer install --no-interaction --no-dev
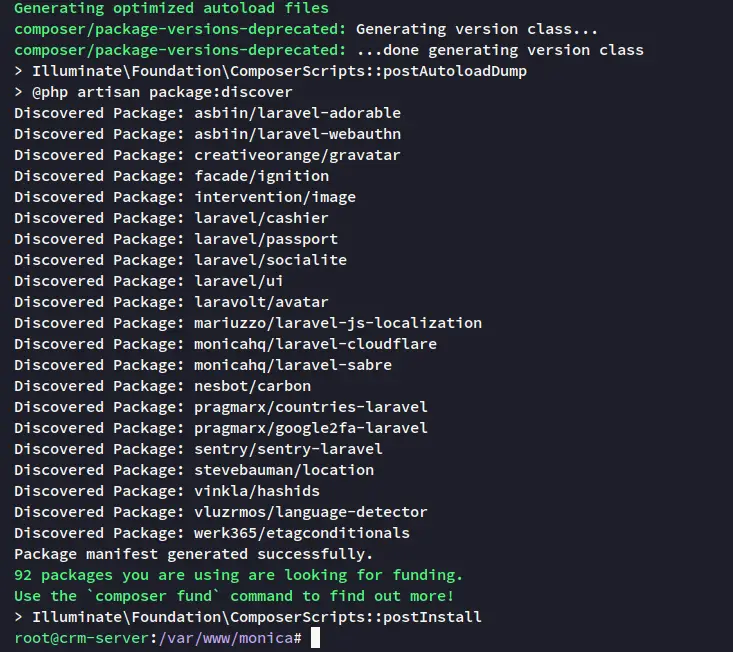
Below you can see PHP dependencies installation.
After dependencies is installed, you will see the output like the following:
Next, create another new directory that will be used to store the JavaScript packages' cache. Then, change the ownership to the www-data.
sudo mkdir -p /var/www/.yarn
sudo chown -R www-data:www-data /var/www/.yarn
After that, install JavaScript packages for the Monica CRM web applications and generate static files for the production environment via the yarn command below.
sudo -u www-data yarn install
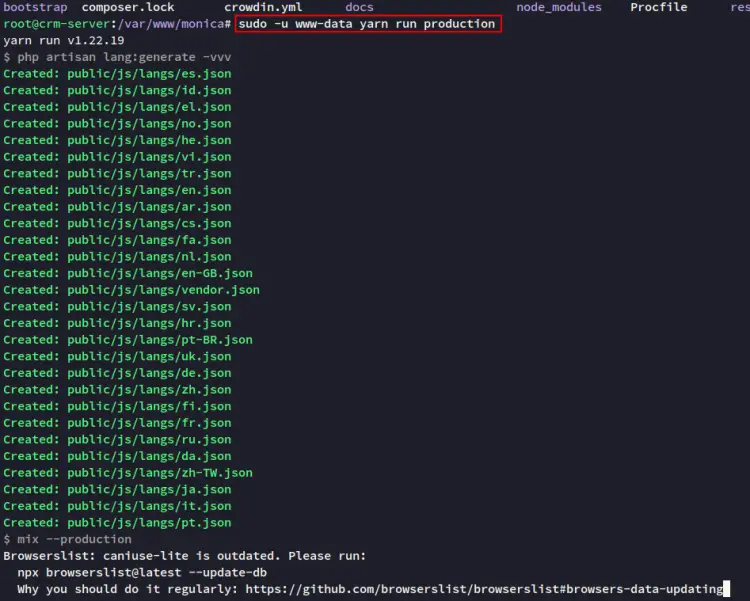
sudo -u www-data yarn run production
Below you can see the download process of JavaScript packages.
Below you can see the process when compiling static files.
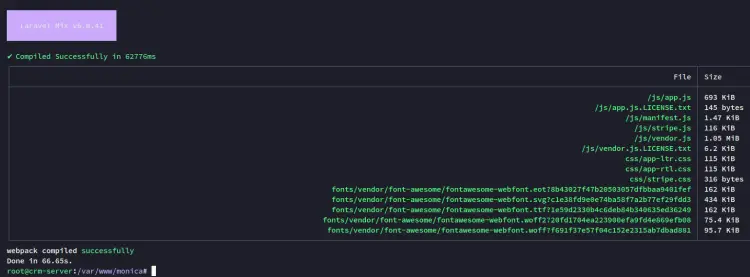
When static files is compiled, you will see the output message such as "Compiled Successfully in ...".
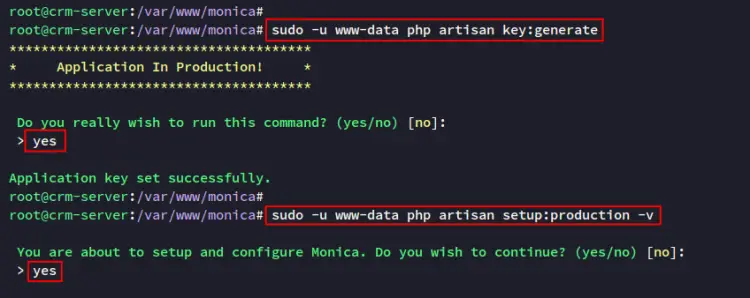
Now, run the following command to generate the application key for Monica CRM. Then, migrate the database for production. When prompted to confirm the action, input 'yes' and press ENTER to proceed.
sudo -u www-data php artisan key:generate
sudo -u www-data php artisan setup:production -v
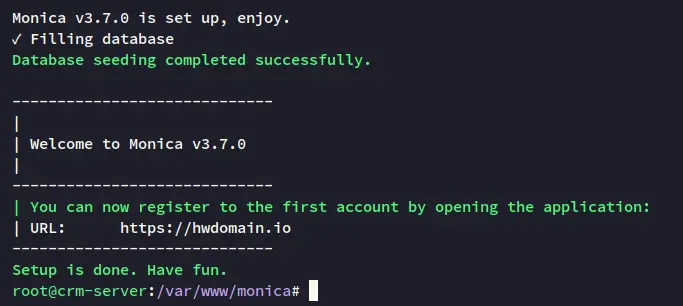
Once the database is migrated, you will see the output like the following:
Lastly, to complete the Monica CRM configuration, you will also need to create a Cronjob. Run the following command to create a new cron for the user www-data.
crontab -u www-data -e
Choose your preferred editor and taste the following configuration to the file.
* * * * * /usr/bin/php /var/www/monica/artisan schedule:run >> /dev/null 2>&1
Save the file and exit the editor when you are finished.
To ensure the permission of the Monica CRM installation directory, run the following command to change the ownership to www-data. Then, change the permission of the 'storage' directory to 775.
sudo chown -R www-data:www-data /var/www/monica
sudo chmod -R 775 /var/www/monica/storage
At this point, you have completed the Monica CRM configuration. next, you will set up the Nginx server block for the Monica CRM.
Setting up Nginx Server Block
Before you set up the Nginx server block, be your domain name is pointed to the server IP address, also be sure that you already have SSL certificates. If you don't have SSL certificates, you can generate free SSL via Let'sencrypt.
Create a new file '/etc/nginx/sites-available/monicacrm' using nano editor.
sudo nano /etc/nginx/sites-available/monicacrm
Add the Nginx configurations below. And be sure to change the domain name and path of SSL certificates.
server {

    listen 80;
    server_name howtoforge.local;
    return 301 https://$host$request_uri;

}

server {
    listen 443 ssl http2;

    ssl_certificate /etc/letsencrypt/live/howtoforge.local/fullchain.pem;
    ssl_certificate_key /etc/letsencrypt/live/howtoforge.local/private.key;

    server_name howtoforge.local;
    root /var/www/monica/public;

    index index.php;

    location / {
        try_files $uri $uri/ /index.php?$args;
    }

    location ~ \.php$ {
        include snippets/fastcgi-php.conf;
        fastcgi_pass unix:/var/run/php/php8.1-fpm.sock;
    }
}
Save the file and exit the editor when you are finished.
Next, run the following command to activate the Nginx server block 'monicacrm'. Then, verify the Nginx configuration to make sure that you have the proper configuration.
sudo ln -s /etc/nginx/sites-available/monicacrm /etc/nginx/sites-enabled/
sudo nginx -t
If you have proper Nginx configuration, you should see the output message such as "Syntax OK - test successfully".
Now, run the following systemctl command to restart the Nginx service and apply nee server block configuration.
sudo systemctl restart nginx
Your Monica CRM installation is now accessible via the web browser.
Finishing up
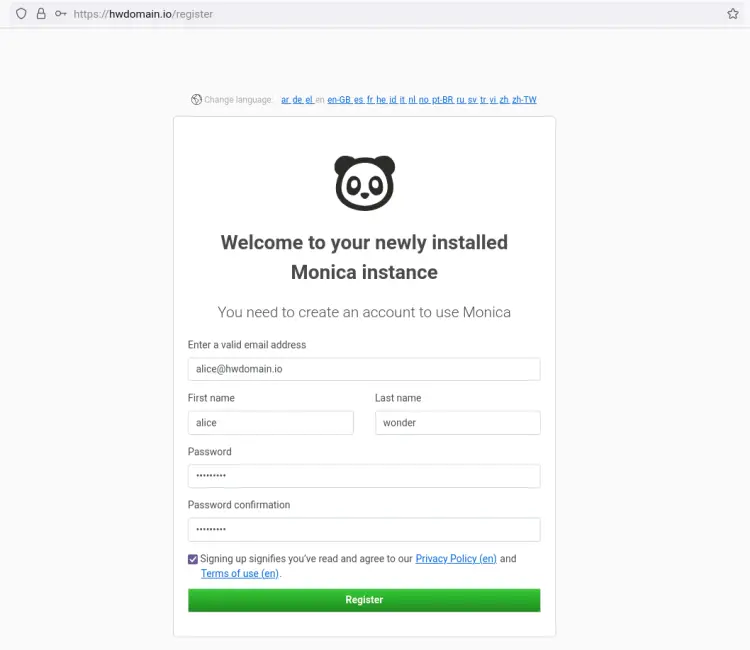
Open the web browser and visit the domain name of your Monica CRM installation (i.e: https://howtoforge.local/). In the first setup, you will need to register an account for your Monica CRM installation.
Input detail username, password, and email address. Then click Register.
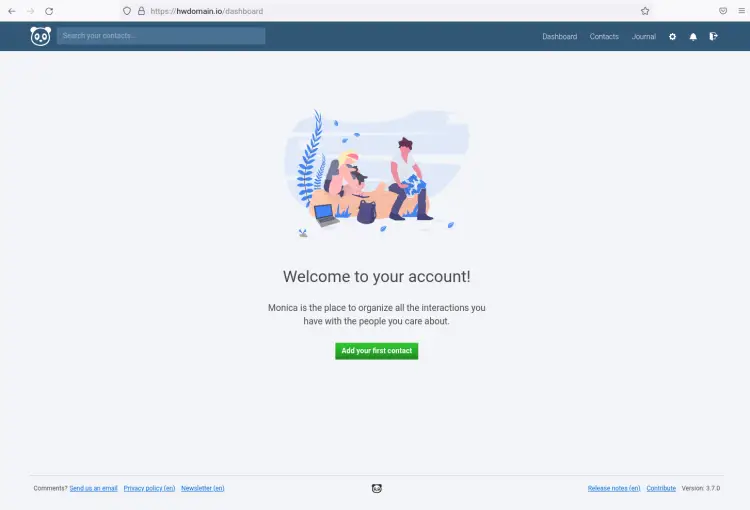
After the user registers, you will now see the Monica CRM user dashboard.
Conclusion
In this tutorial, you have installed Monica CRM on the Debian 11 server. You also have configured the LEMP Stack (Nginx, MariaDB, and PHP-FPM) on the Debian server, installed the PHP packages management Composer, and installed Node.js and Yarn.
Throughout this tutorial, you have now the Monica CRM installed and secured via HTTPS connections. Now you can start organizing your contacts, create journals, and tracks every important thing about your contacts.

