How to Install Miniconda on Debian 12
Miniconda is the mini version of Anaconda Distribution with fewer packages but powerful enough to set up your Python/R and data science projects. Miniconda only includes tolls such as 'conda', Python, and small additional useful packages. It is a lightweight Anaconda version with a smaller size and still can install additional packages through Anaconda's public repository, or any third-party repositories such as conda-forge and bioconda.
This guide teaches you how to install Miniconda on a Linux Debian 12 server. You'll learn to use the 'conda' command line to create and manage virtual environments and packages. Ultimately, we'll also show you how to use Miniconda for Flask development, which is isolated from the virtual environment.
Prerequisites
To get started with this guide, make sure you have the following:
- A Linux server/desktop - this example uses Debian 12
- A non-root user with administrator privileges
Installing Miniconda
To install Miniconda on Debian, you can easily download the installer with 'curl' and execute it from the terminal. Here's how to install Miniconda on your Debian machine.
Download the Miniconda installer for Linux with the 'curl' command below.
curl -O https://repo.anaconda.com/miniconda/Miniconda3-latest-Linux-x86_64.sh
Once the download is complete, execute the 'Miniconda3-latest-Linux-x86_64' installer script like the following:
bash ~/Miniconda3-latest-Linux-x86_64.sh
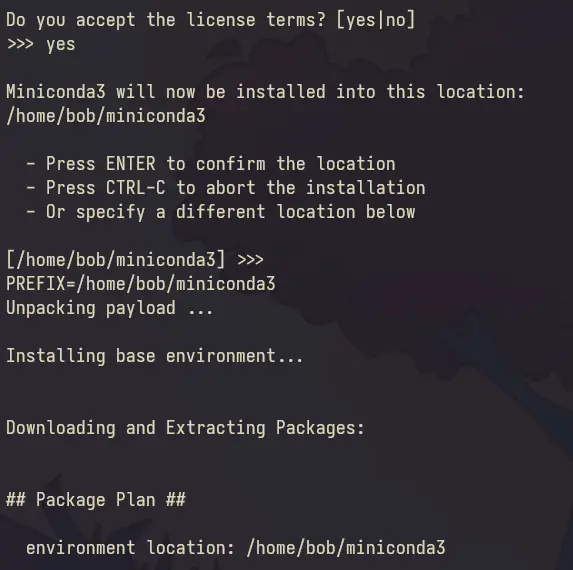
Now do the following:
- Press and hold ENTER to review the license agreement.
- Enter 'yes' to agree on the license agreement.
- Press ENTER to configure the default installation path to '/home/USER/miniconda3'.
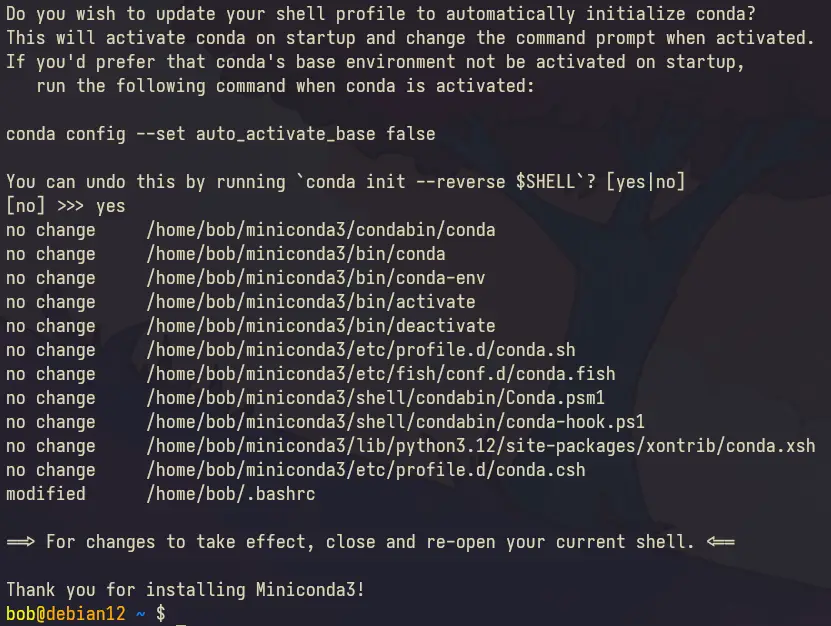
- For the initialization process, select 'yes' to automate the Miniconda initialization.
- After the process is finished, you'll see a message such as 'Thank you for installing miniconda3'.
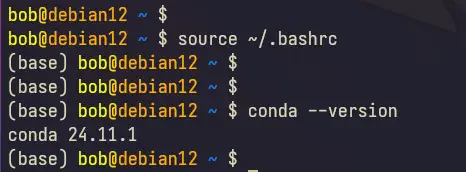
 Now that the installation is finished, reload your current shell environment with the command below. Below you can use one, the '~/.bashrc' for Bash user or '~/.zshrc' for ZSH user.
source ~/.bashrc
source ~/.zshrc
After your shell is reloaded, you'll automatically enter the '(base)' environment, which only intended for the Miniconda only.
For your applications or projects, create your own environment, which you'll learn later.
Check the 'conda' version with the command below. At this time, we've conda '24.11.1' installed.
conda --version
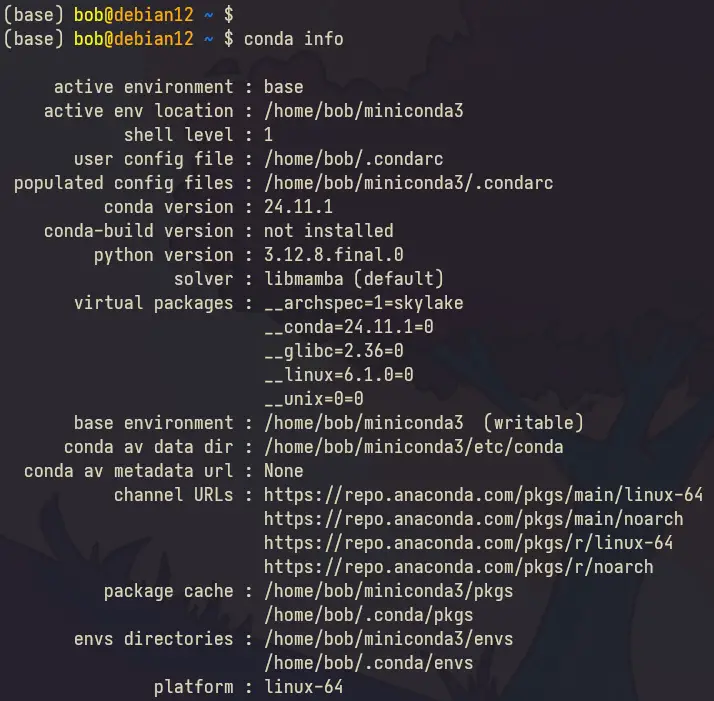
Lastly, you can check detailed information about the Miniconda installation with the following:
conda info
Here, you can see the active environment, data directory, cache directory, 'conda' version, environment directories, and channel URLs (repositories).
Creating Environment with conda
After you've installed Miniconda, let's learn how to create and manage virtual environments using Miniconda.
The Miniconda provides a command line tool 'conda' for managing and deploying virtual environments, packages, and applications. In this step, you'll learn how to create and activate virtual environments with 'conda', and also install packages to your virtual environment.
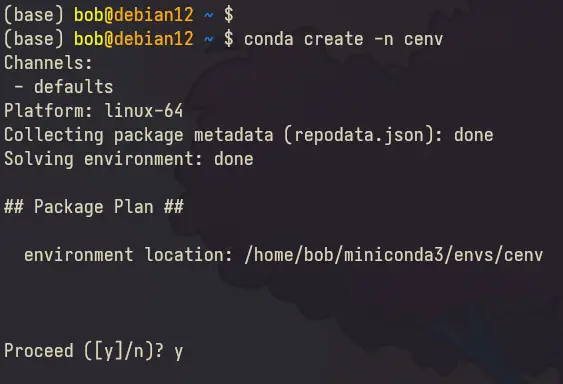
To create a new development environment Conda, run the 'conda' command below. In this example, you'll create a new environment named 'cenv'.
conda create -n cenv
When prompted, input 'y' to proceed.
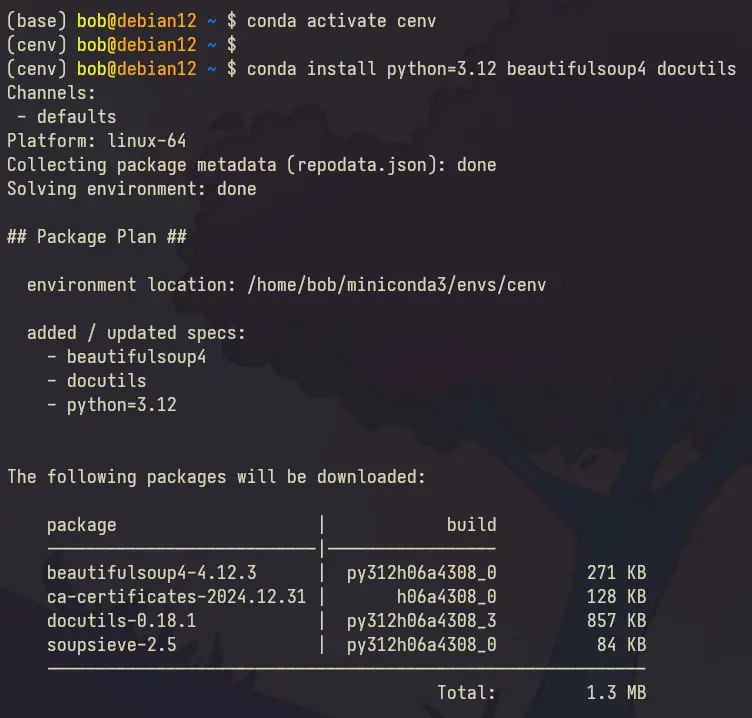
Once the 'cenv' environment is created, run the 'conda activate' command below to activate your new environment.
conda activate cenv
With this, your shell should be changed from '(base)' to '(cenv)'.
Next, run the 'conda install' command below to install your packages. For example, here we'll install Python 3.12, Beautifulsoup4, and docutils packages.
conda install python=3.12 beautifulsoup4 docutils
Lastly, you can deactivate your current environment with the command below.
conda deactivate
In addition to that, you can also use the single line command 'conda create' to create a new environment and install packages like the following.
conda create cent python=3.12 beautifulsoup4 docutils
Creating Environment with YAML file
Miniconda also provides a way to create environments through the YAML file. With this, you can easily share the YAML file with your friends and all will have the same environments. Now let's learn how to create virtual environments with 'conda' through the YAML file.
Create a new 'environment.yml' file with your text editor. In this case, we'll be using 'nano'.
nano environment.yml
Insert the configuration below to create a new environment 'myproject' with packages 'Python3.12', 'pip', and 'flask'. That package will be installed automatically.
name: myproject
dependencies:
 - python=3.12
 - pip
 - flask
Save the file and exit the editor when done.
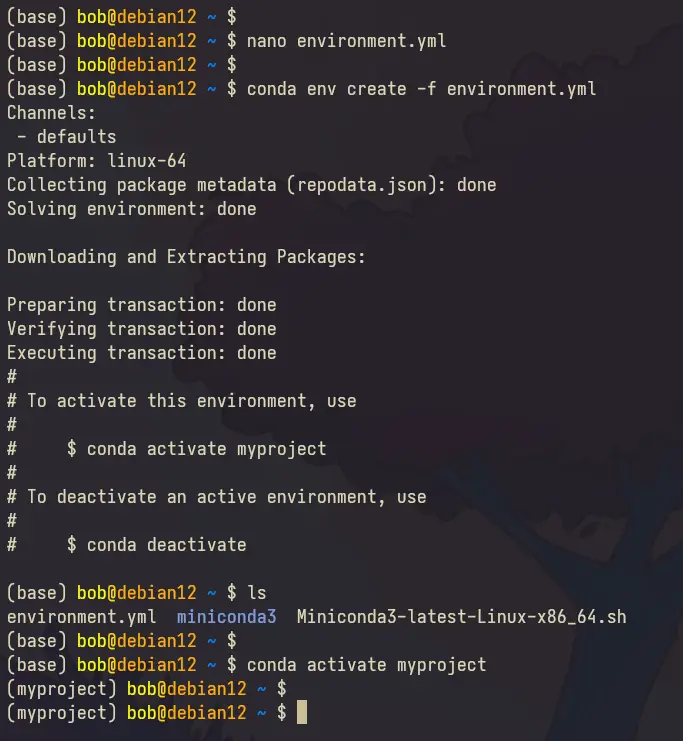
Now run the 'conda env create' command below to create a new virtual environment via the 'environment.yml' file.
conda env create -f environment.yml
Once complete, activate the 'myproject' environment with the command below.
conda activate myproject
If goes well, your shell will become such as '(myproject) user@host' like the screenshot below.
Listing Environments and Packages
In this section, you'll learn how to check environments that you've created and list available packages that you've installed using 'conda'.
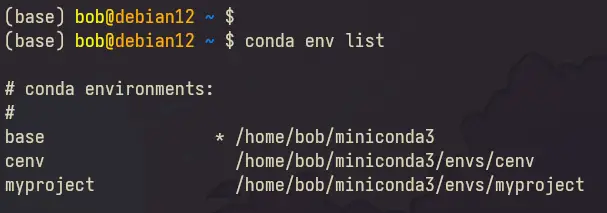
Run the 'conda env' command below to list projects/environments in your system. So in this case, you'll see three environments, '(base)' for the default Miniconda, 'cenv', and 'myproject'.
conda env list
You can also check the list of packages within your environment using the 'conda list' command below.
conda list -n myproject
conda list -n cenv
Below you can see the list of packages within the 'myproject'.

Removing Packages and Environment
Now that you've learned how to list environments and packages, the next step you'll learn how to remove packages and virtual environments within Miniconda.
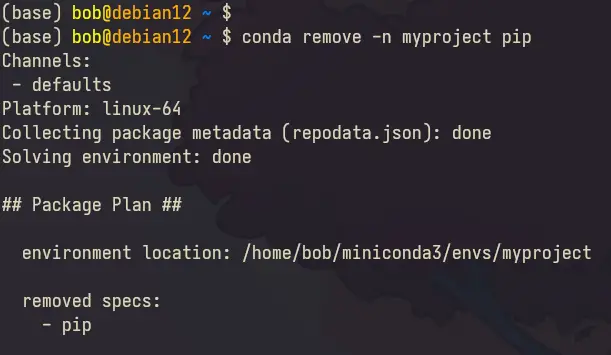
To remove the specific package from your environment, execute the 'conda remove' command followed by the '-n env-name' and package name.
conda remove -n myproject pip
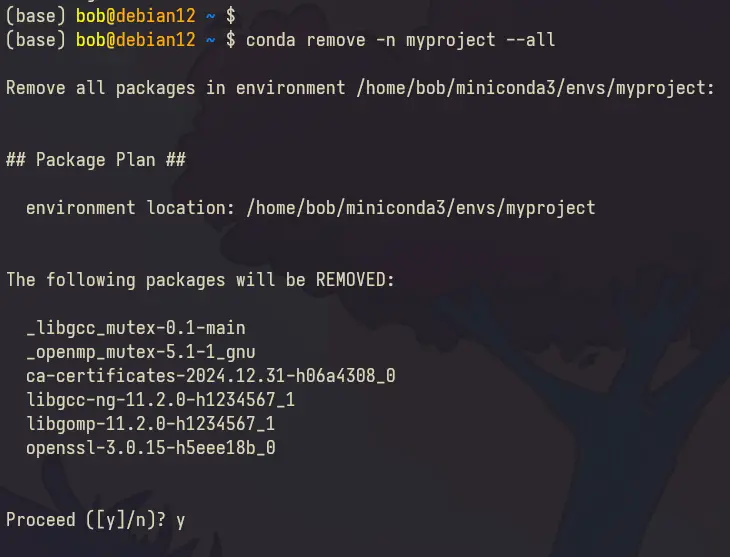
To remove the environment from your system, run the following 'conda remove' command followed by your environment name and the '--all' option.
conda remove -n myproject --all
Lastly, check the again your list environments again with the command below. You'll see your environment is deleted. In this example, the 'myproject' is deleted.
conda env list

Installing Flask with Conda
For this last step, we'll give you a demonstration of Flask development using Miniconda. For this, we'll be using the 'cenv' environment that we've created, and then installing Python. Pip, and Flask packages.
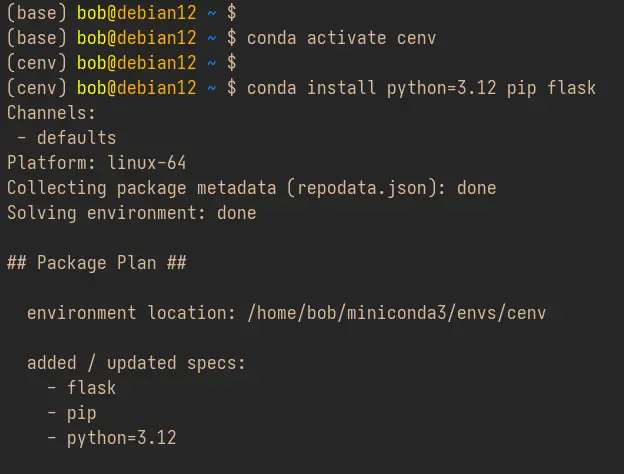
First, activate the 'cenv' virtual environment and install packages that are needed including 'flask'.
conda activate cenv
conda install python=3.12 pip flask
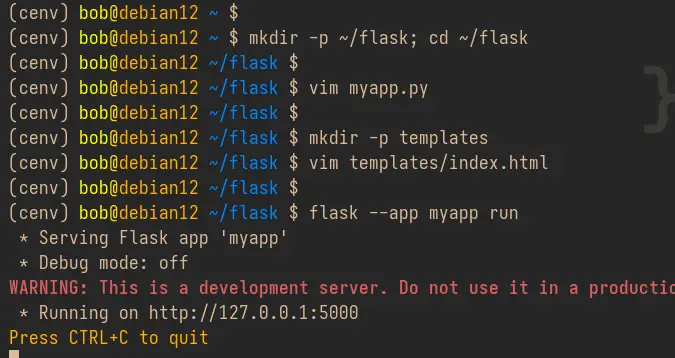
Now create a new '~/flask' project directory and go into it. Then, create a new application 'myapp.py' using your preferred text editor.
mkdir -p ~/flask; cd ~/flask
vim myapp.py
Insert the following Python script to create a new application 'myapp' that will show your 'Hello Flask' to your browser.
#myapp
from flask import Flask, render_template # importing the render_template function

app = Flask(__name__)
# route to index page
@app.route("/")
def hello():
return render_template('index.html')

if __name__ == ' __main__':
app.run(debug=True)
Now create a new 'templates' directory and create an 'index.html' file within that directory.
mkdir -p templates
nano templates/index.html
Insert the following HTML script that will be rendered by the 'render_template' function.
<html>
 <body>
 <h1><center>Hello Flask within Miniconda!</center></h1>
 </body>
</html>
Next, execute the 'flask' command below to start your application. This will run Flask on default port '5000'.
flask --app myapp run
When running, you'll see an output like the following:
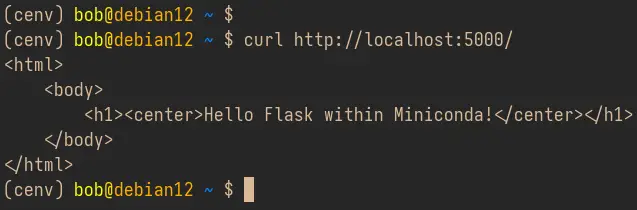
Lastly, open a new terminal tab and connect to your server. And then, execute the 'curl' command below to access your Flask application.
curl http://localhost:5000/
You'll see the 'index.html' script shown on your terminal.
Conclusion
Congratulations! You've learned how to install and use Miniconda. You've learned how to create, manage, list, and delete environments with the 'conda' utility. You've also learned how to set up the Python project Flask within the 'conda' environment. From here, you can create multiple environments for your projects, or you can create a YAML script for Miniconda environments and distribute it with your co-workers. This allows us to have the same development environment for the team.

