How to Install Apache Couch DB on AlmaLinux 9
Apache CouchDB is an open-source NoSQL and document-oriented database that supports multiple formats and protocols to store its data. It's written in Erlang and can be run as a high-performance single-node database.
Apache CouchDB allows you to use JSON to store data, and it also provides web UI for managing the CouchDB system and HTTP API that enables you to query data easily.
In this guide, we'll walk you through the installation of Apache CouchDB on the AlmaLinux 9 server. You will install Apache CouchDB in a single_node cluster, and set up admin user and firewalld for CouchDB. In addition, you will learn how to create a database and document on Apache CouchDB via web UI and HTTP API with Curl.
Prerequisites
To complete with this guide, you must have the following:
- An AlmaLinux 9 server.
- A non-root user with administrator privileges.
- A SELinux with permissive mode.
Setup Apache CouchDB Repository
The Apache CouchDB is a multi-platform NoSQL database that can be installed on Linux, Windows, macOS, and FreeBSD, and container technology such as Docker and Kubernetes. For RHEL-based distributions, you will install CouchDB from the official repository via DNF.
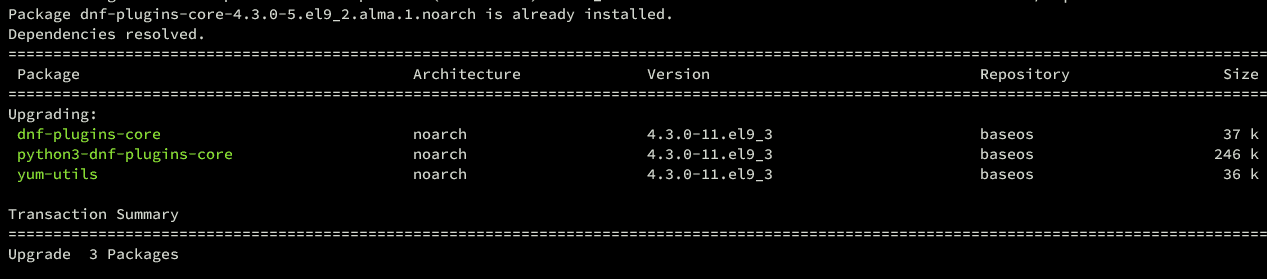
First, run the following command to install the dnf-plugins-core to your AlmaLinux server.
sudo dnf install dnf-plugins-core -y
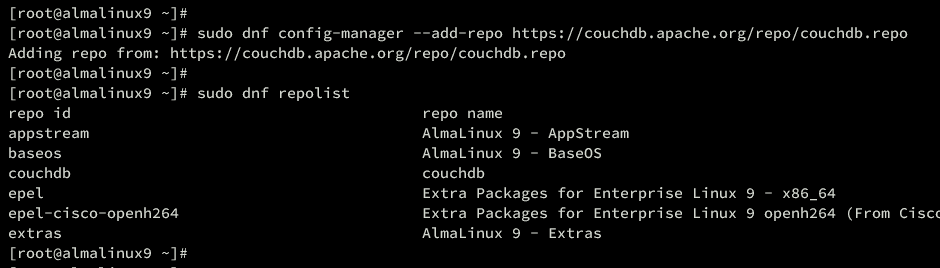
Add the Apache CouchDB repository to your system using the following command
sudo dnf config-manager --add-repo https://couchdb.apache.org/repo/couchdb.repo
Now, execute the dnf command below and check the available repositories on your system. Ensure the Apache CouchDB repository is added.
sudo dnf repolist
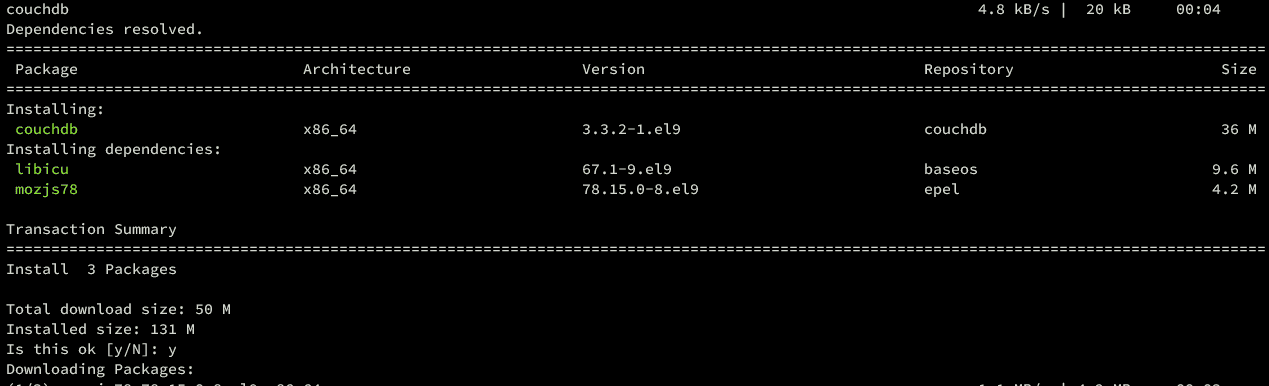
After adding the repository, install the Apache CouchDB package using the dnf command below.
sudo dnf install couchdb
Type y and press ENTER to proceed.
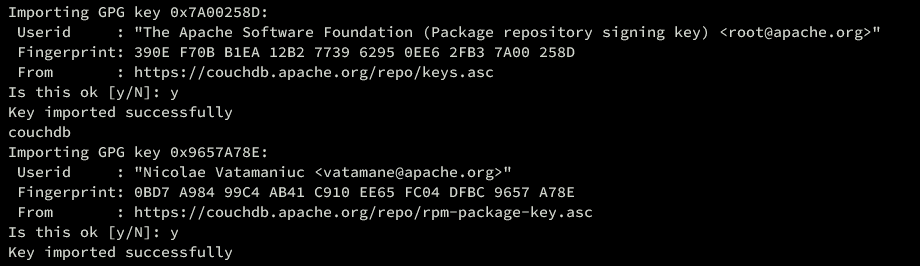
Also, when asked about the Apache CouchDB GPG key, input y to add the key to your system.
Once the installation is finished, go on.
Installing Apache CouchDB via Repository
After installing CouchDB via DNF, you will modify the default CouchDB configuration, set up the single_node cluster, configure the admin user and password, and then set up the HTTP address with a local server IP address.
Open the default configuration /opt/couchdb/etc/local.ini using the nano editor command.
sudo nano /opt/couchdb/etc/local.ini
Within the '[couchdb]' section, add the following line to set up the Apache CouchDB single node.
[couchdb]
single_node=true
Save and close the file when finished.
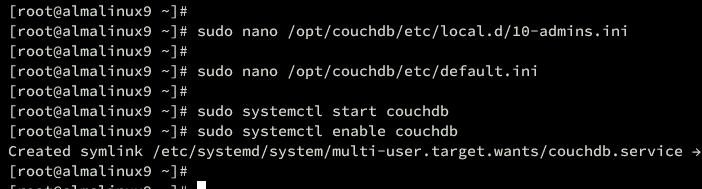
Next, create a new configuration /opt/couchdb/etc/local.d/10-admins.ini using the following nano editor command.
sudo nano /opt/couchdb/etc/local.d/10-admins.ini
Add the configuration below to the file and be sure to change the admin user and password with your details. This plaintext password will be encrypted automatically when running Apache CouchDB.
[admins]
admin = password
Save and close the file when finished.
Now open the default configuration /opt/couchdb/etc/default.ini using the nano editor command below.
sudo nano /opt/couchdb/etc/default.ini
Within the '[chttpd]' section, change the default 'bind_address' to your local IP address. This allows you to access from your local computer.
[chttpd]
bind_address = 192.168.5.50
Save and close the file when finished.
After that, run the systemctl command below to start and enable the couchdb service.
sudo systemctl start couchdb
sudo systemctl enable couchdb
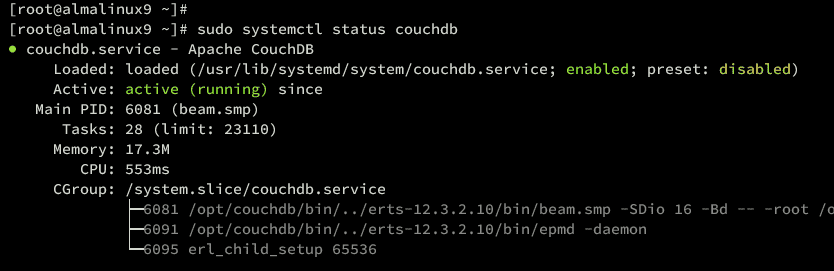
Lastly, verify the couchdb service using the command below to ensure that the service is running.
sudo systemctl status couchdb
If couchdb is running, you should get the output such as 'active (running)'.
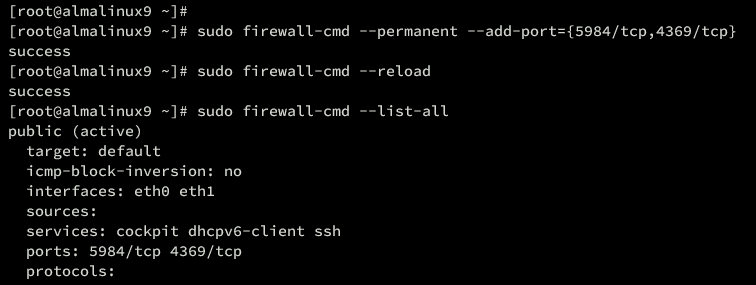
Configuring Firewalld
Now that CouchDB is running, you will set up firewalld to open ports 5984/tcp and 4369/tcp and allow access to your Apache CouchDB installation.
Execute the following command to open ports 5984/tcp and 4369/tcp for Apache CouchDB.
sudo firewall-cmd --permanent --add-port={5984/tcp,4369/tcp}
Reload firewalld to apply your changes.
sudo firewall-cmd --reload
Then, verify the list of available ports on firewalld using the command below. Ensure ports 5984/tcp and 4369/tcp are available.
sudo firewall-cmd --list-all
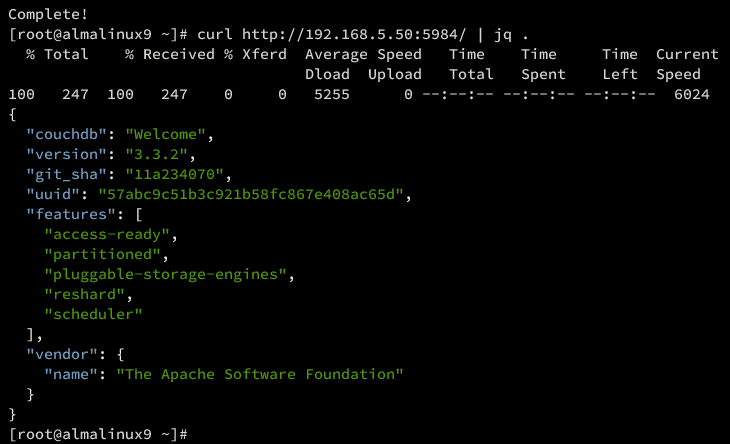
Lastly, run the curl command below to check Apache CouchDB.
curl http://192.168.5.50:5984/
Or, you can install 'jq' via DNF and parse the JSON output to make it readable.
sudo dnf install -y
Parse the JSON output using the command like this:
curl http://192.168.5.50:5984/ | jq .
If your CouchDB installation is successful, you should get the following.
Accessing Apache CouchDB Web Administration
At this point, you've configured the Apache CouchDB and firewalld, you're ready to access the CouchDB installation.
To access Apache CouchDB, visit your server IP address followed by port 5984 (i.e: http://192.168.5.50:5984/_utils#setup) using your favorite web browser. You should get the login page of Apache CouchDB.
Input your admin user and password, then click Login.
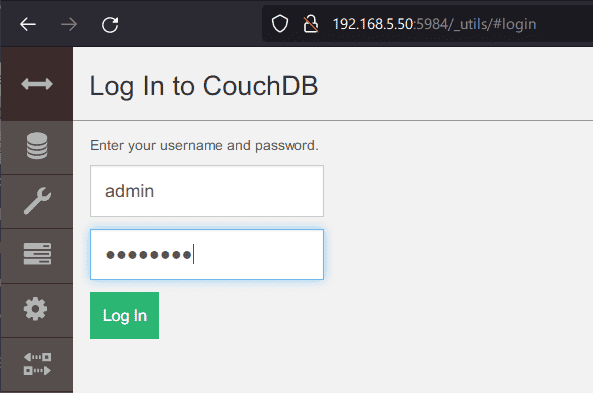
If you have the correct username and password, you should get the Apache CouchDB administration dashboard.

Managing Database in Apache CouchDB
Now that you've logged in to the Apache CouchDB administration dashboard, the next step is to learn how to create a database and insert data on CouchDB via web UI and HTTP API with Curl.
Basic Operations Management via Web UI
Before starting, ensure you've logged in to the Apache CouchDB administration dashboard.
First, you will create a new database via the Apache CouchDB web interface:
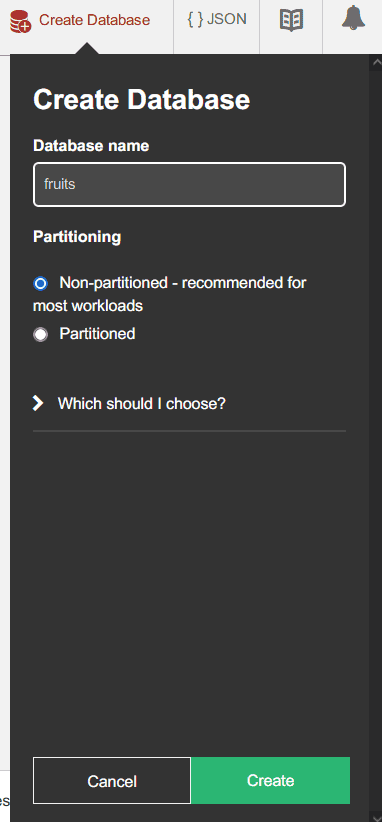
Click on the Databases menu and click the Create Database button.
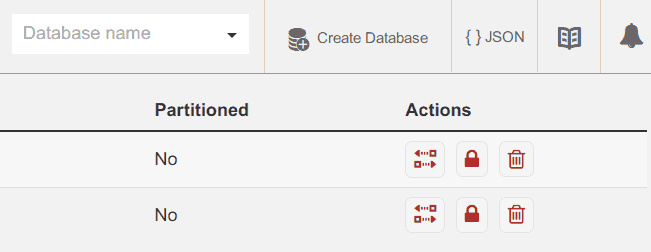
Input the new database name and click Create.
Now that you've created a database on Apache CouchDB, click on your database name.
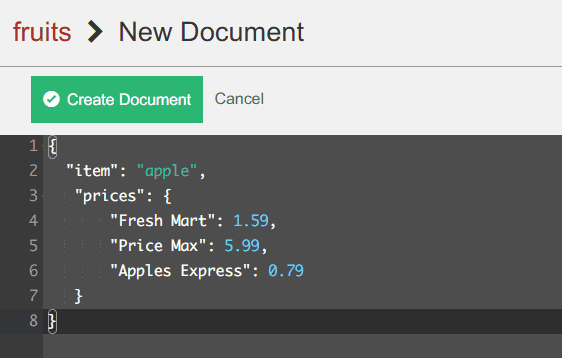
To create a new document, click the Create Document button.
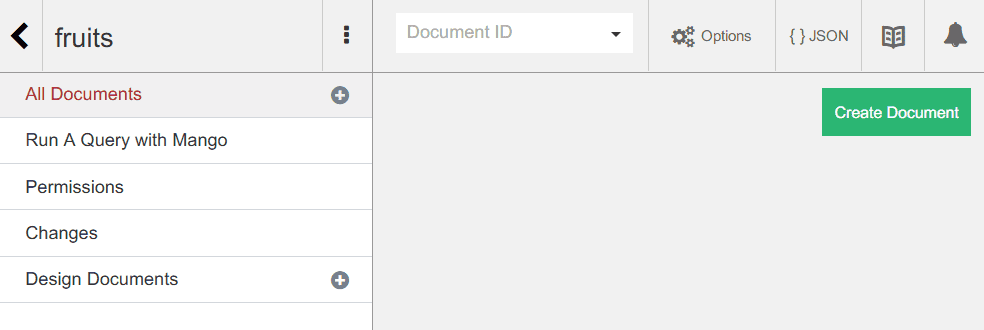
Input your JSON data, then click Create Document to confirm.
{
    "item": "apple",
   "prices": {
       "Fresh Mart": 1.59,
       "Price Max": 5.99,
       "Apples Express": 0.79
   }
}
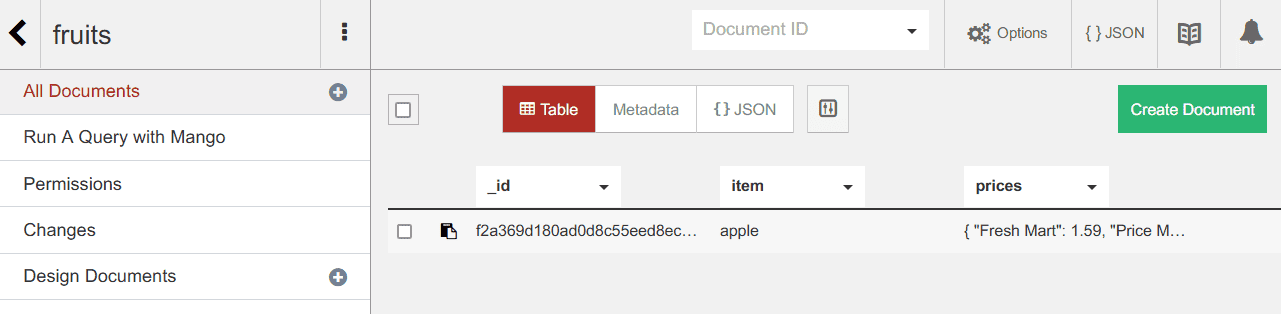
Once the document is created, you should get the result 'Saving document'.
In your database details, click the Table tab, and you should see the JSON document you created.
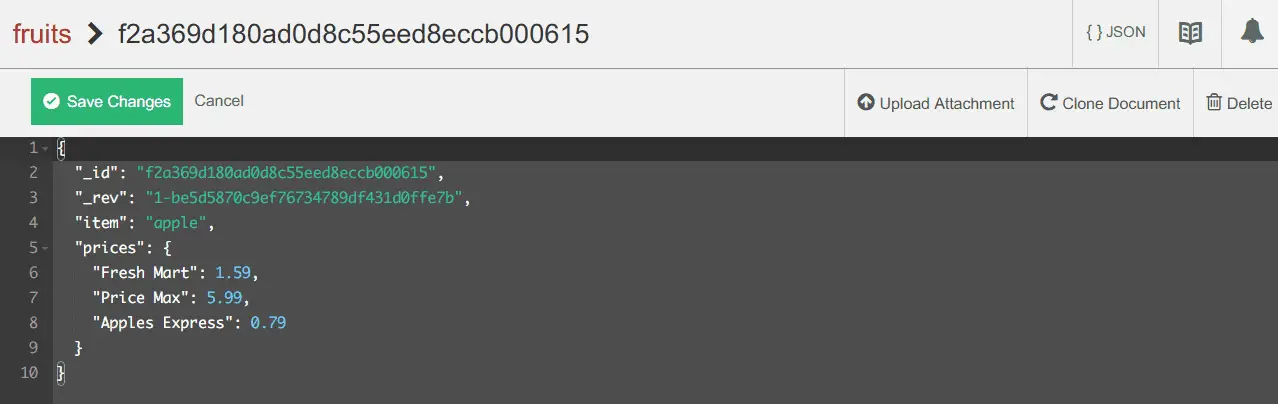
If you need to modify the document, click on the document name, edit your document, then click Save Changes. Also, you can delete documents from there with the delete button on the right menu.
Basic Database Operations with Curl
In the following section, you will learn how to create a database and insert data to Apache CouchDB via HTTP API using Curl.
First, run the following command to authenticate to Apache CouchDB and list available databases via curl. Be sure to change the admin user and password with your details.
curl -X GET http://admin:[email protected]:5984/_all_dbs | jq .
If successful, you should see the database fruits you've created via the available web UI.
Now, create a new CouchDB database using the PUT option in a curl like the following.
curl -X PUT http://admin:[email protected]:5984/players | jq .
Once the database is created, you should get an output like the following:

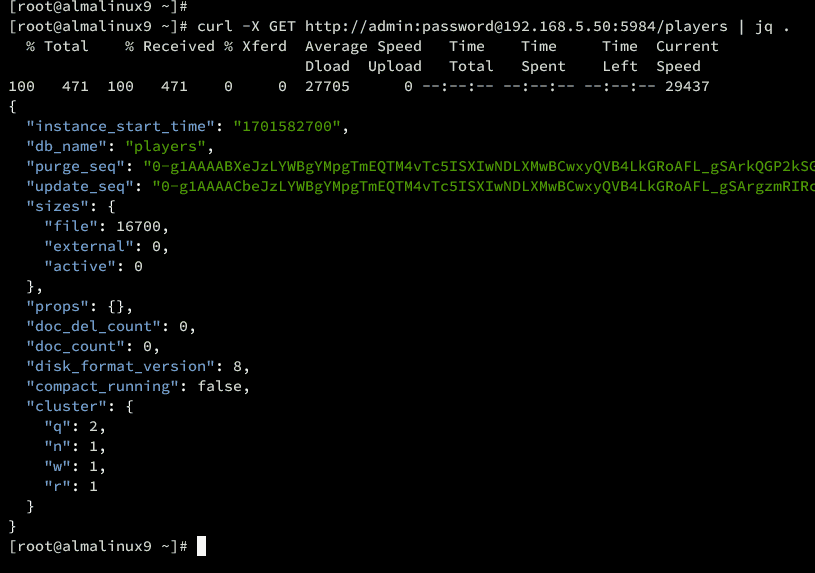
Once the database is created, check the details of database players using the command below.
curl -X GET http://admin:[email protected]:5984/players | jq .
The following output will be displayed:
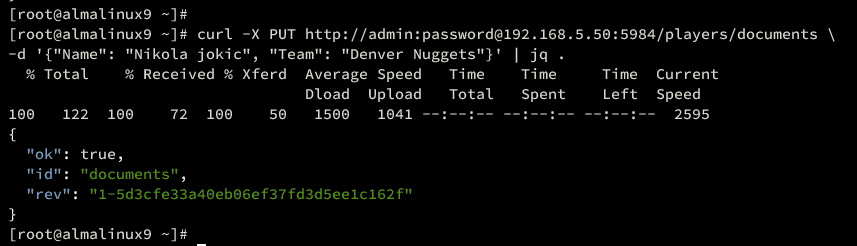
Next, to create a new document and insert data to CouchDB, use the following curl command.
curl -X PUT http://admin:[email protected]:5984/players/documents \
-d '{"Name": "Nikola Jokic", "Team": "Denver Nuggets"}' | jq .
When successful, you should get the output '"ok": true'.
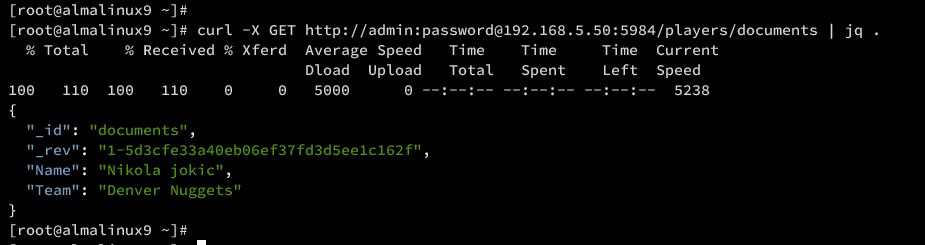
Check the details of your document using the command below. You should see your document is available on Apache CouchDB.
curl -X GET http://admin:[email protected]:5984/players/documents
You should see the data that you've added, such as the following.
Conclusion
Congratulations! You have successfully installed Apache CouchDB on the AlmaLinux 9 server. You've also configured a single_node cluster, added an admin user and password, and also configured CouchDB to run at the internal IP address.
Furthermore, you've also learned how to create a new database and insert data on CouchDB via web UI and HTTP API with Curl. Now, you can add more nodes and set up an Apache CouchDB cluster to maximize your performance.

