How to Install Apache Cassandra on Ubuntu 20.04
This tutorial exists for these OS versions
- Ubuntu 22.04 (Jammy Jellyfish)
- Ubuntu 20.04 (Focal Fossa)
- Ubuntu 16.04 (Xenial Xerus)
On this page
Apache Cassandra is an open-source NoSQL database management system that was originally developed in 2008 by Facebook engineers who needed a scalable storage engine with support of replication, partitioning, and load balancing without having to place restrictions on the type or size of hardware used. They had been using MySQL but it could not scale up as they increased their user base beyond tens of millions.
The key features are extensibility, linear scaling (more nodes) for write throughput; fully distributed architecture--sharding across commodity servers scales linearly without any single point of failure; ease of installation and operation--does not require complex setup tasks such as hardware configuration, and can be run on commodity hardware; self-healing--if a node goes down it will automatically get replaced by another node in the cluster.
The Apache Cassandra database is often used as a data store for operational and real-time analytics. For example, in the retail space companies are using it to track customer traffic patterns so they can make adjustments accordingly without having to wait weeks or months for insights from their analysts.
In other words, if you have an item that was selling well at one location but not another based on fluctuations such as holidays then those changes could be made right away with this new type of analytical tool.
This guide will walk you through installing Apache Cassandra on Ubuntu 20.04, while also covering the process of uninstalling it if need be.
Prerequisite
- A server running Ubuntu Server 20.04
- A user with sudo privileges
Getting Started
Updating your system
Ubuntu 20.04 already comes pre-installed with Apache Cassandra, but to make sure that all of your system packages are up-date, run the commands below in your terminal:
sudo apt update -y
sudo apt upgrade -y
The -y option is used to automatically answer "yes" when there are updates that require the user's input.
The update command will get the latest version of software packages. The upgrade command updates any existing installed packages to a more recent (and/or stable) revision.
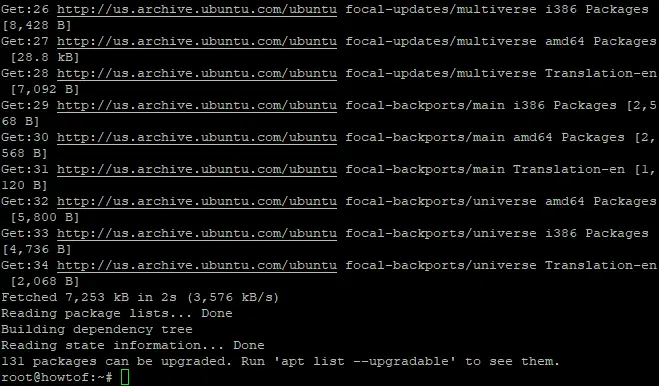
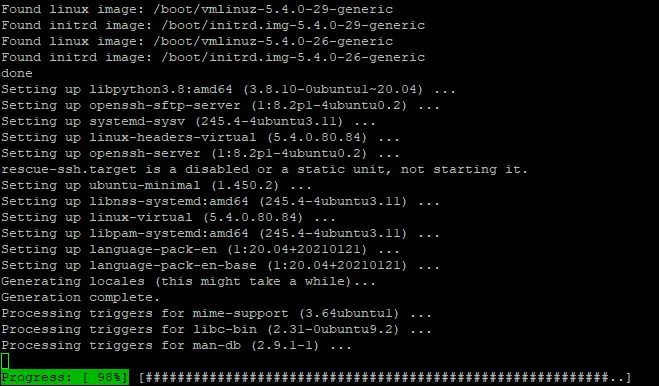
Sample output:
Updating you system
Upgrading your System
Installing Dependencies
To install Cassandra on Ubuntu, there are several dependencies that must be installed first.
sudo apt install apt-transport-https wget gnupg
The apt-transport-htps dependency will allow Apache Cassandra to communicate securely with other hosts via SSL encryption. wget is a program that allows you to download content from servers on the Internet. gnupg is a key management program which is used to verify the integrity of files.
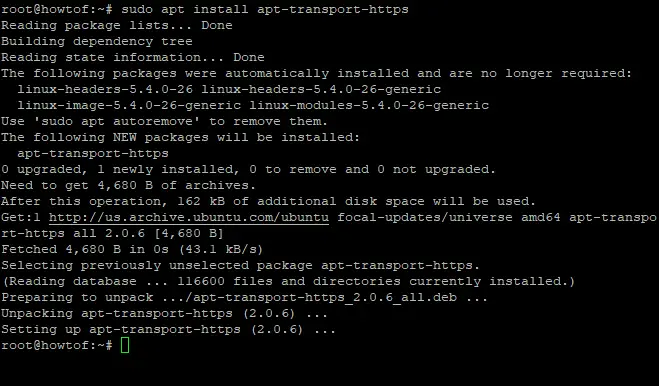
Sample output:
Installing Dependencies
Installing Java
Java is required for Apache Cassandra to run. Run the following command to install OpenJDK:
sudo apt install openjdk-8-jdk
The command will download and install Java on your system. The number "8" in the command refers to Java 8 which is the default Java version.
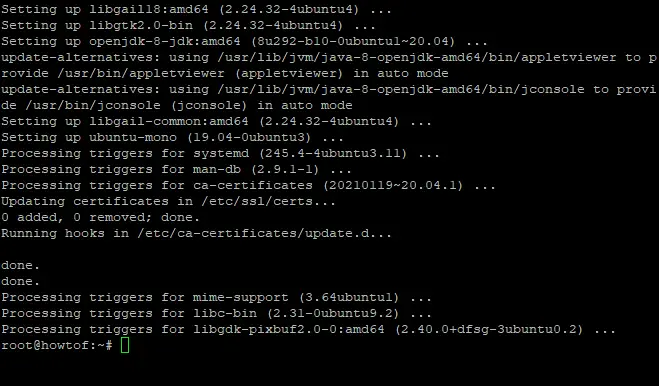
Sample output:
Installing Java
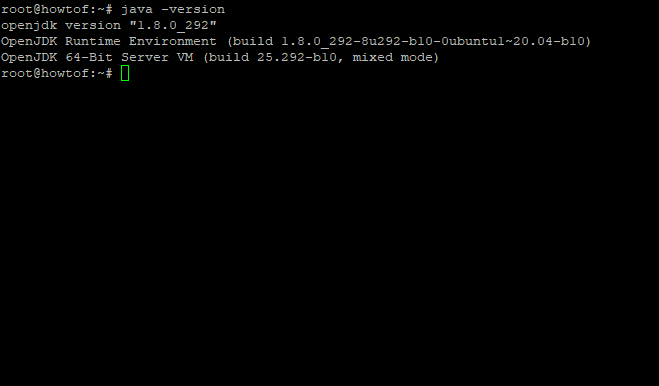
To verify if Java is installed, run the following command:
java -version
Sample output:
Java's Version
Installing Apache Cassandra
Now that all of the prerequisites are installed, it's time to install Apache Cassandra. To get started, we will import the GPG key using wget command as below:
wget -q -O - https://www.apache.org/dist/cassandra/KEYS | sudo apt-key add -
-q is an option that will silence output.
sudo apt-key add command will add the key that is needed to install Cassandra.
Sample output:
Importing the GPG key
Then add the Apache Cassandra repository to your sources.list file:
sudo sh -c 'echo "deb http://www.apache.org/dist/cassandra/debian 311x main" > /etc/apt/sources.list.d/cassandra.list'
echo will output the content of the provided argument on a new line and append it at the end of the . list file which is specified in this command's second argument, "/etc/apt/" lined up with quotes after deb (short for Debian package). debian 311x main is the name of the repository which will be added to your source.list file.
Next, update your system's package index:
sudo apt-get update
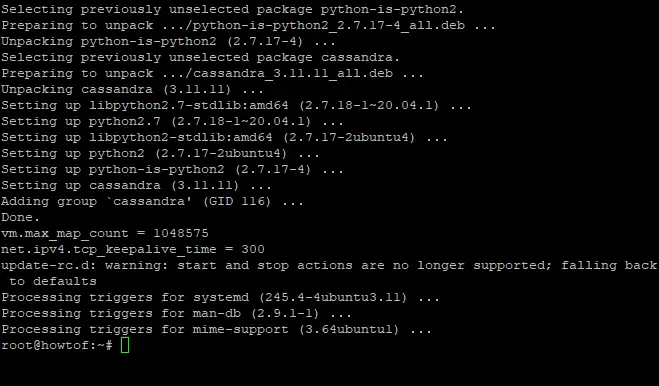
Then install Apache Cassandra:
sudo apt install cassandra
The command above will download and install Apache Cassandra on your system.
Sample output:
Installing Cassandra
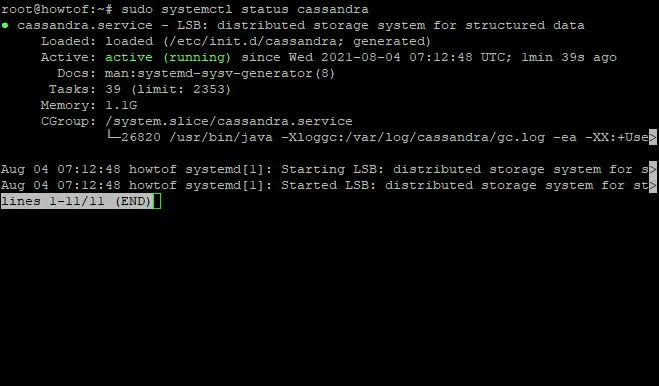
You can check Apache Cassandra's status by typing:
sudo systemctl status cassandra
Sample output:
Checking Apache Cassandra's Status
If you need to restart Apache Cassandra, type:
sudo systemctl restart cassandra
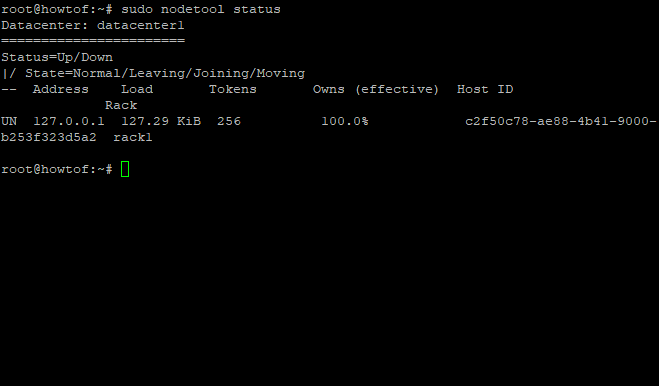
Additionally, you can verify the stats of the node on your system by typing:
sudo nodetool status
Sample output:
Nodetool Status
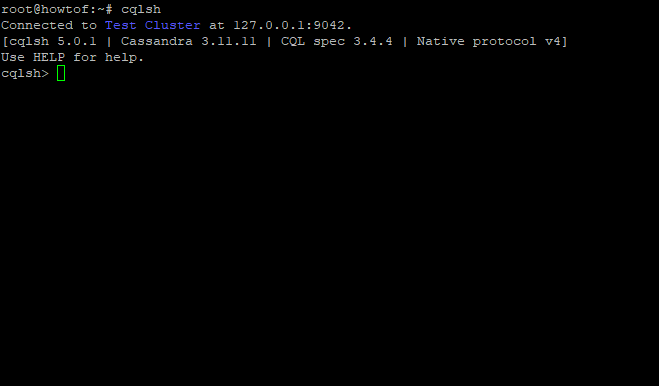
After the Apache Cassandra installation is complete, you can login to Apache Cassandra with the following command:
cqlsh
Sample output:
Login Screen
Now to exit the cqlsh tool, type exit, and press Enter.
Configuring Apache Cassandra
Now that Apache Cassandra has been installed, it's time to configure it.
/var/lib/cassandra/data/ directory is the default location for Cassandra data.
etc/cassandra is the default location for configuration files for Cassandra.
It's important to make a backup of this file before making any changes in order to avoid data loss.
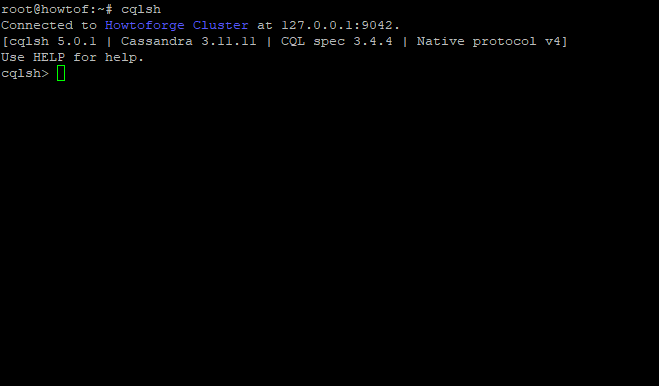
Cassandra’s default cluster name is "test cluster". If you want to use another name, you can log in to Cassandra and change it:
cqlsh
UPDATE system.local SET cluster_name = 'Howtoforge Cluster' WHERE KEY = 'local';
The above command will change the cluster name to "Howtoforge Cluster".
After the cluster is renamed, you must restart Cassandra for it to take effect:
sudo systemctl restart cassandra
Now, when you log in to the Apache Cassandra 's interface, it will show the new cluster name.
Sample output:
New Cluster Name
You can't use spaces or special symbols like underscores (_) with names of clusters (names are case sensitive), you'll need to use a different name for your cluster.
Uninstall Apache Cassandra
You can remove Apache Cassandra from your machine using those steps below:
Stopping Apache Cassandra's service if it is running:
sudo service cassandra stop
Then remove the library, log directories and uninstall Apache Casandra using these commands:
sudo rm -r /var/lib/cassandra
sudo rm -r /var/log/Cassandra
sudo apt purge cassandra
Apache Cassandra will be removed but you'll still have a few files left over from other packages that were also installed and may import these at any time. It's therefore recommended to delete them as well:
sudo rm -r /usr/lib/cassandra
sudo rm -r /etc/apache-cassandra
sudo rm -r ~/.cassandra
Troubleshooting
The following are common troubleshooting steps for Apache Cassandra errors that might help solve some problems with installation or setup.
- If you receive an error “Unable to create native thread”, this is usually caused by a failure of the underlying operating system. This can be due to physical memory not being available or some other issue on the server. Check your server logs for error messages related to virtual memory allocation and try adjusting kernel parameters accordingly (e.g., vmalloc=256m).
- If you receive an “error while loading shared libraries: libcurl.so” error, this is a problem with the installation of OpenSSL on your system (e.g., Ubuntu 16.04 or newer).
-Unable to find "cassandra-" in /etc/init.d directory while trying to start it manually. The first step is making sure that you have an Apache Cassandra init script installed and set up correctly on Ubuntu. If this does not work, then try running these commands using sudo: "update-rc.d cassandra defaults && service cassandra restart". This should help solve the problem.
-"Error when trying to start Apache Cassandra": make sure the changes you have made are saved in service configuration files before exiting.
Conclusion
In this tutorial, we've gone through the basics of installing Apache Cassandra on Ubuntu 20.04 as well as some additional steps you may want to take after installation. It can be helpful for beginners who are just getting started with Cassandra or those wanting an update on their current setup.
We hope that this article has been helpful and we will see you next time with another tutorial.
Like this article? Please share with your friends and follow us on social media.

